For anyone out there who has ever struggled finding a part for KiCAD, there are some who would say you’re doing it wrong. You’re supposed to make your own parts if you can’t find them in the libraries you already have. This is really the only way; PCB design tools are tools, and so the story goes you’ll never be a master unless you can make your own parts. In my previous blogs here, here and here I showed you how to create a Symbol, footprint and a 3D model now we going to complete our library to one.

KiCAD Library
Before we complete our library we have to understand which files are with.
In Part one we first made a new project called ‘My Project‘. 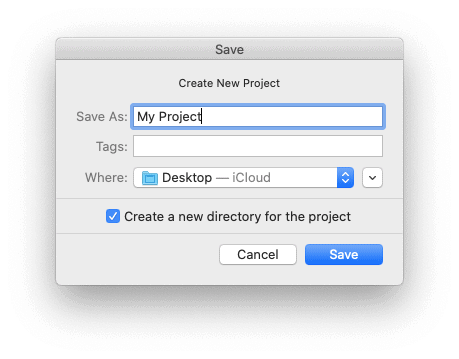
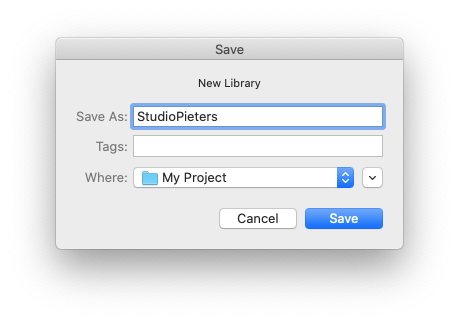
Then we made a new Library called ‘StudioPieters‘.
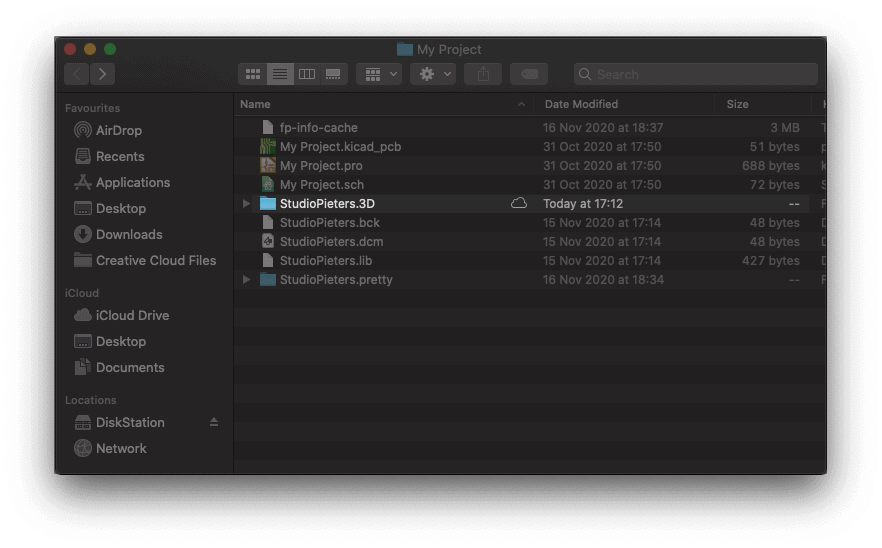
When we look in to our project folder we can see a file called ‘StudioPieters.lib‘ this is our Library file the files ‘StudioPieters.bck‘ and ‘StudioPieters.dcm‘ are mandatory to the library file, here is the symbol stored we made in part I.
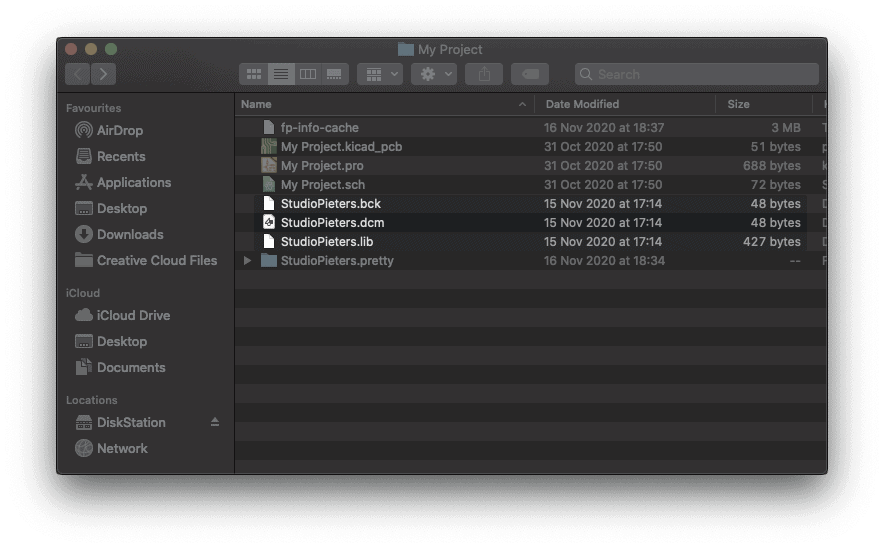
We see a folder called ‘StudioPieters.pretty‘ this is the folder where KiCAD has stored your footprint.
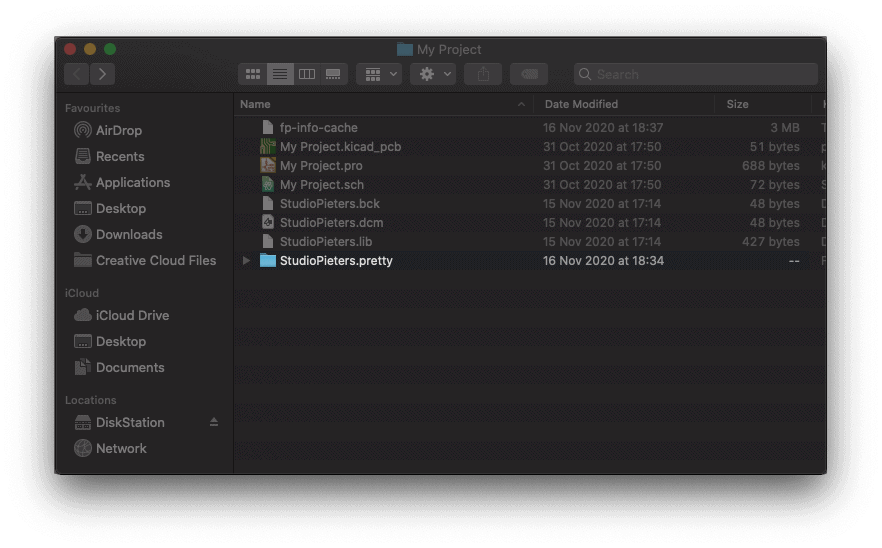
Inside the folder you find the ‘kicad_mod‘ file.

Now we have to create a new directory called ‘StudioPieters.3D‘ ,
 In this folder we place our 3D model, the most common model extension is ‘.step‘. You can download this model here.

Completing the library
At first we are going to connect our footprint to our symbol. Open you saved project in KiCAD
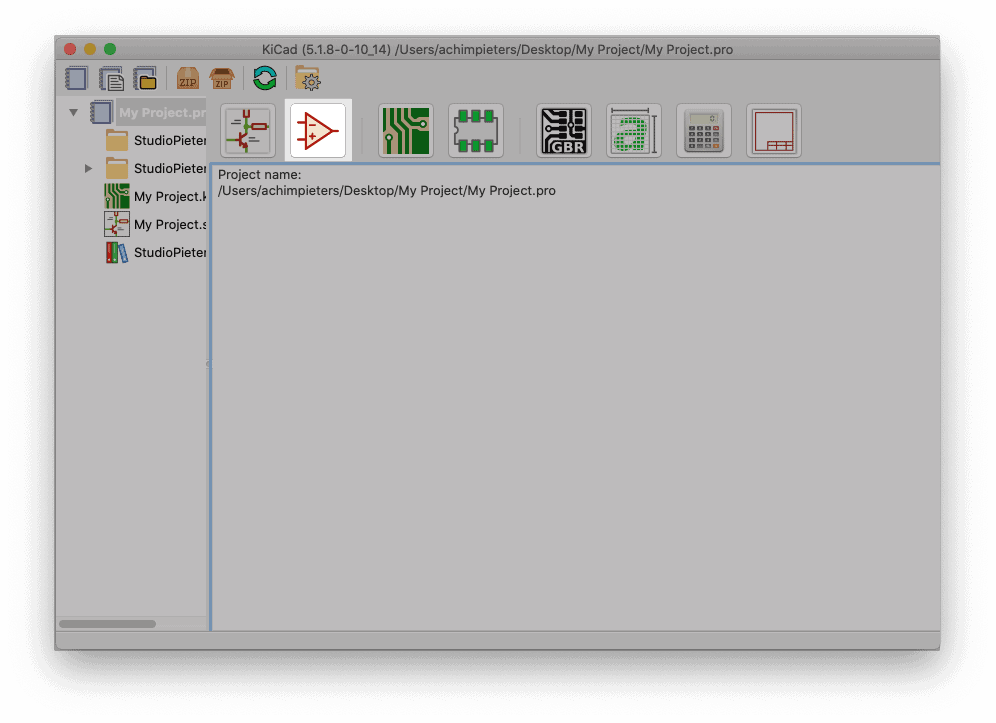
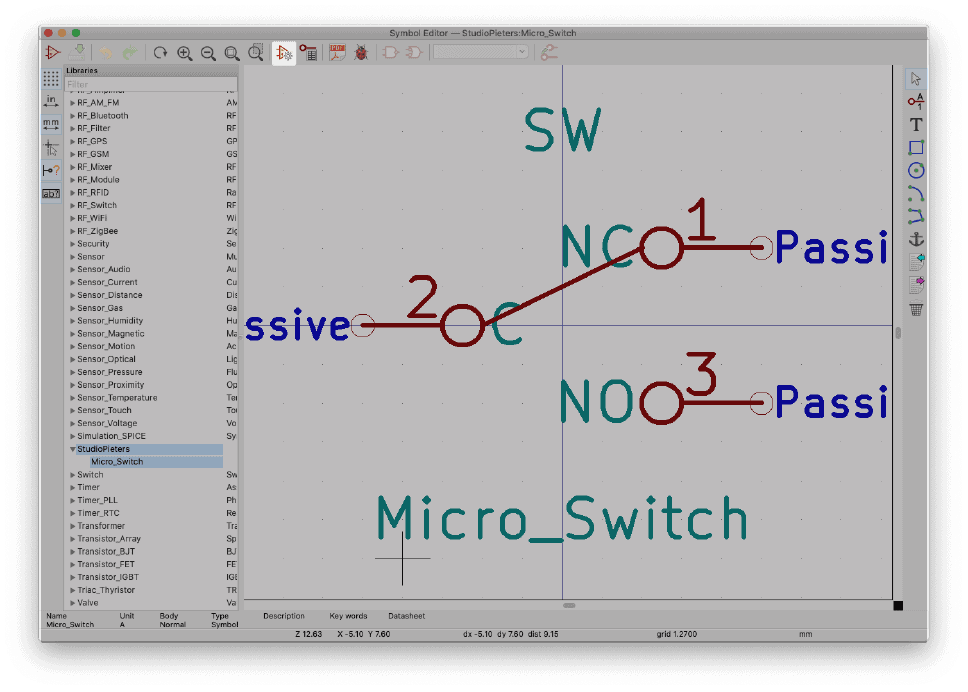
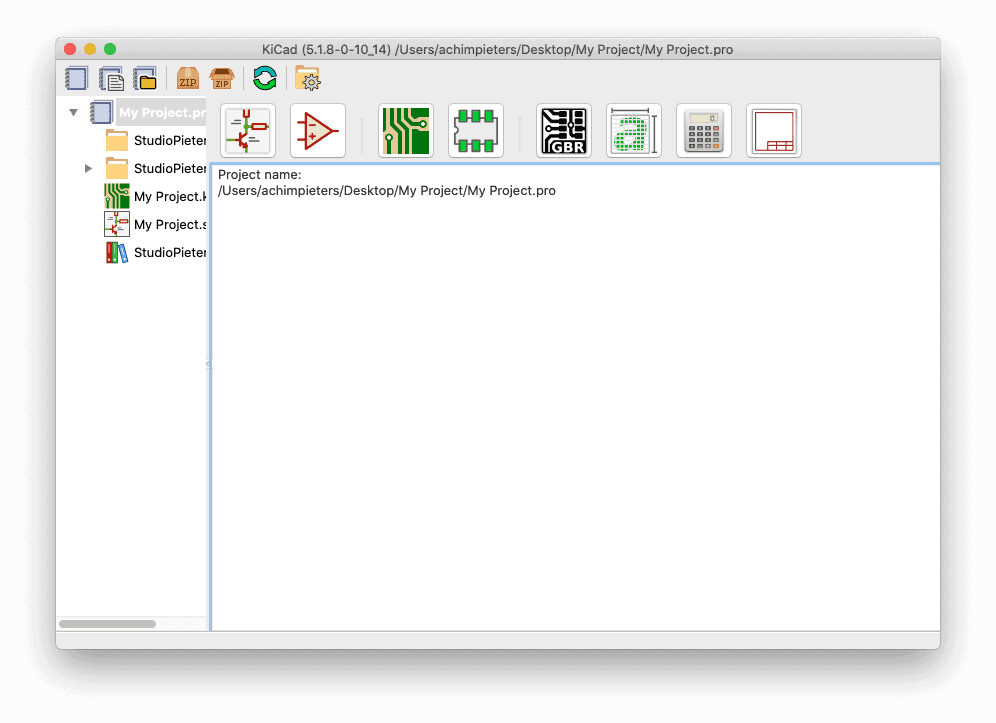 Open the ‘Symbol Editor’ by clicking the Logic Gates symbol.
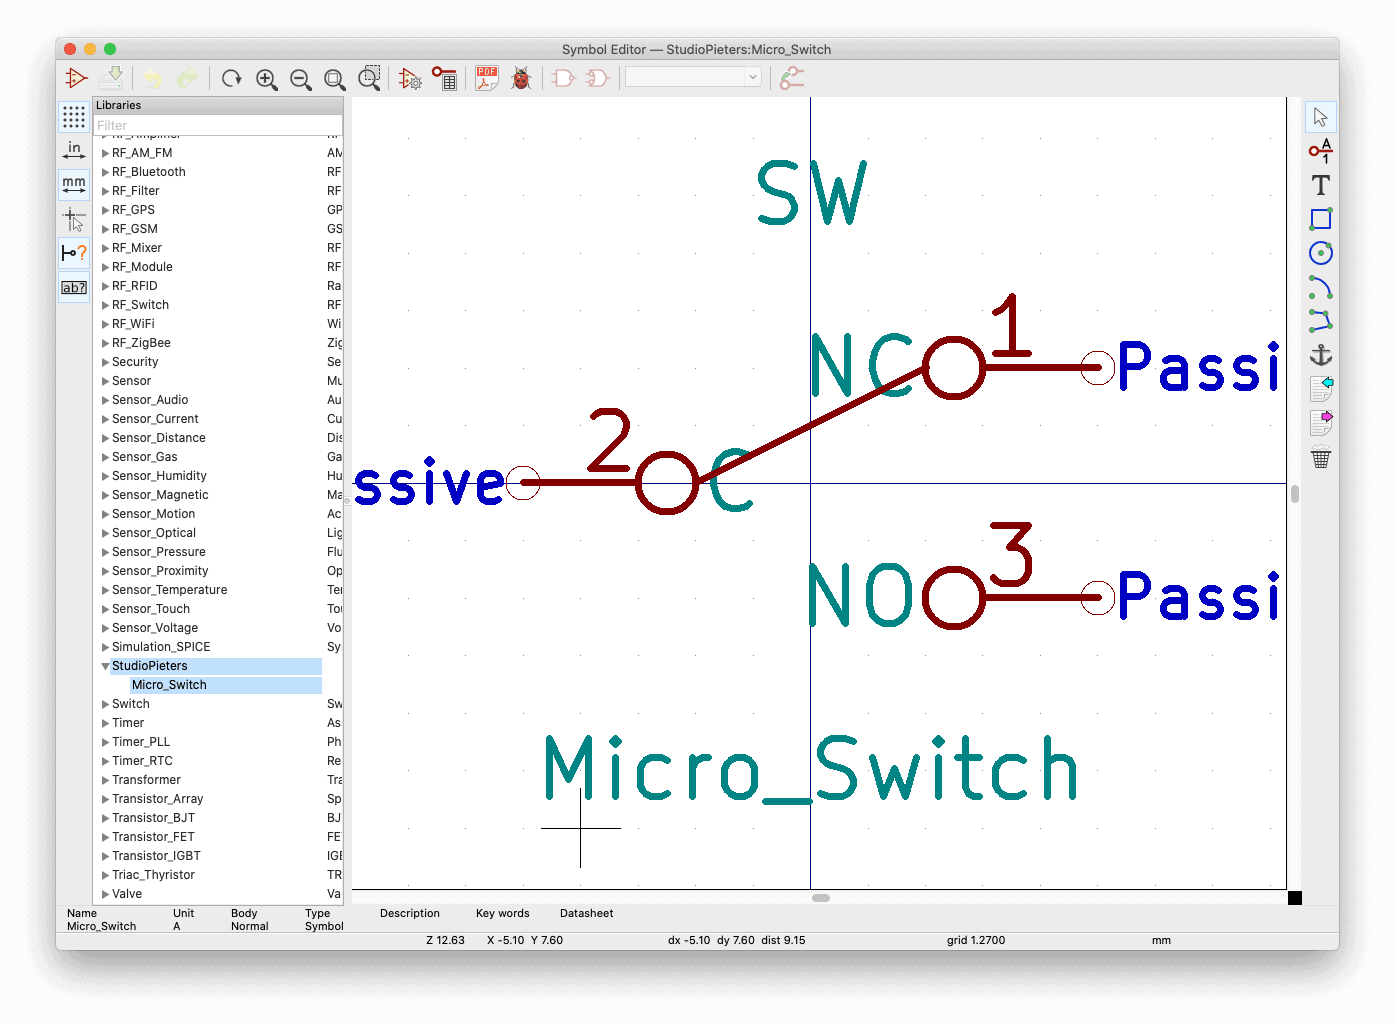
 In the left pane search for your library (eg StudioPieters). Press the arrow and double click on your made symbol (eg Micro_Switch).
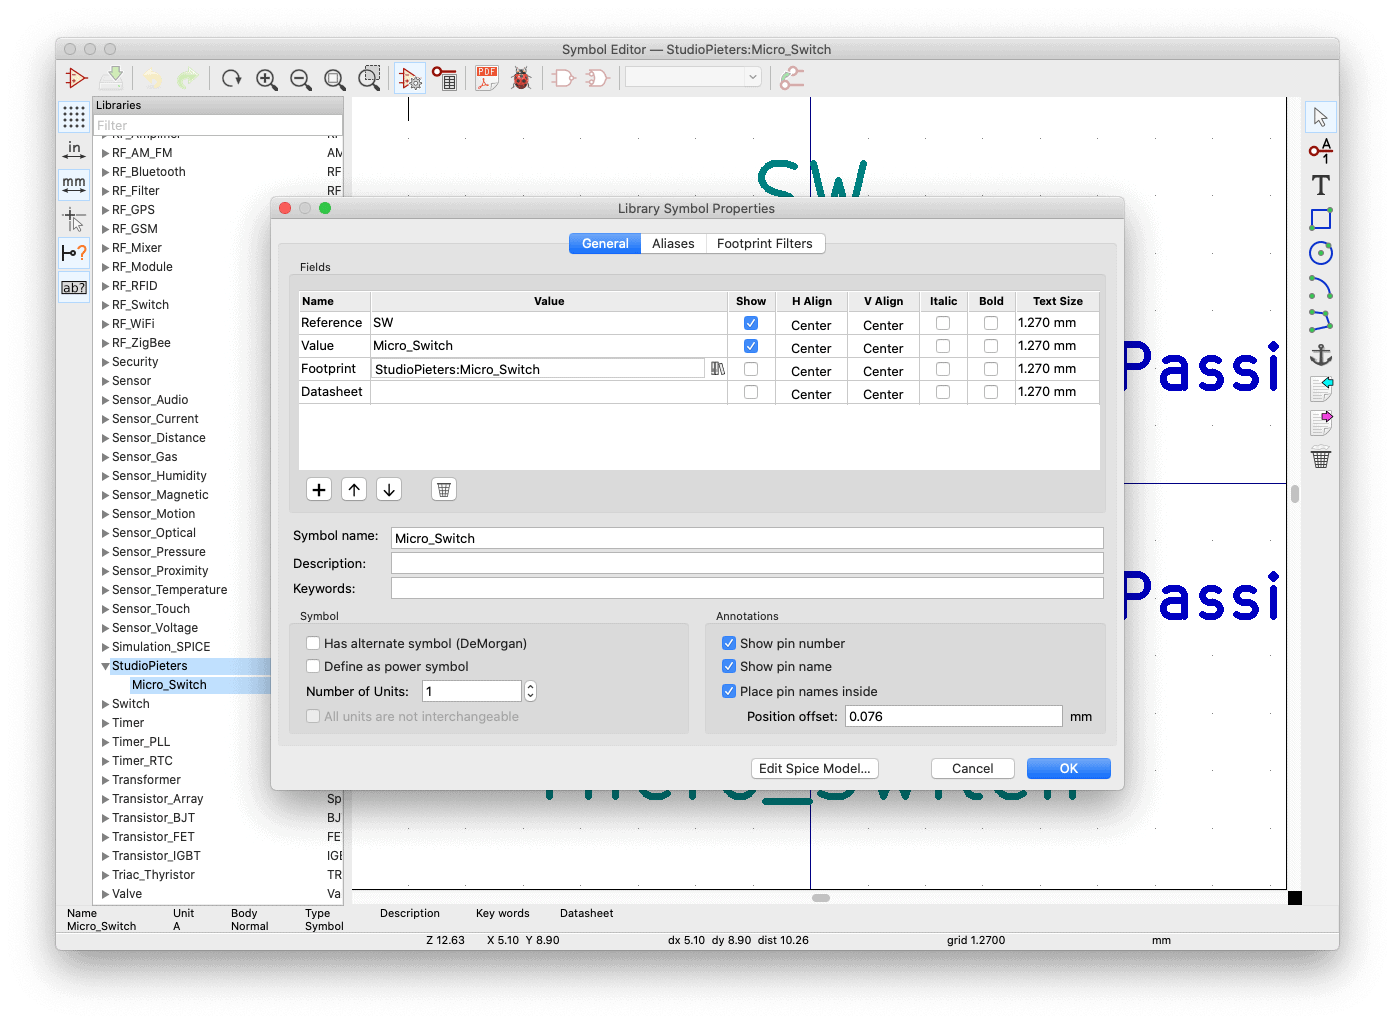
 Open the ‘Library Symbol properties ’ by clicking the Logic Gates and gear symbol.
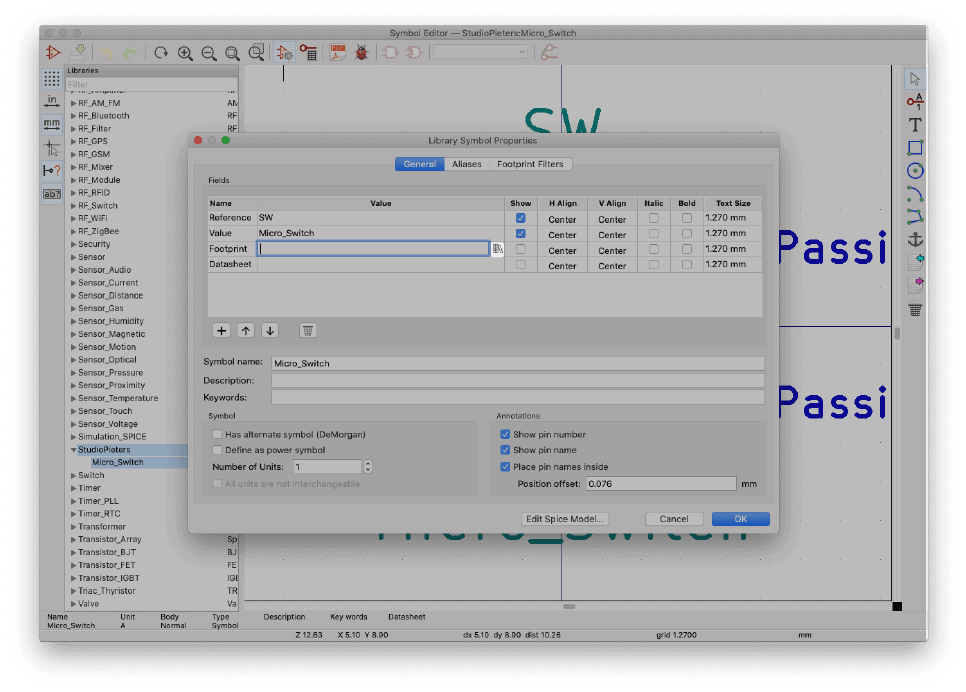
 An new window will open.
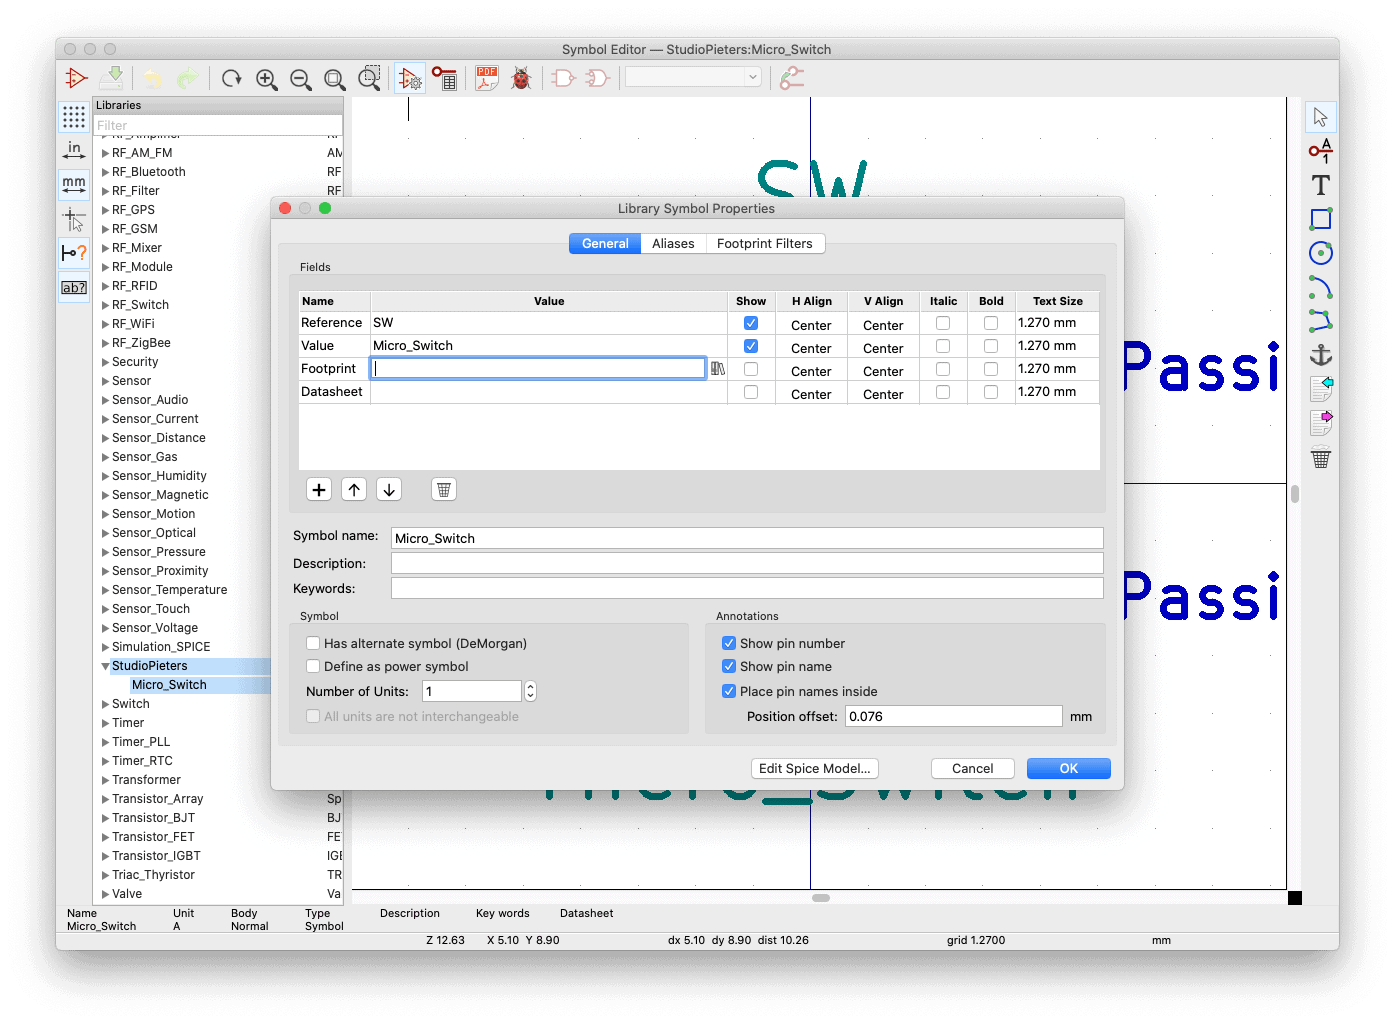 Click on the ‘books‘ icon on the line ‘footprint‘.
 A new window called ‘Footprint Library Browser‘ will open.
 In the left pane search for your library (eg StudioPieters). In the middle Pane double click on your made footprint (eg Micro_Switch).
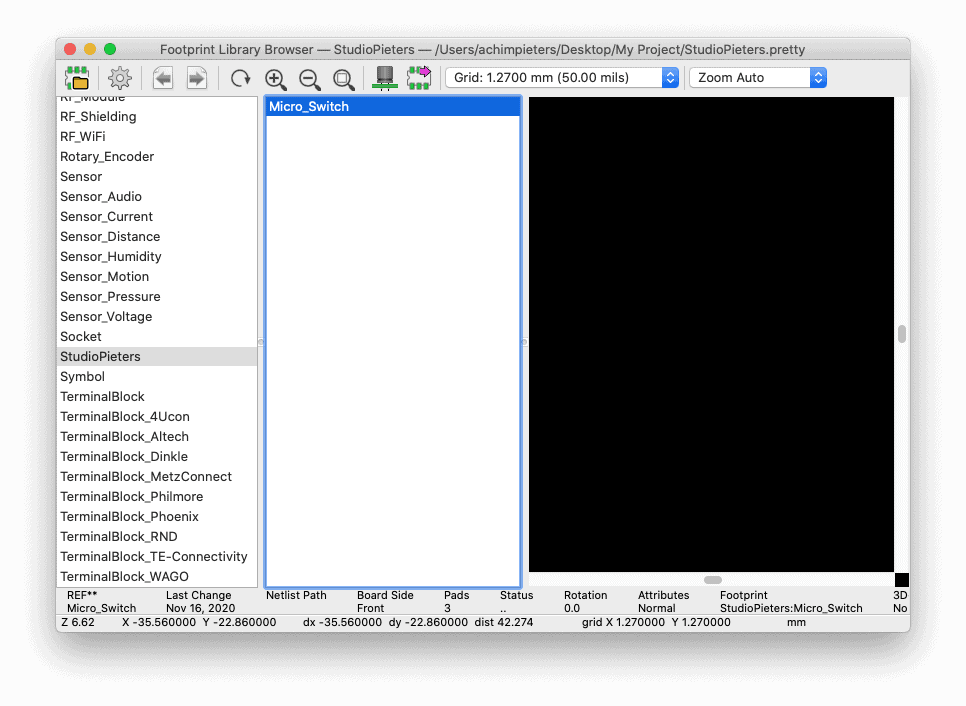 The footprint link will appear in the footprint line. Press ‘OK‘.
 Save Your Symbol to make in permanent.
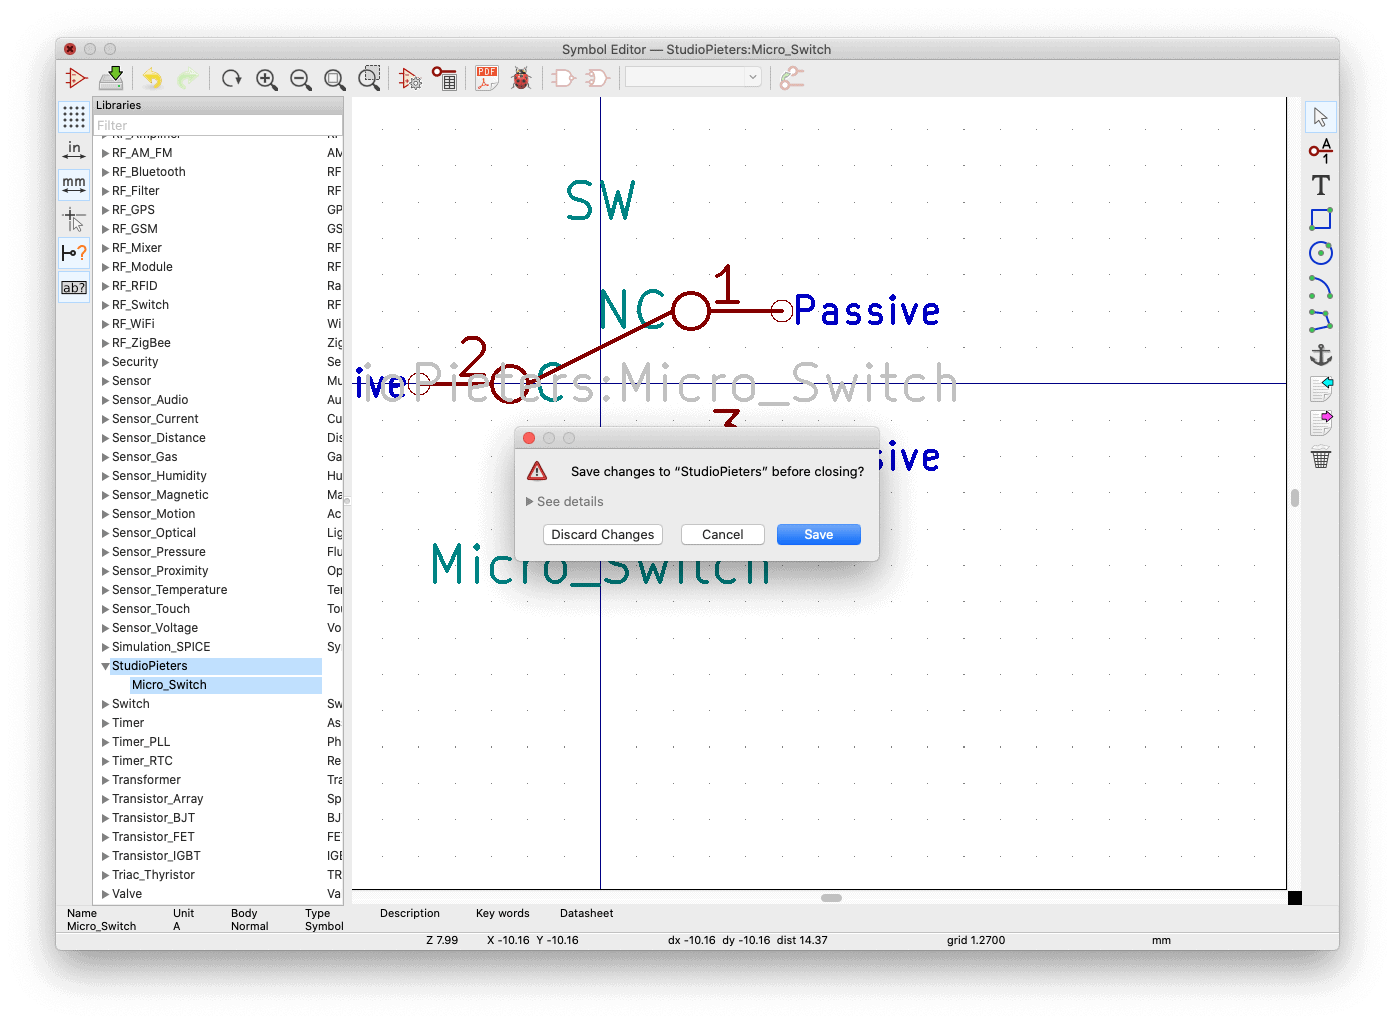
Now we have connected our Symbol with the Footprint of our newly made component. The only thing left is to connect the 3D model and our custom library is complete.

At first we are going to connect our footprint to our symbol. Open you saved project in KiCAD.
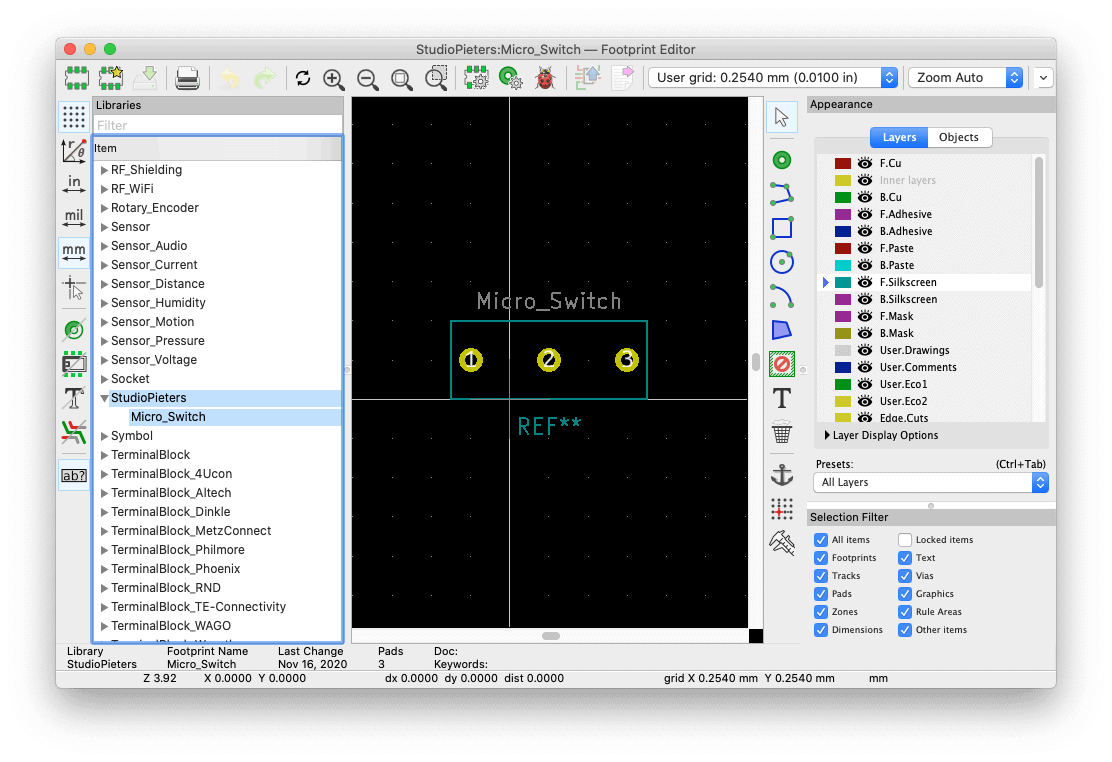
Open the ‘Footprint Editor’ by clicking the IC component symbol.

In the left pane search for your library (eg StudioPieters). Press the arrow and double click on your made footprint (eg Micro_Switch).
 Open the ‘Footprint Editor ’ by clicking the IC component and gear symbol.
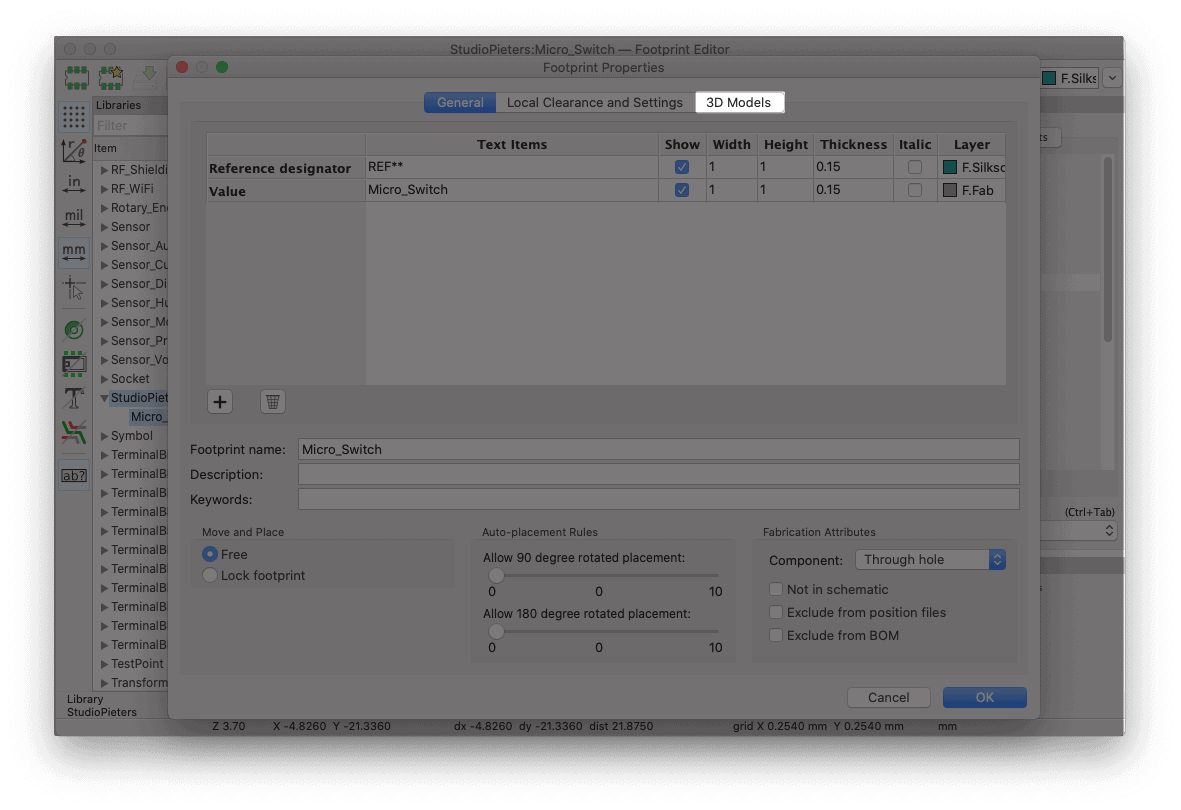
 The ‘Footprint properties’ pane will appear.
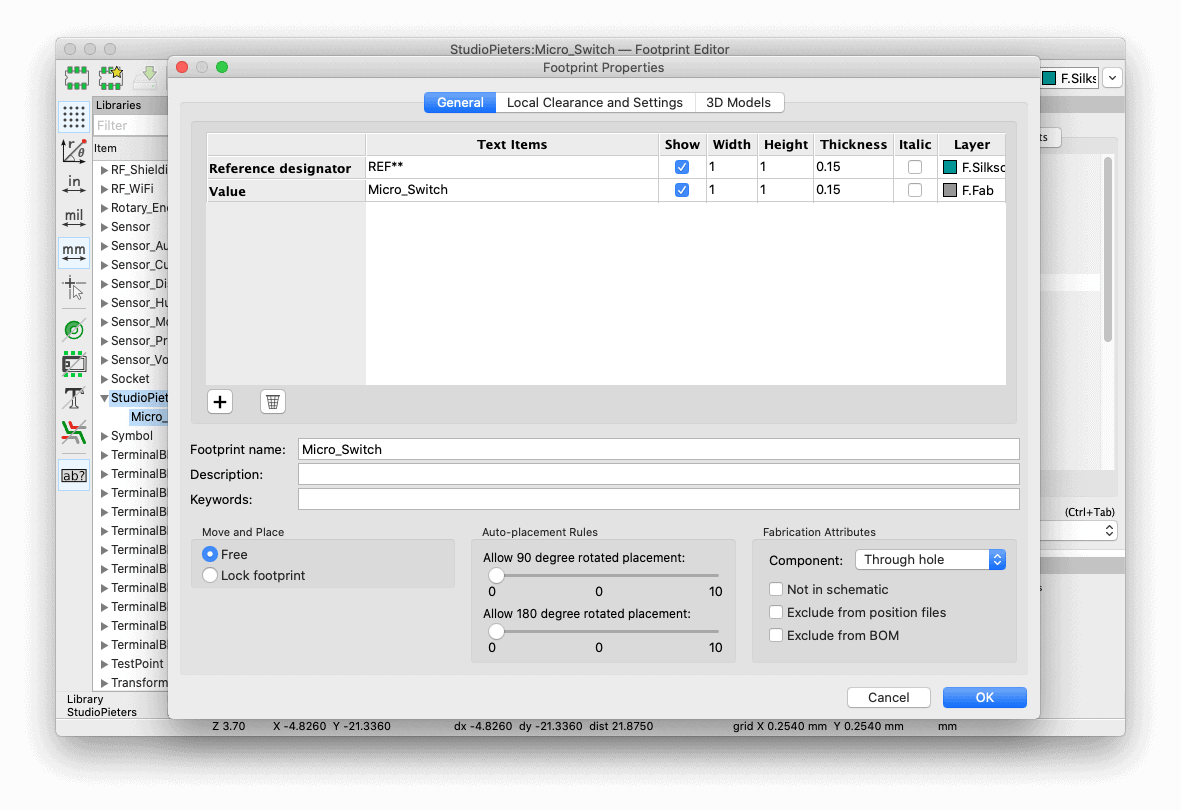 Select the third tab called ‘3D-Models’.
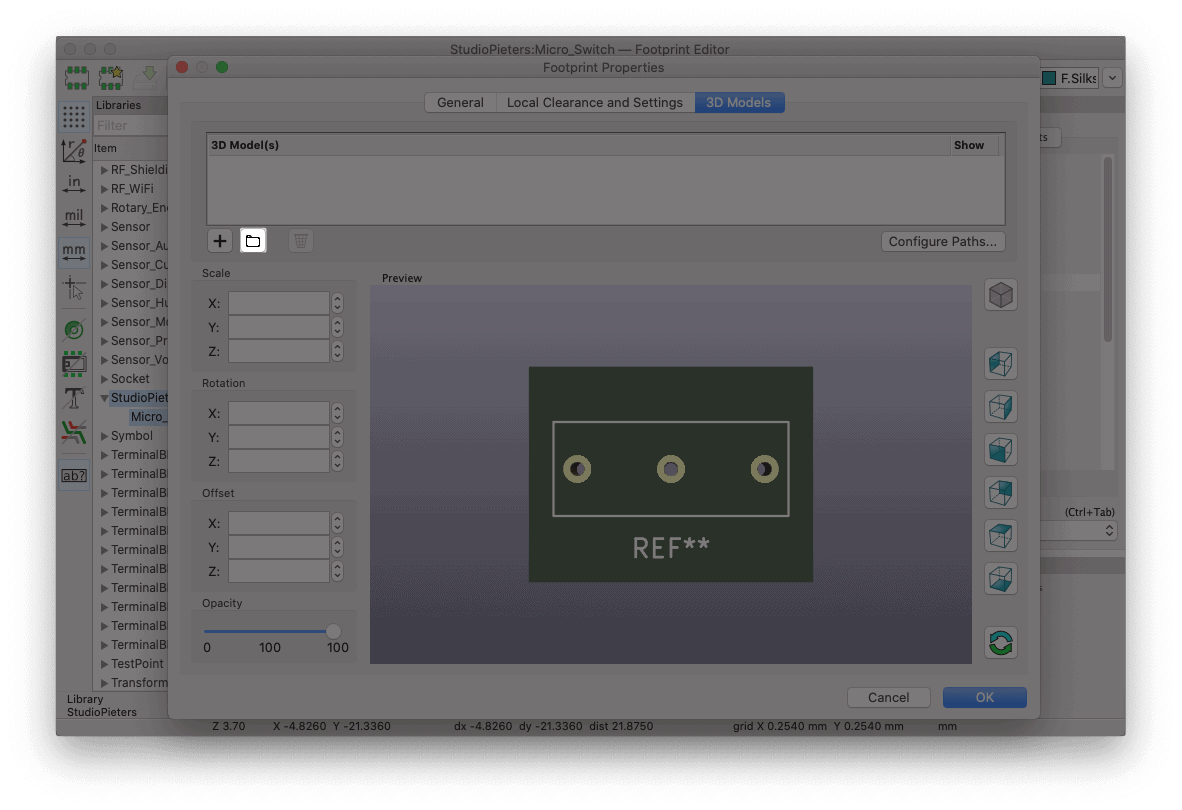
 Here you see the Footprint in 3D, we only need to add our 3D model.
 Click on the ‘Folder‘ icon.
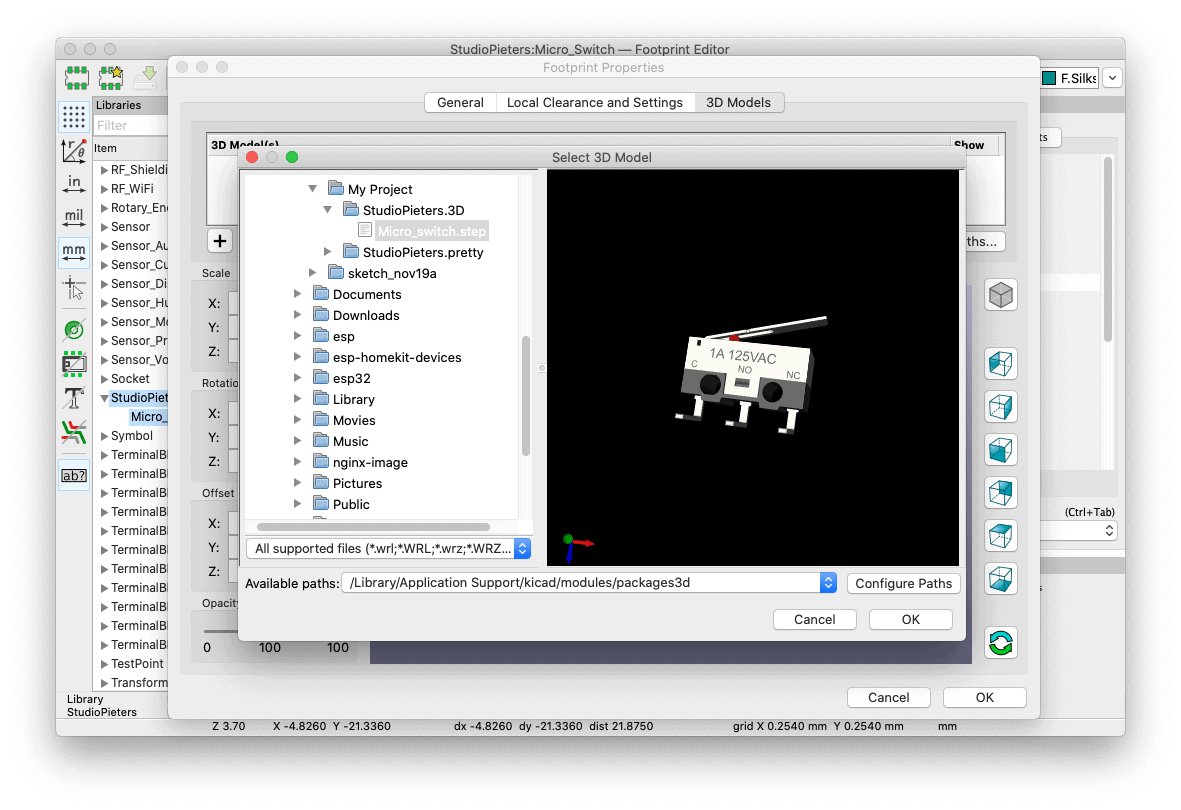
 Go to the directory where you placed your 3D model (eg StudioPieters.3D) and press ‘OK‘.
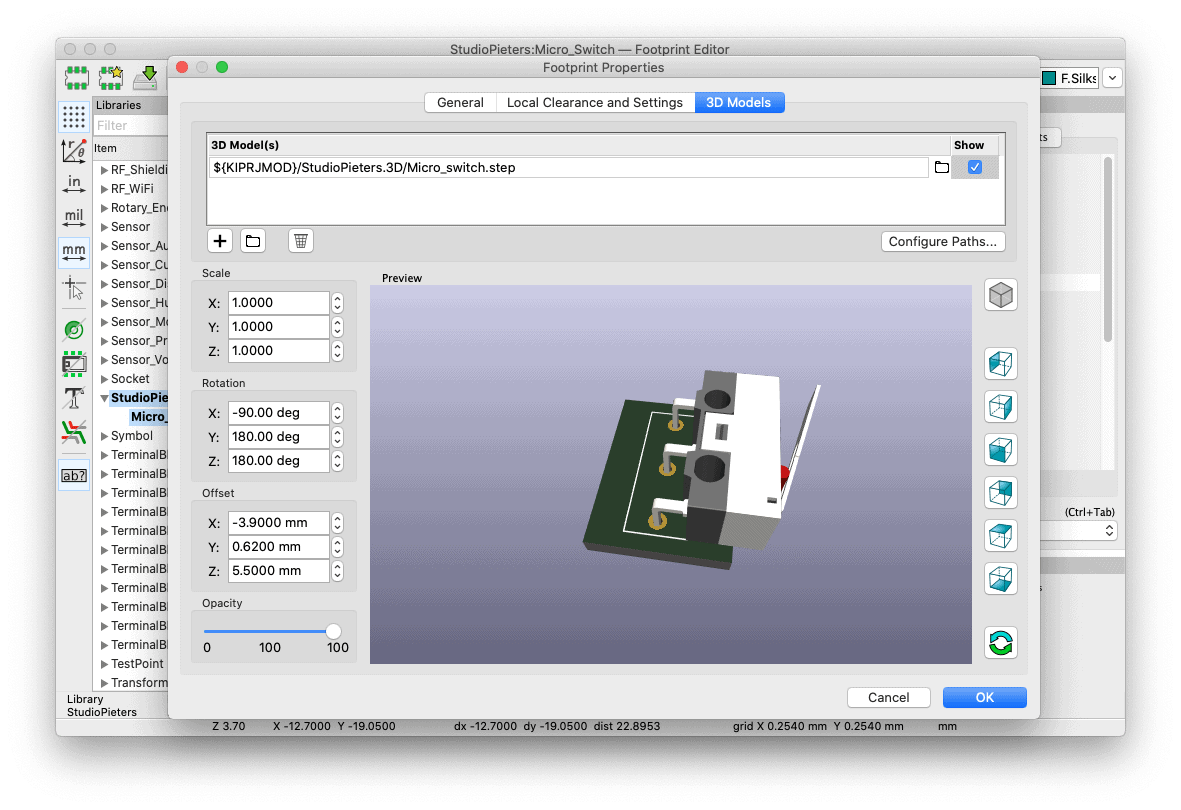
 Your 3D model will be loaded, but as you can see it isn’t placed correctly.
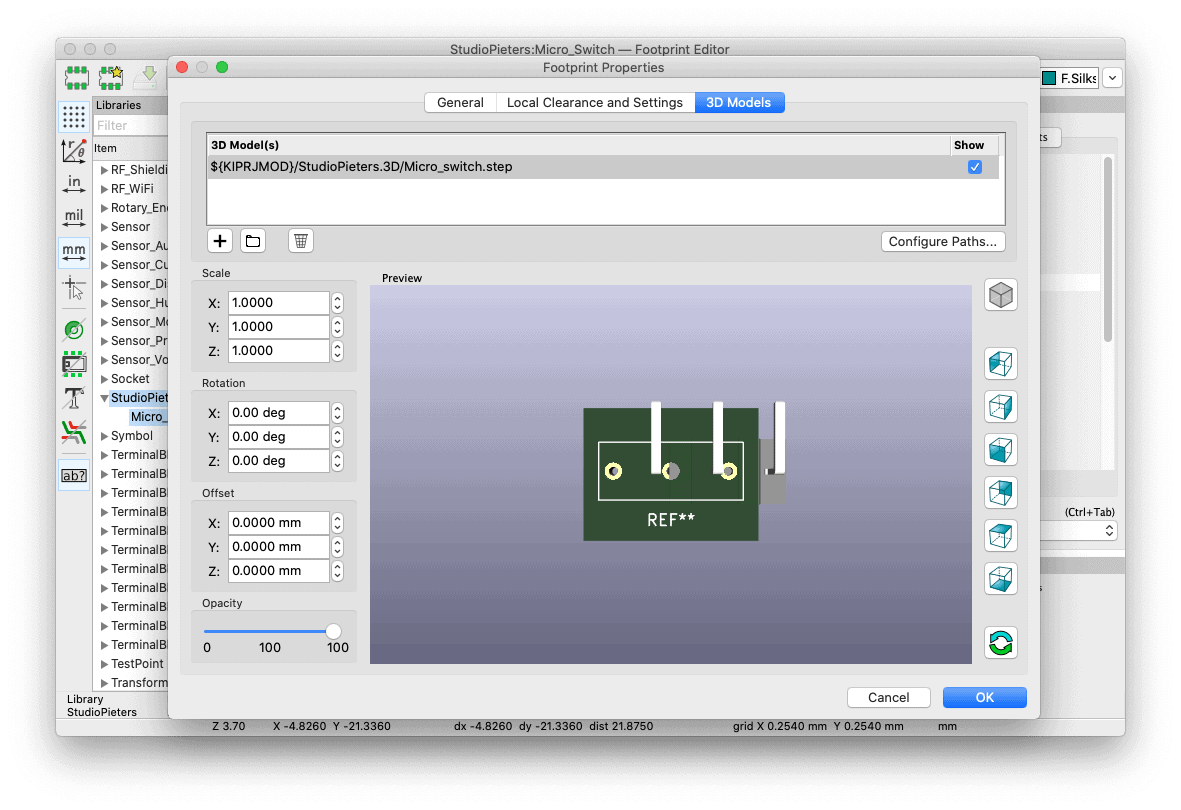 By adjusting the placement in 3D we can place it as we want.


Once adjusted you can press ‘OK‘ to save all settings.
 Now we have created our 3D Model, now we only need to save it by pressing the save button in the top menu.
Congratulations! You just created your own complete KiCAD Library!

REFERENCE
KiCAD, KiCad EDA (2019),A Cross Platform and Open Source Electronics Design Automation Suite, https://kicad.org Autodesk Fusion 360, Download Fusion 360 for free (2020), Fusion 360 for free with a 30-day trial. Access all capabilities and features with integrated CAD, CAM, CAE, and PCB software.,https://www.autodesk.com/products/fusion-360/free-trial