For anyone out there who has ever struggled finding a part for KiCAD, there are some who would say you’re doing it wrong. You’re supposed to make your own parts if you can’t find them in the libraries you already have. This is really the only way; PCB design tools are tools, and so the story goes you’ll never be a master unless you can make your own parts. So the 5 upcoming blogs I will explain how you can create your own component for KiCAD.

From Datasheet to KiCAD Component
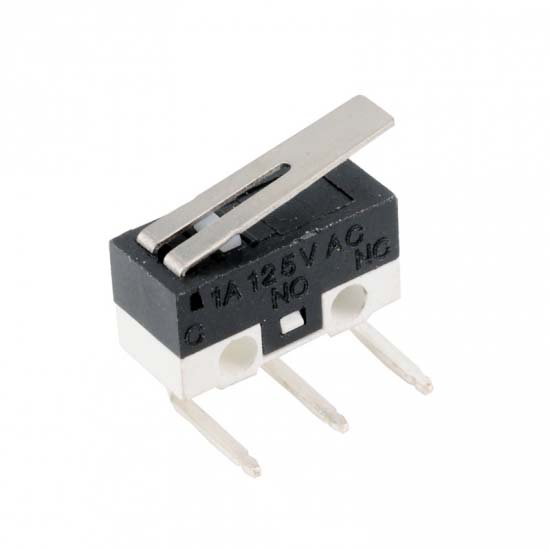
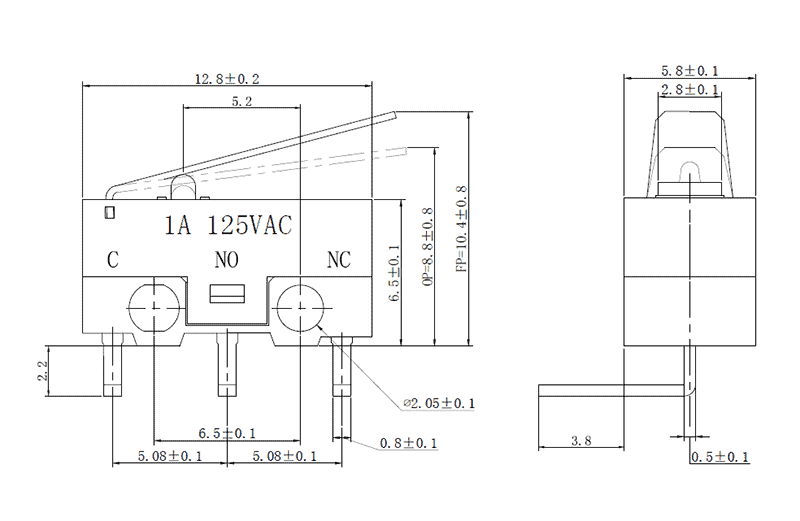
In this blog I use small micro switches with a had lying around from my 3D printer. After searing the internet I found the same switch part numbers, and subsequently found a Switch Data sheet for the same size part.
To make a new KiCAD component I use KiCAD for design and Fusion 360 for the 3D model. I Assume you already have downloaded KiCAD but here’s the link anyway.
Schematic Symbol
An electronic symbol is a pictogram used to represent various electrical and electronic devices or functions, such as wires, batteries, resistors, and transistors, in a schematic diagram of an electrical or electronic circuit. These symbols are largely standardised internationally today, but may vary from country to country, or engineering discipline, based on traditional conventions.
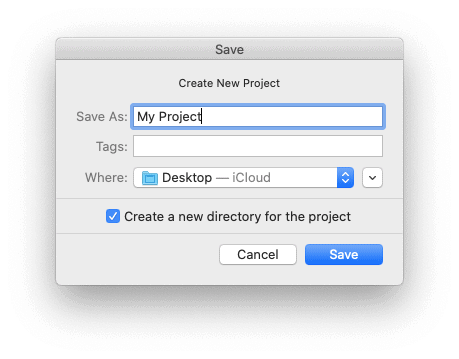
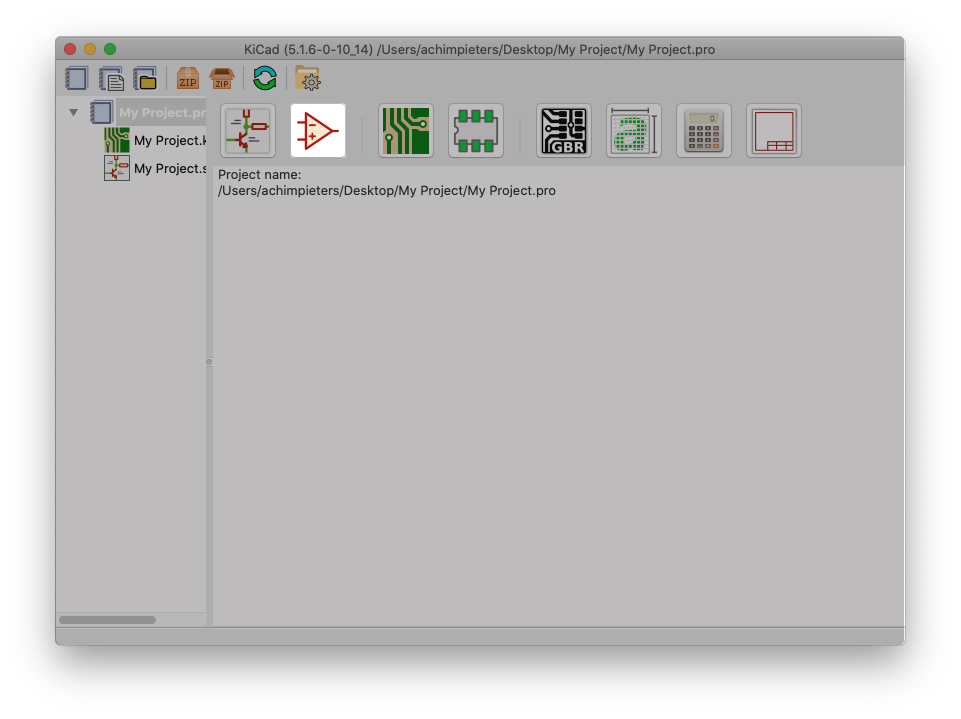
Before we can make a new symbol we first need to make a new project. Open KiCAD and click on the ‘New Project‘ icon in the left upper corner.

Name you new project (eg My Project). Then press ‘Save‘.
 Now we can start with making our own Symbols. As you can see the Icons on top are no longer greyed out.
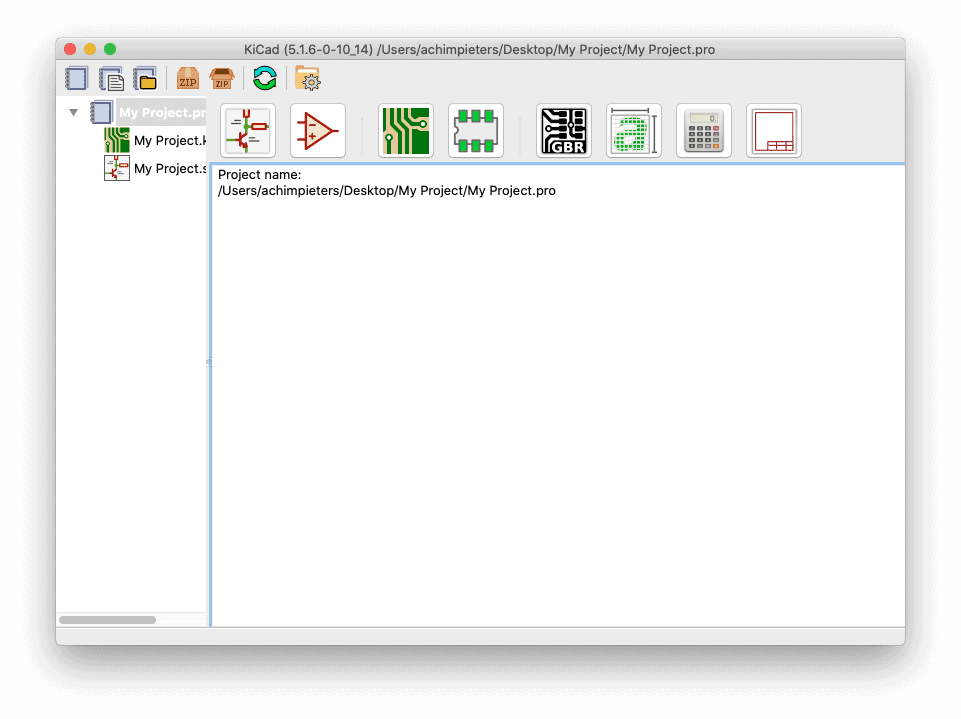
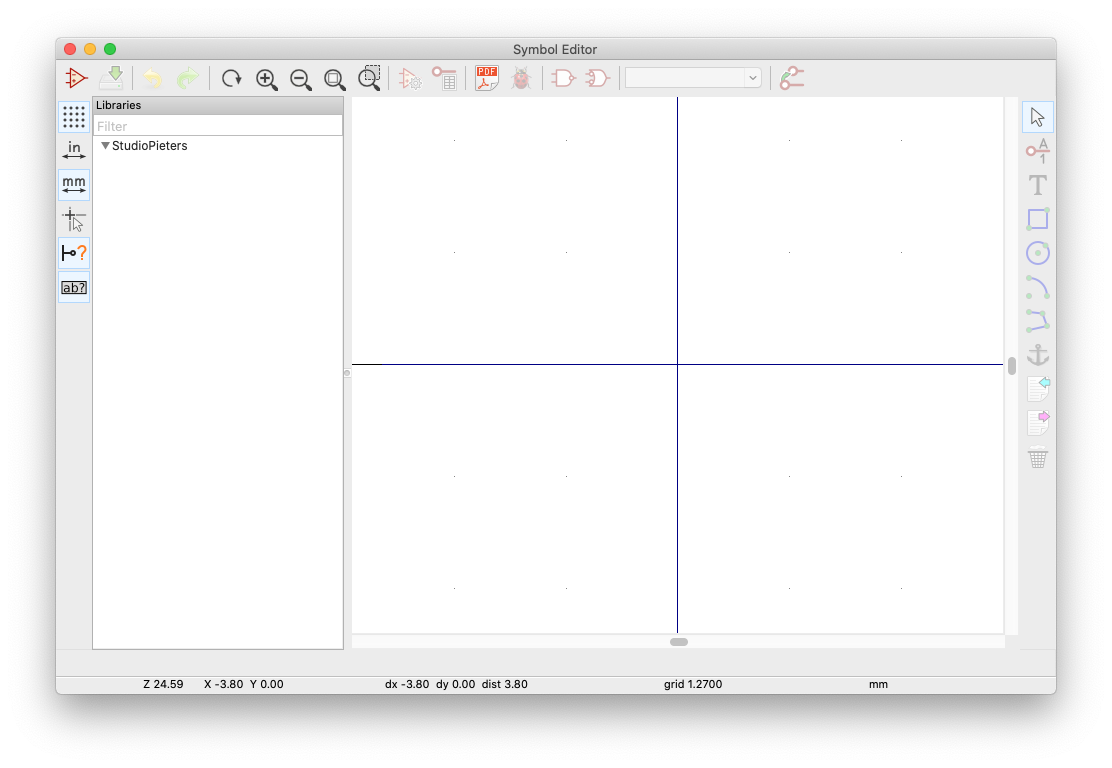
Open the ‘Symbol Editor’ by clicking the Logic Gates symbol.
 A new window will appear.
Note: For demonstration purpose, I din’t load the default Symbols library at the installation, so the left pane is empty! Normally you will see here all available libraries.

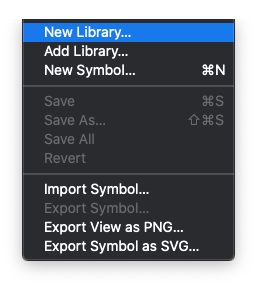
Now click ‘File’ in the top menu bar and select ‘New Library’.
 Enter the name of your new library (eg StudioPieters).And select where you want to save it (eg My Project).
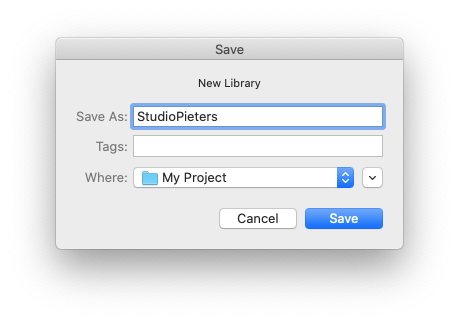 Now you have to options save it as a new symbol only for this project or global as it can be used in other projects. I chose Global.
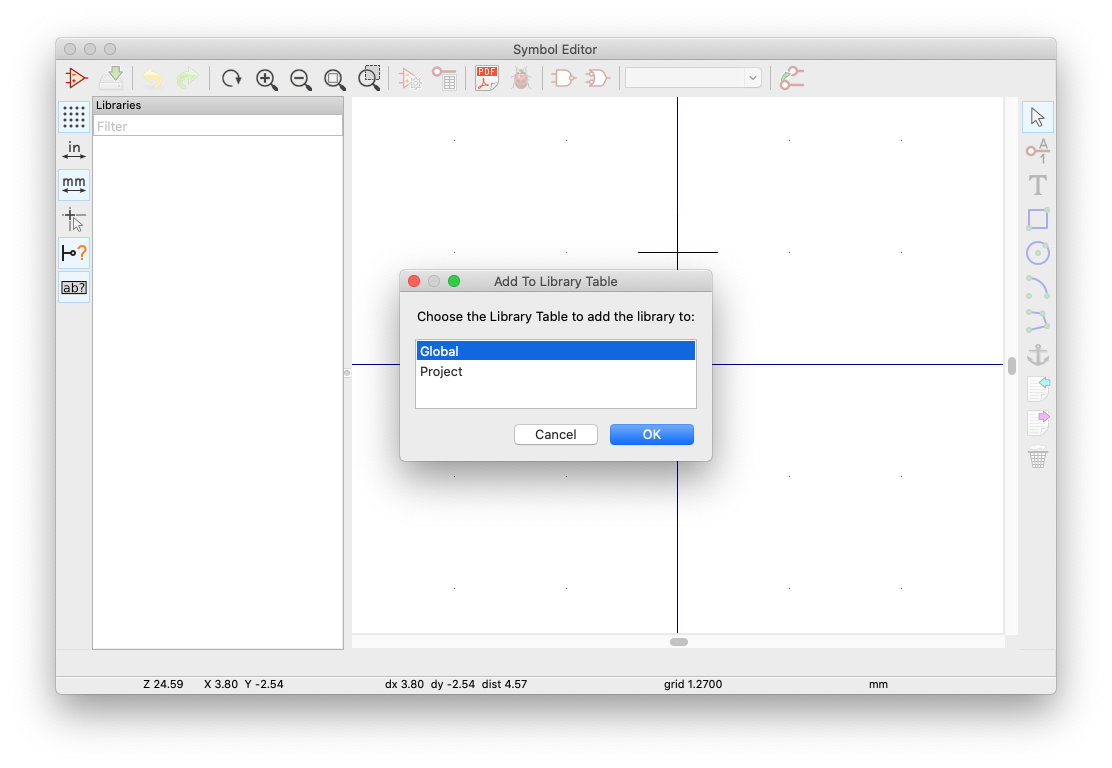 Now you will return to your previous screen and as you can see in the left pane we have created a new library.
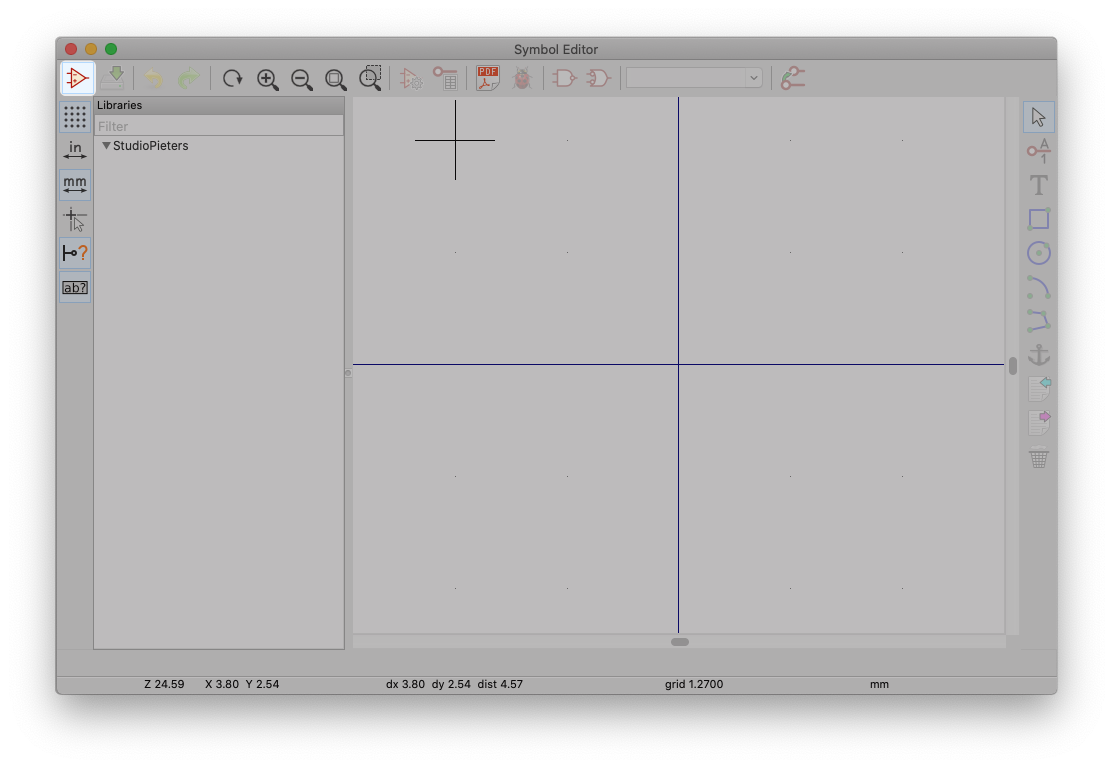
 Now we can add our new symbol to our newly created library by clicking the Logic Gates symbol in the left upper corner.
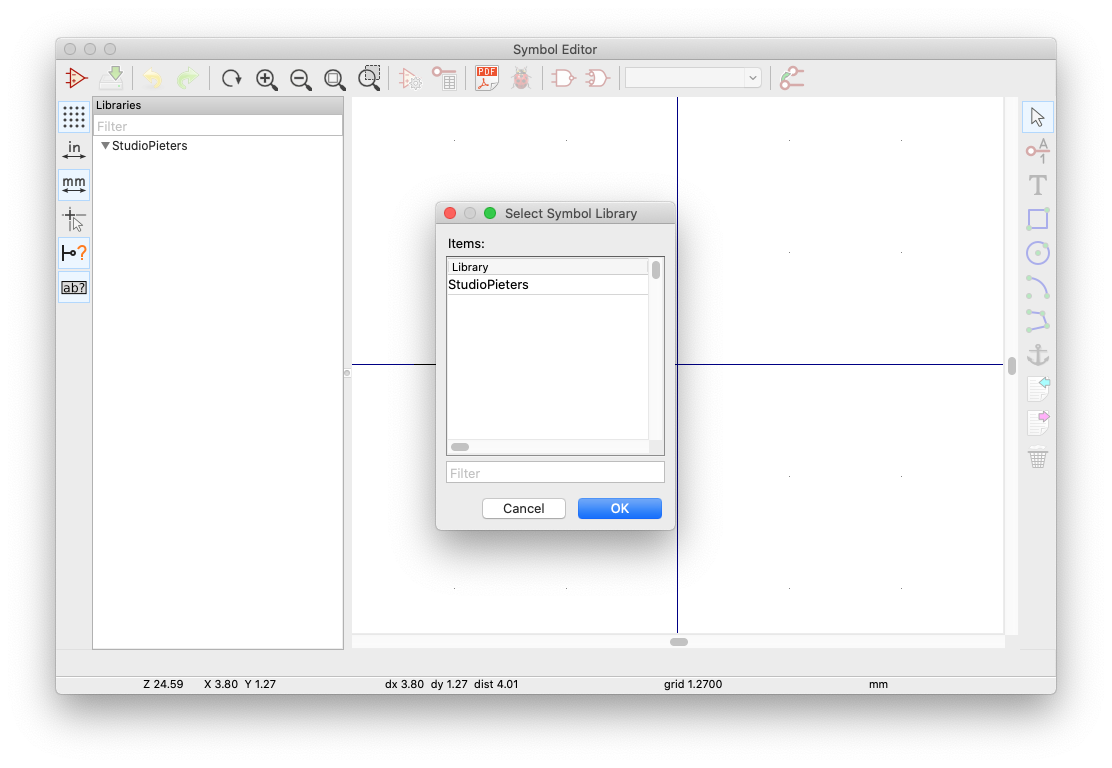
 Now you will be asked in which library you want to place you new symbol.
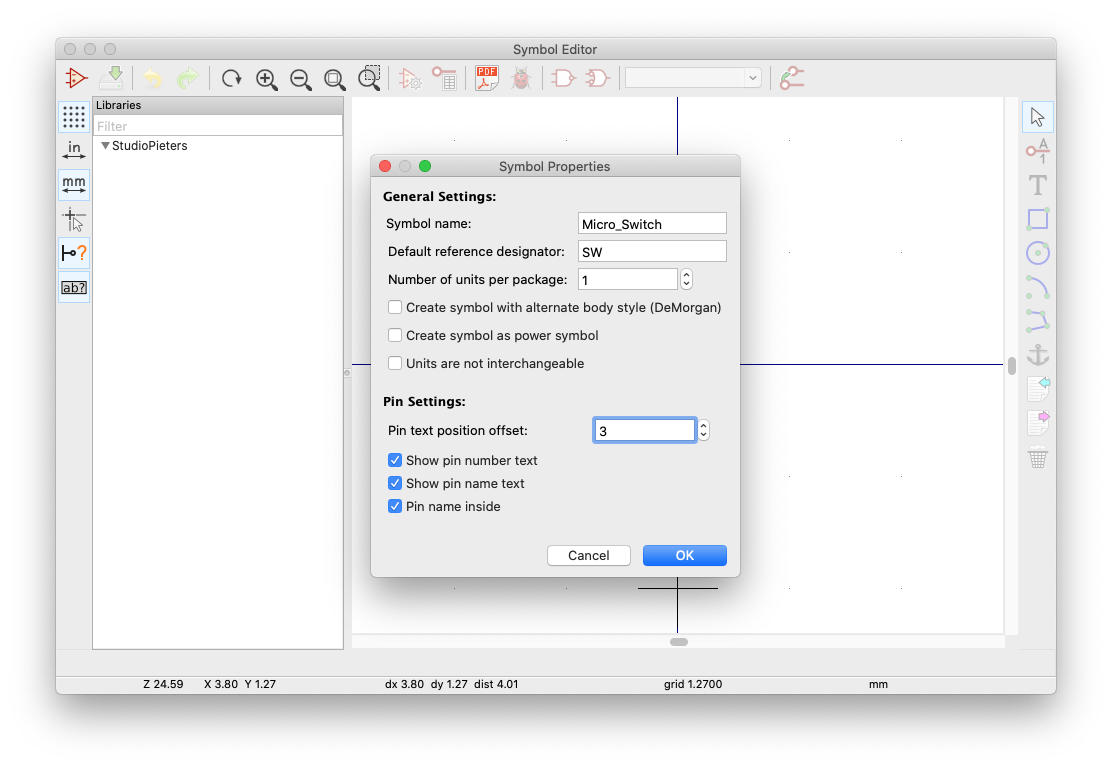
 A new screen appears here we have to enter some basic settings for our new symbol:
- Symbol name: (eg Micro_Switch)
- Default reference designator: (eg SW)
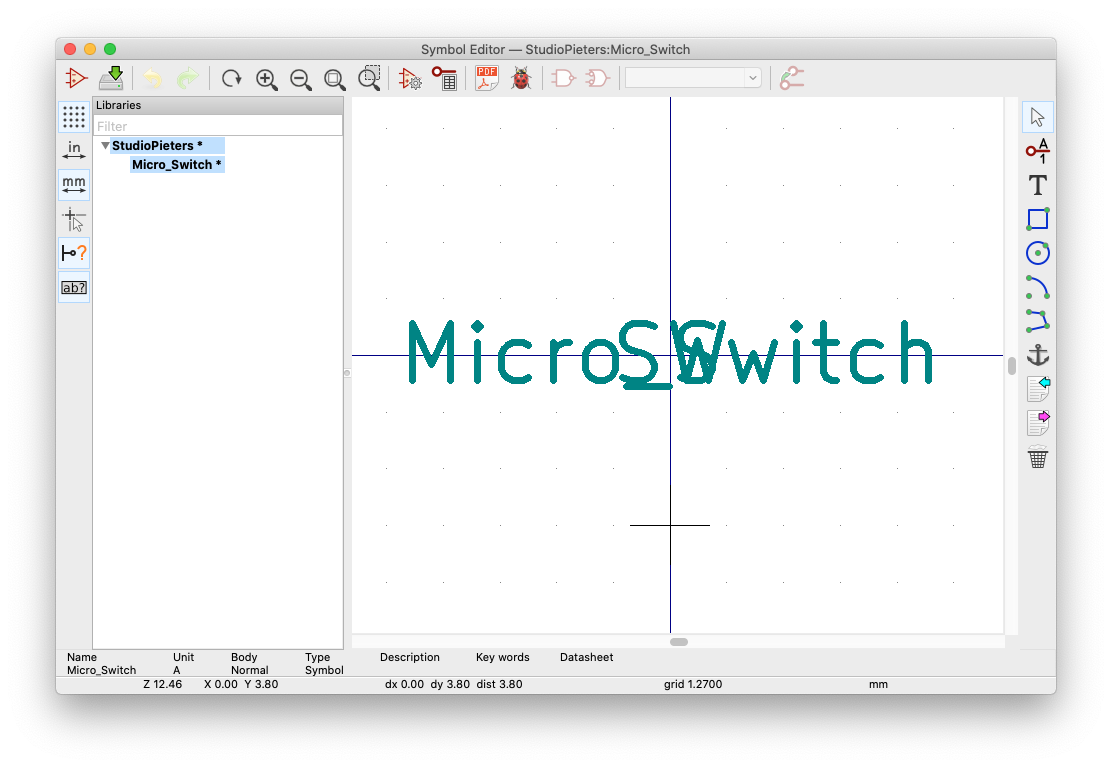
 Now we have created our base file. As you can see in the left pane a new symbol has appeared ‘Micro_Switch‘. and in the right pane we see the text we just entered. In this pane we are going to draw our new symbol.
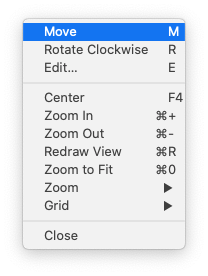
If you don’t know the symbol that goes with your component you can simply google it. In this case it very simple. Hold down the ‘CTRL‘ button and click on the text. A drop down menu appears and select ‘Move‘.
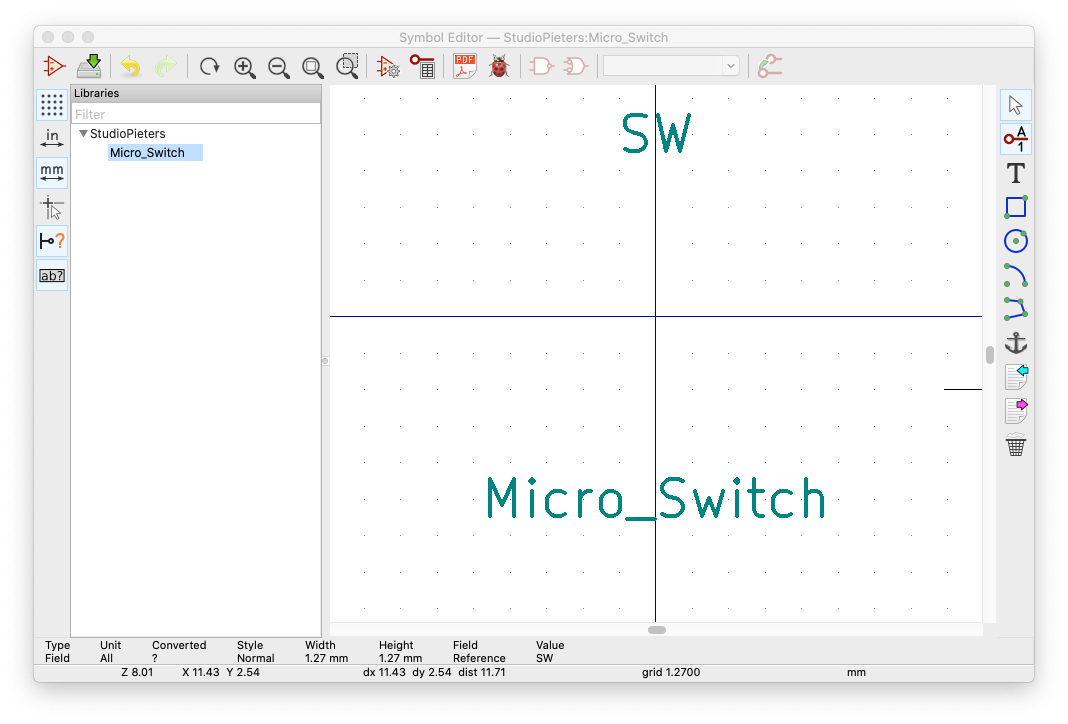
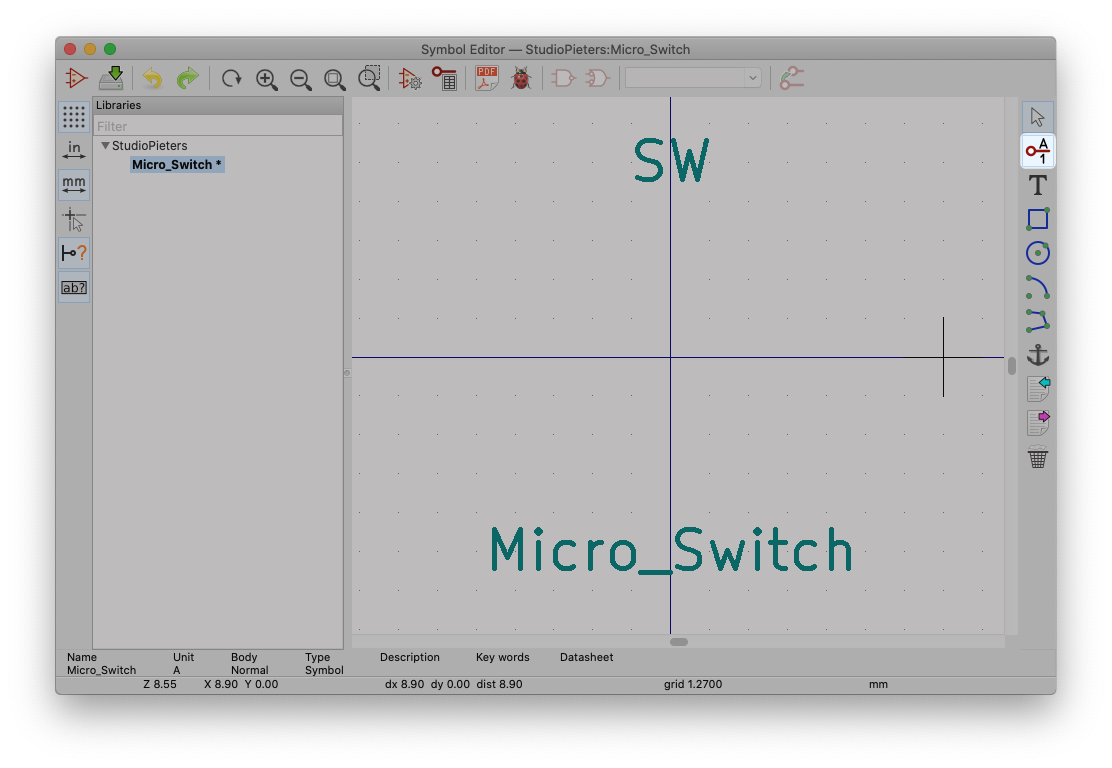
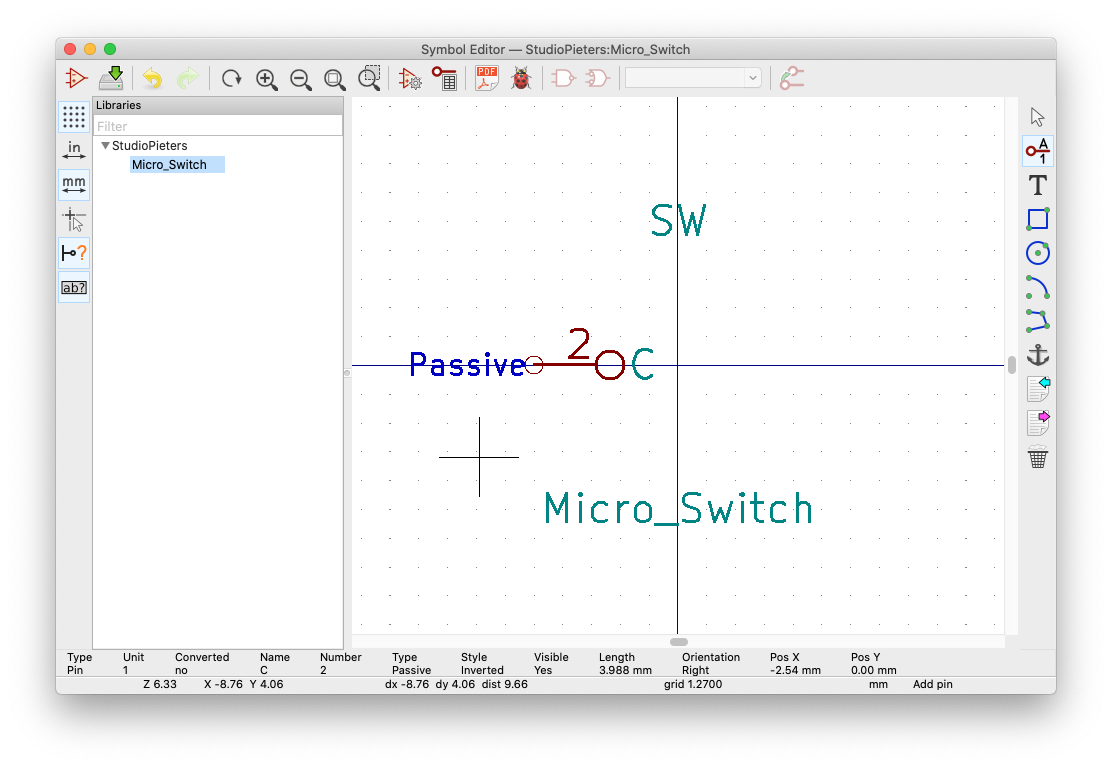
 Move the text ‘SW‘ and ‘Micro_Switch‘ To the top and bottom as shown below.
click on the ‘add pins to symbol‘ on the right side of the screen.
 A new window will appear. In this window we can adjust the settings we need to create our symbol. we start wit the first pin called ‘C‘. Click on the image to see the settings you need to create the symbol.
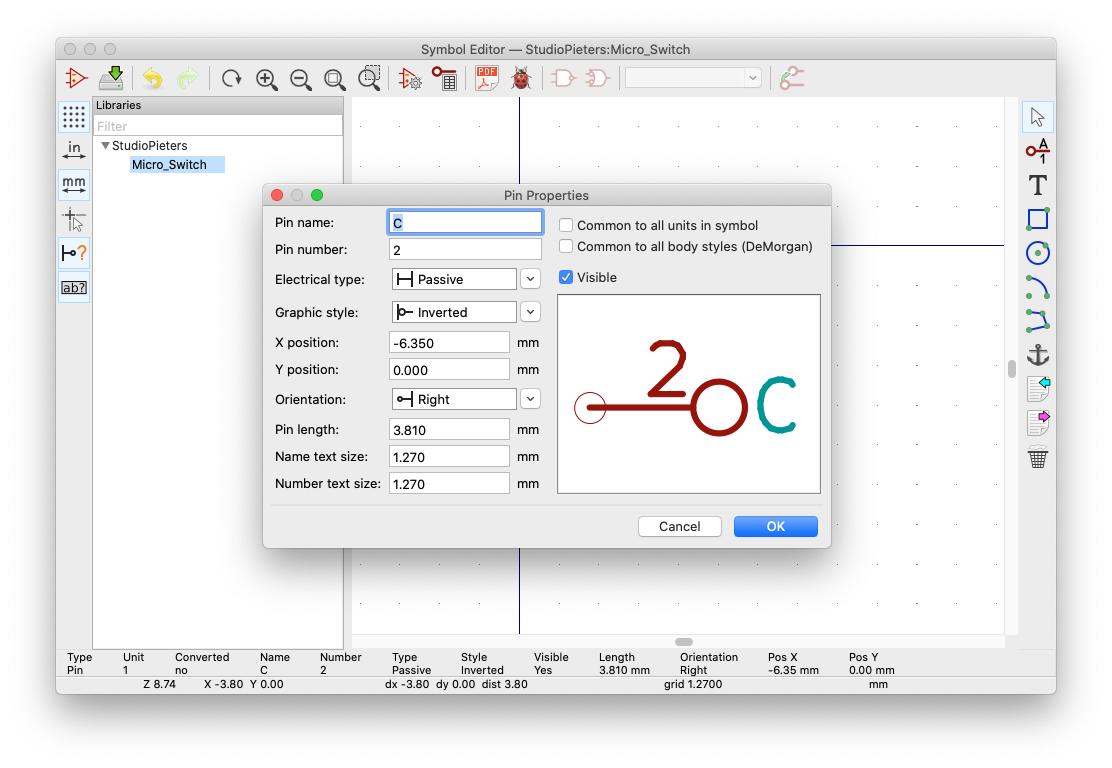
 Once you have the correct settings press ‘OK‘ and place it in the ‘Symbol Editor‘ window.
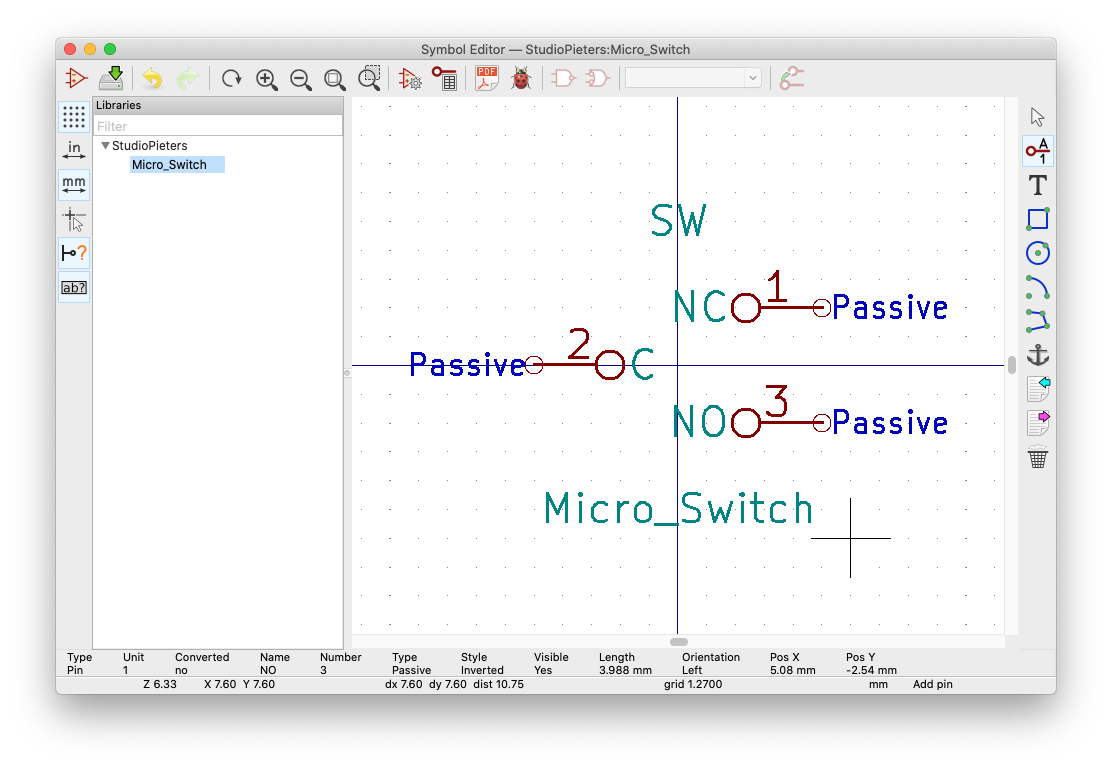
 We do the same for Pin ‘NC‘ and ‘NO‘ and place it in the ‘Symbol Editor‘ window.
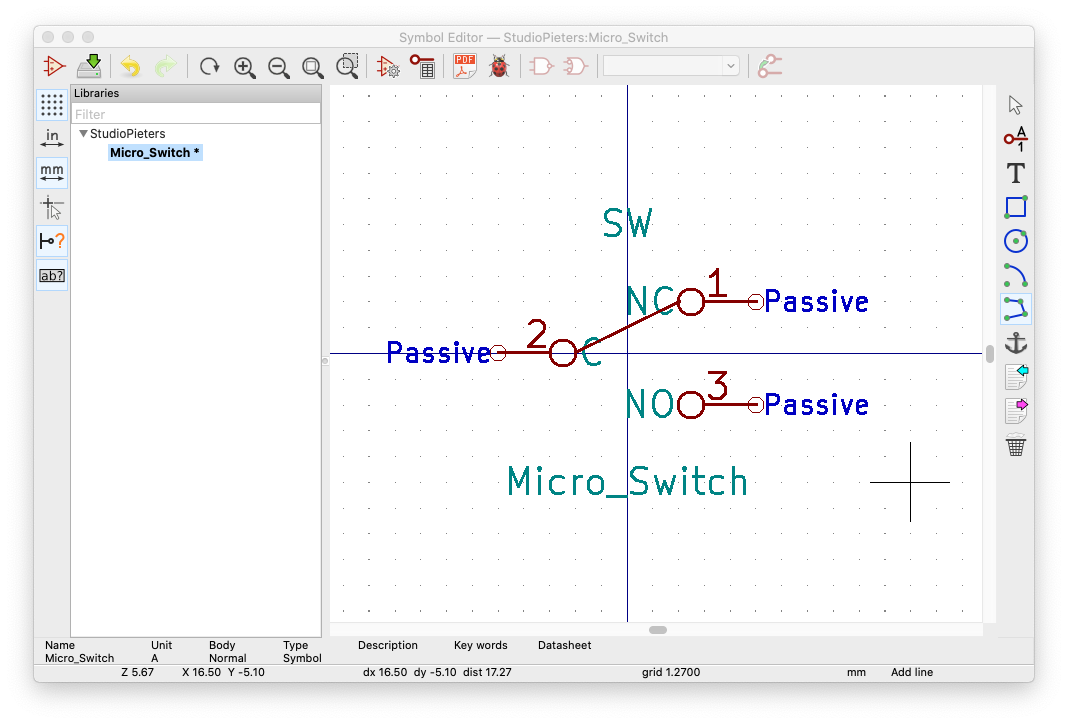
 Now we select the ‘Add lines and polygons to symbol body‘ button on the right of the screen as shown below.
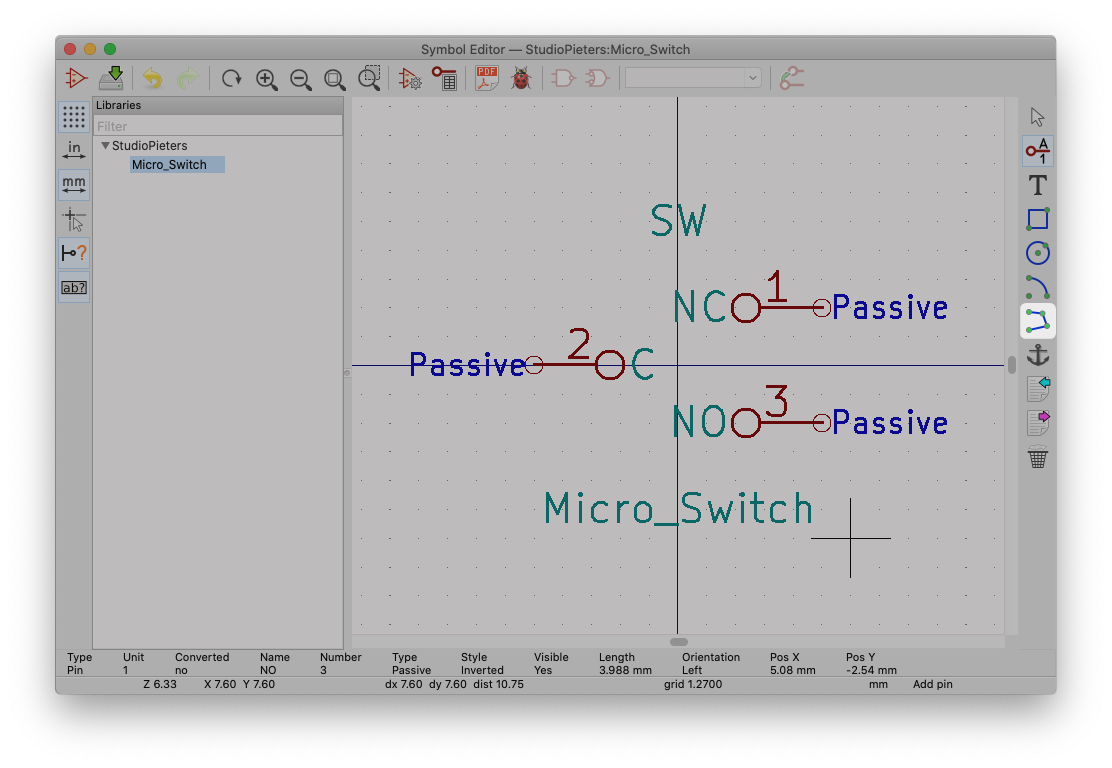 We draw a line from ‘C‘ to ‘NC‘ as this is the default state of the Micro Switch.
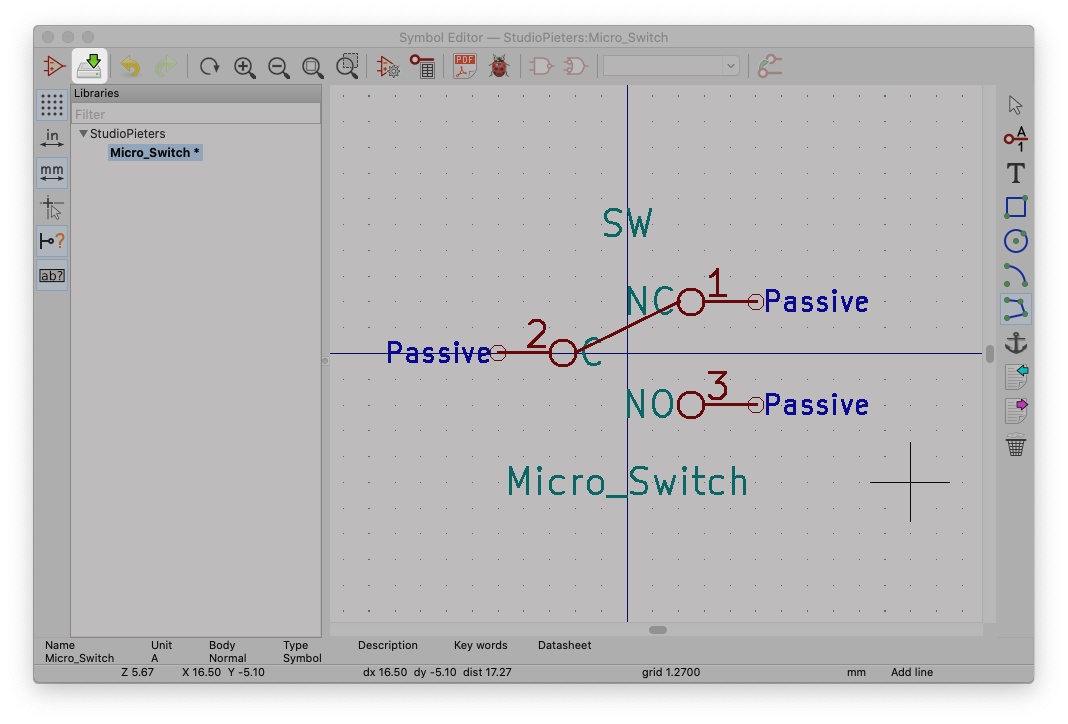
Now we have created our Symbol, now we only need to save it by pressing the save button in the top menu.
See you in the next blog where I will explain how to make the Footprint.

REFERENCE
KiCAD, KiCad EDA (2021),A Cross Platform and Open Source Electronics Design Automation Suite, https://kicad.org Autodesk Fusion 360, Download Fusion 360 for free (2020), Fusion 360 for free with a 30-day trial. Access all capabilities and features with integrated CAD, CAM, CAE, and PCB software.,https://www.autodesk.com/products/fusion-360/free-trial