In my previous blog I made a ESP8266 – HomeKit Fountain light. Now it’s time to expand this with some Garden lights. A few years ago I bought two garden lamps from the Ikea in an impulse purchase. I have never used these garden lamps and were lying on the shelf as a “future project”. Now they are perfect for this project! In combination with my ESP8266 – HomeKit Fountain light project it completes my garden lightning plan.

Garden Light
To make my ESP8266 HomeKit – Garden Light I use the Soltunet Outdoor Wall Light By Ikea, unfortunately no longer available. It can serve as a soft Light the front of the house, or in your garden. The product dimensions are Length: 30 cm, Width: 8 cm and Depth: 22 cm Its also Approved for use, IP44. witch makes it ideal for this project.

When we want to open the Garden Light You have to unscrew only two screws on at the top and on at the bottom. The you can take the whole lamp apart. It consist of a wall mounting plate with the actual lamp holder a plastic white lid that also keeps everything watertight.

Modifications
First I’m going to investigate how to place everything on the wall mount plate. After a thorough inspection I have a idea how to place everything. And I need to disassemble everything on the wall mount plate first, to make some modifications.


First I’m going to modify the lamp holder as the power cable it came with isn’t long enough. and I’m going to replace it with a longer one.

I also prepped my Neopixel strip. I cut of 12 Neopixels LED’s and soldered a cable on it. On the other side of the cable I connects some JST connectors to connect the Neopixel strip to the PCB later on.

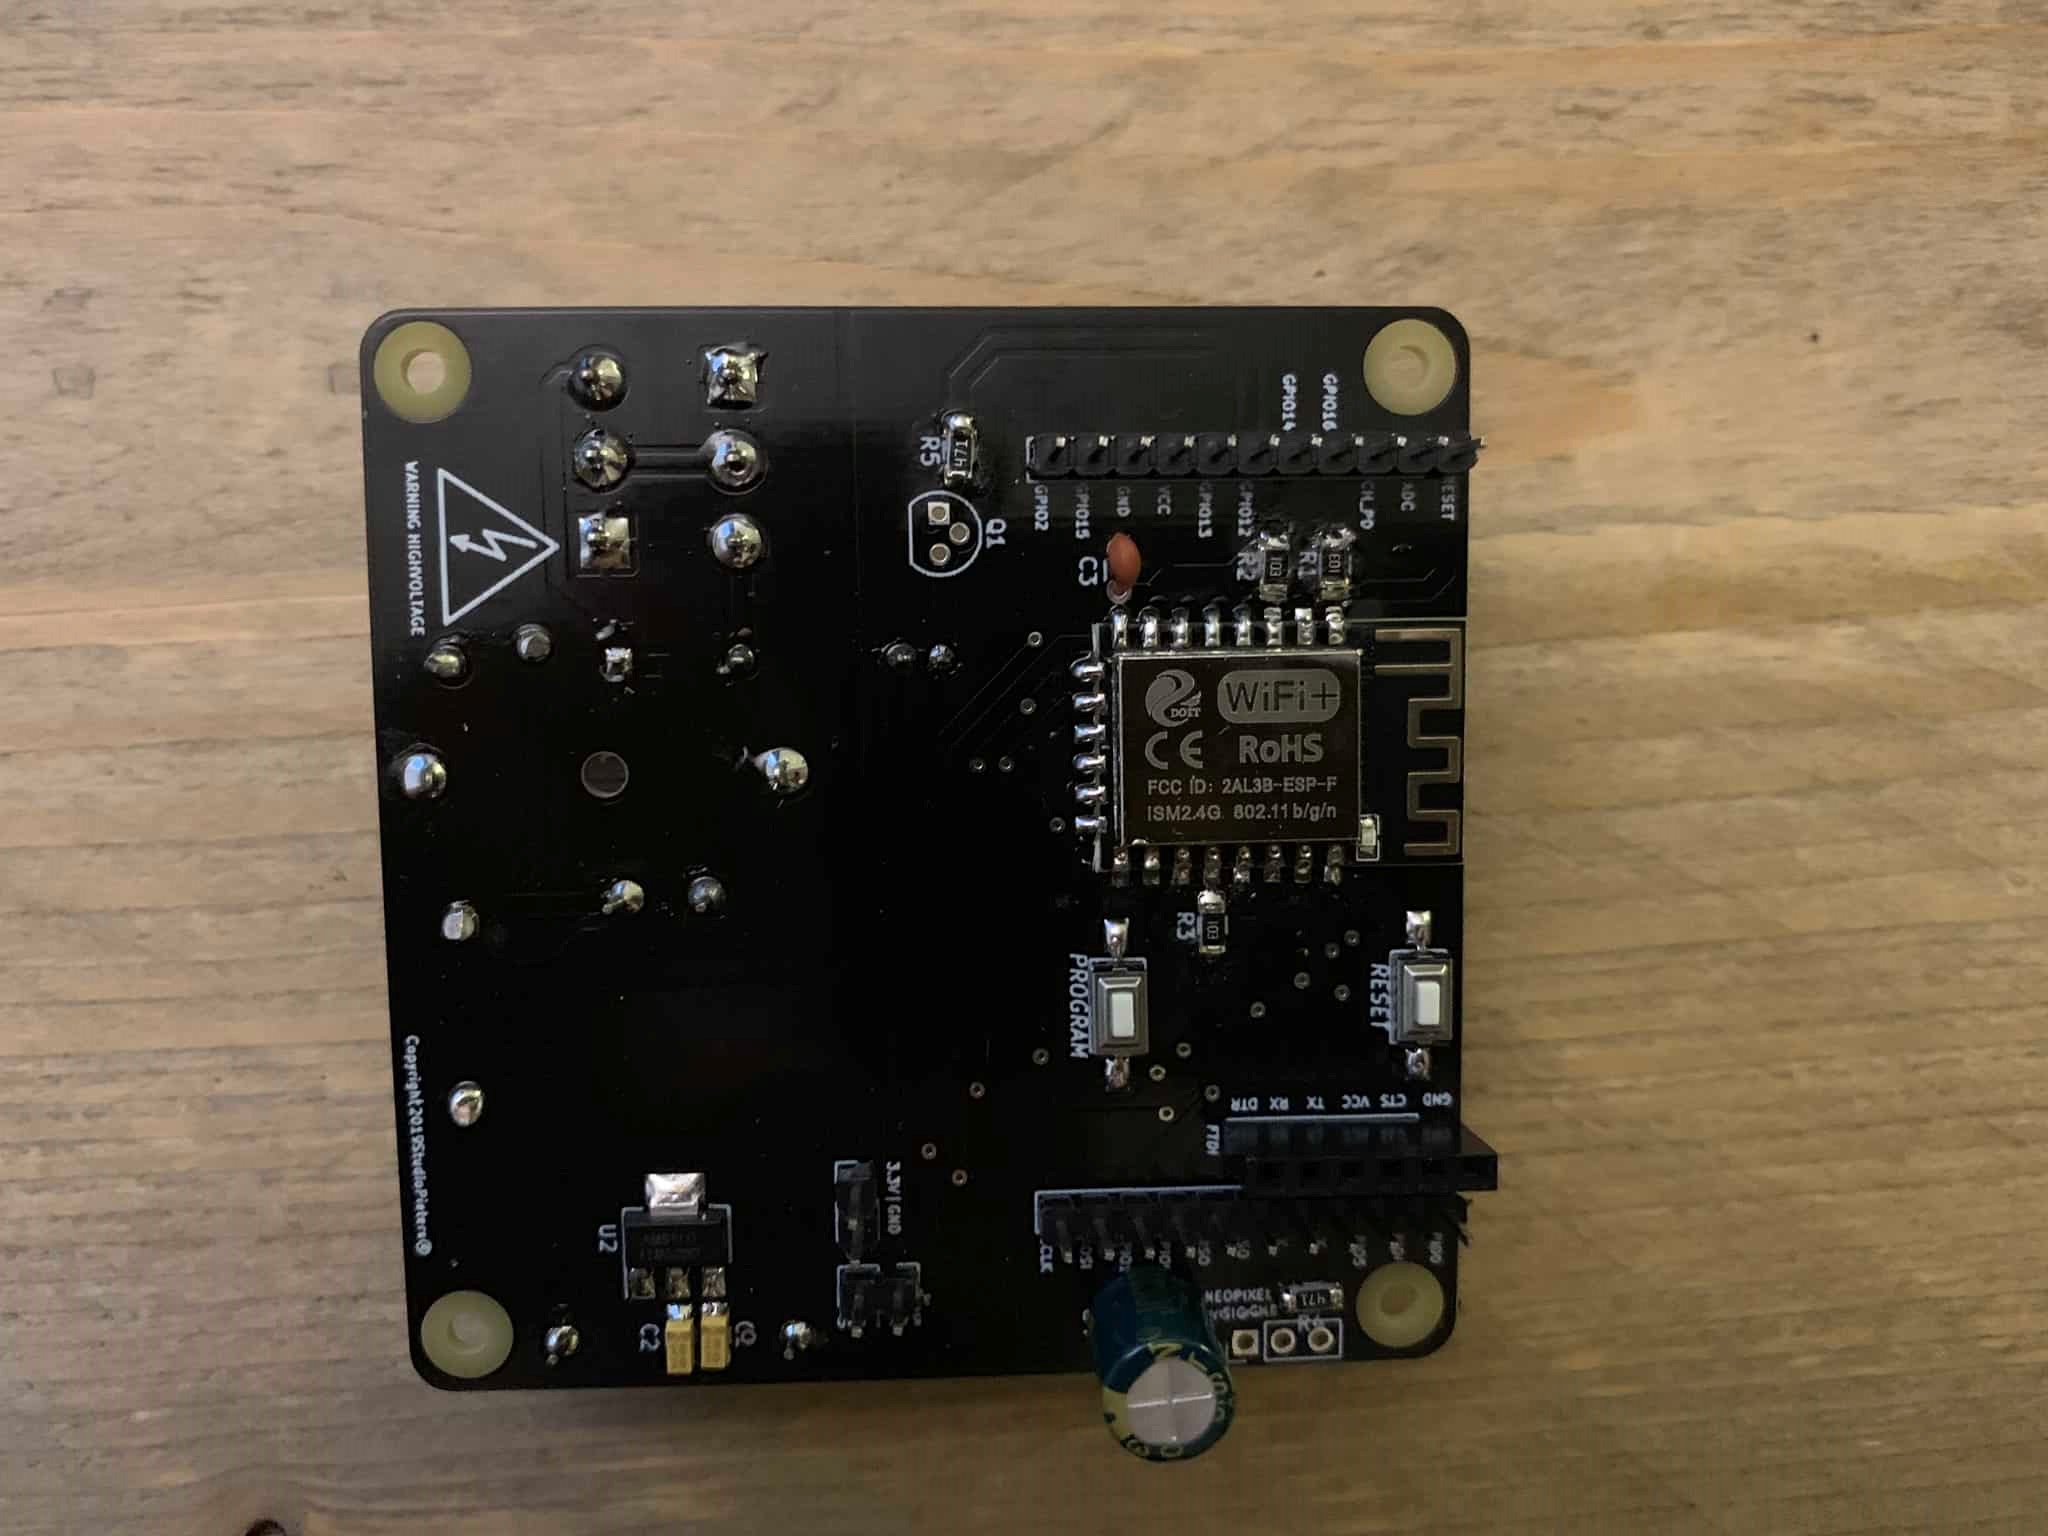
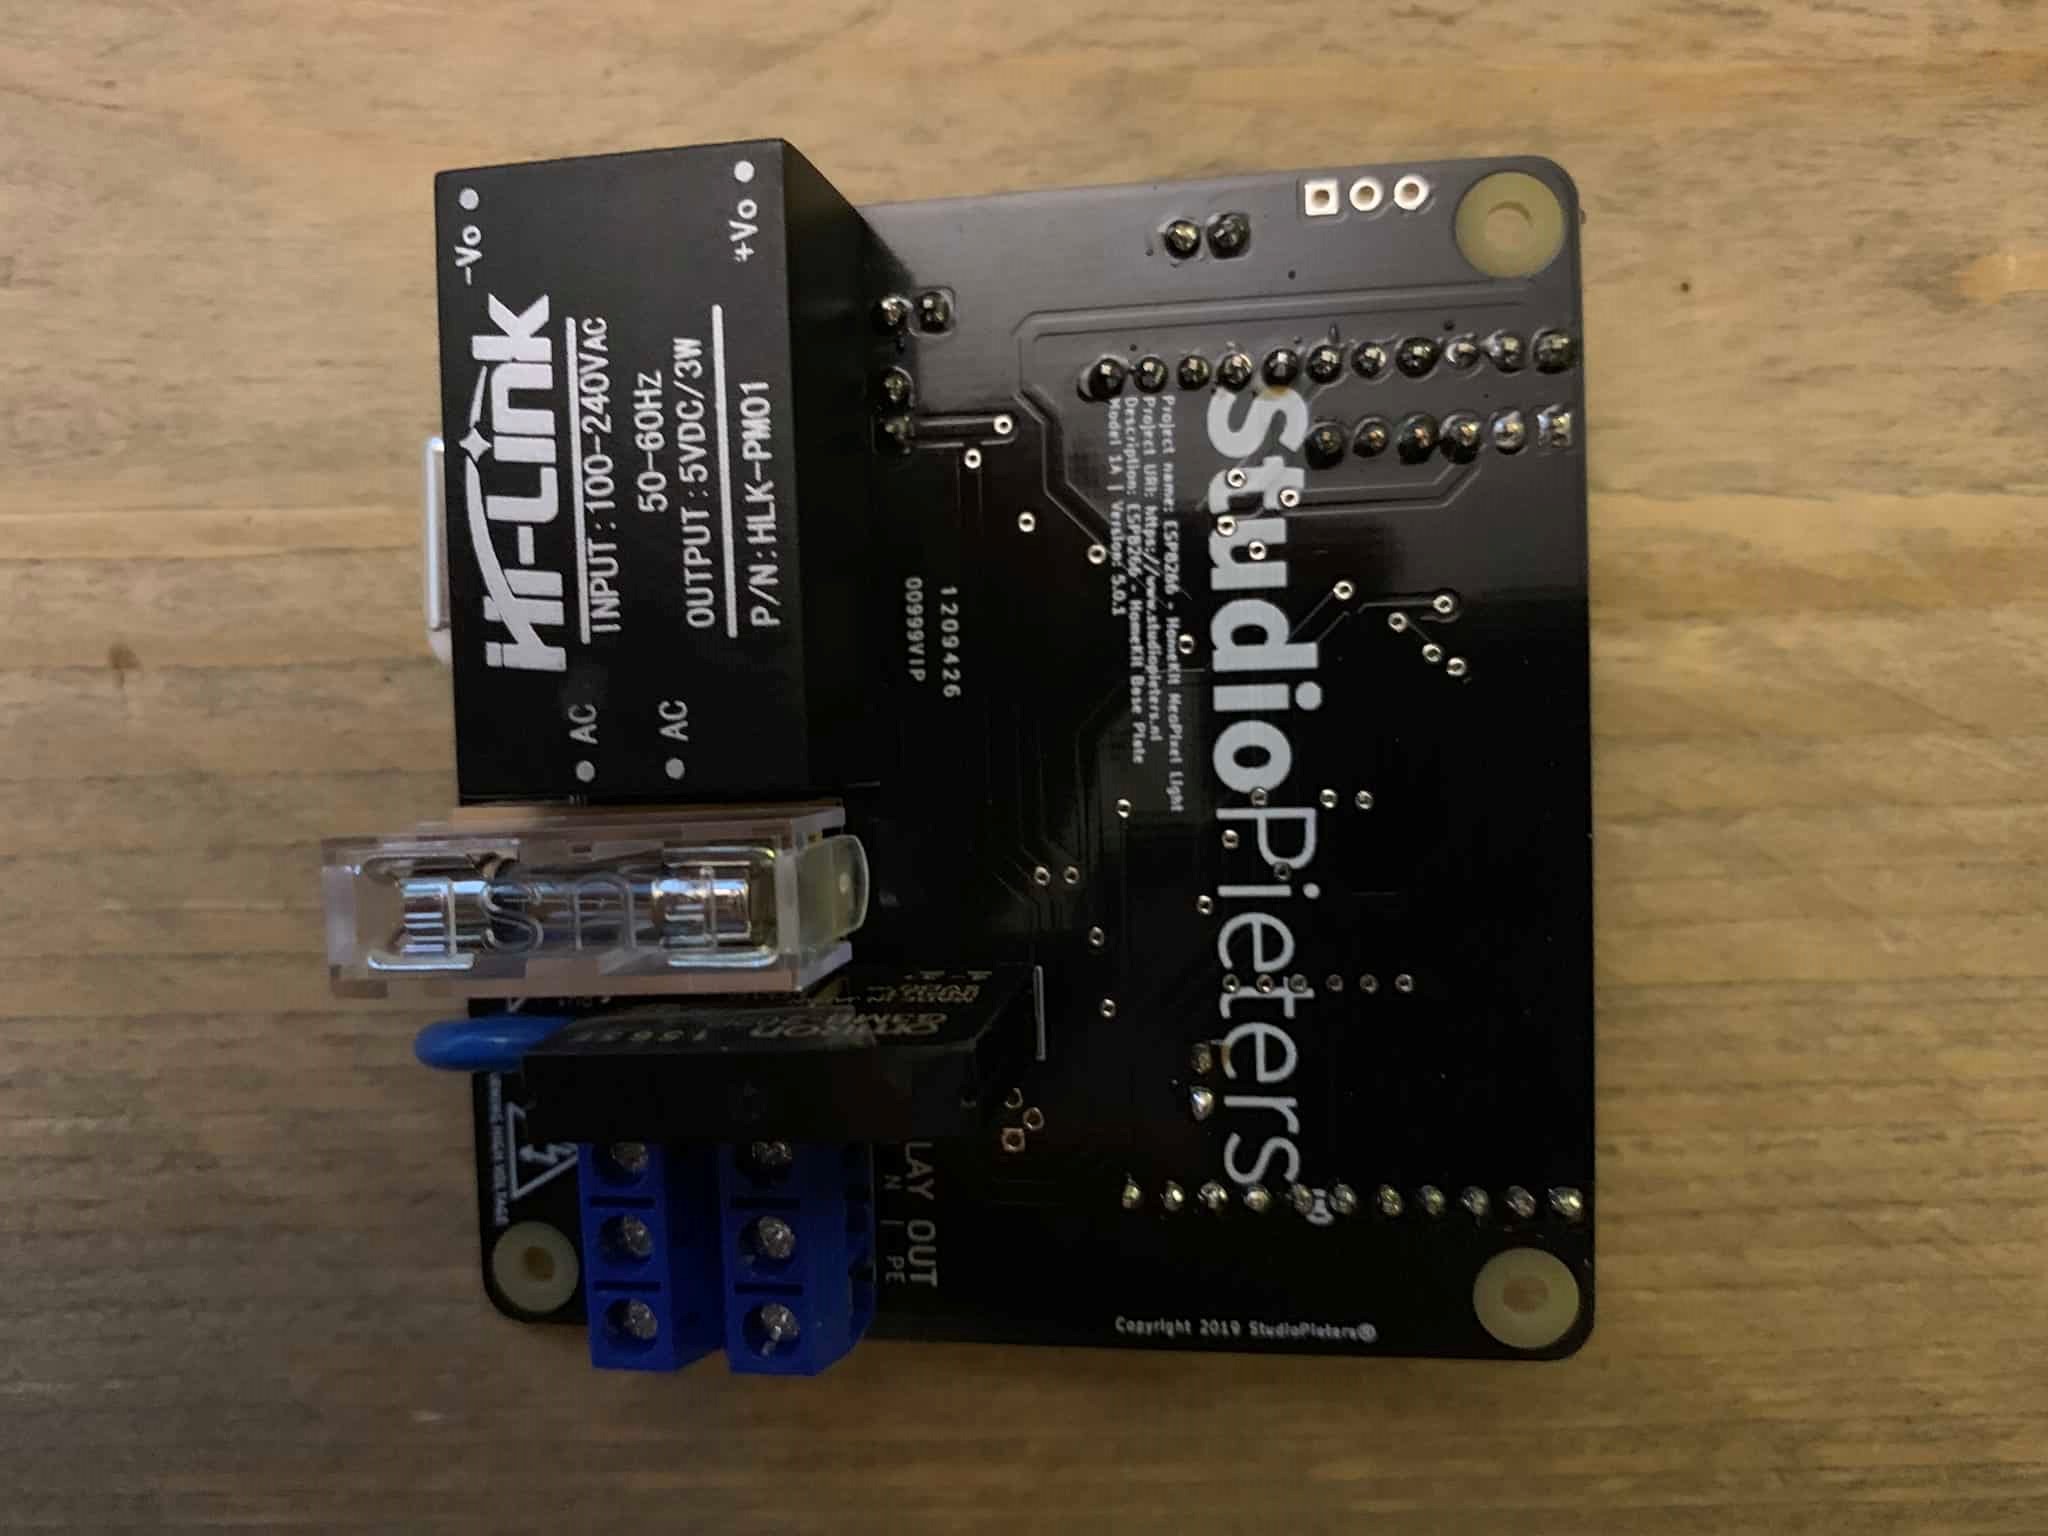
Then I Solderd my PCB, for those who have read my previous blog here ESP8266 – HomeKit Fountain light. will recognize them.
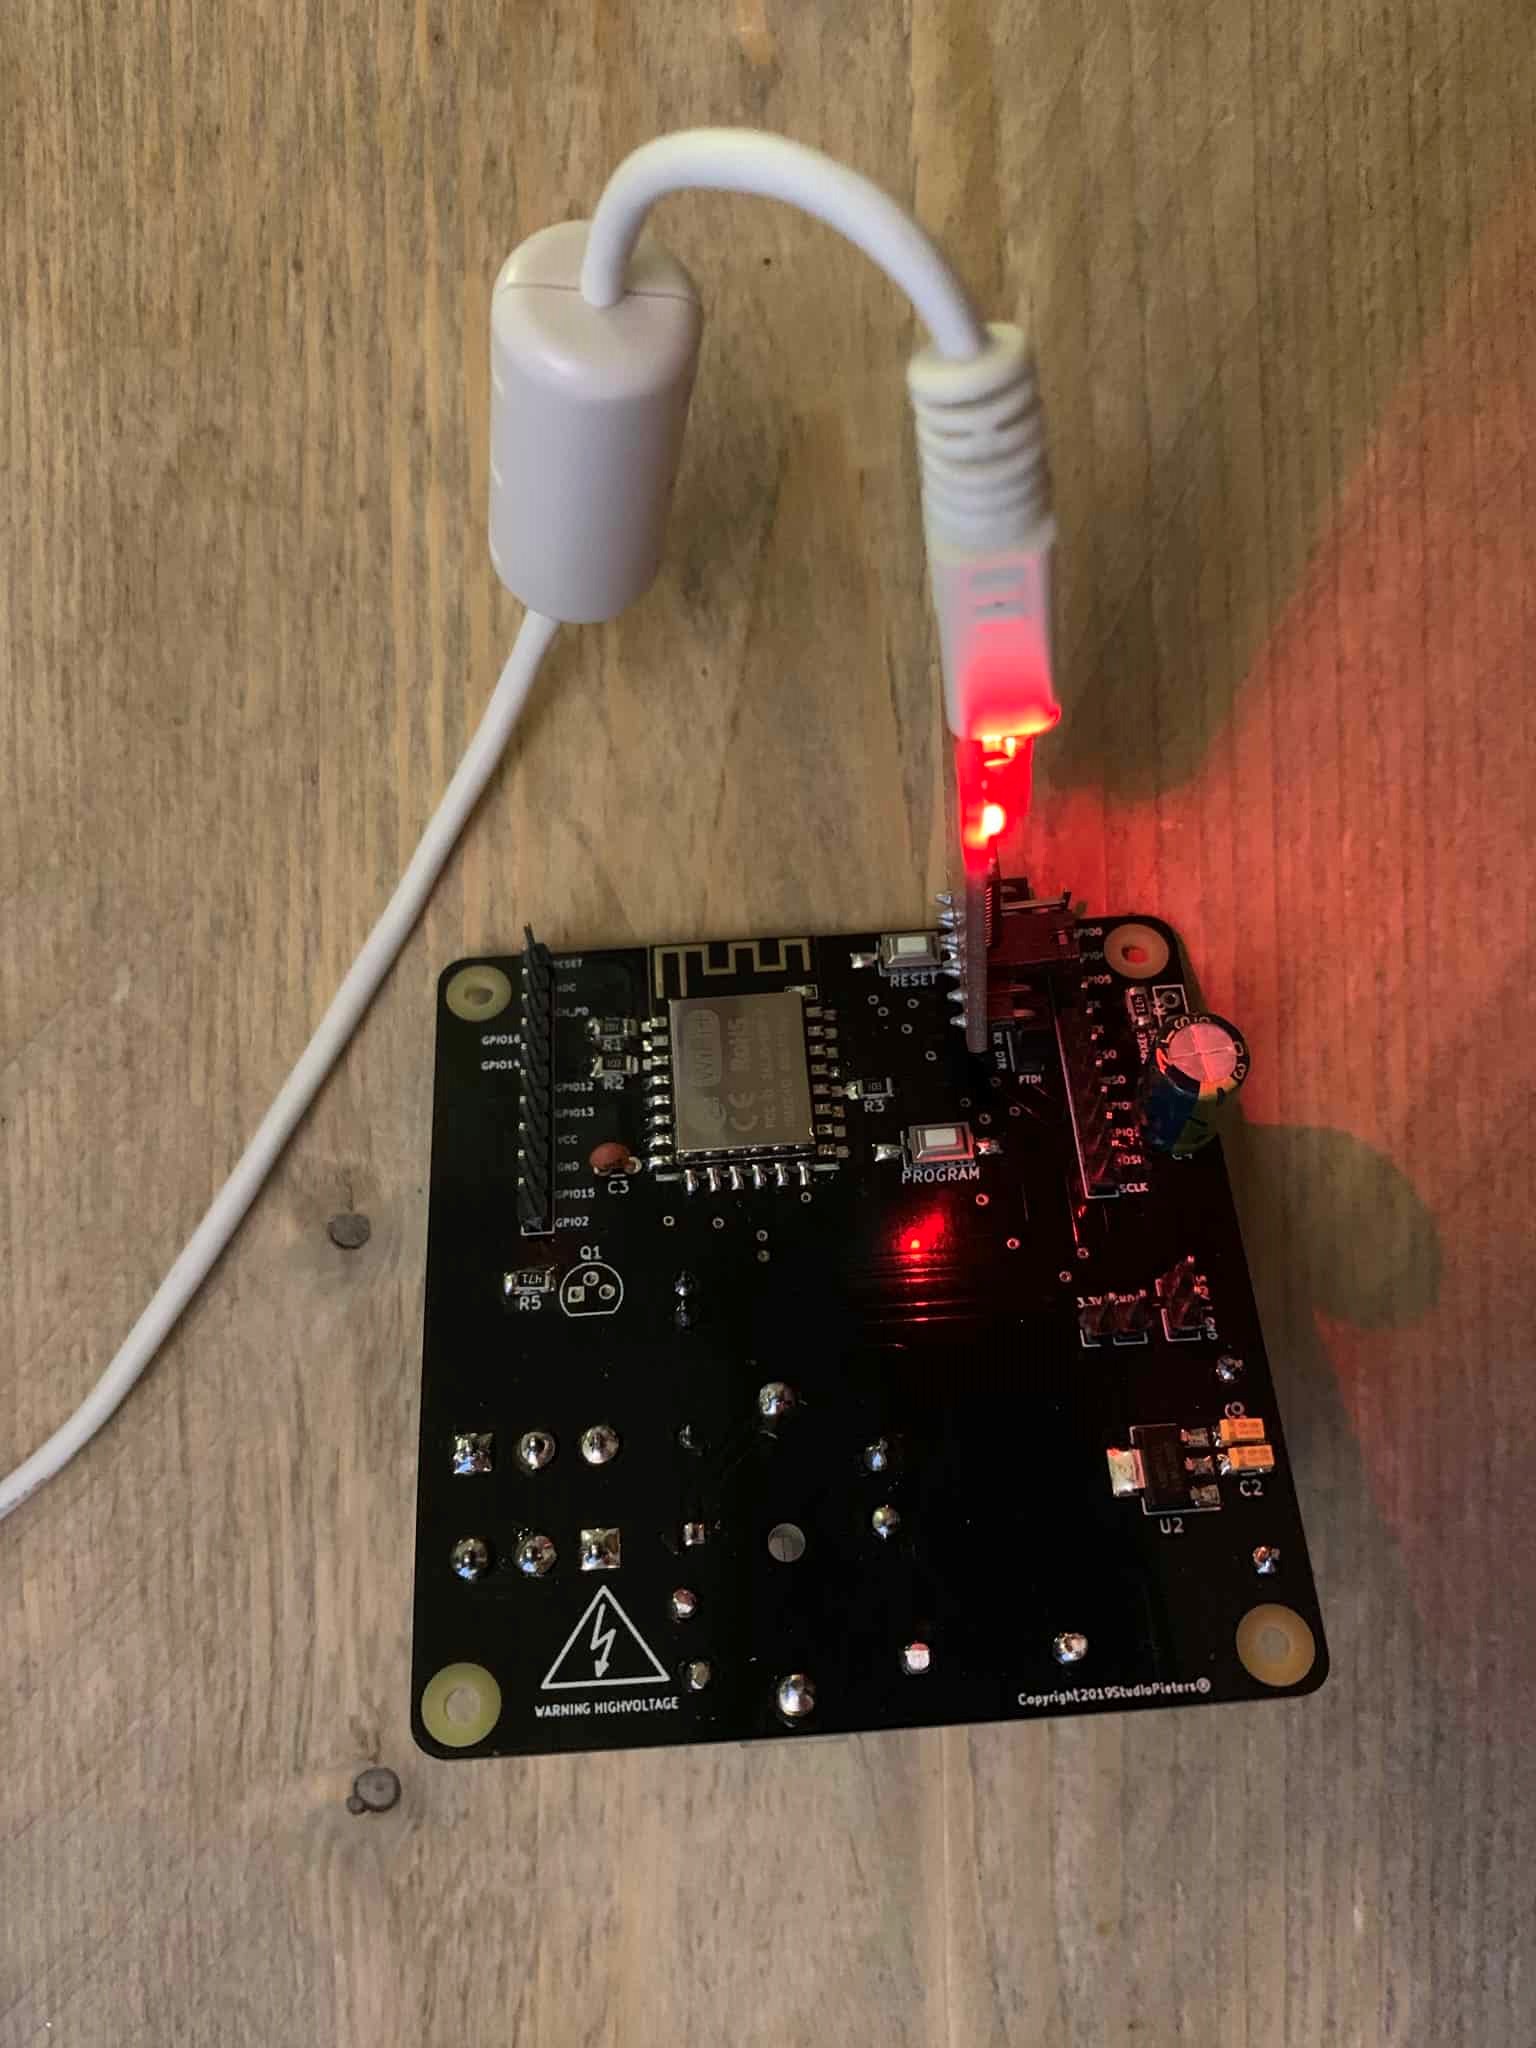
After soldering two new PCB’s it is time to check if the work before I progress with my work.
ESP OS preparation
To run our ESP HomeKit device we need to install LCM And Open RTos.
Life-Cycle-Manager (LCM)
Initial install, WiFi settings and over the air firmware upgrades for any ESP-open-RTos repository on GitHub.
ESP-open-RTos
A community developed open source FreeRTOS-based framework for ESP8266 WiFi-enabled microcontrollers. Intended for use in both commercial and open source projects.Originally based on, but substantially different from, the Espressif IOT RTOS SDK.
Bin Files
At first you need to download three bin files otaboot.bin, rboot.bin and blank_config.bin. The OTAboot.bin contains the Lifce-Cycle-Manager part. The rboot.bin contains the bootloader for the ESP8266. The blank_config.bin in just a blank config file. Now connect your device to your FTDI adapter in flash-mode.


File name: rboot.bin
Version: 1.4.2
File name: blank_config.bin
Version: 1.4.2
File name: OTABoot.bin
Version: 2.0.2
Putting Device Into Flash Mode
To enable ESP8266 firmware flashing GPIO0 pin must be pulled low before the device is reset. Conversely, for a normal boot, GPIO0 must be pulled high or floating. Start in FLASH MODE – Press both buttons, release the RESET button and then release the PROGRAM button.

Go to the directory you made where you put the previously downloaded Root.bin, Blank_config.bin and Otaboot.bin files (e.g Downloads)
Open the Terminal app. Click the Finder icon in your dock. Click Go. Click Utilities. Double-click Terminal. Change to the downloads directory.
cd downloads
Use esptool.py to flash it in your device. First, erase flash:
esptool.py erase_flash
Normally, your ESPPort will be something like /dev/cu.usbserial-A50285BI. Then, set your device in flash-mode again, and flash the new firmware:
esptool.py -p /dev/cu.usbserial-A50285BI --baud 115200 write_flash -fs 1MB -fm dout -ff 40m 0x0 rboot.bin 0x1000 blank_config.bin 0x2000 otaboot.bin
Note: If you use an old version of esptool, you must change -fs 1MB to -fs 8m.
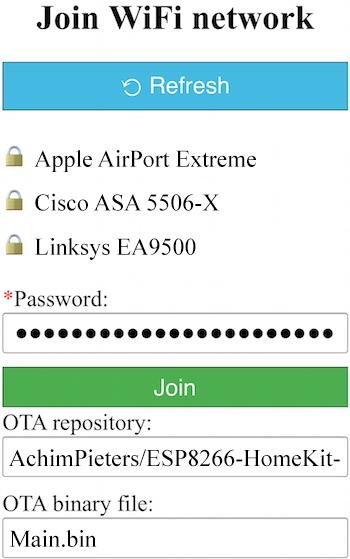
You must configure wifi network and OTA repository. To configure wifi settings, device generates its own Wifi in AP mode. You must connect to it in order to setup your wifi network. Simply take your iOS device, go to Setting -> Wi-Fi, and search a SSID with LCM- followed of last MAC address, connect to it, and wait a few seconds until a web appears showing you all wifi networks that the device has found. Select yours, and enter password. Don’t touch Join button yet!!

Software Installation
Now, you must configure OTA repository as well. It’s very important that you configure it right, because you can not change it in the future (If you make a mistake, you must erase and flash device again).
OTA repository:
AchimPieters/ESP8266-HomeKit-Garden-Light
OTA binary file:
main.bin
To finish initial setup, click Join button and wait about 7 minutes until process finish (While installation is working, device doesn’t show anything, and buttons don’t work). After that, LED turns on for a couple of seconds and you will be able to add your accessory to your HomeKit ecosystem using Home App. LCM will install your HomeKit device on your ESP.
No that I’m sure that everything is working like it should, I can proceed with my modification to the wall mount plate.

I made some spacers from some old PTFE / Teflon tube from my 3D printer and glued them with a hot glue gun to the back plate. now I only have to connect all wires and mount the PBC and the lamp holder with it’s lamp back to the back plate.

The Test
Now I can add your HomeKit Button by scanning the QR code below. To make the connection between your ESP and HomeKit takes a few seconds.


end result

DO YOU HAVE ANY QUESTIONS? LEAVE A COMMENT DOWN HERE.
Note: To produce and sell HomeKit compatible accessories, your company need to be certified for that (https://developer.apple.com/homekit/, If you’re interested in developing or manufacturing a HomeKit accessory that will be distributed or sold, your company must enroll in the MFi Program.) Espressif have their implementation of HomeKit framework, but it will give you it only if you have MFi certification (notice this text at the bottom of page you mentioned: Please note that the Espressif HomeKit SDK is available to MFi licensees only, and you need to provide the Account Number for verification purposes when requesting the SDK.).This project is a non-commercial implementation of HAP protocol, not meant for commercial use.
REFERENCE
Maxim Kulkin, esp-wifi-config (2019), Library to bootstrap WiFi-enabled accessories WiFi config, https://github.com/maximkulkin/esp-wifi-config Paul Sokolovsky, esp-open-sdk (2019), Free and open (as much as possible) integrated SDK for ESP8266/ESP8285 chips, https://github.com/pfalcon/esp-open-sdk Espressif Systems, esptool (2019), ESP8266 and ESP32 serial bootloader utility, https://github.com/espressif/esptool HomeACcessoryKid, life-cycle-manager (2019), Initial install, WiFi settings and over the air firmware upgrades for any esp-open-rtos repository on GitHub, https://github.com/HomeACcessoryKid/life-cycle-manager


