My wife has always wanted to have a water ornament in the garden. To her pleasure my father-in-law wanted to remove his and we were allowed to have it. After a thorough cleaning, the Fountain light turned out to work only partially. Half of the Fountain light LED’s no longer worked. Upon which my wife asked me if I could not replace them with NeoPixels and automatize it so it could work with HomeKit. So let’s do This!

Replacing the Fountain light LED’s
Before I could replace the existing Fountain light LED’s I had to see if I could remove them from their holder. The LED’s were cast in a type of resin. By carefully prying it loose from the holder, the ring came loose.

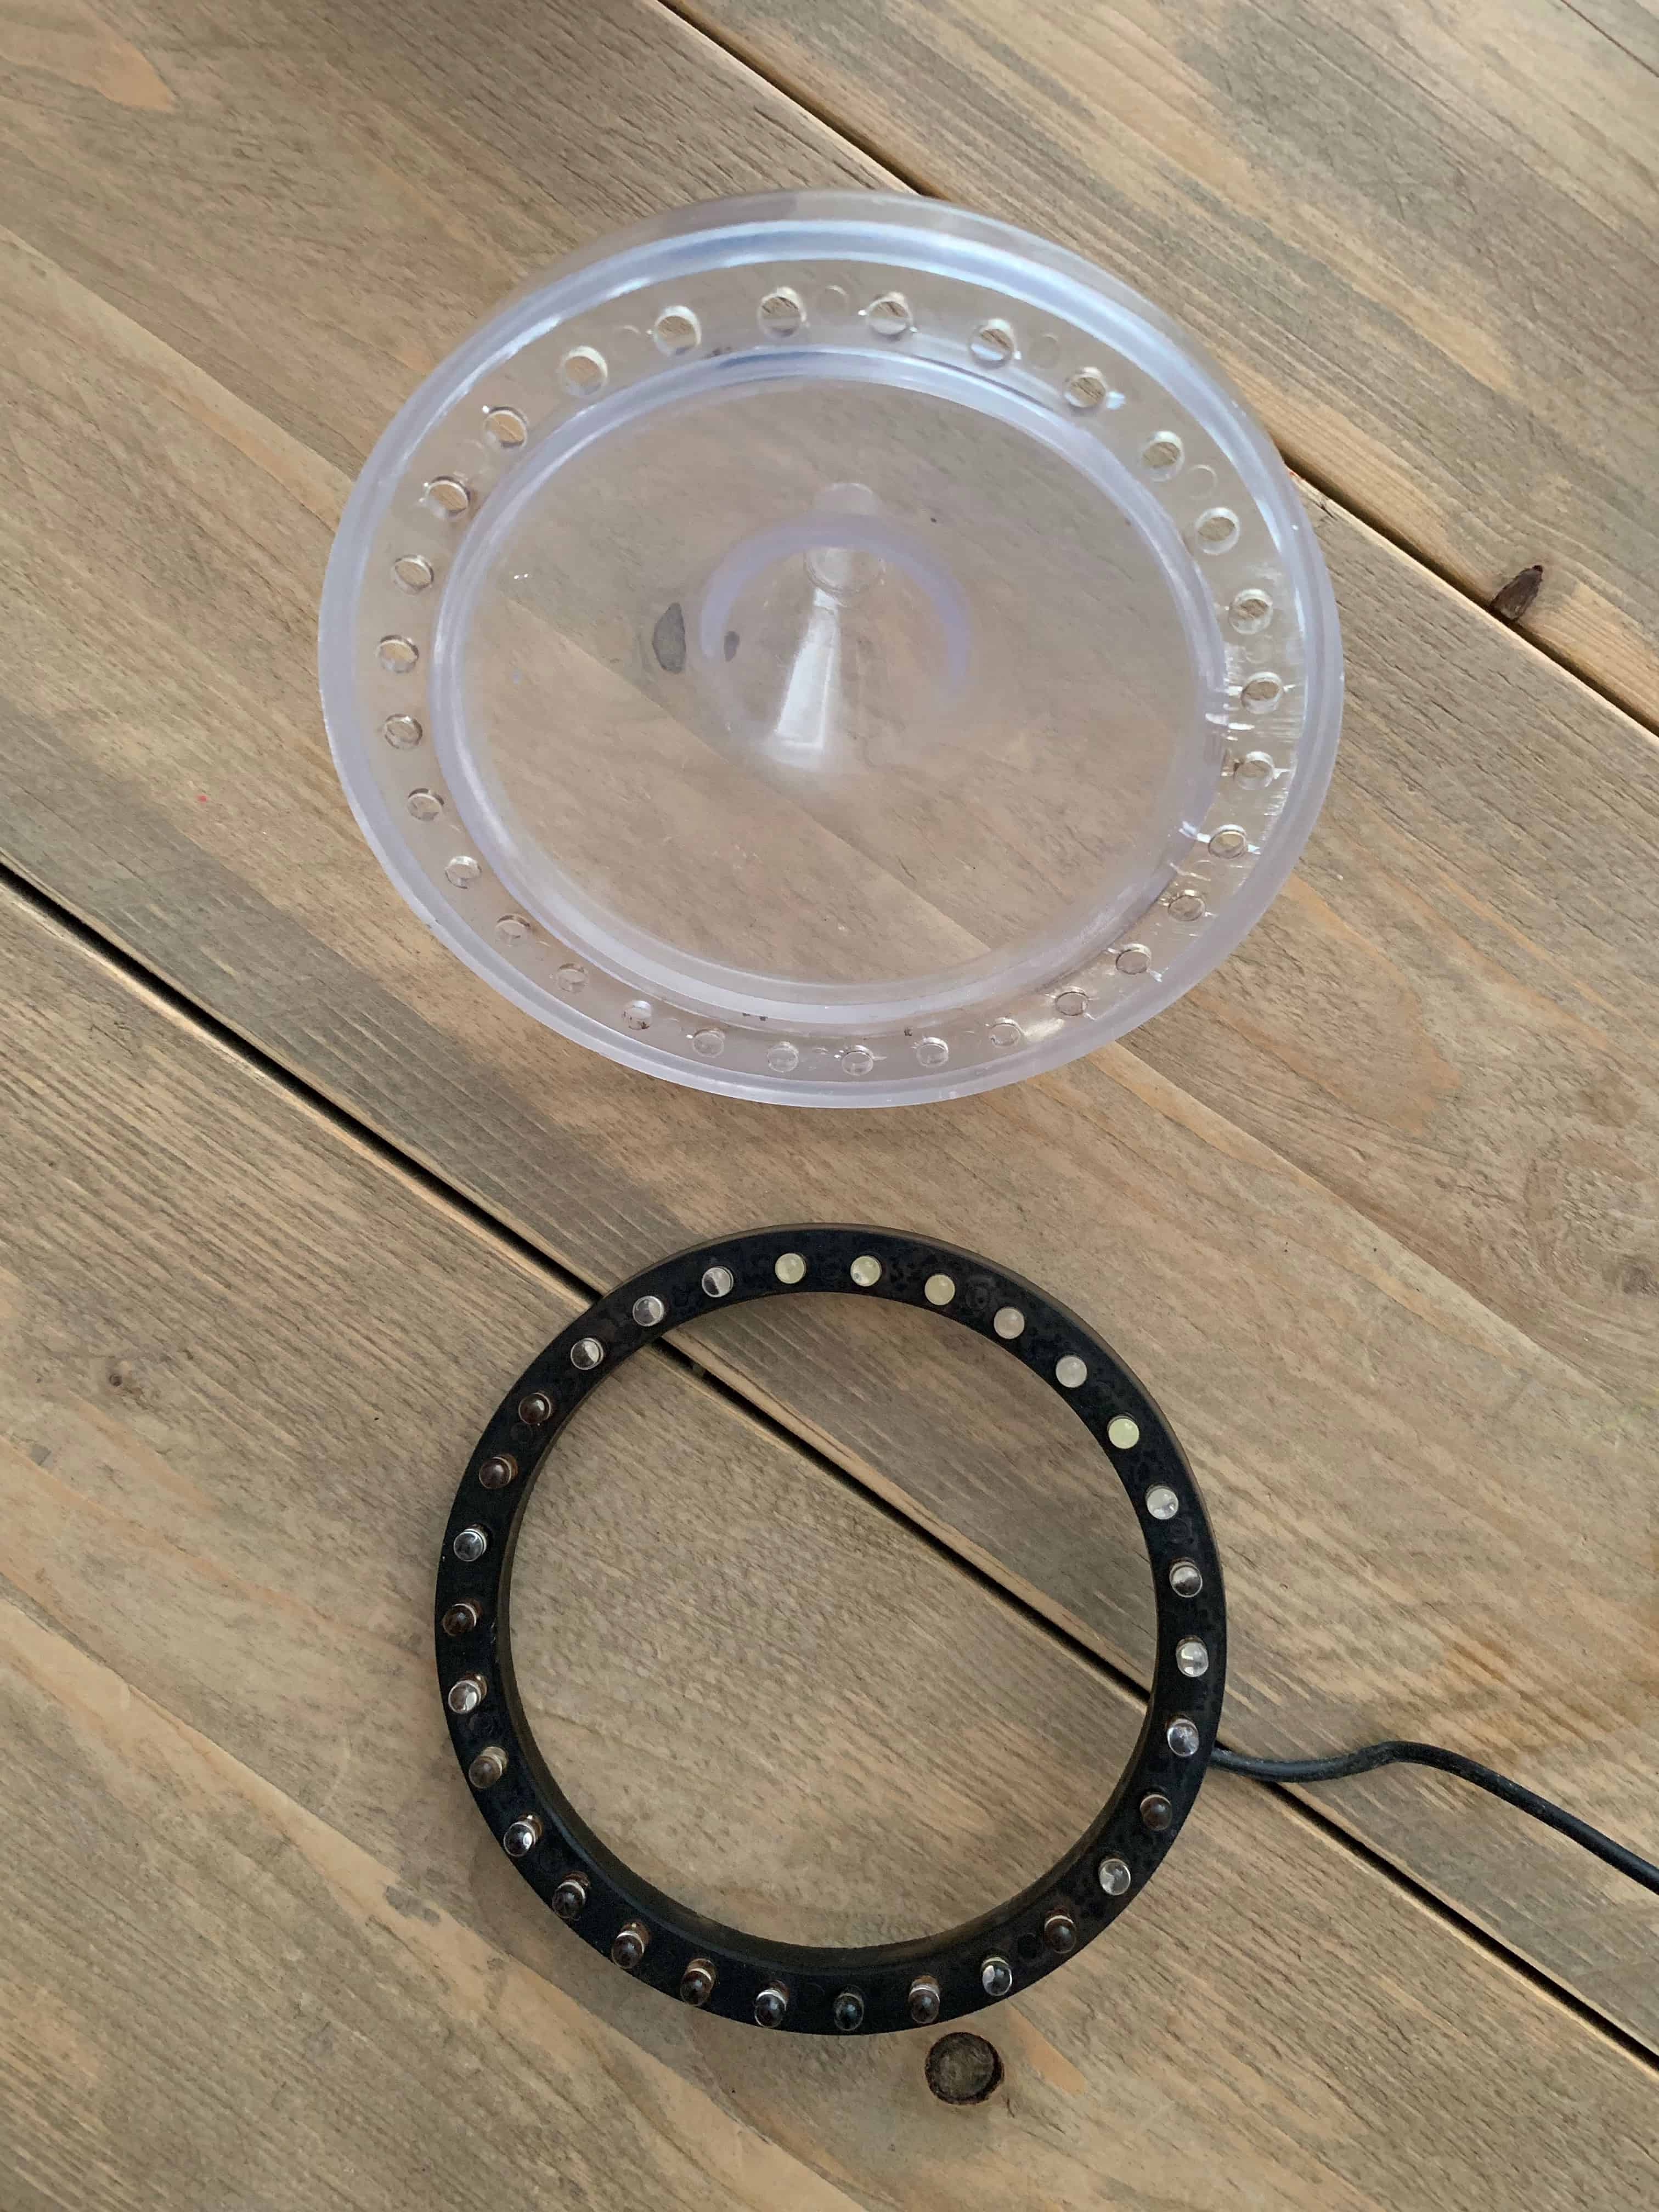
Neopixel Ring – dimensions
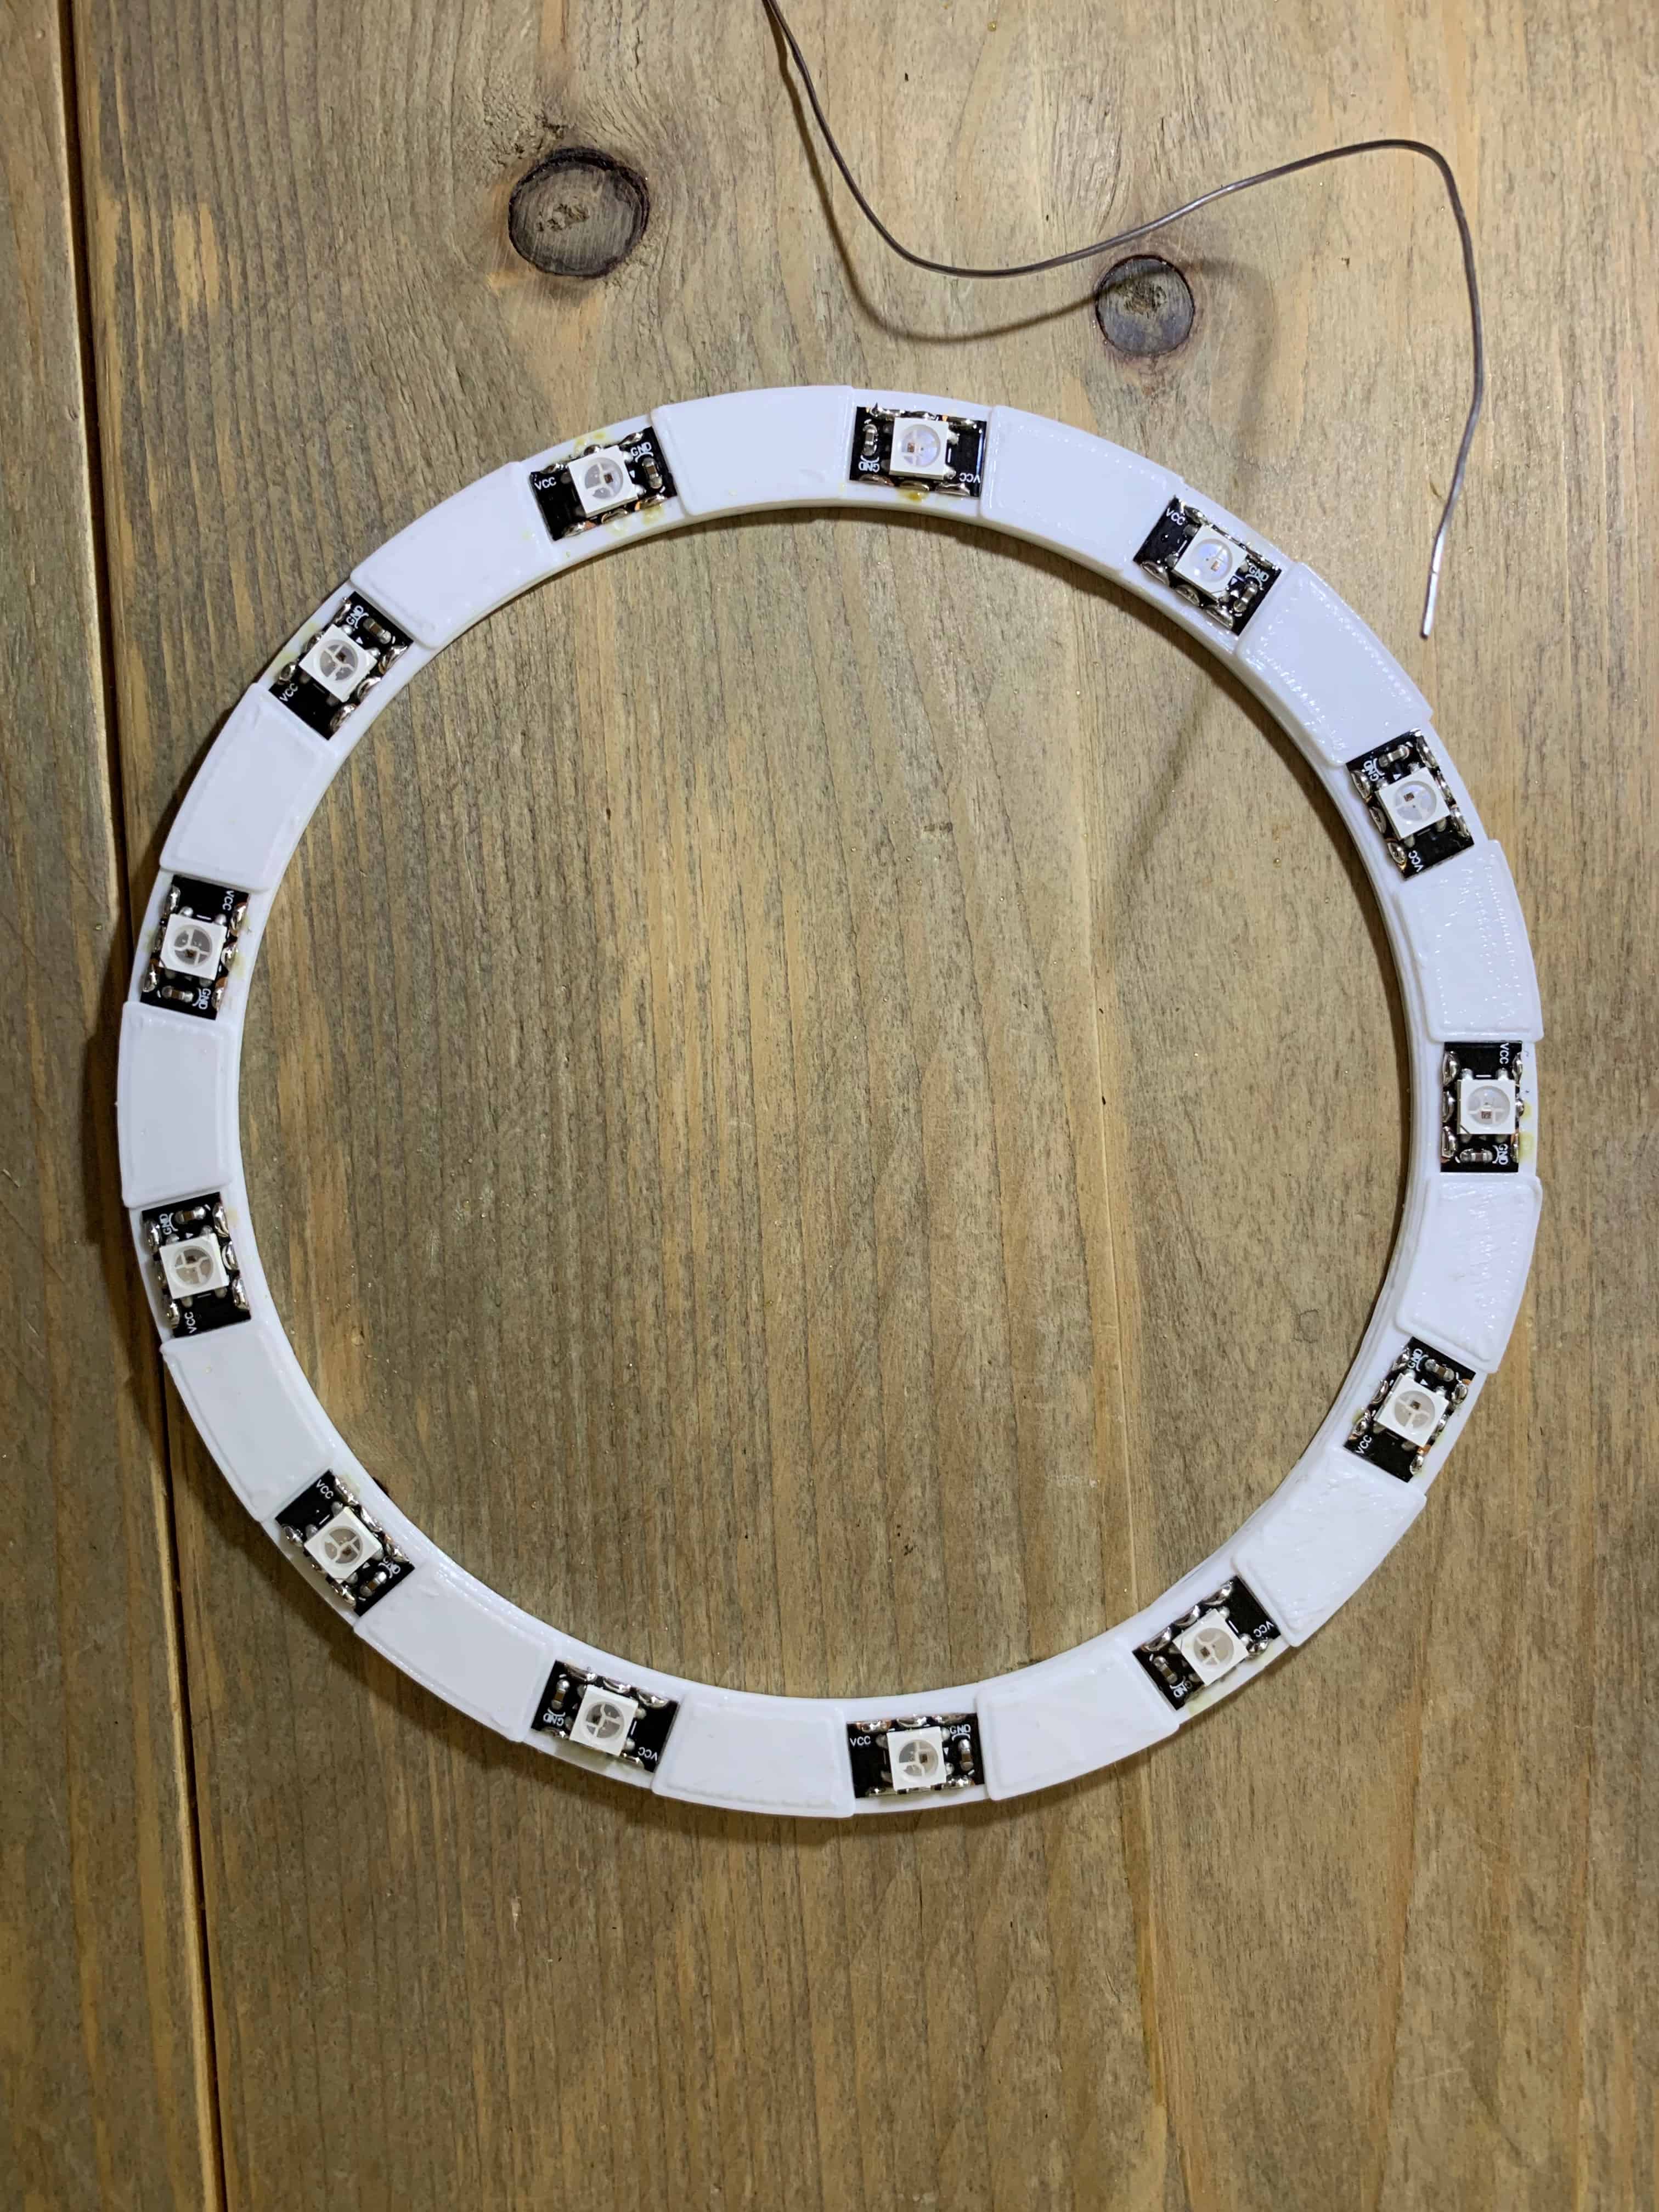
So at first I need the dimensions from the existing Fountain light LED Ring. Then I need to draw the new ring in AutoCad Fusion 360. Fusion 360 is a 3D CAD, CAM, and CAE tool that connects your entire product development process in a single cloud-based platform that works on both Mac and PC. You can download it here. After this rather simple design I printed it on my 3D printer. For the Neopixel rings I used a Neopixel strip, I cut-off the neopixels that I needed for my ring. Here after I glued them on, as they have a adhesive back.

Soldering
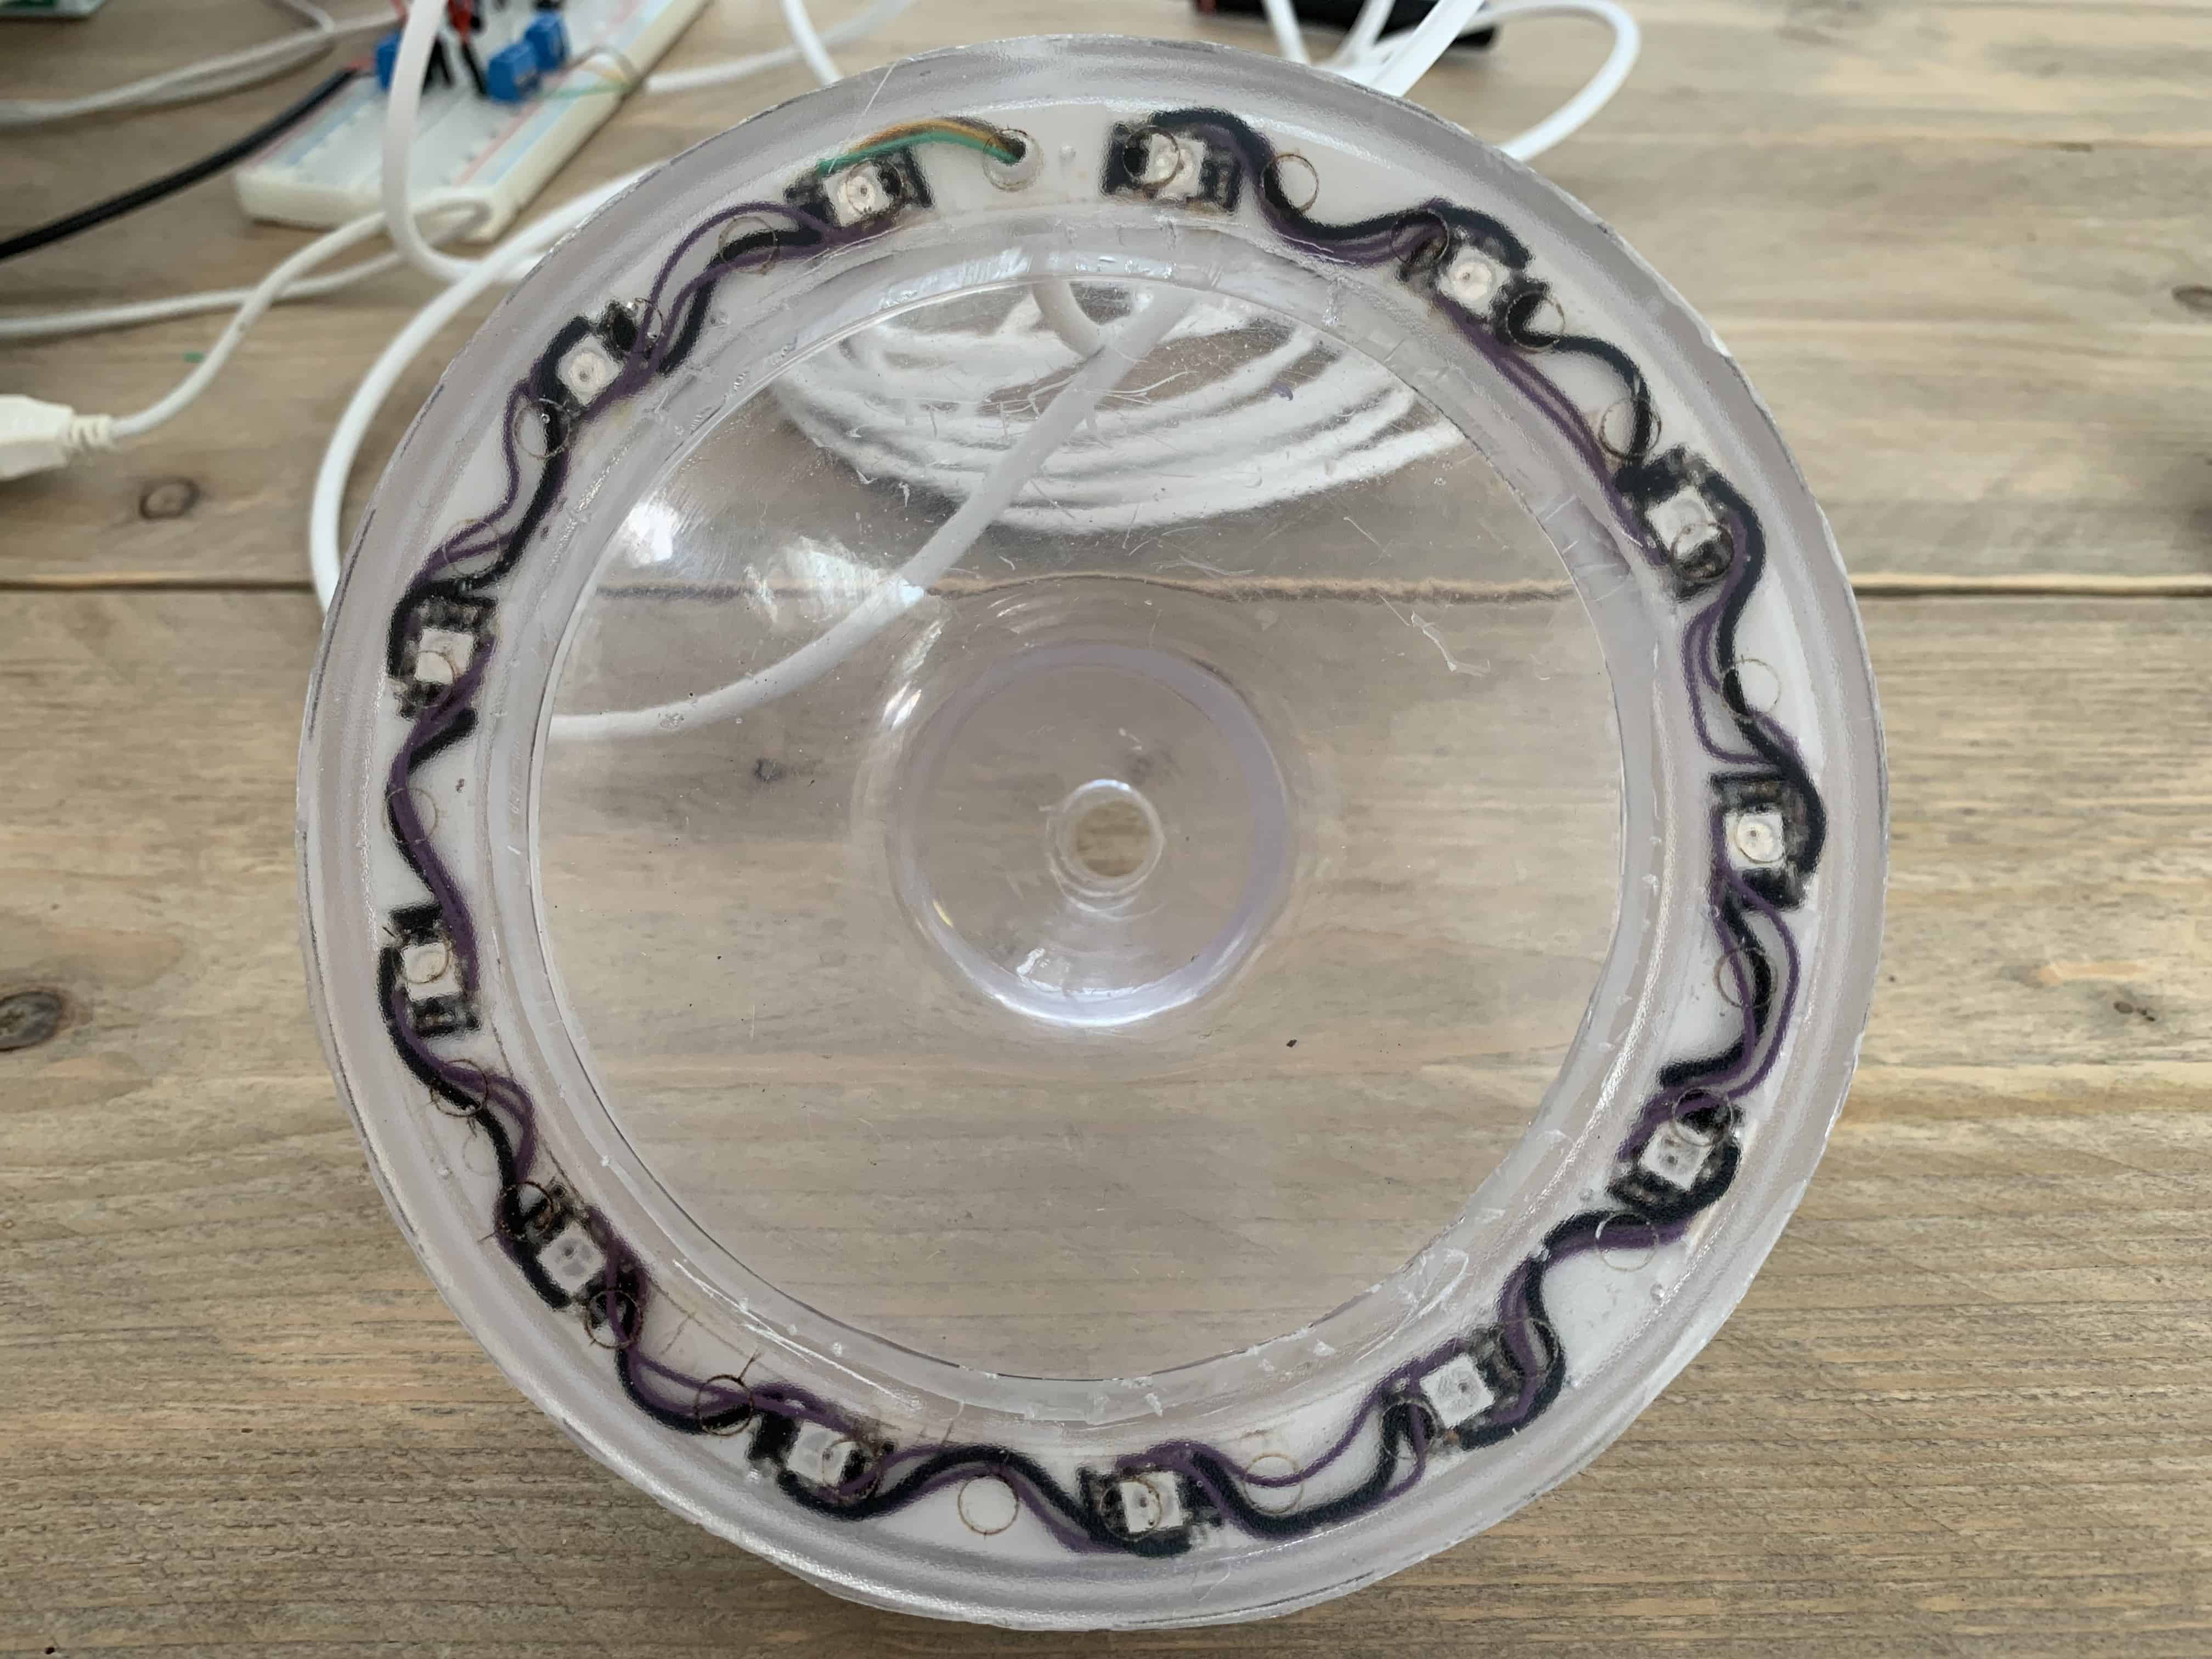
Now it’s time to connect the NeoPixels. Because I cut the NeoPixel, so that they can be pasted on the ring, they must now be soldered again.
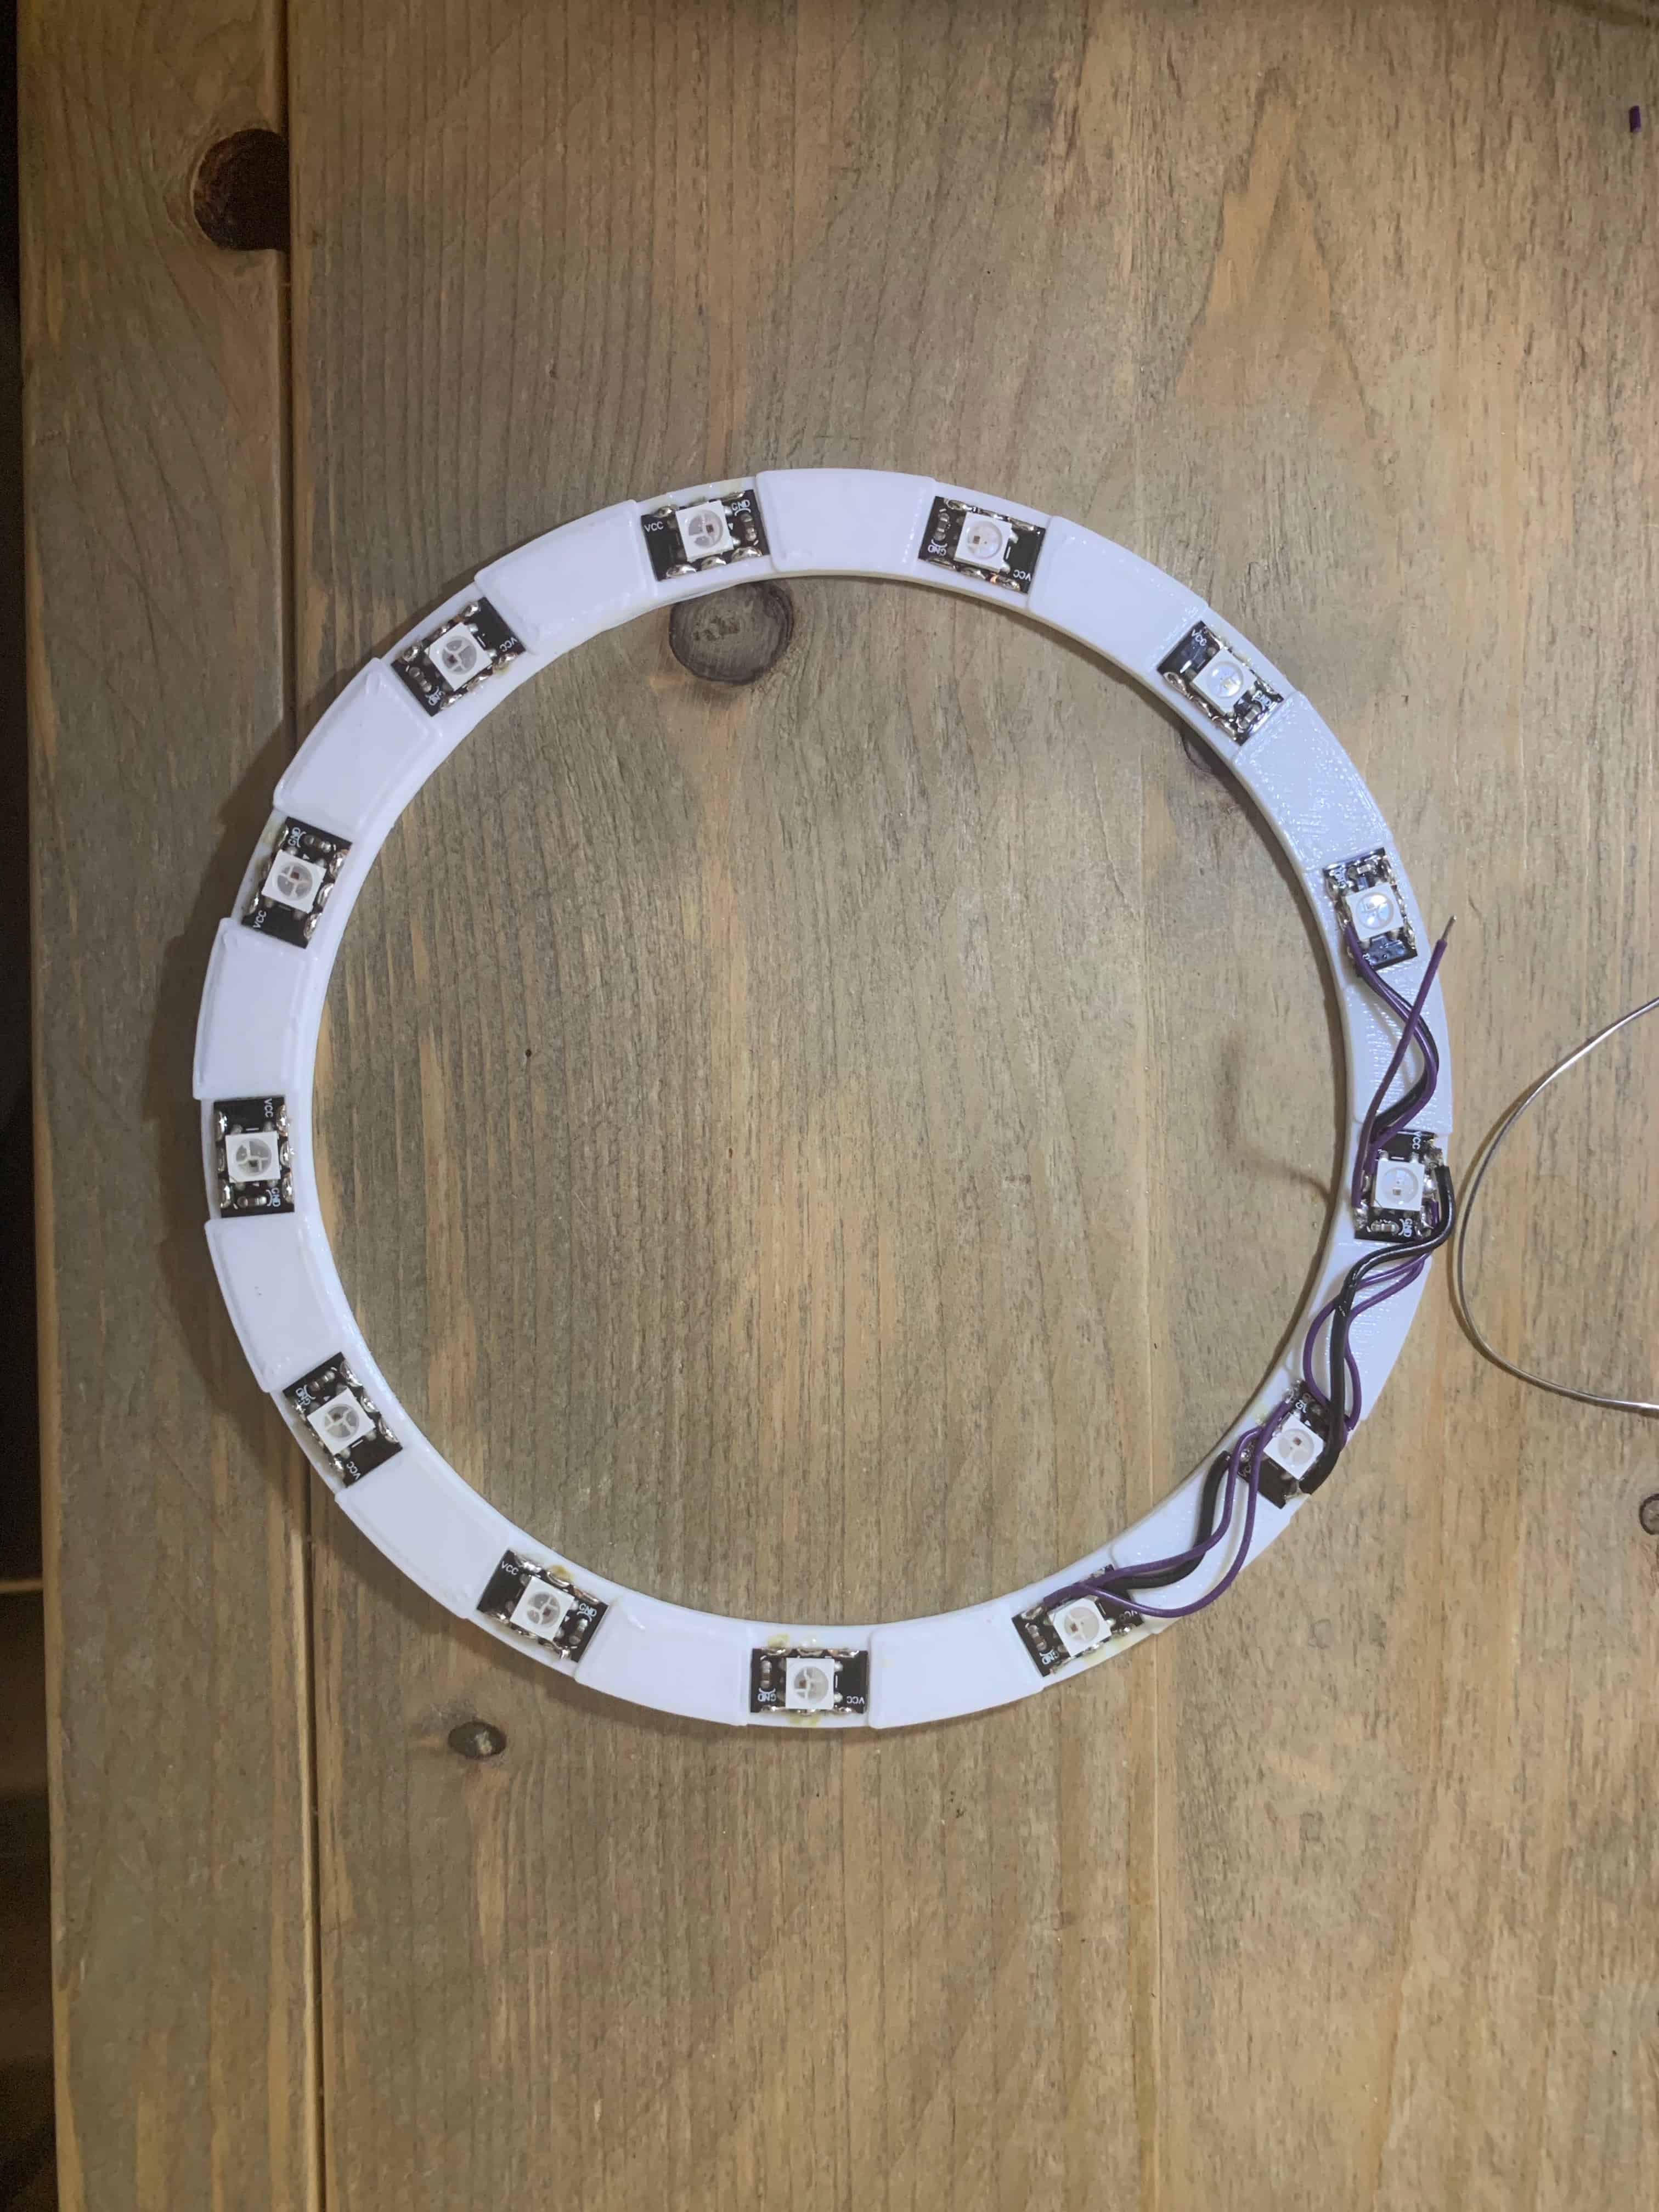
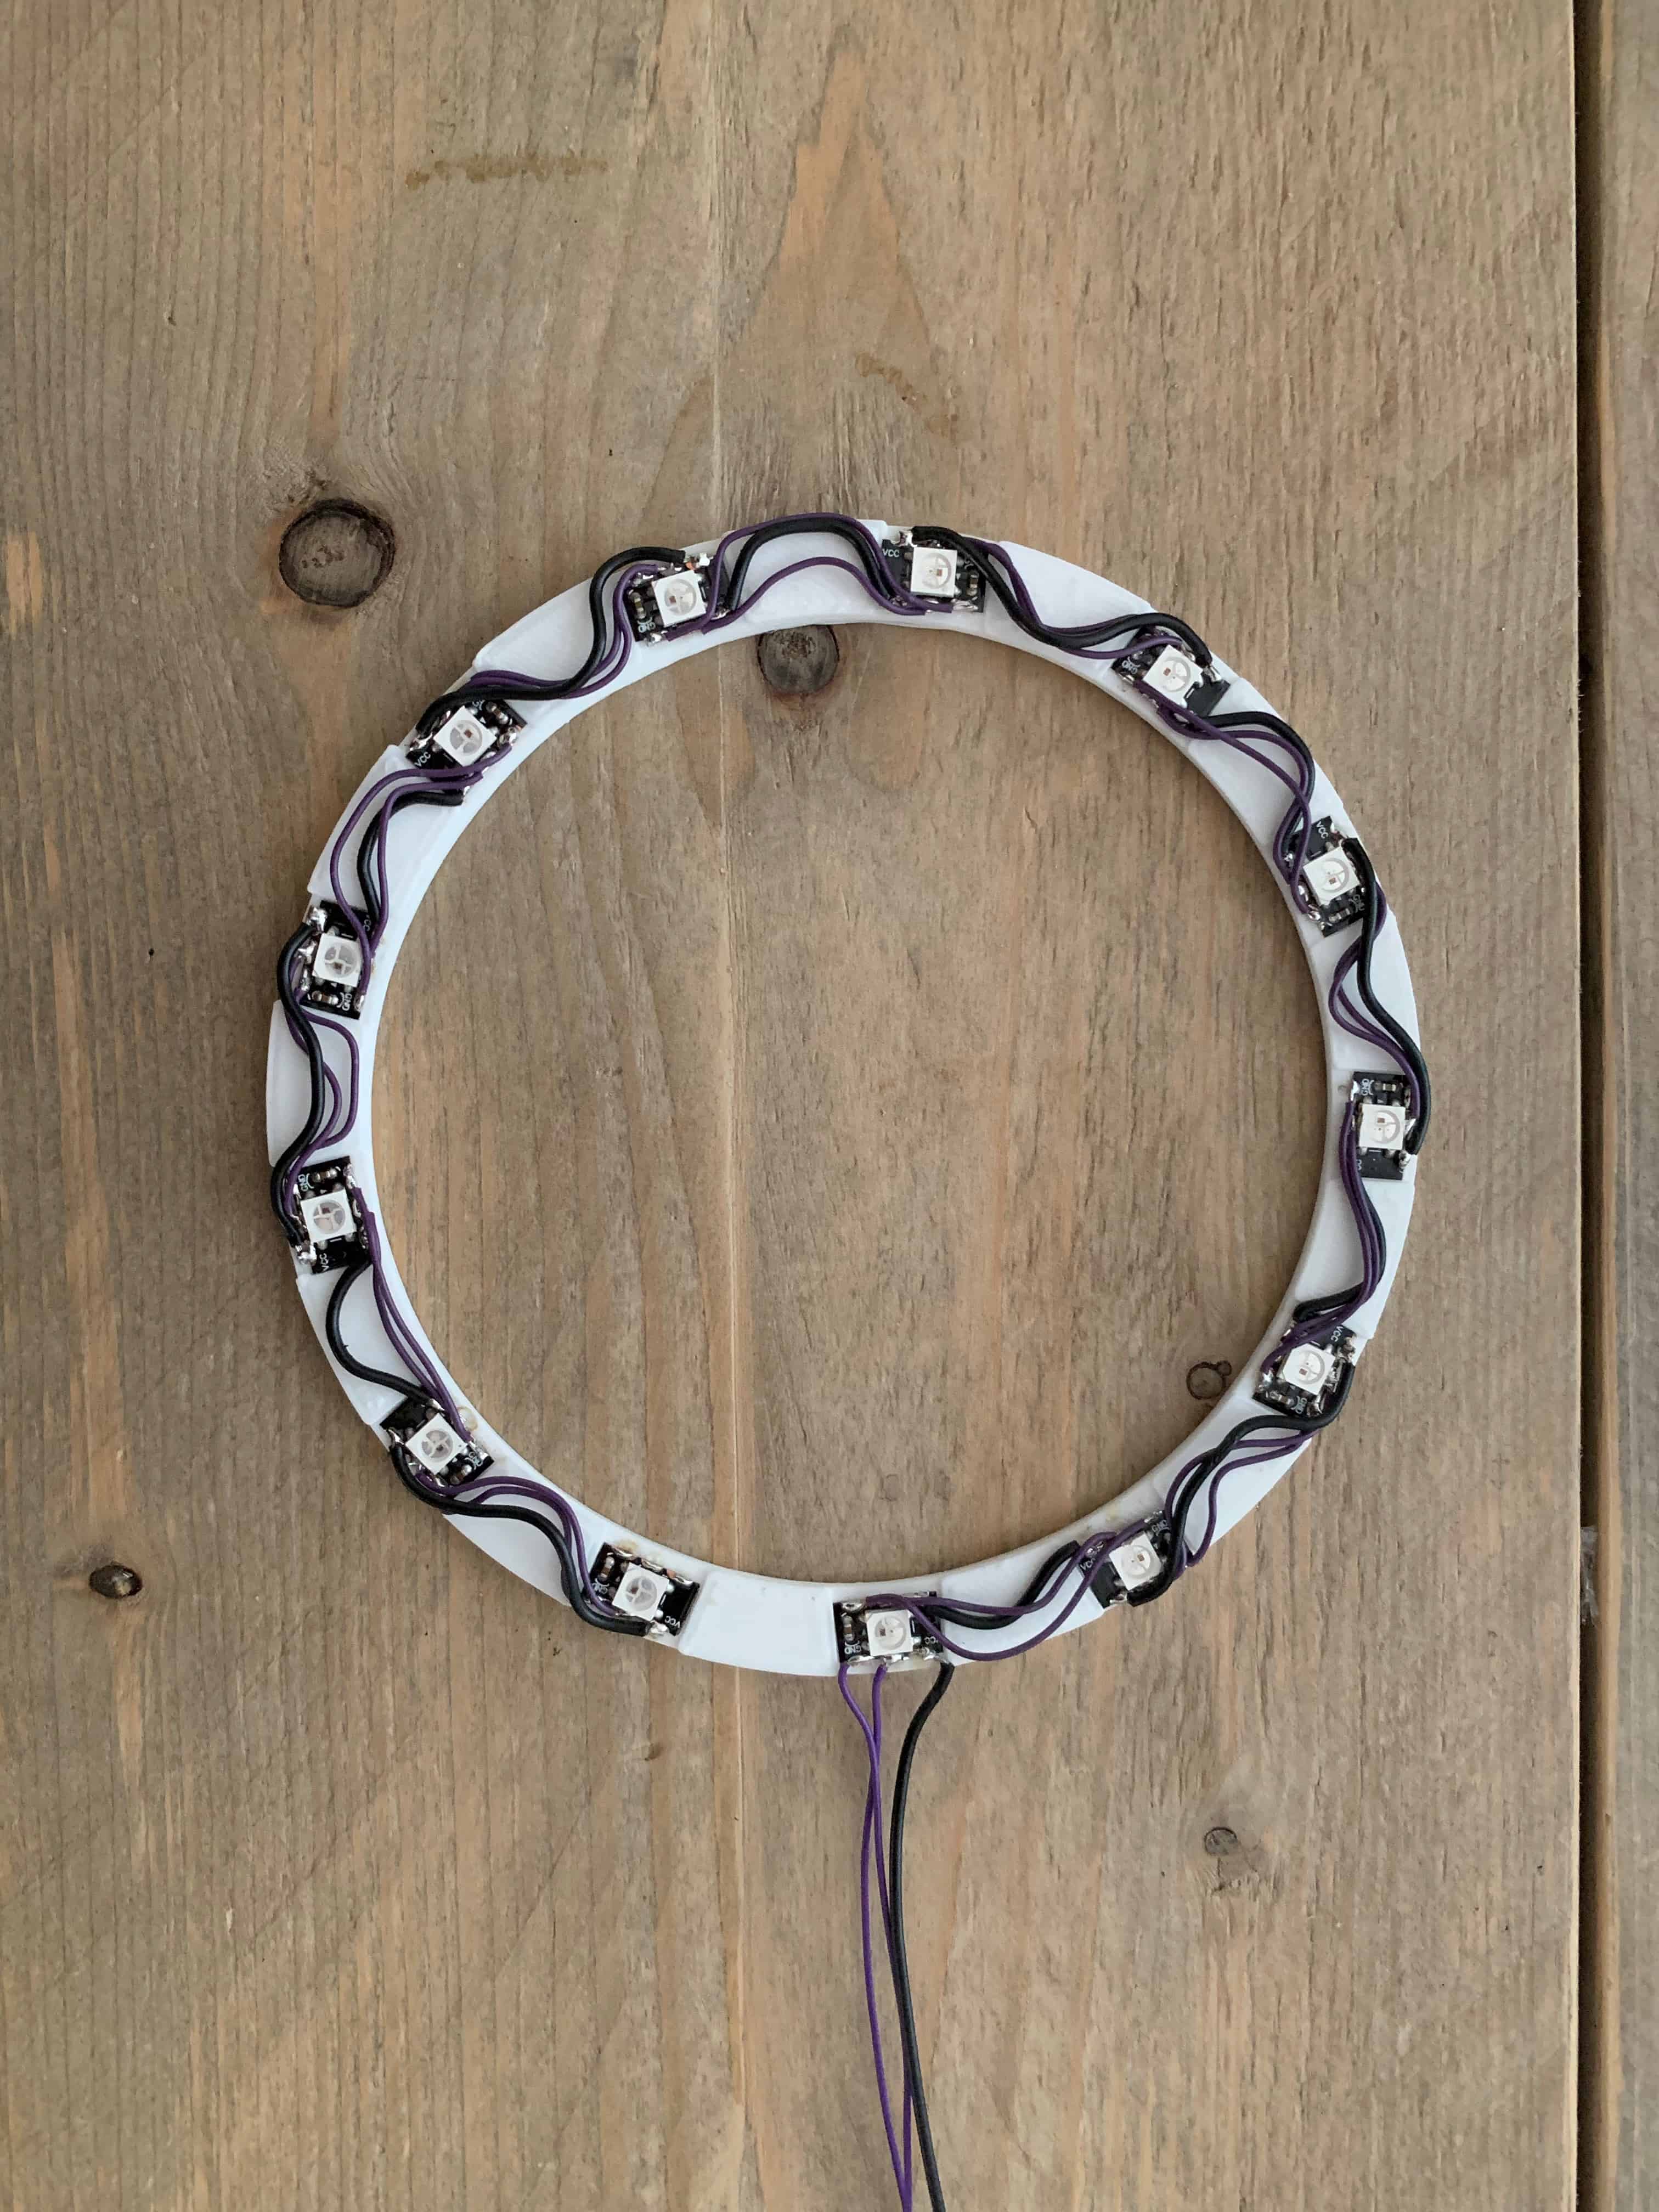
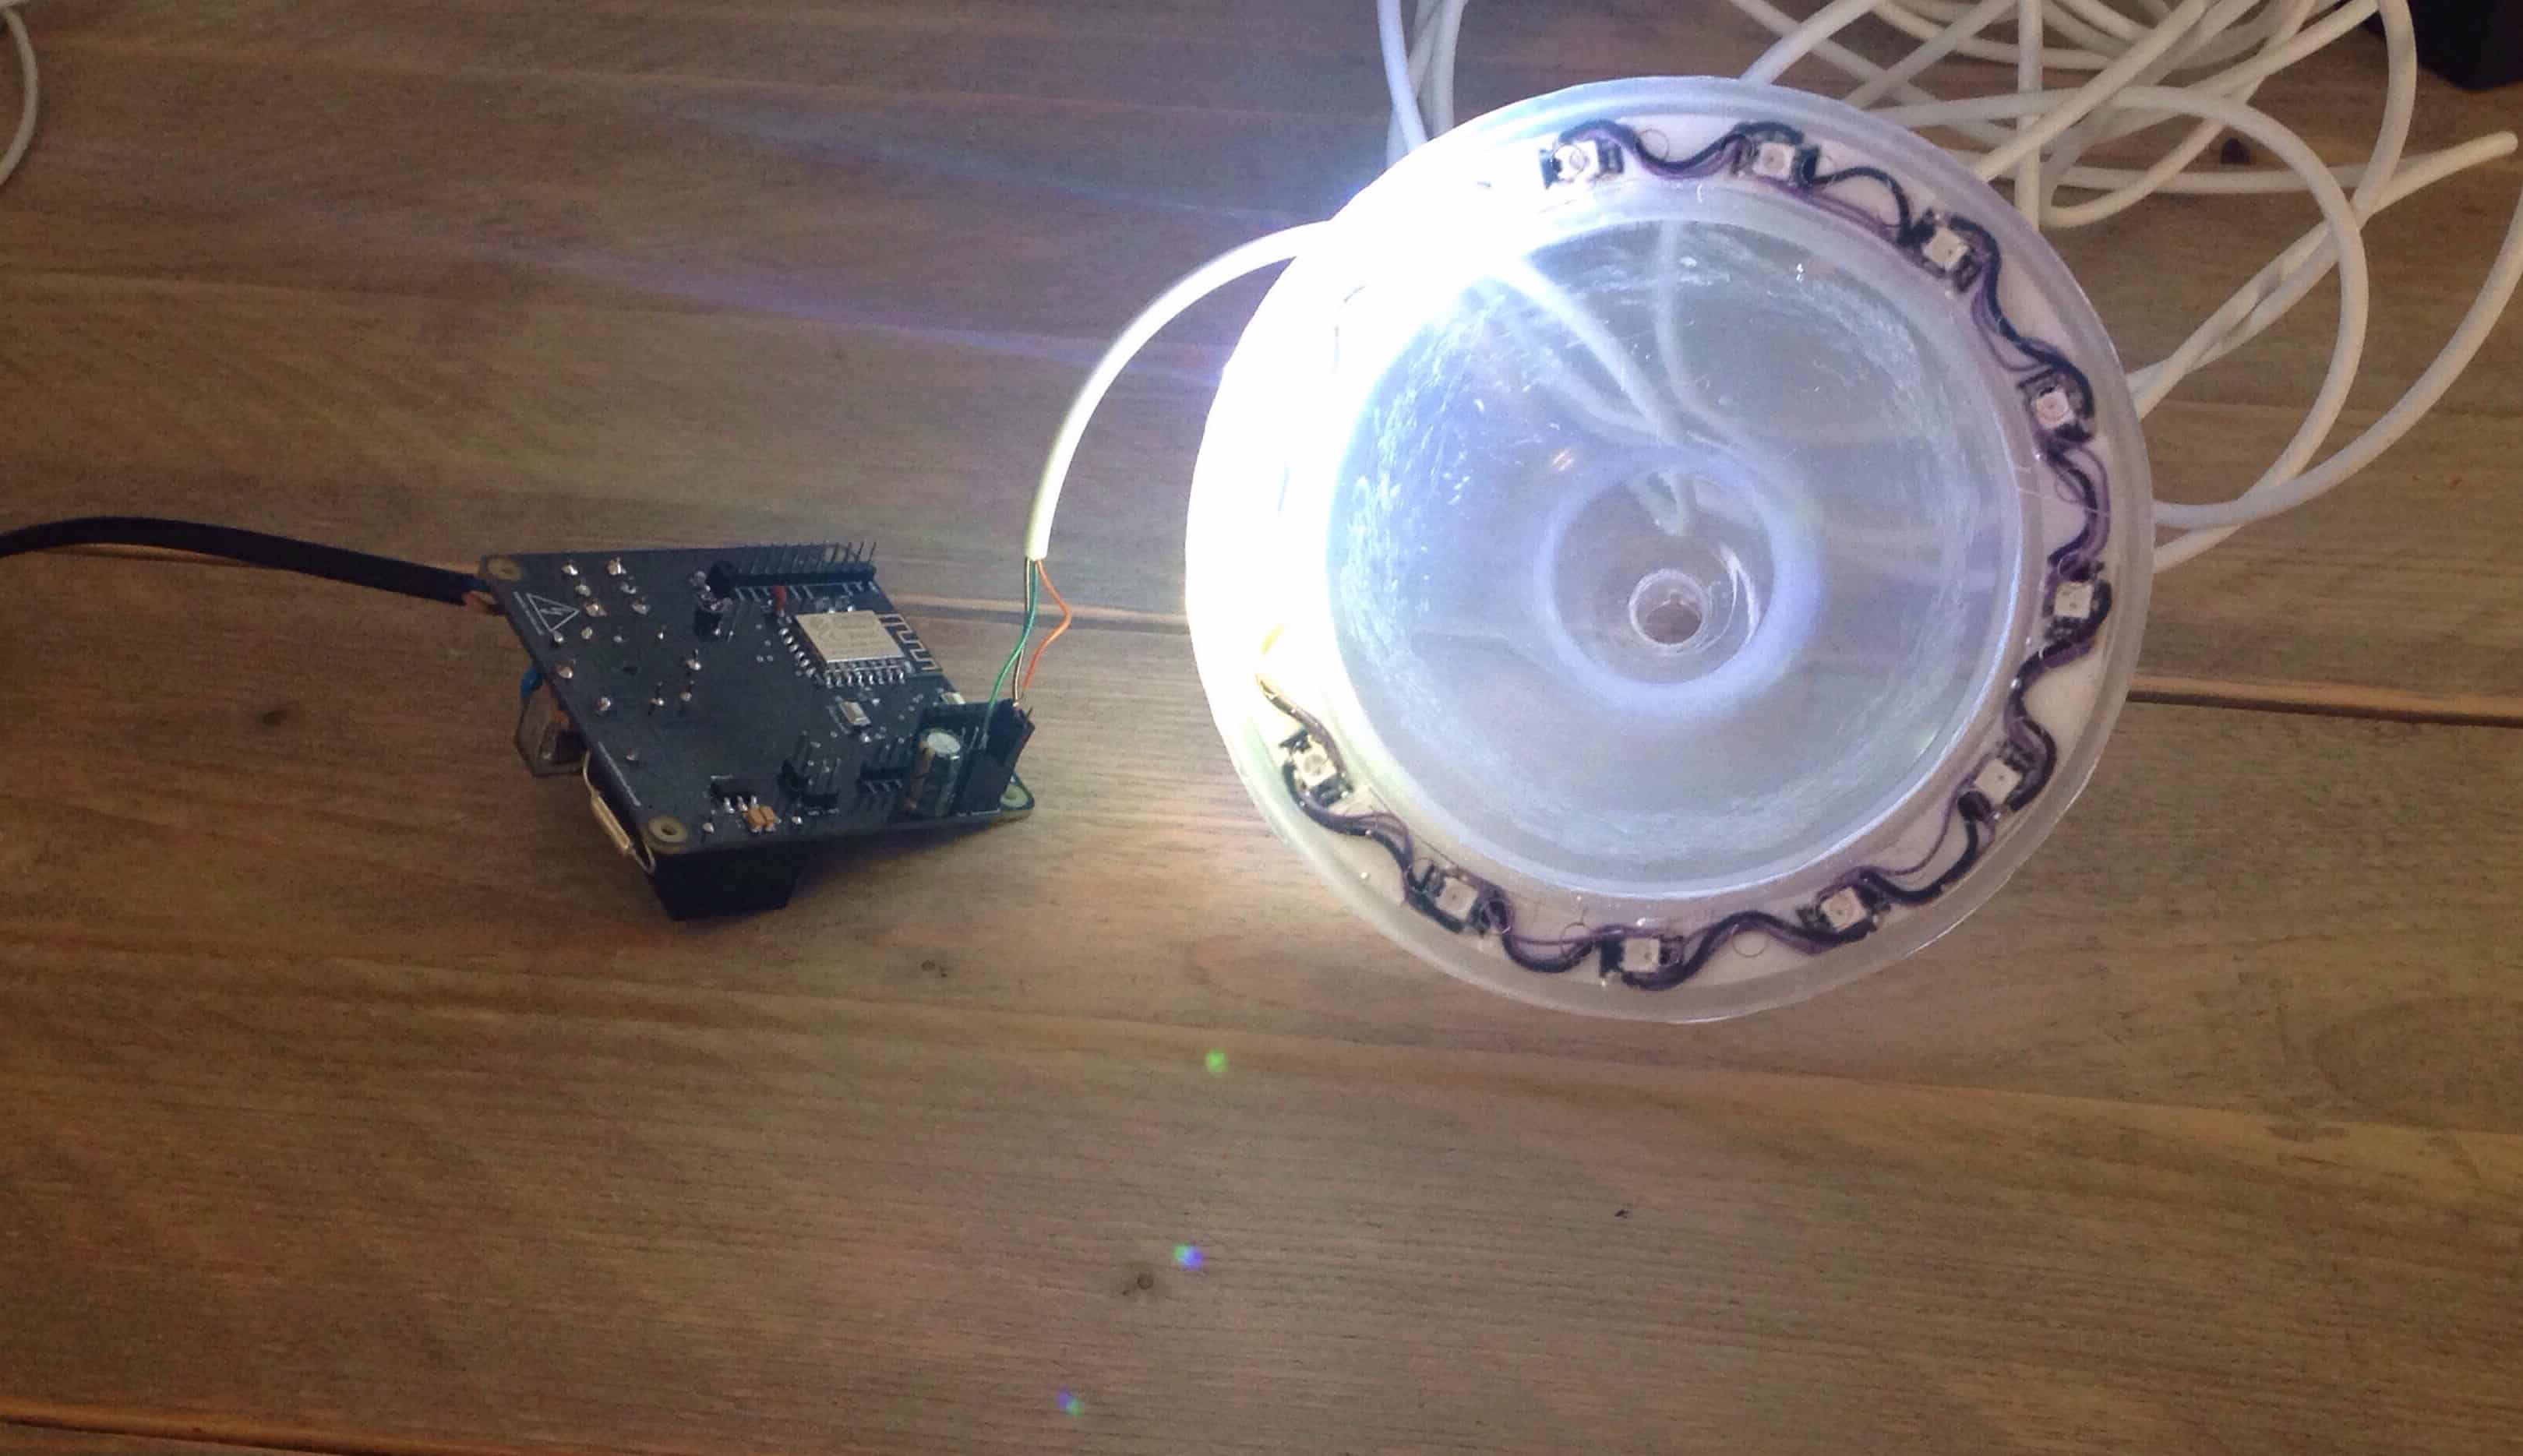
After half an hour my ring is ready. I have connected a few wires to the NeoPixel ring as you can see in the image below, to test the ring before mounting it in the holder.
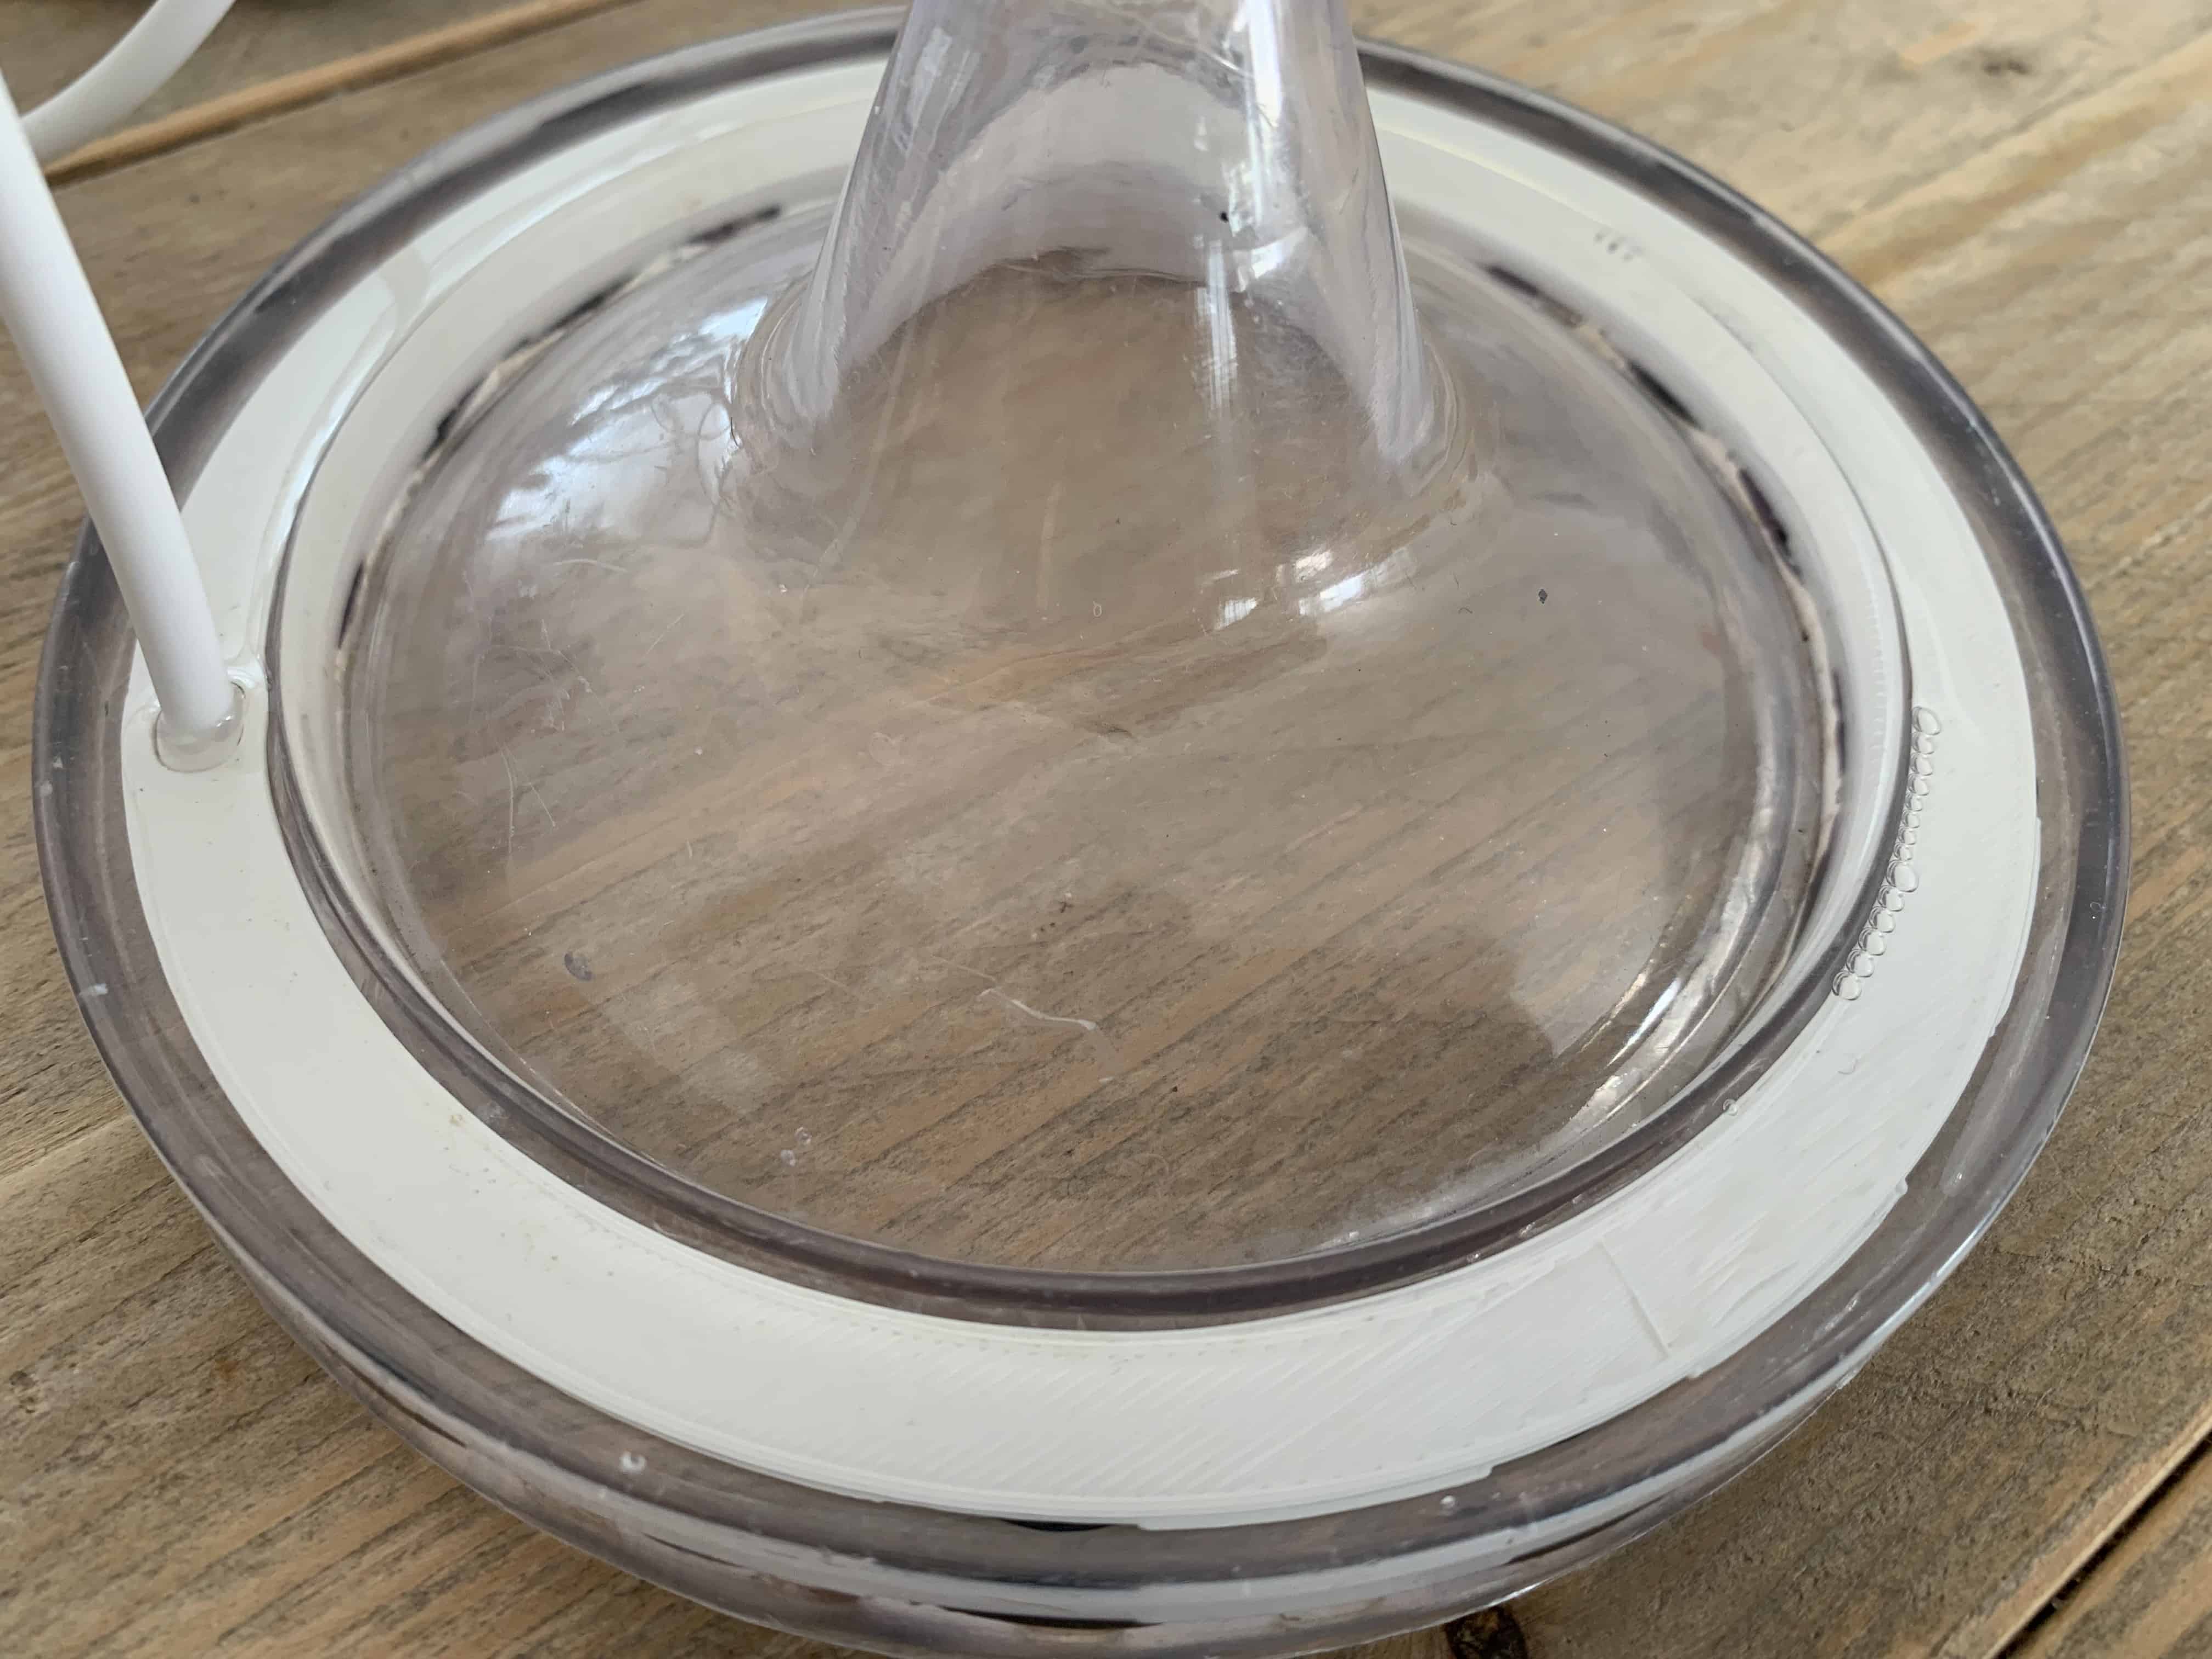
Resin
Now that the ring is tested and ready It’s time to mount it in the holder. As electronics and water do not mix well together I need a watertight fix. I found this resin. Quality Mr.Boat epoxy perfect for marine use, automotive, aquarium, modelling, art and do it yourself. Use Mr.Boat epoxy for small repairs, coating, glueing or fillets. Easy mixing ratio 2:1. Including mixing cup, tongue depressor, latex gloves and clear instructions. With 750 gr. epoxy (500 gr. resin + 250 gr. hardener) you can coat up to 3 – 3.5 m2.

And here is the end result.
KiCAD
KiCad is a tool that makes it possible to design high-quality printed circuit boards. It is not the only one, in fact there are many many other tools out there. Some are free, some are very expensive, and each tool has its advantages over others. Software tools that help people make printed circuit boards are often referred to as “Electronic Automation Design” tools, or “EDA” for short.
![]()
You can Download KiCad here for Free!
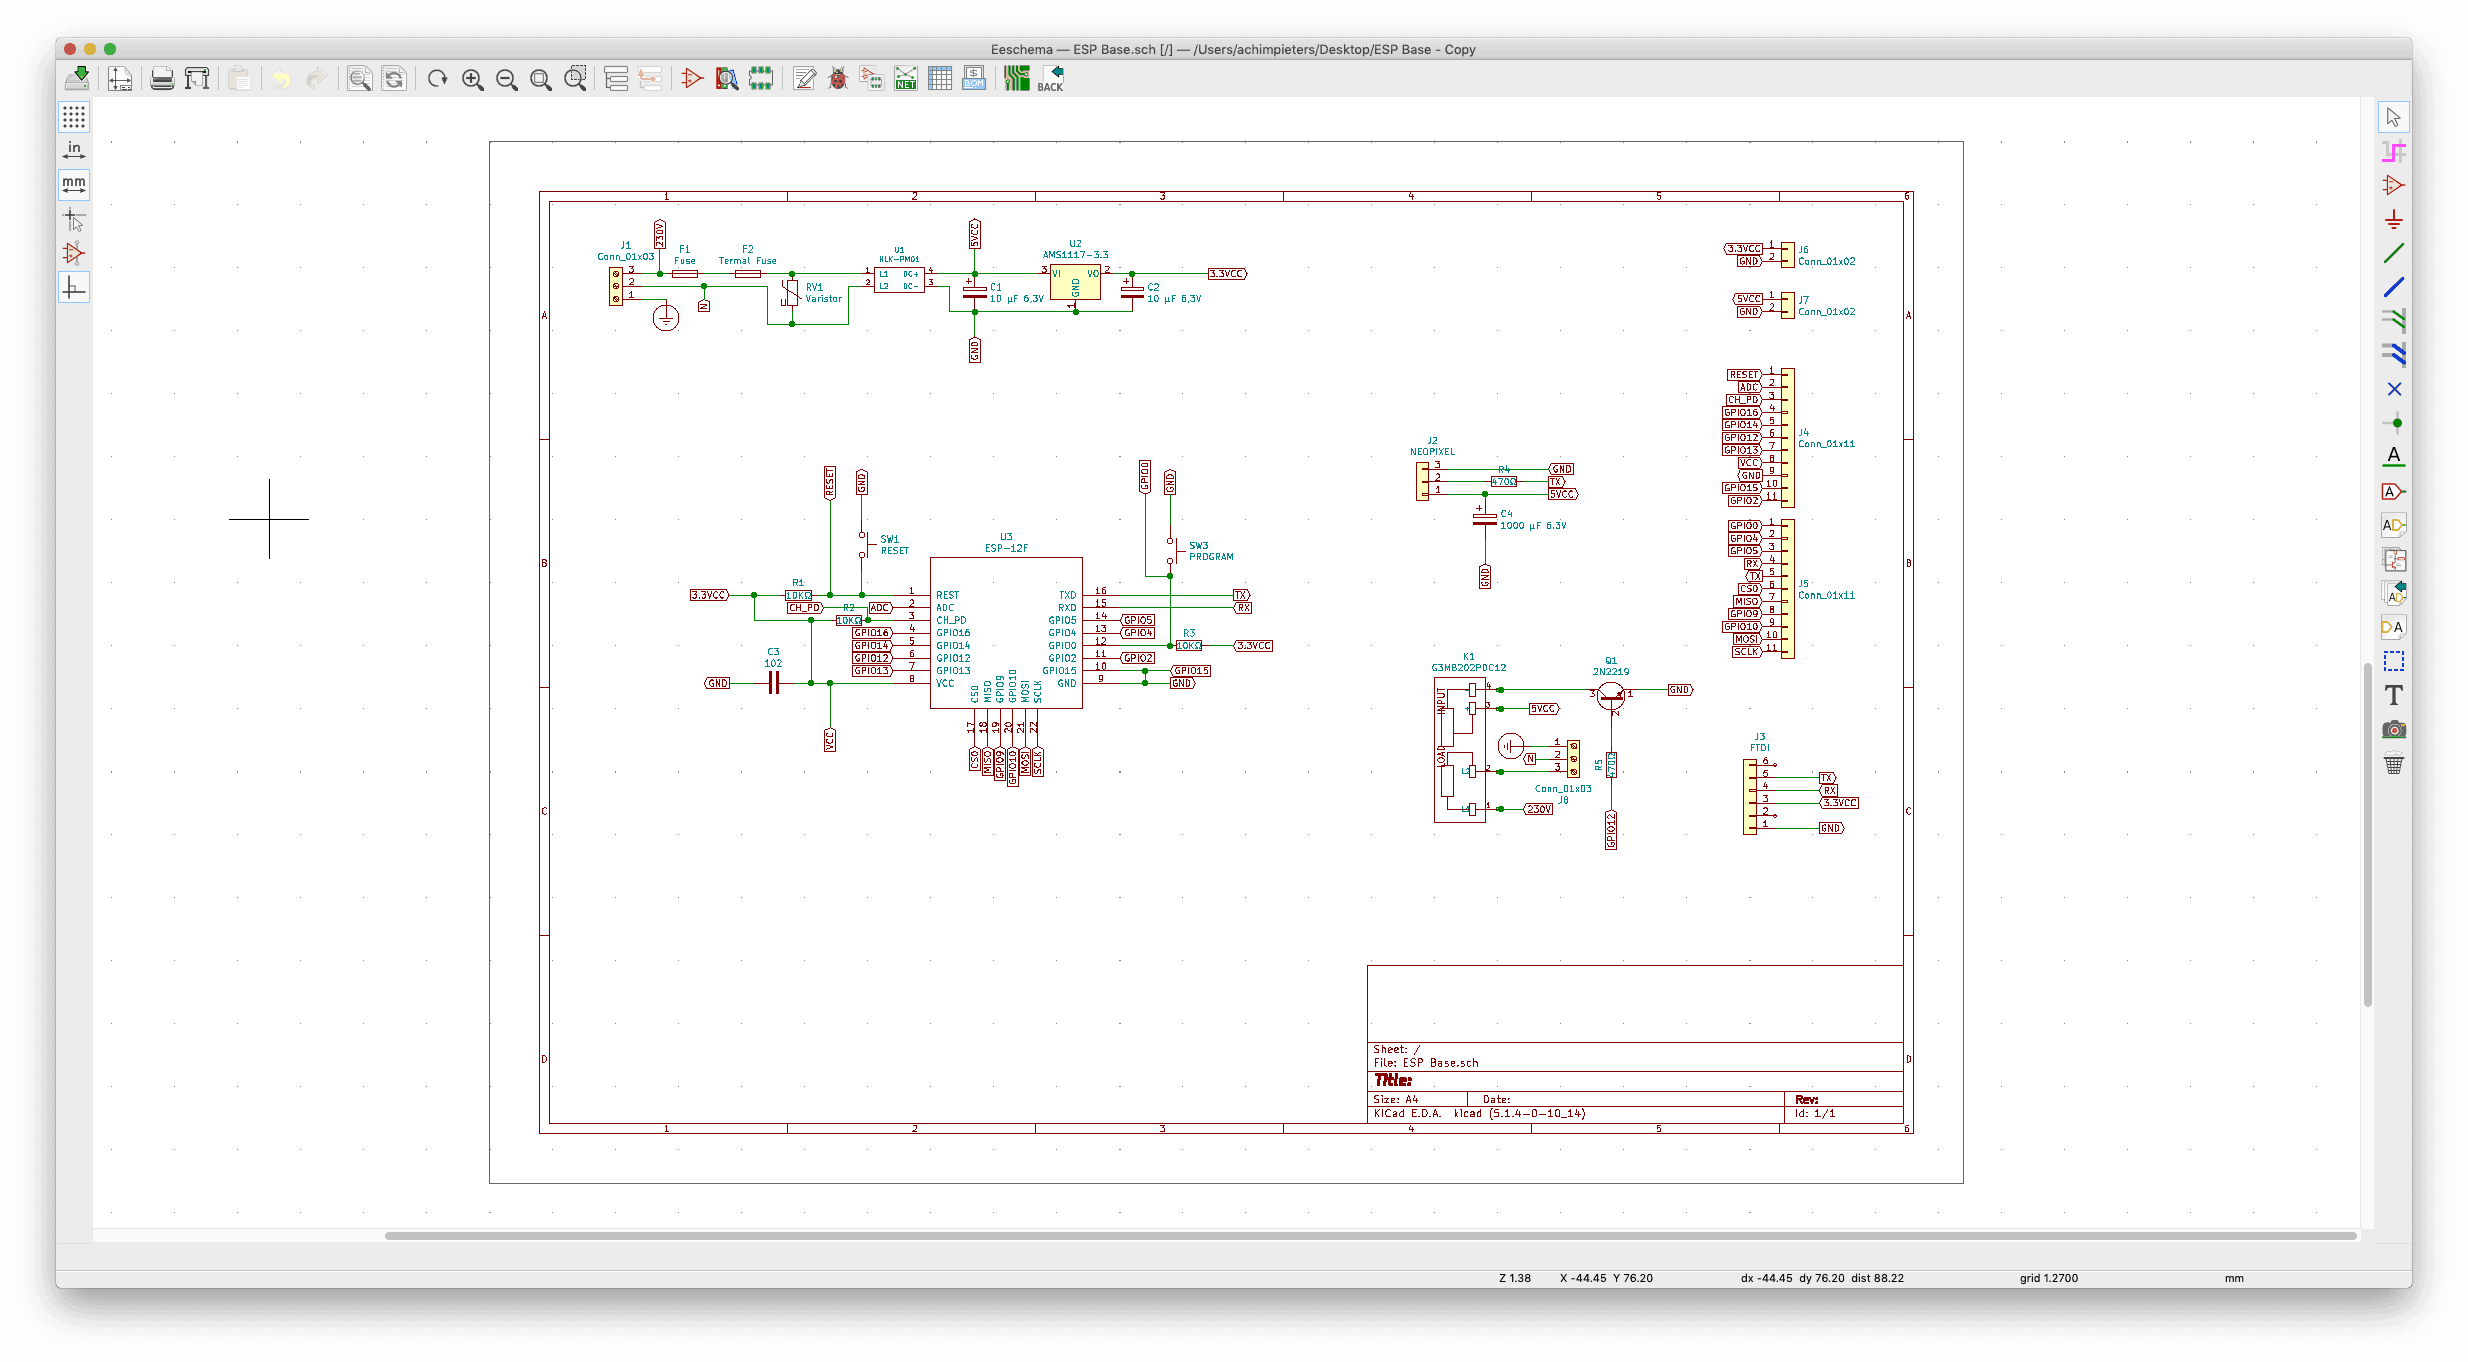
SCHEME
The process begins with Eescema. In Eeschema we create the electrical schematic that describes the circuit that eventually will be printed onto the PCB board. We draw the schematic by picking components from the library and if a component that we need doesn’t exist in the library, we can create it using the schematic library editor.
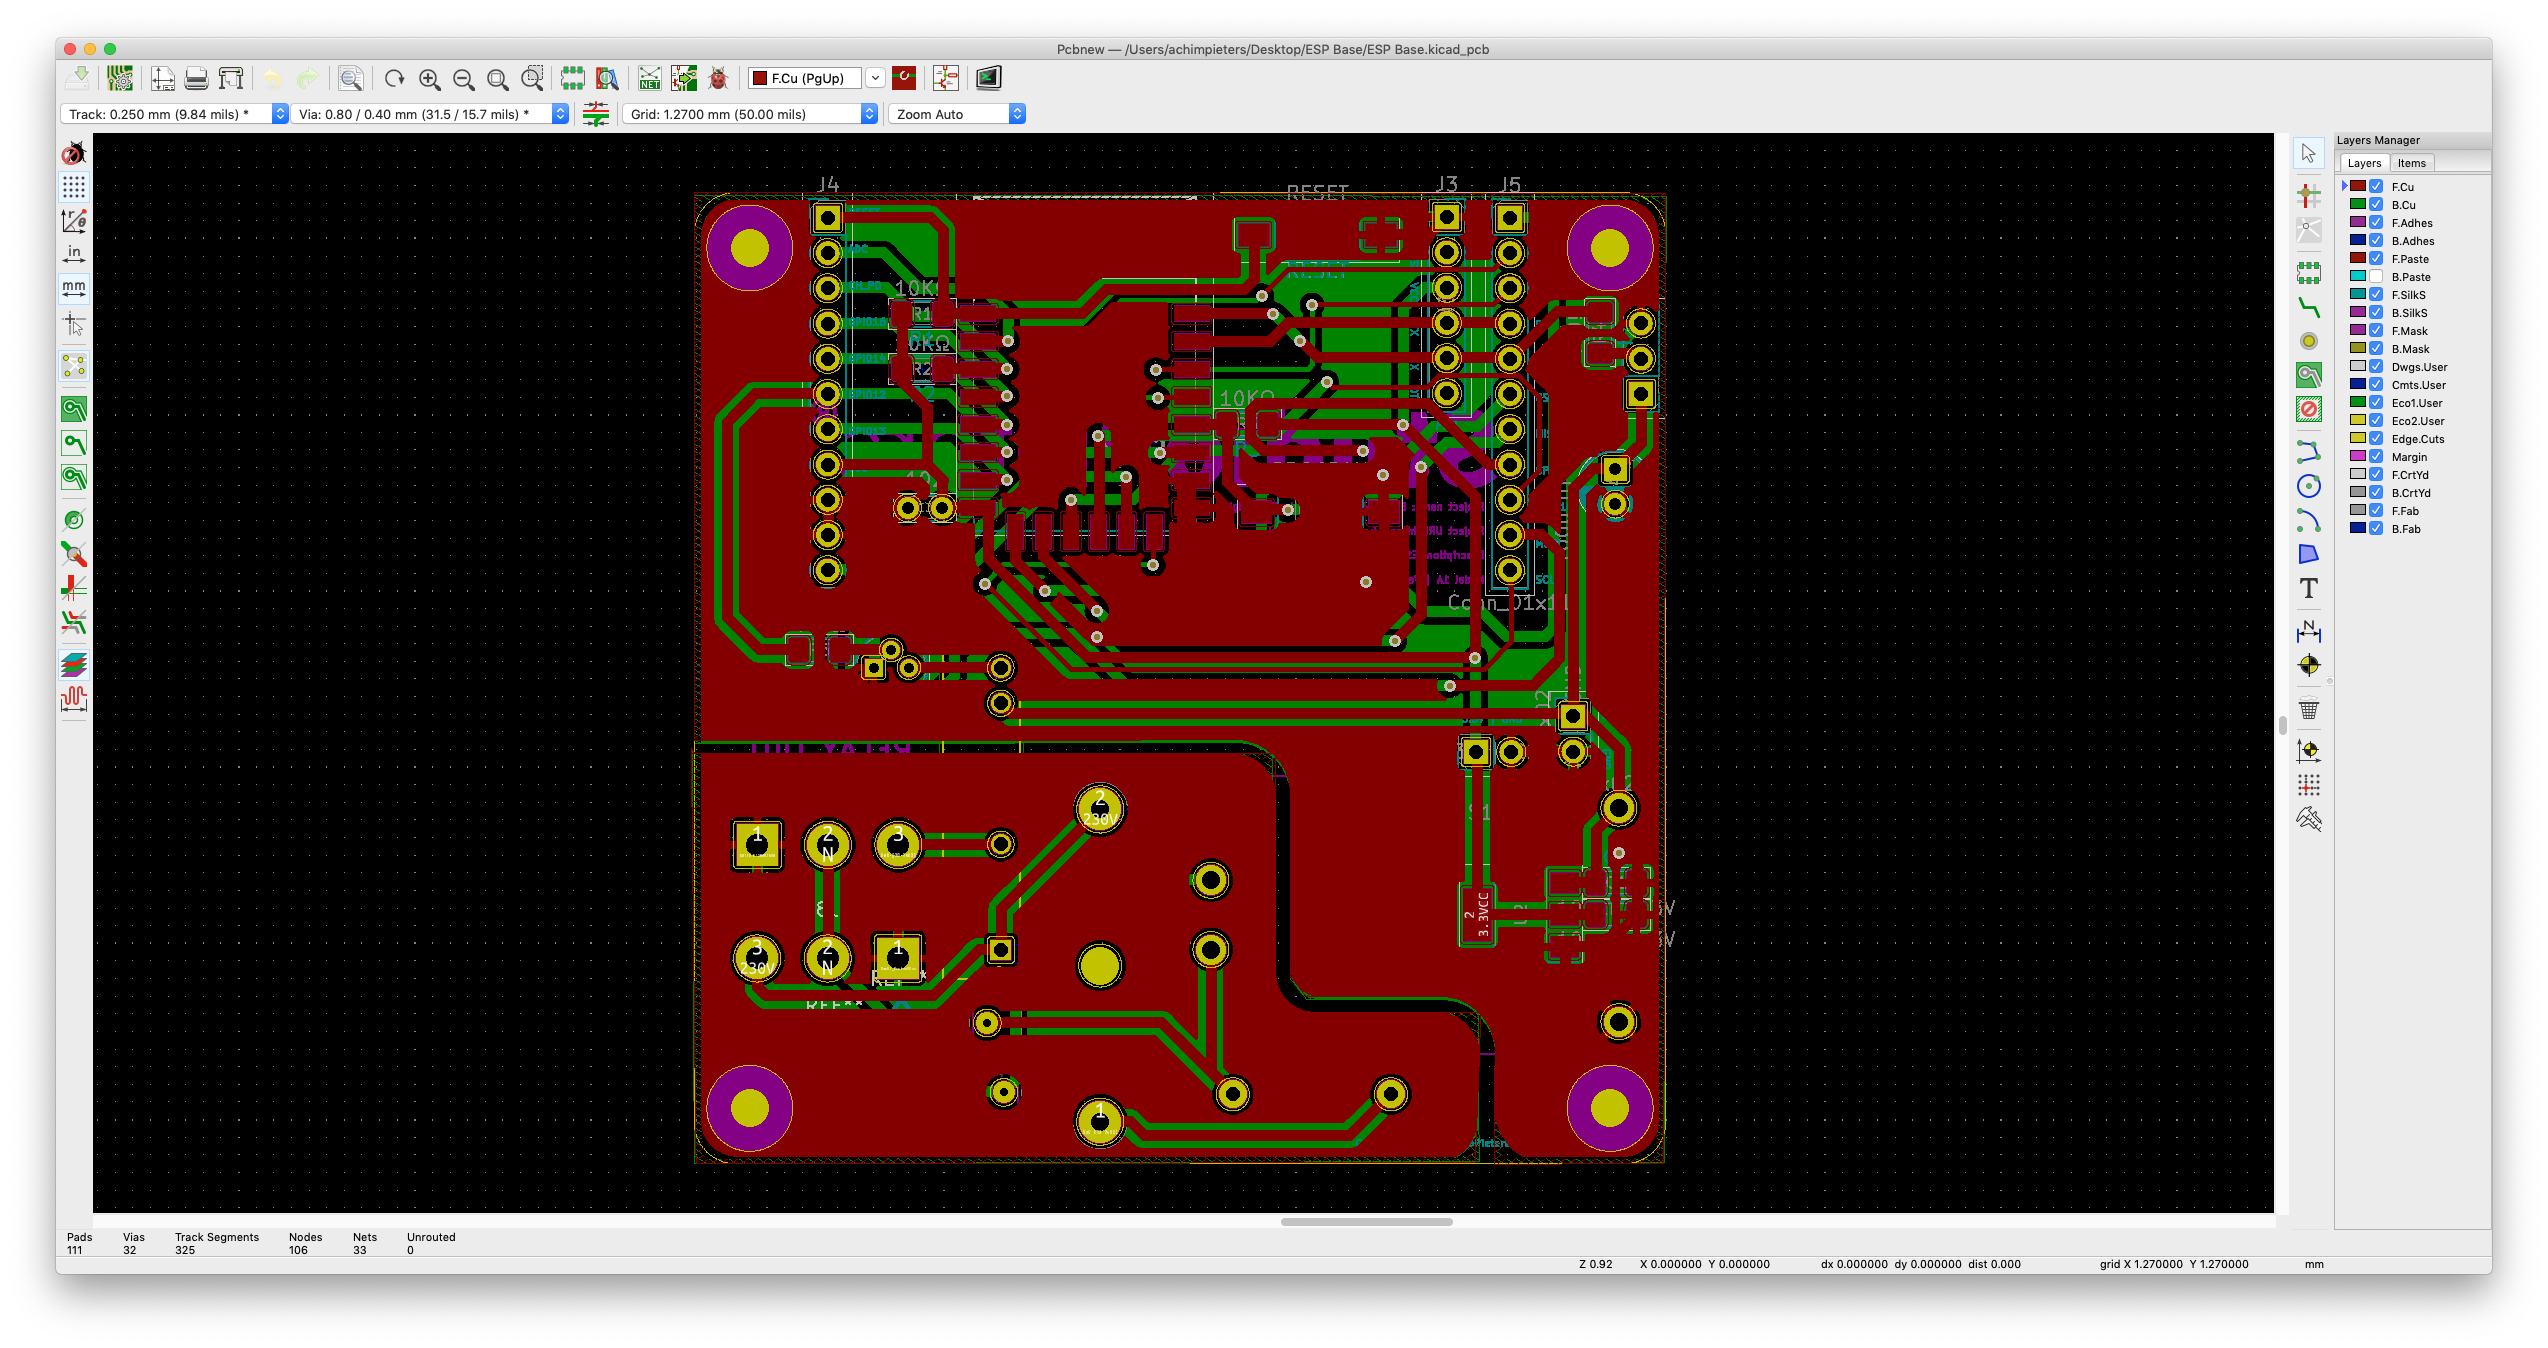
PCB
We use Pcbnew to place the footprints on the blank canvas, and then do the wiring. We can move the components around so that they are nice and tidy and we’ll start doing all the connections between the various pins using. This process is very time consuming, especially for large projects. The placing and routing is mostly a manual process. Although Kicad does have an auto router, most people prefer not to use it, in favor of the manual process which give the designer absolute control.
Once you have your PCB laid out and connection’s completed you can go ahead and do a design rules check that’s going to make sure that, for example, a track’s not too close to a pad and things like that. Look for any pads that are not connected and things of that sort. We can always fix footprints using the footprint editor.
PCB Manufacturing
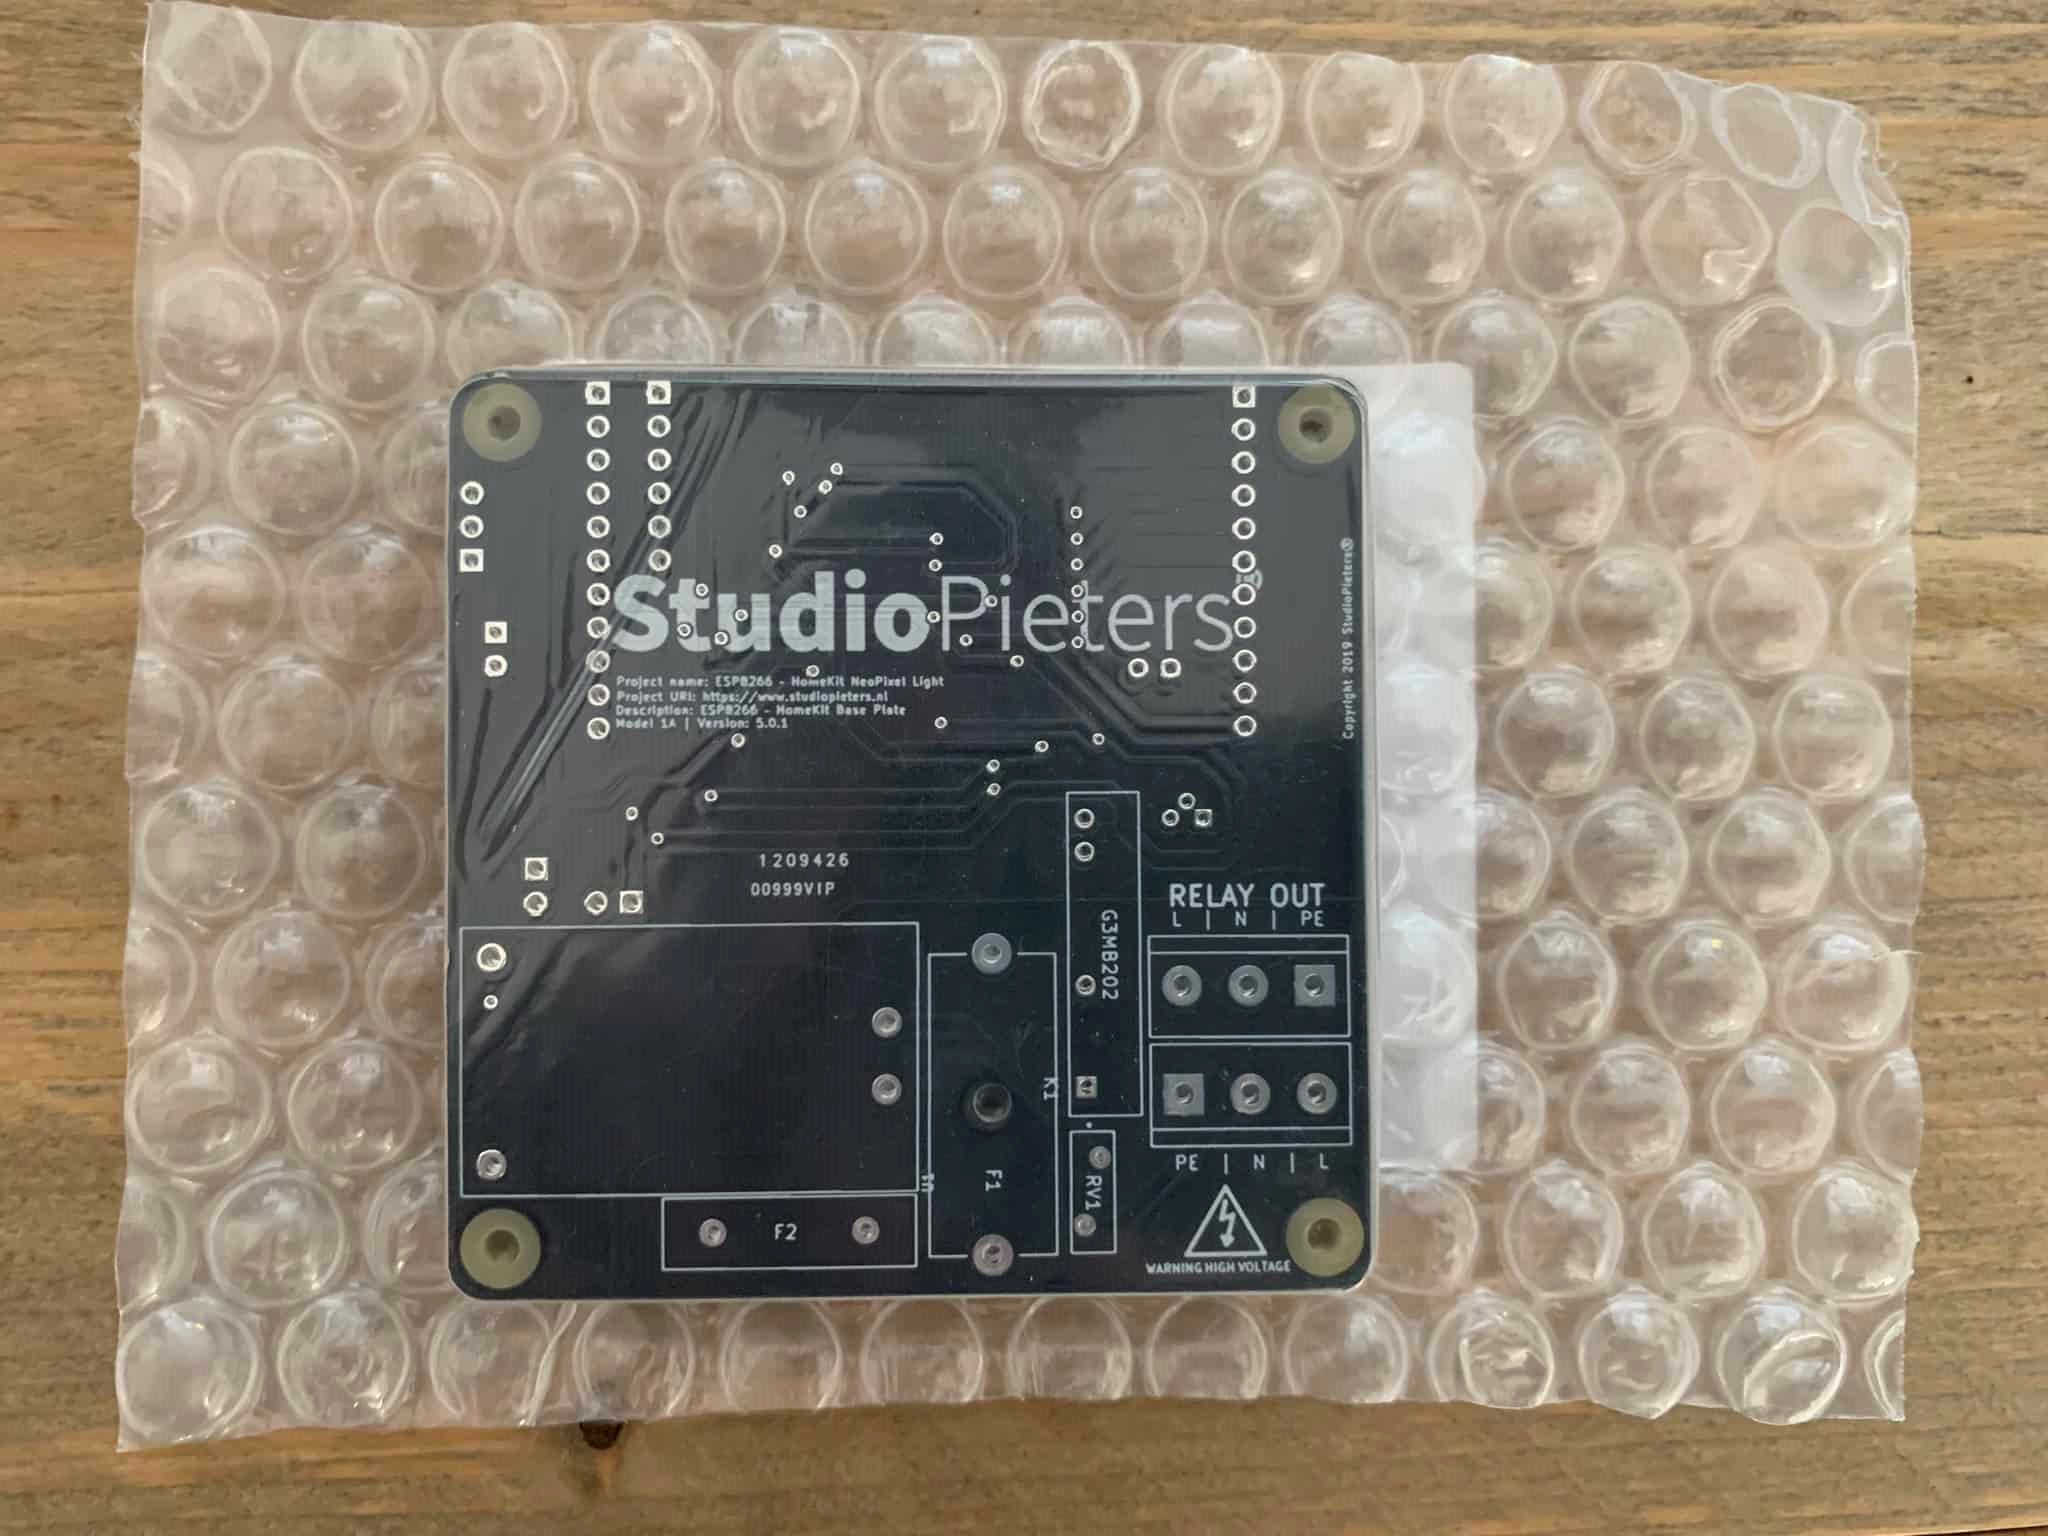
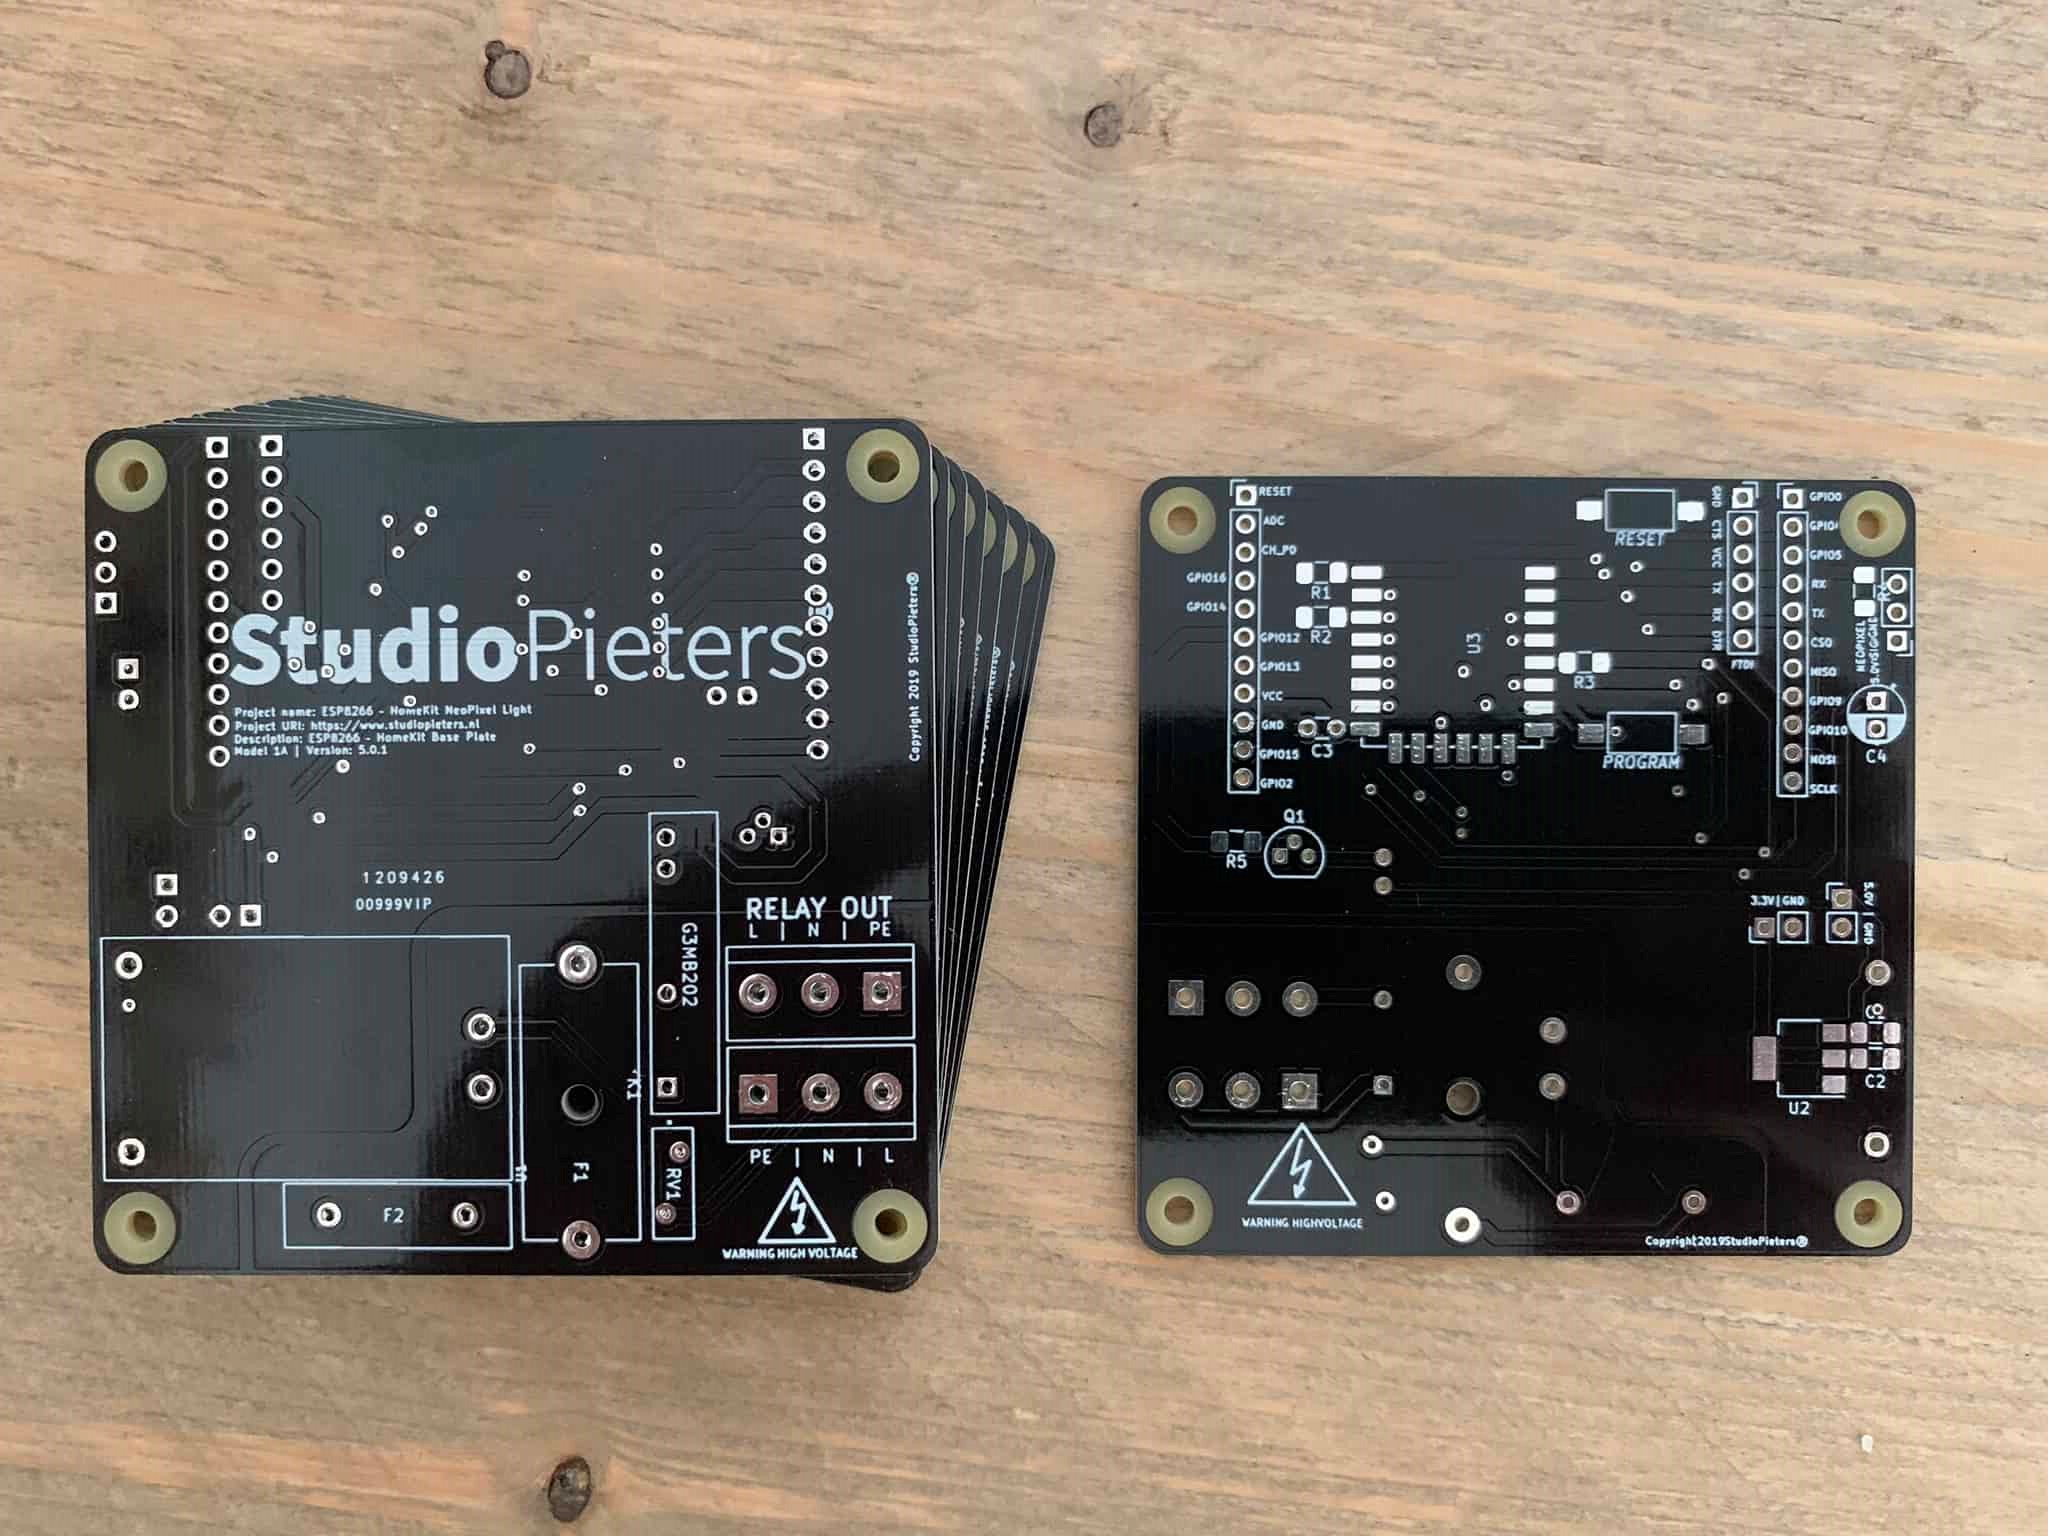
Manufacturing of these PCB is the next step. In the last few years many inexpensive PCB Manufacturing services have popped up. It used to be that buying PCB’s in hobby quantities was expensive and filled with gotchas. Now, places like Seeed Studio can send your PCB’s to the inexpensive prototyping factory in Shenzhen China, and ship them anywhere in the world at great prices. You get two-sided PCB’s, with the works, starting at $0.49 per 10x10cm PCB. Turnaround is a few days, worldwide shipping starts at $10. After ordering my PCB’s they finally came in and here’s the end result.
The Enclosure
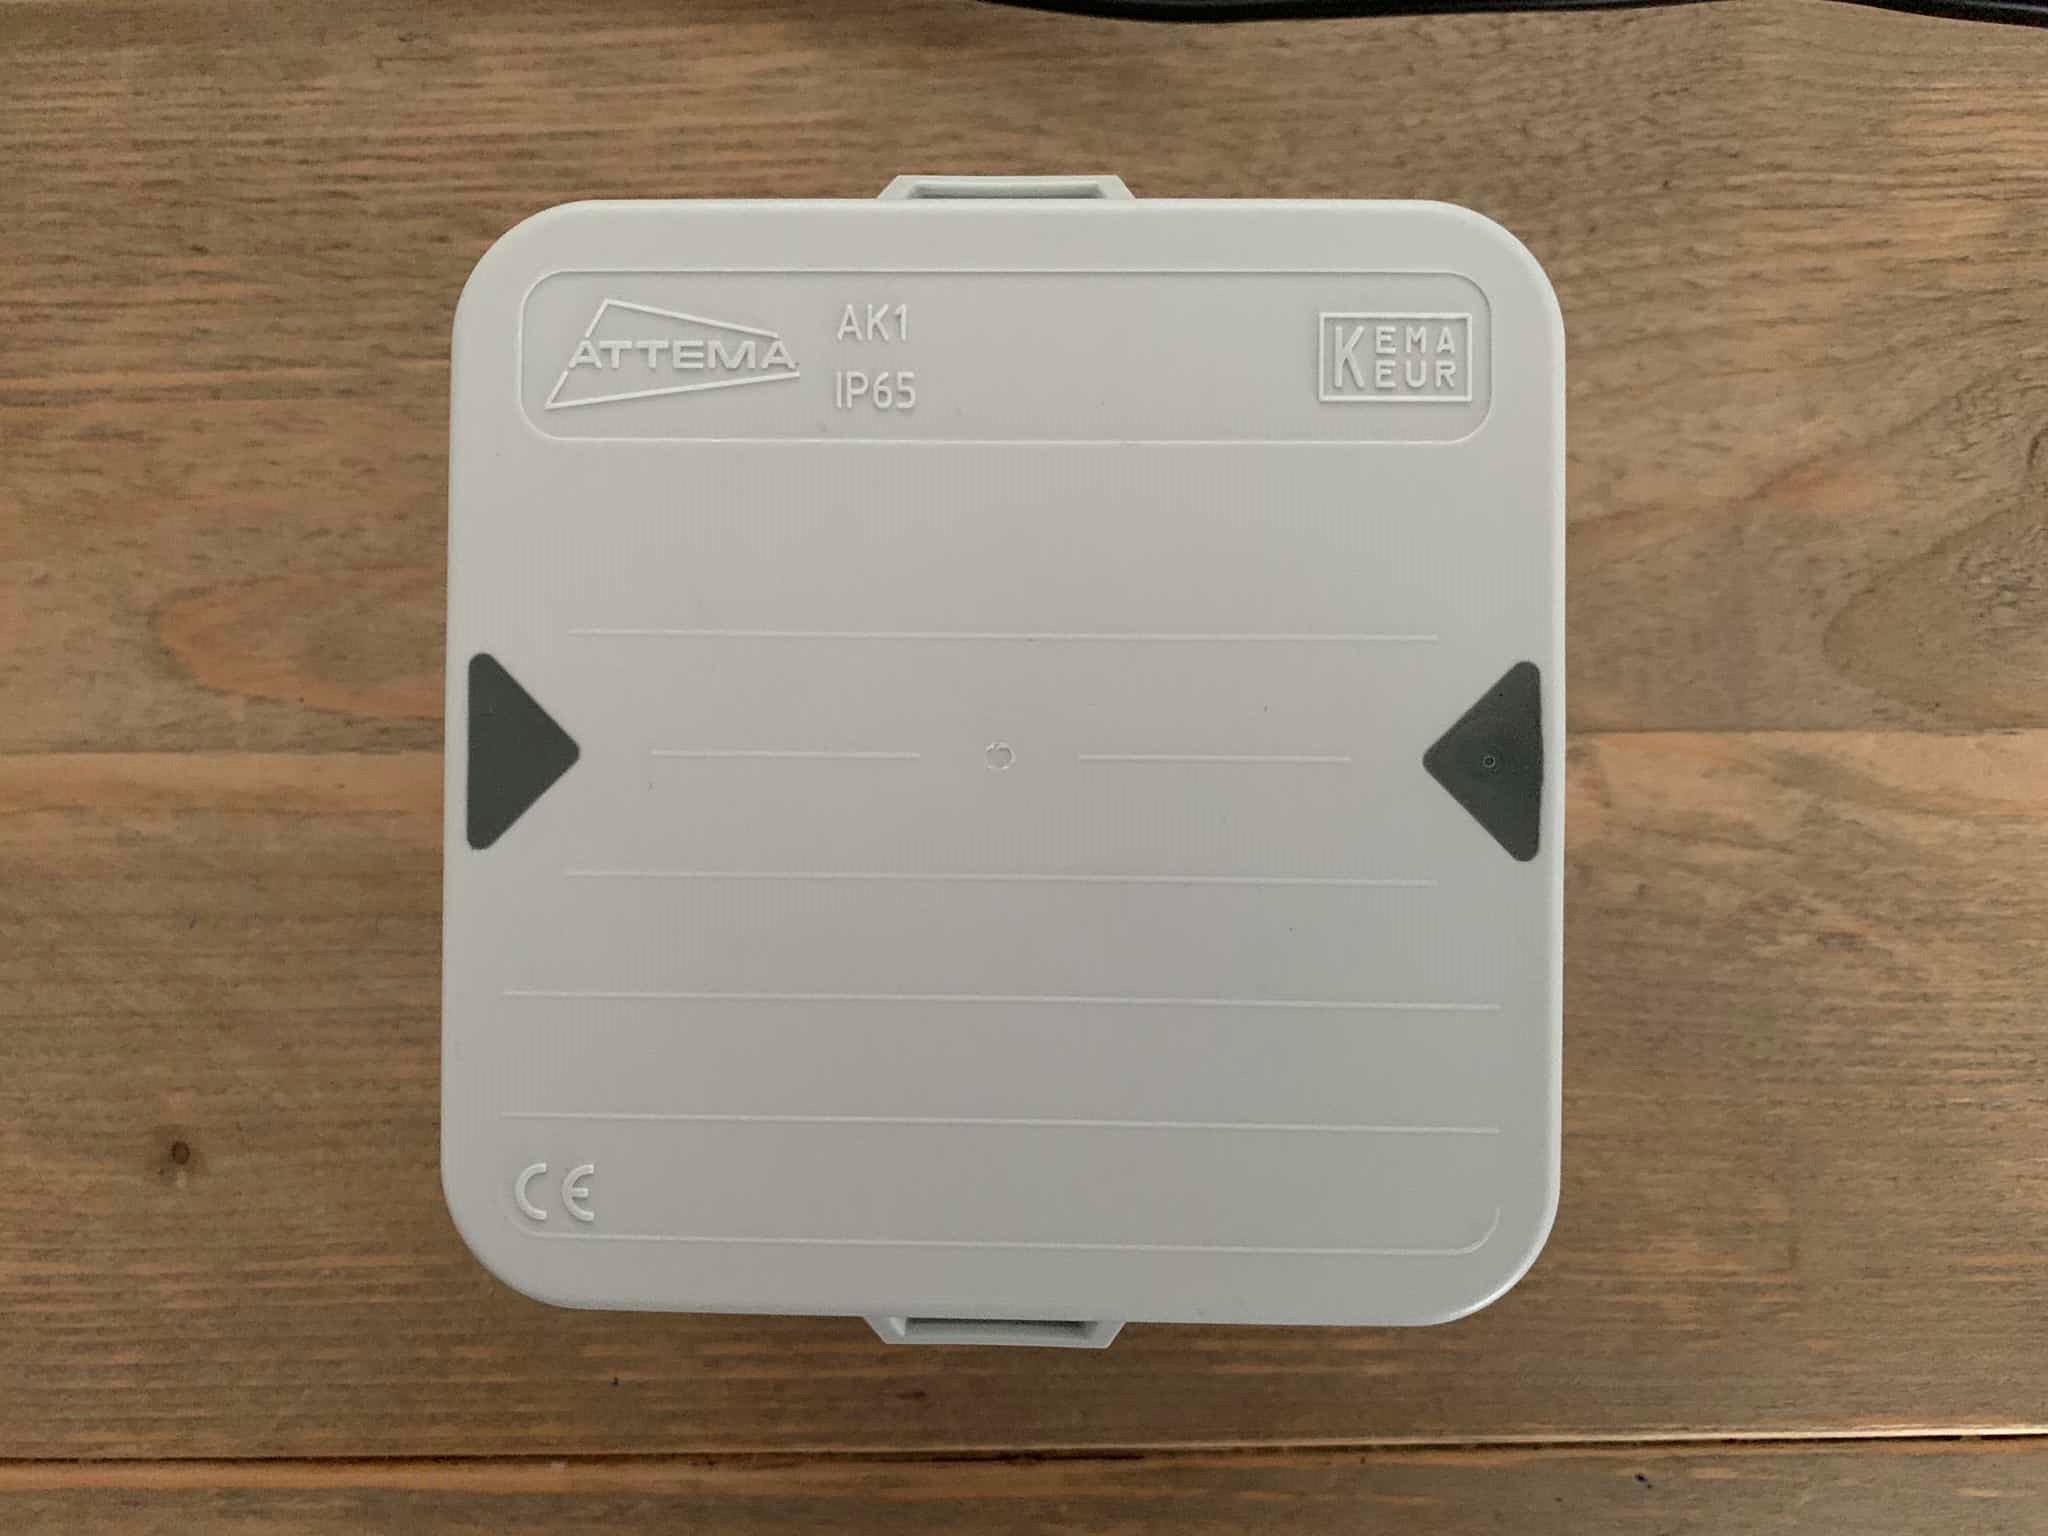
Of course I first choose a fit enclosure before designing my PBC. The goal was to choose a casings that Is IP65 Approved So It’s possible to mount it in the garden, simplifying installation and eliminating clutter. I’m Using this standard Attema AK1-IP65 Enclosure. Its has Robust nylon cable gland with diaphragm seal M20, for applications in industrial environments and the agricultural sector (clamping range Ø8-13mm).

Soldering
Now that my PCB’s have arrived It’s time to solder. I already ordered all my parts already trough aliexpress. I’m still waiting on one component A PNP Transistor to control the relay, but I can still start soldering the rest and test my PCB. Soldering is one of the most fundamental skills needed to dabble in the world of electronics. The two go together like peas and carrots. And, although it is possible to learn about and build electronics without needing to pick up a soldering iron, you’ll soon discover that a whole new world is opened with this one simple skill. Soldering is the only permanent way to ‘fix’ components to a circuit.
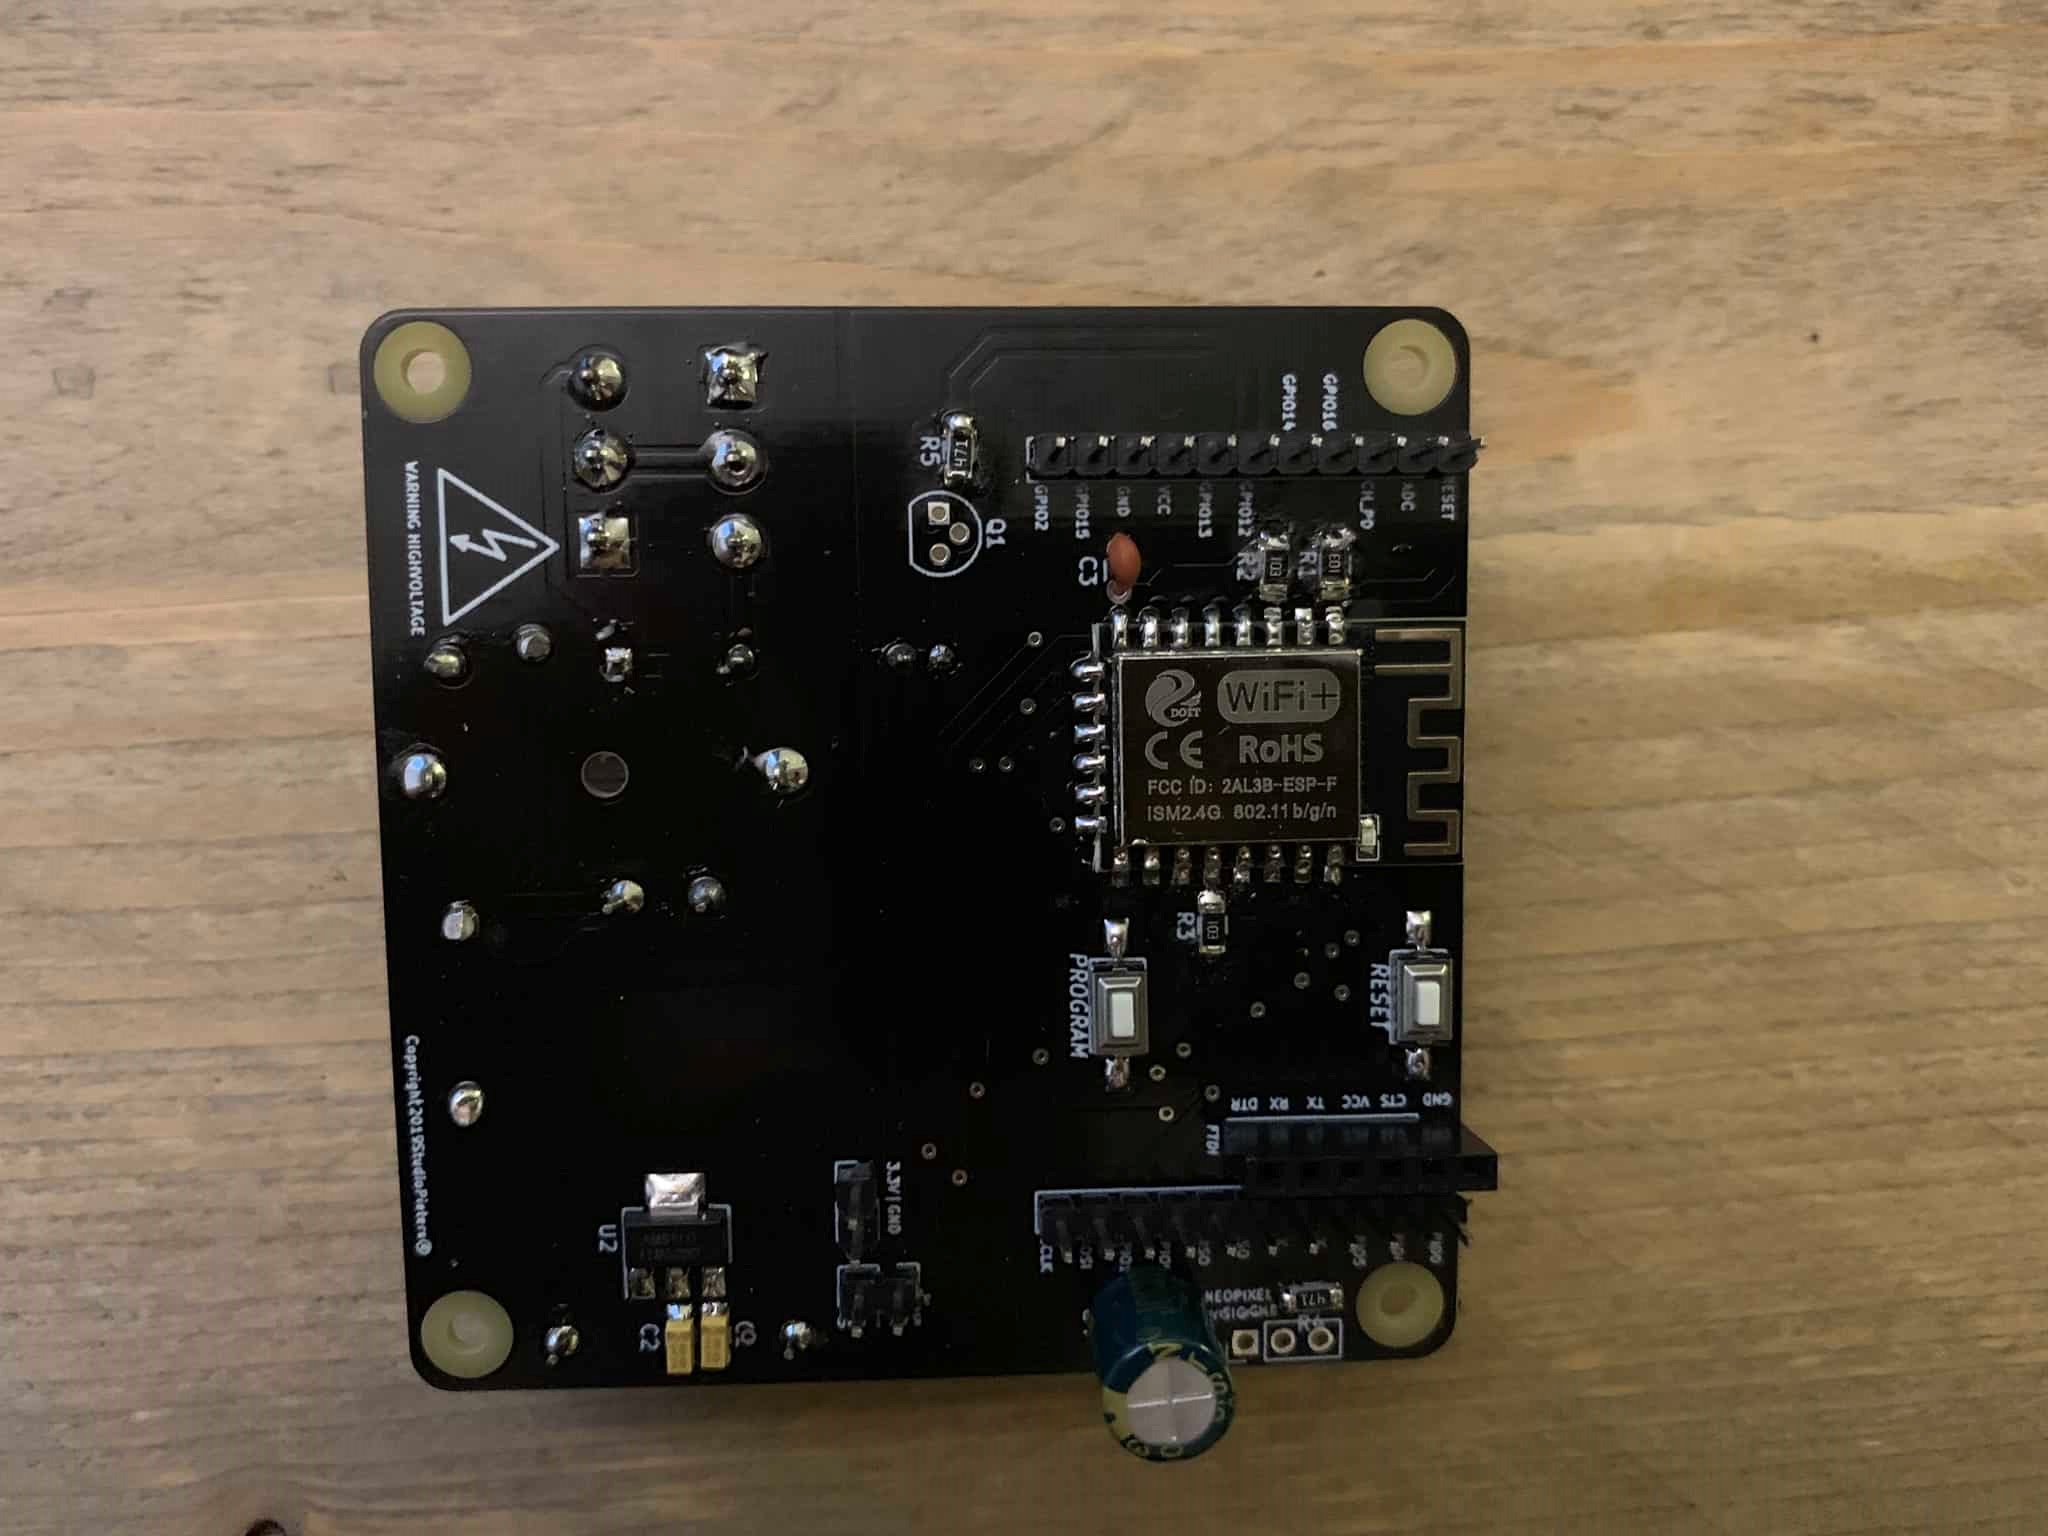
First Run
Okay now it will be exciting. Will it work or not? After connecting my FTDI programmer, I open my terminal app on my Mac. First I will try to flash the ESp8266. For the software I combined the ESP8266 – HomeKit NeoPixel Light Strip with a Relay.
After uploading my HomeKit Accessory code to the ESP, I can add it to my HomeKit app on my phone. So this part is a success!

The Main Power
Now It’s time to connect It to the main power to see if this works, unfortunately without success….
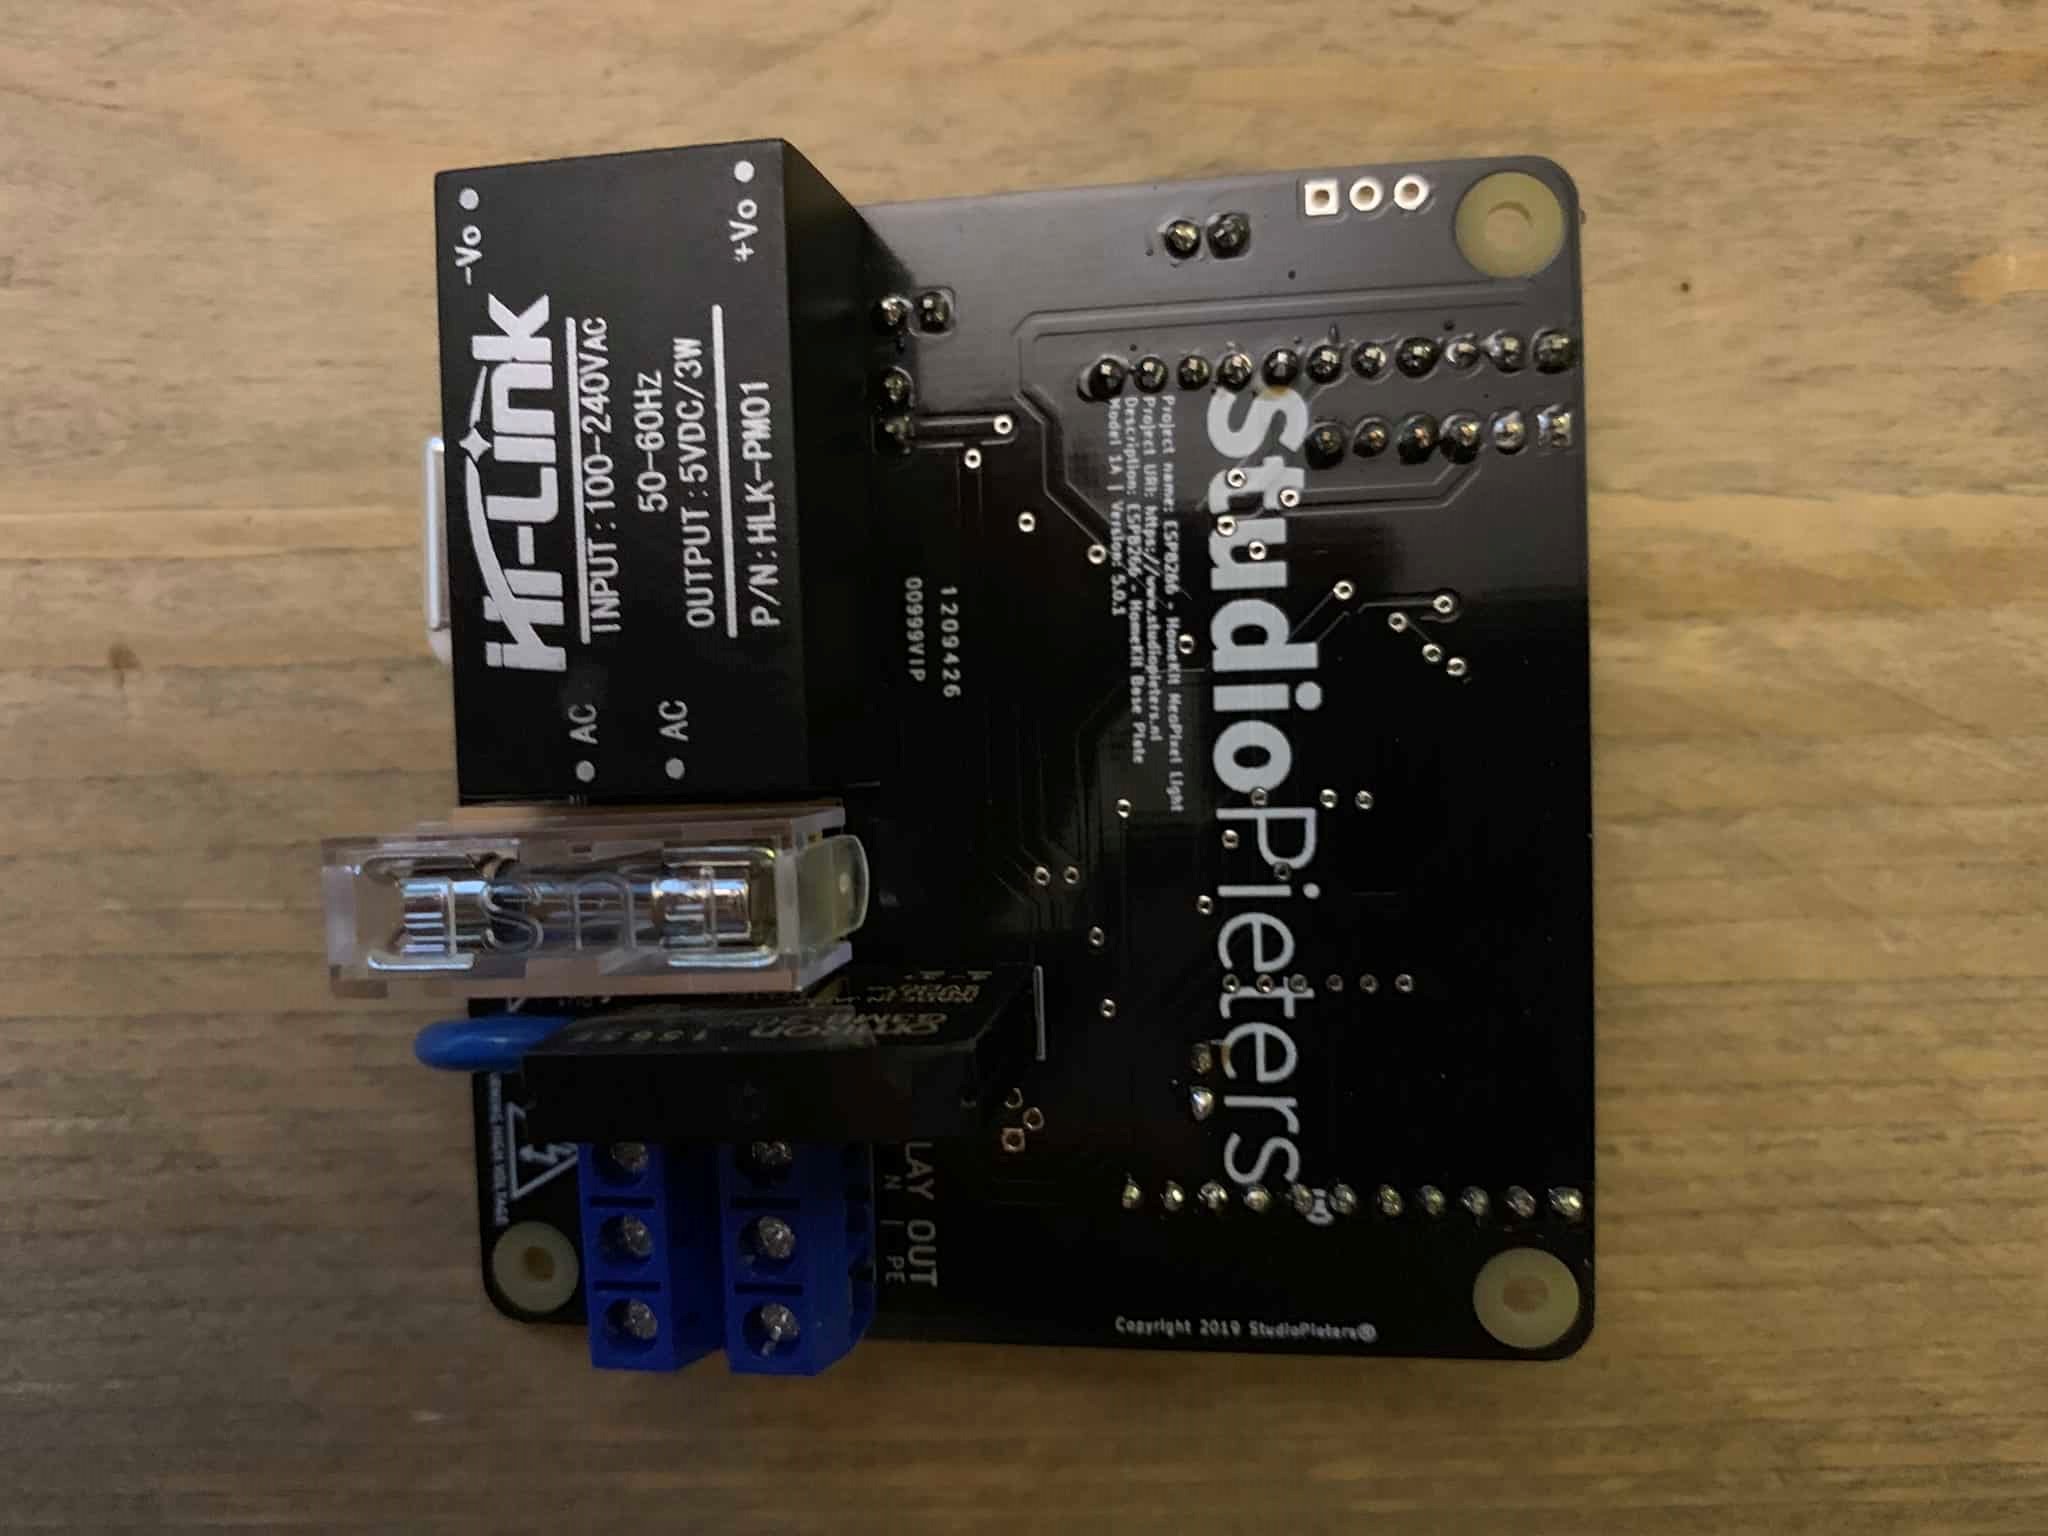
The Solution
When designing my PBC, I kept in mind that it will be connected to 230V. For this I made a separate circuit to convert the 230V to 5V. Of course I also thought about the safety. In addition to placing a Fuse, I have also placed a second fuse, a so-called thermal fuse which burns out at 73 degrees Celsius.
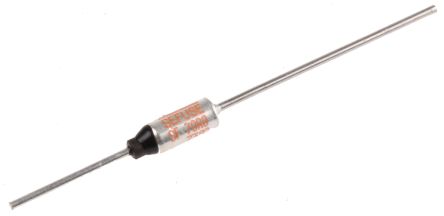
A thermal fuse is a cutoff which uses a one-time fusible link. Unlike a thermal switch which may automatically reset itself when the temperature drops, the thermal fuse is more like an electrical fuse: a single-use device that cannot be reset and must be replaced when it fails or is triggered. A thermal fuse is used when the overheating is a result of a rare occurrence, such as failure requiring repair (which would also replace the fuse) or replacement at the end of service life.

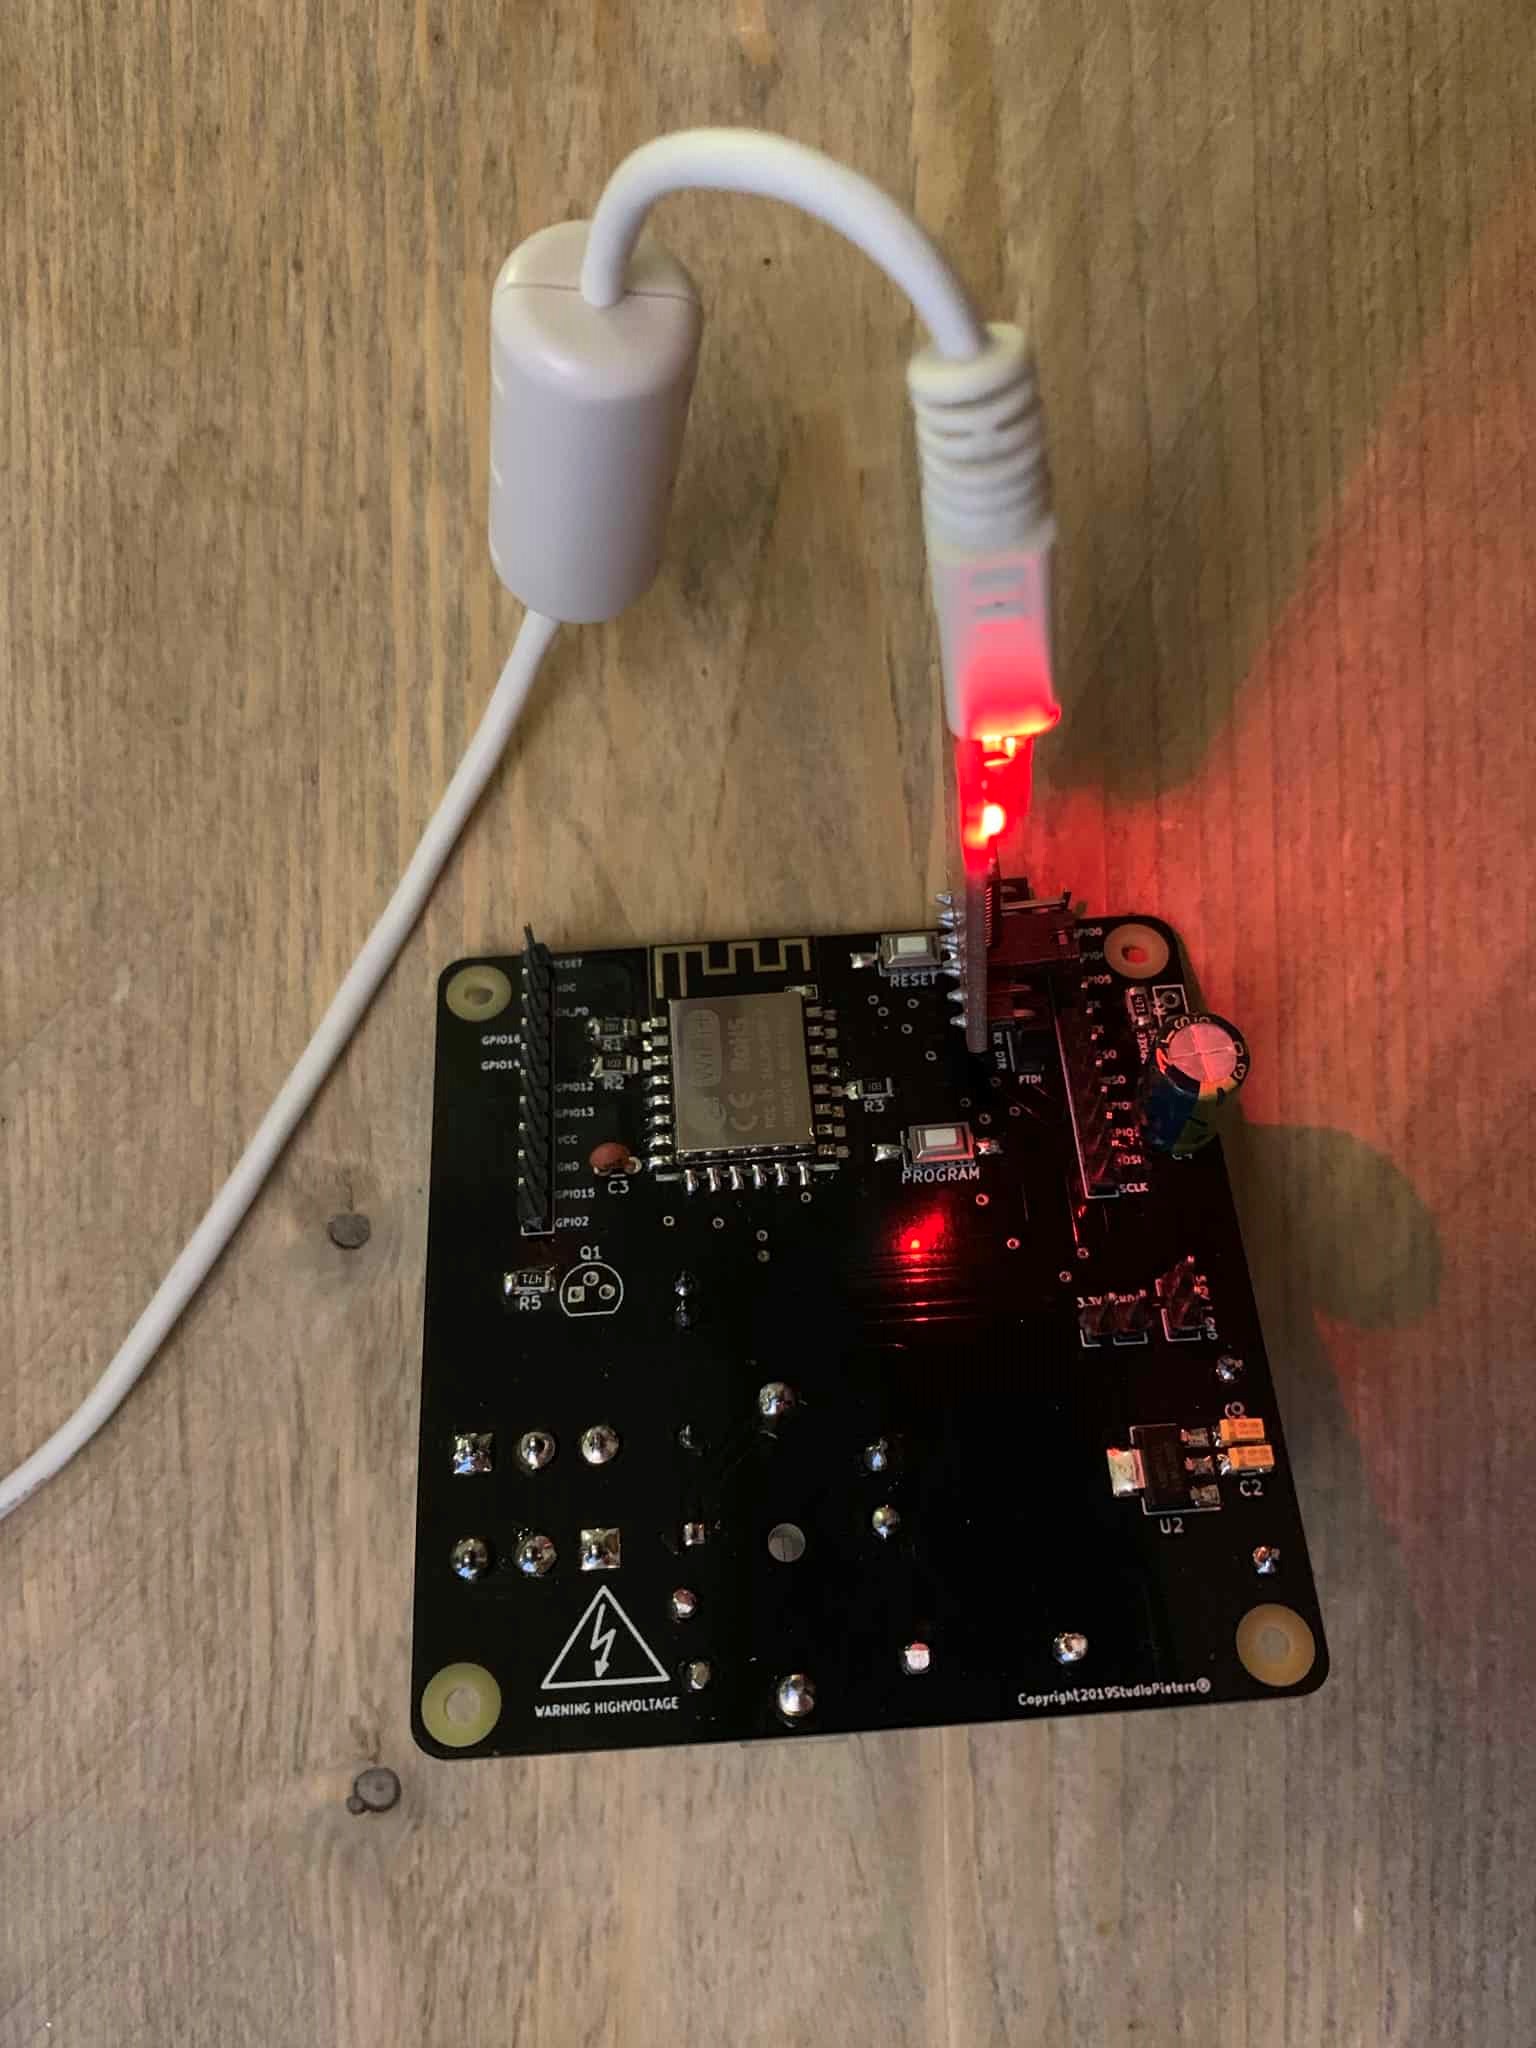
This is to prevent overheating and fire. But oddly enough, the problem lies here too. My soldering iron becomes 350 degrees Celsius hot.This means that my fuse had blown before I could use it. I then removed the thermal fuse and placed a new one, but now of course pay attention that the fuse does not get too hot. After replacement I tried again this time with Success!
The NeoPixel Test
Now that I can program my ESP8266 and the power supply works, I can continue to test my homemade Fountain light. After connecting the NeoPixel Ring, a few LED’s turn on… That is not a good sign, maybe a reboot? Looks like he doesn’t have a good earth. I take a look in my KiCAD Design. No, that’s fine.
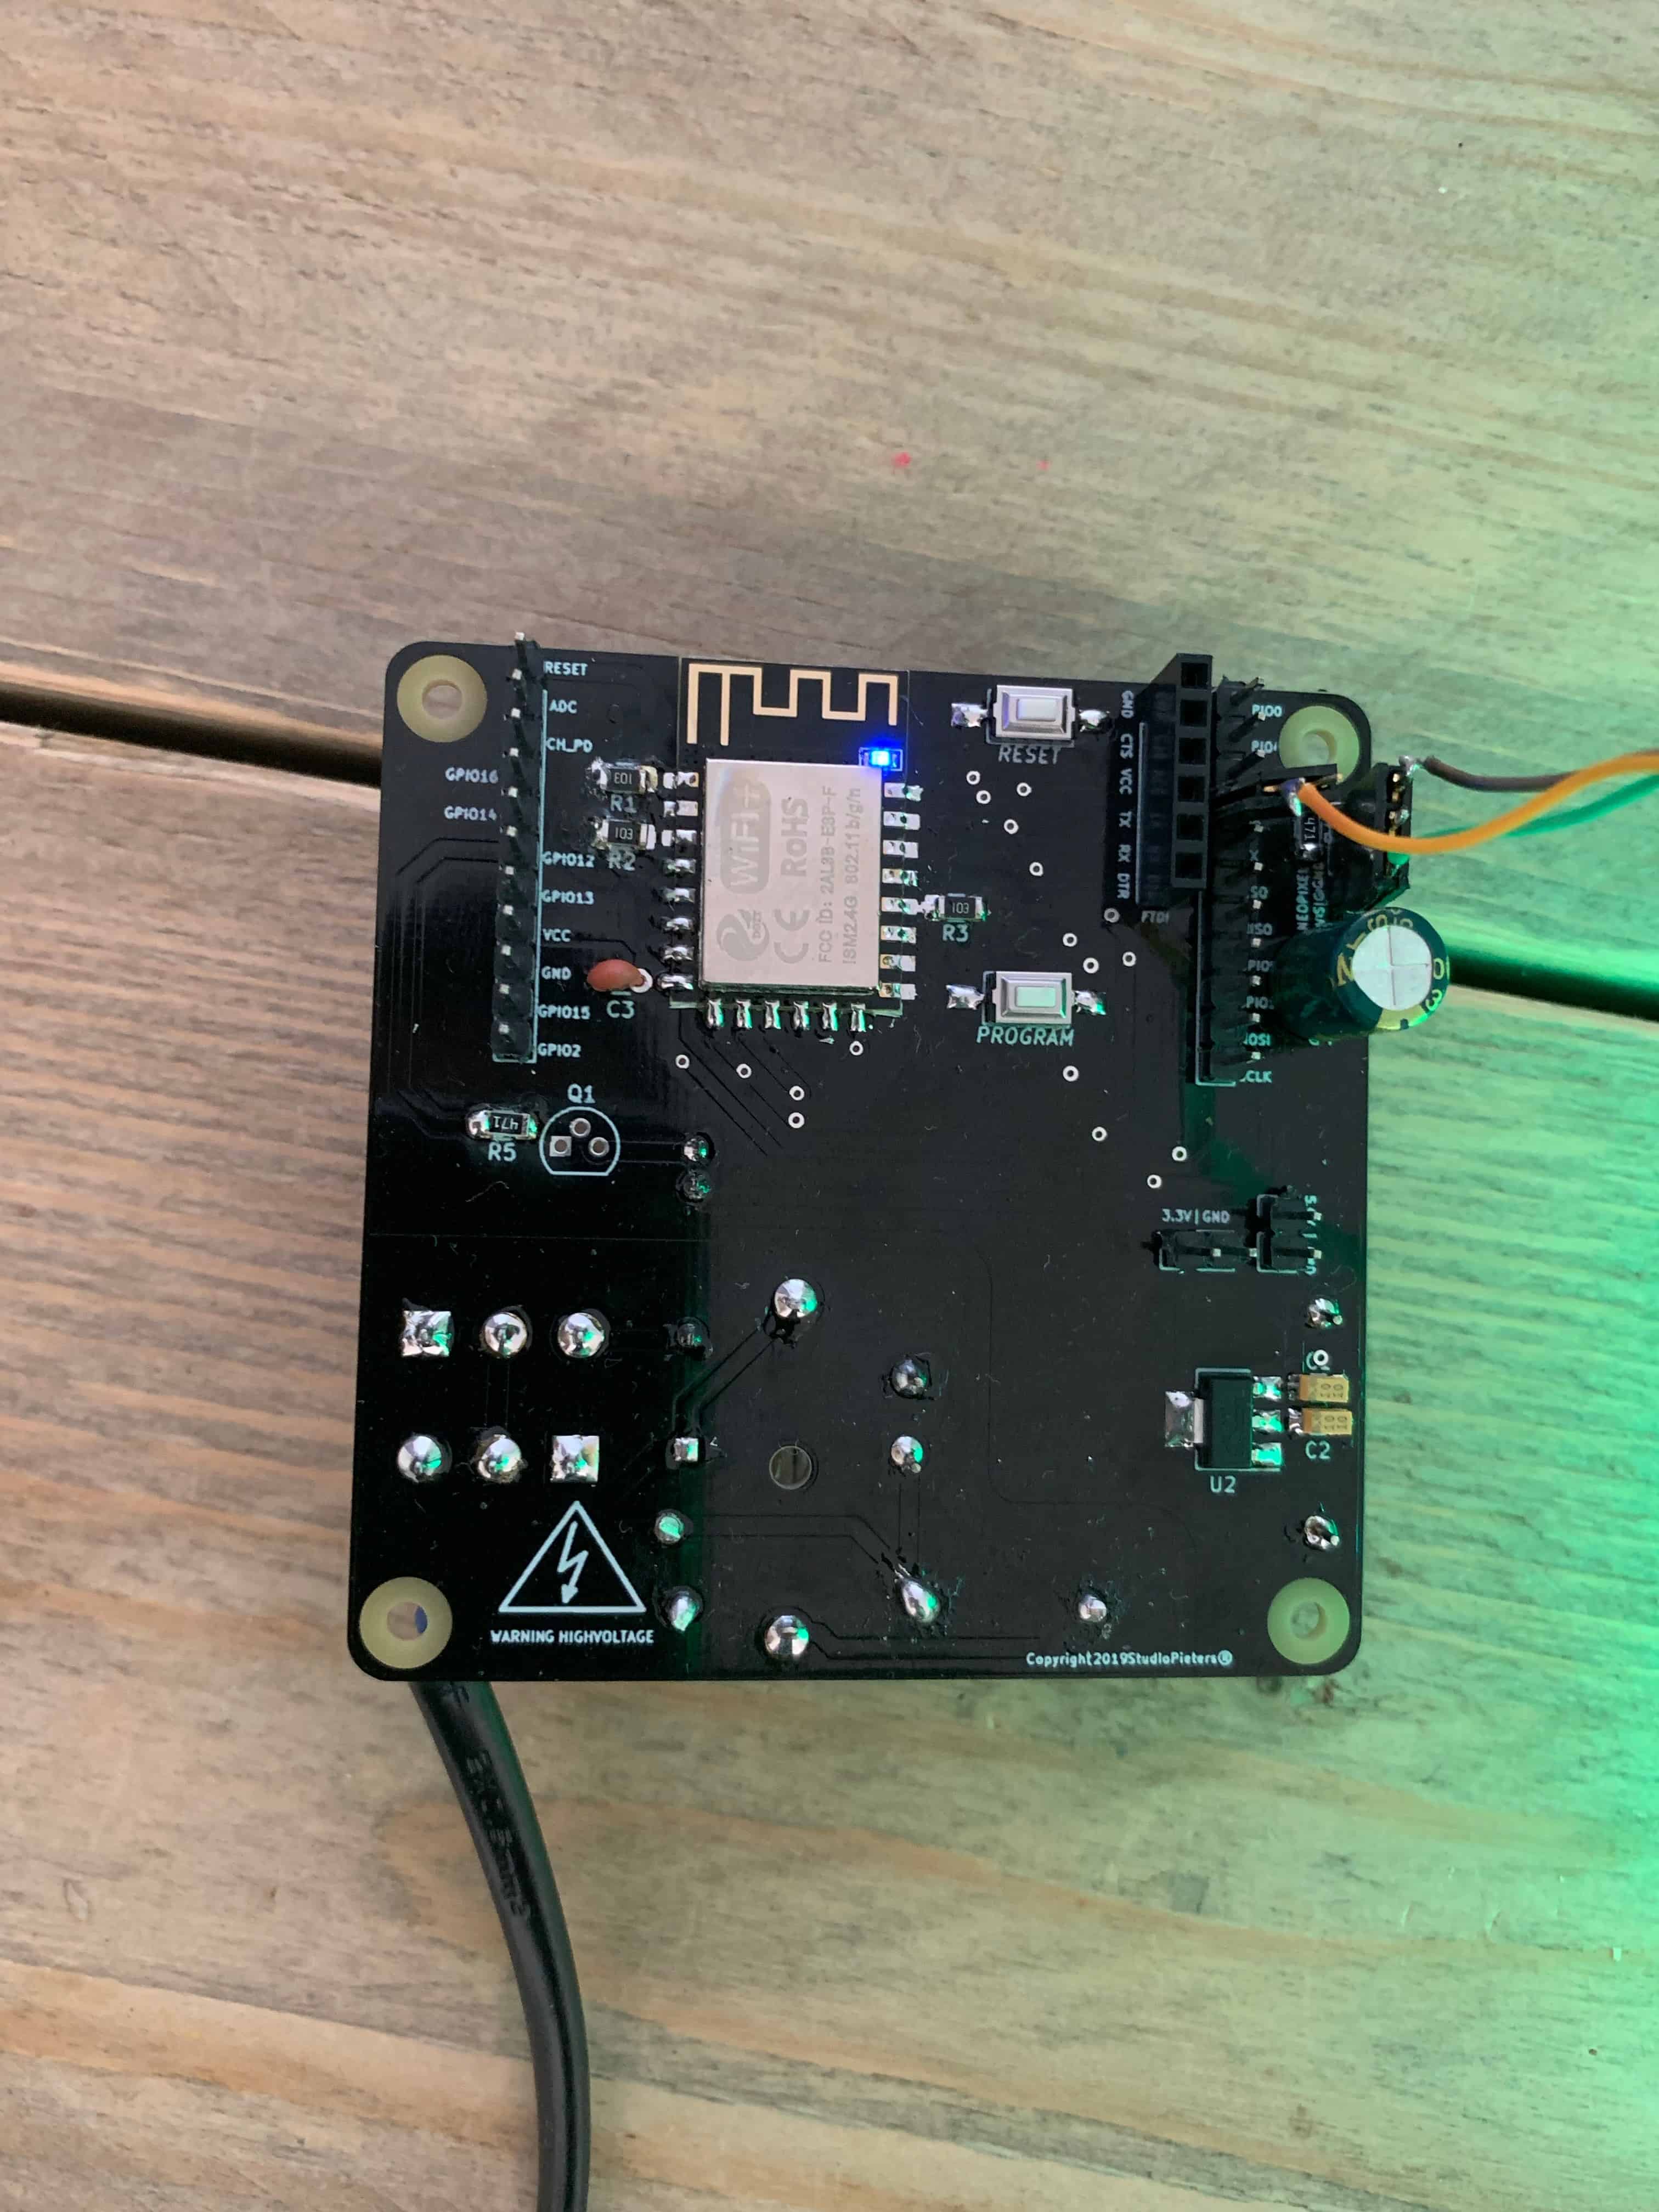
Then I had an idea what it could be, but it can’t be, I checked everything so well, would it? Again I view my KiCAD Design, nooooo… I have connected the NeoPixel ring to the TX (GPIO1) connection of the ESP8266 and this must be the RX (GPIO3) connection.

Fortunately I have redundantly executed all connections by means of a header! Placing the header was from origin for possible expansion in the future, but now it appears that I did well to place it! After connecting the NeoPixel ring to the correct connection, it works properly!
The Relay test
After I finally got my missing part a 2N2222 is a common NPN bipolar junction transistor (BJT) used for general purpose low-power amplifying or switching applications. It is designed for low to medium current, low power, medium voltage, and can operate at moderately high speeds. After Soldering on to my PCB It’s time to test it again.
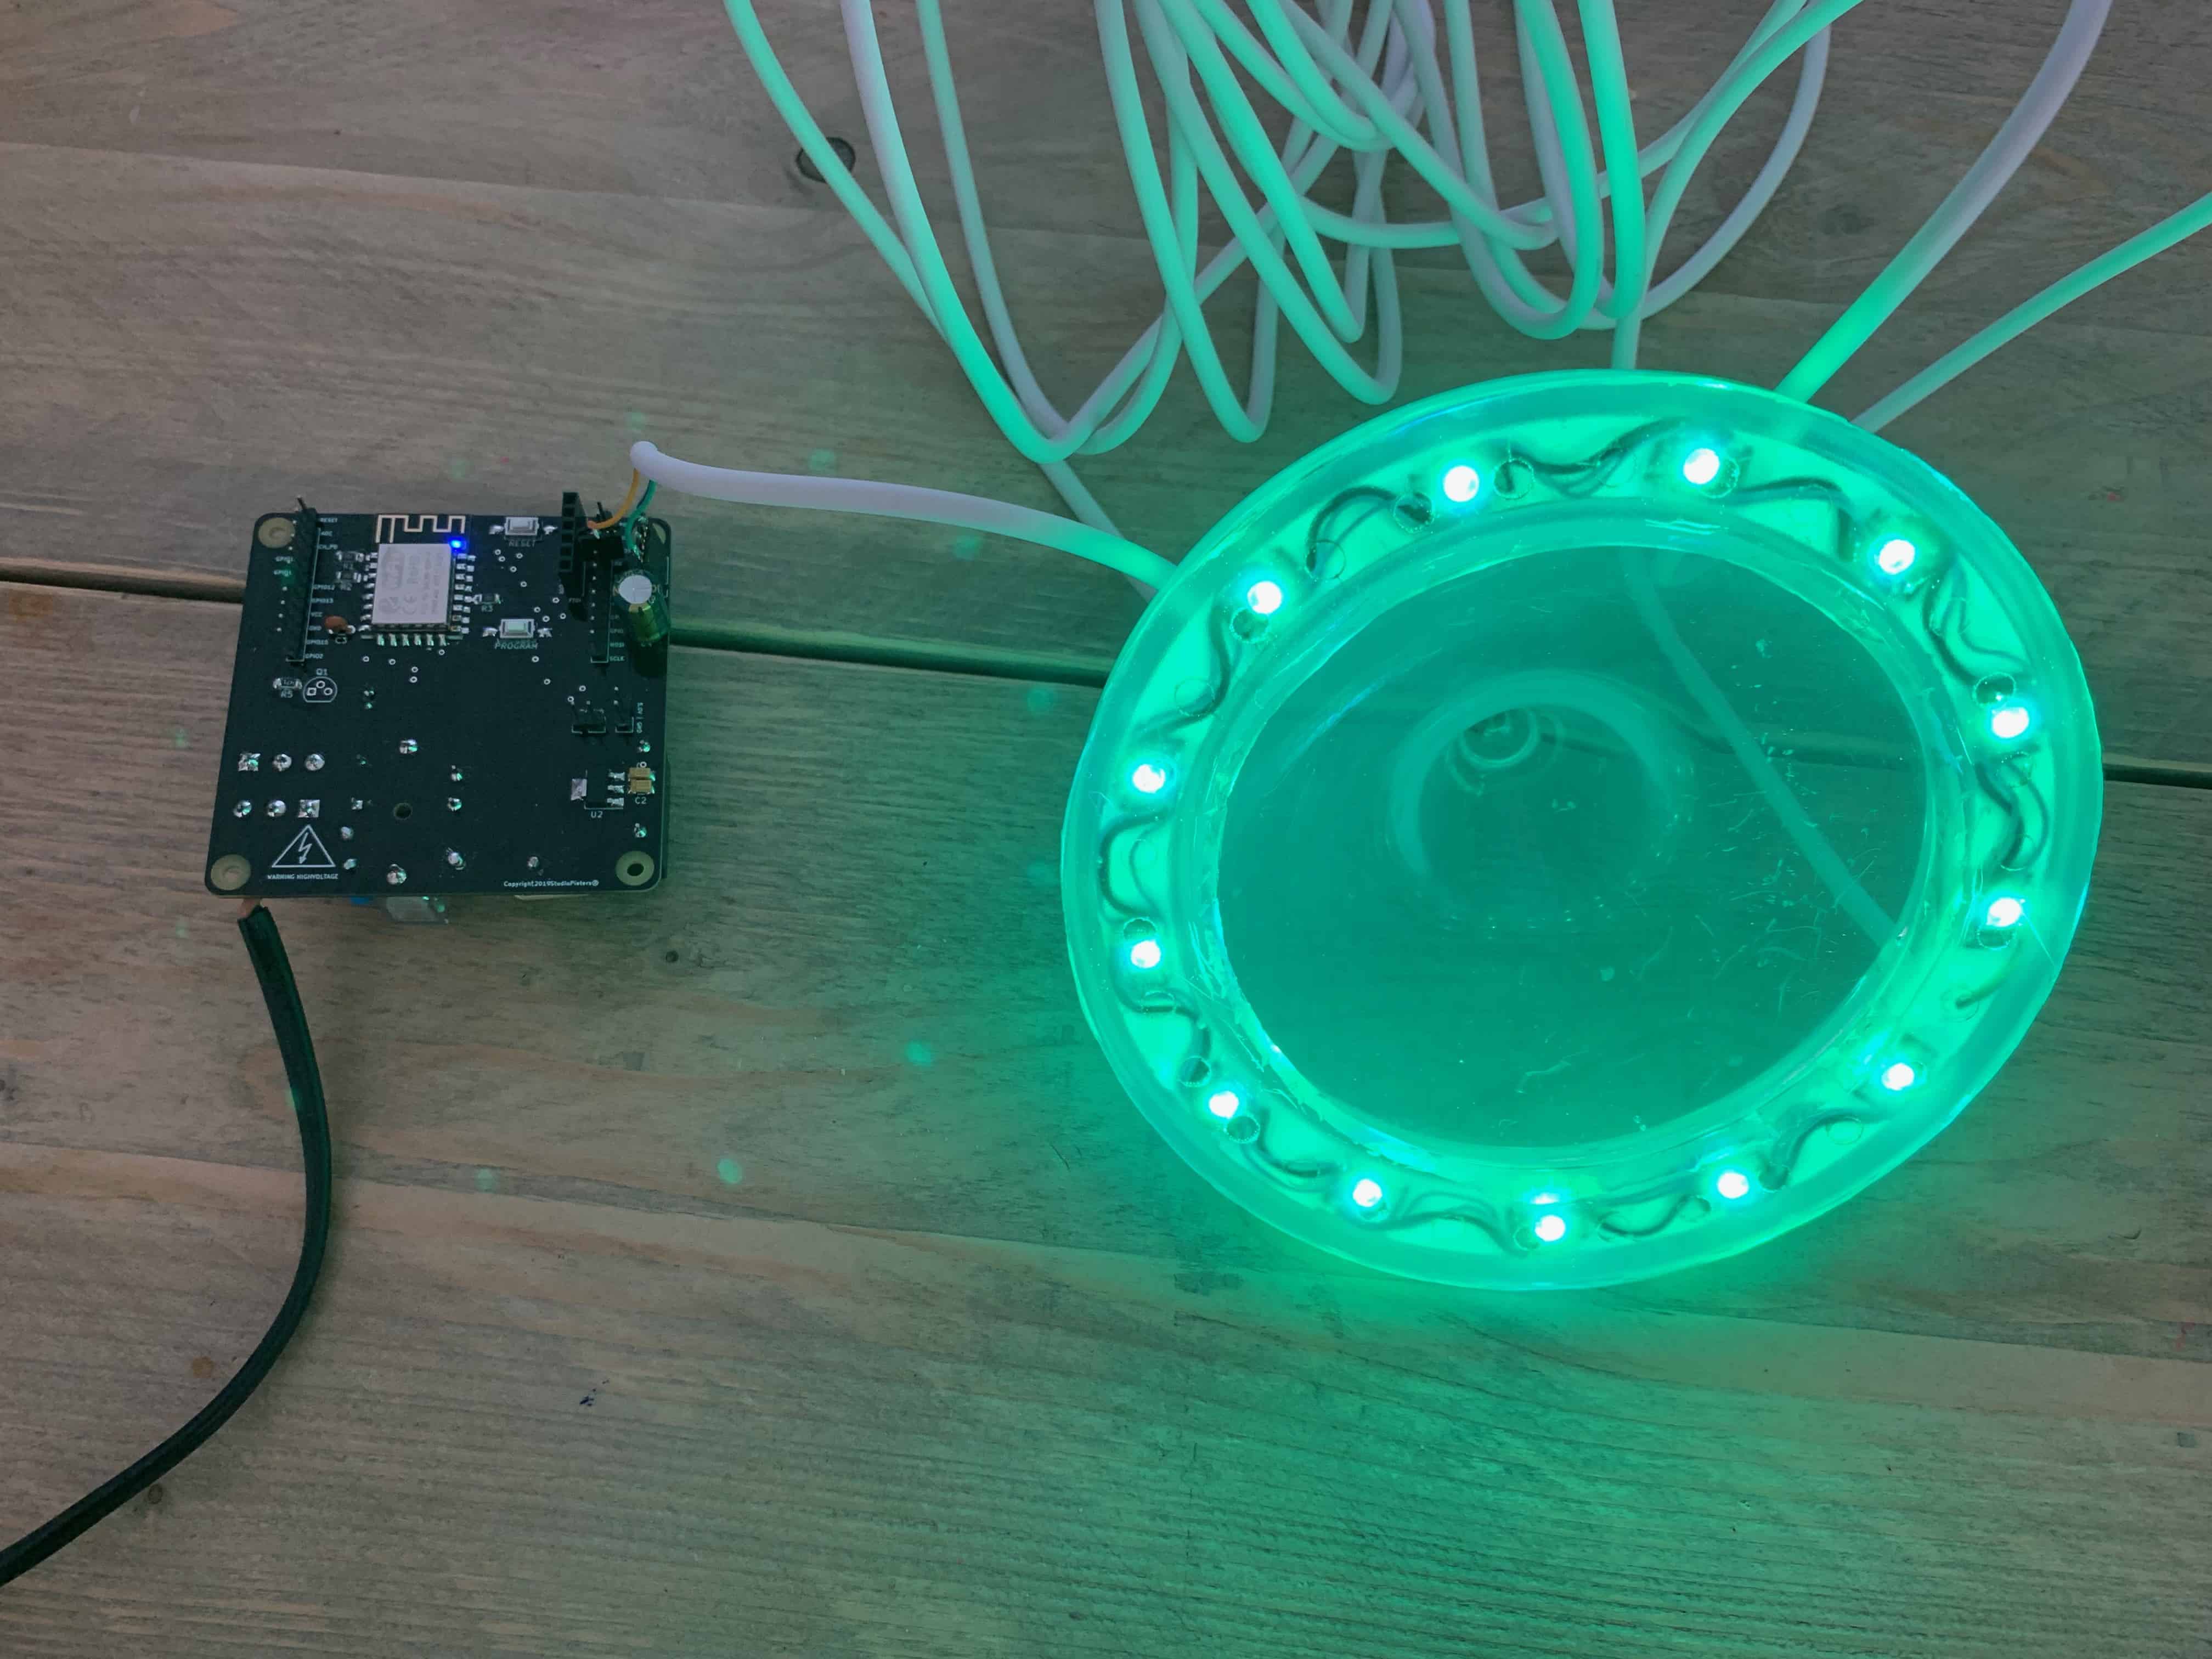
Nice It works! No reconnect my NeoPixel ring and see if it all works together.
Now that all the hardware is tested It’s time to mount the PCB in its enclosure.
PCB Installation
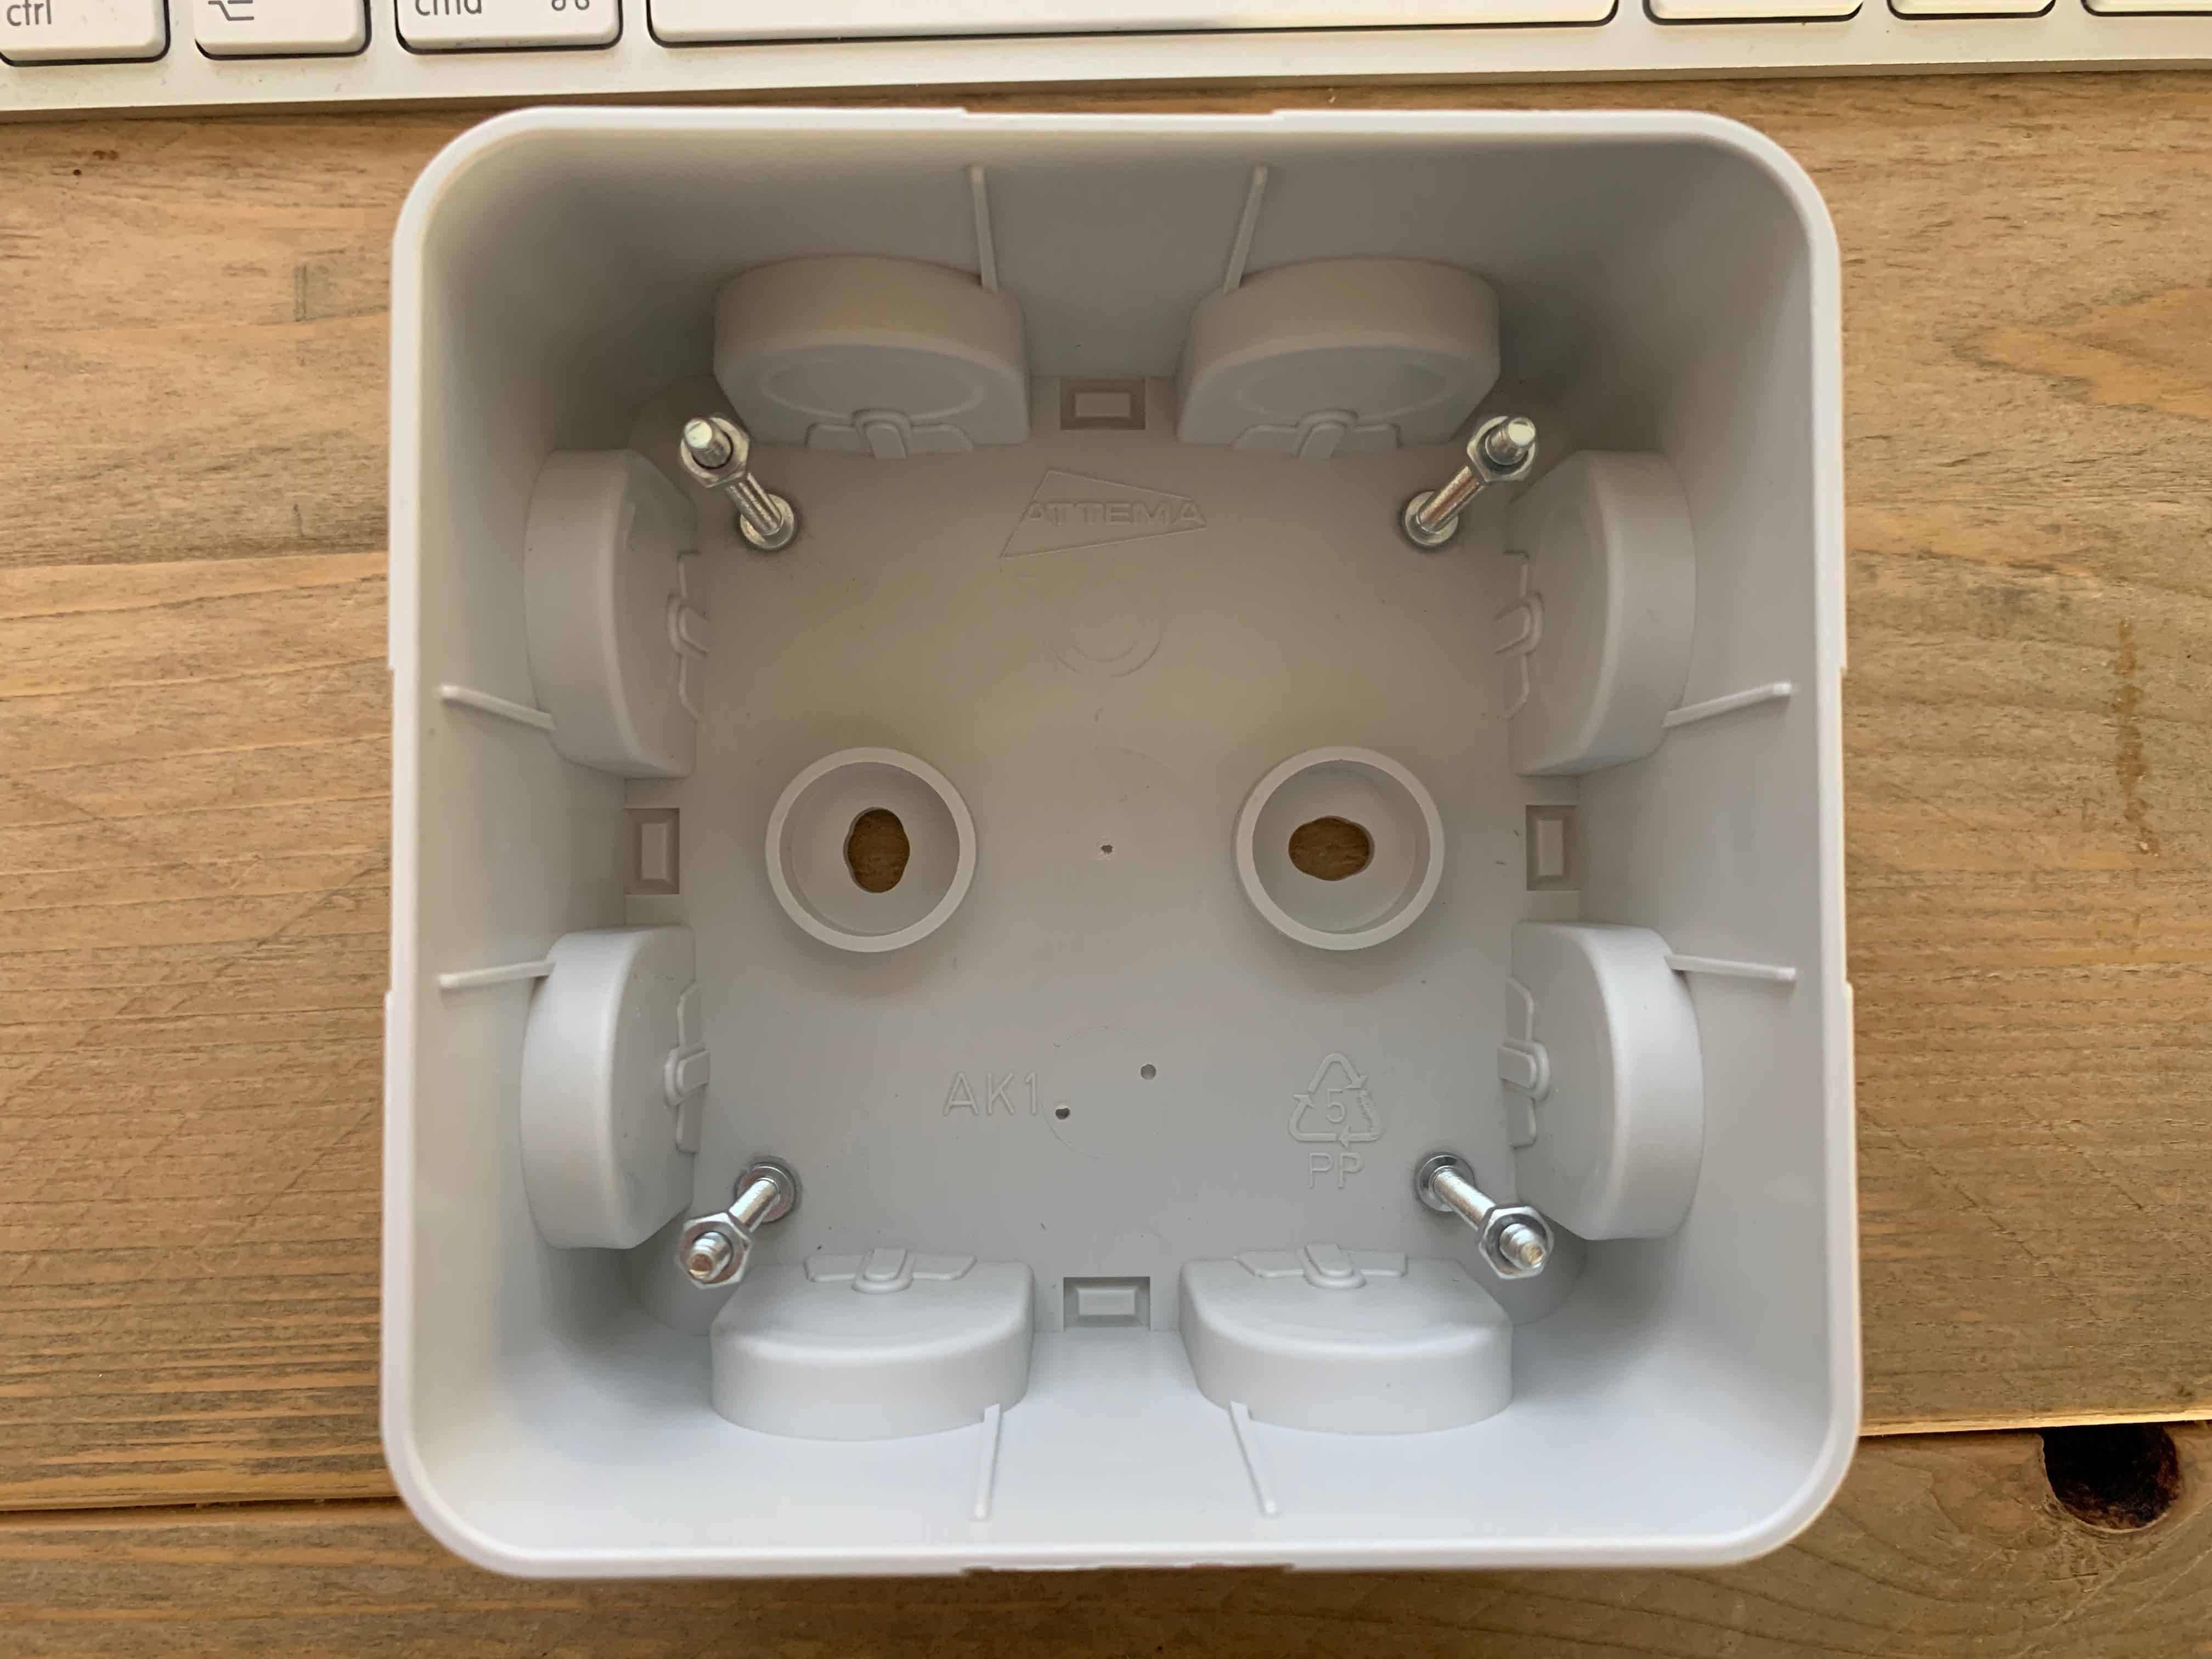
Of course I first choose a fit enclosure before designing my PBC. The goal was to choose a casing that Is IP65 Approved So It’s possible to mount it in the garden, simplifying installation and eliminating clutter. I’m Using this standard Attema AK1-IP65 Enclosure. Its has Robust nylon cable gland with diaphragm seal M20, for applications in industrial environments and the agricultural sector (clamping range Ø8-13mm).
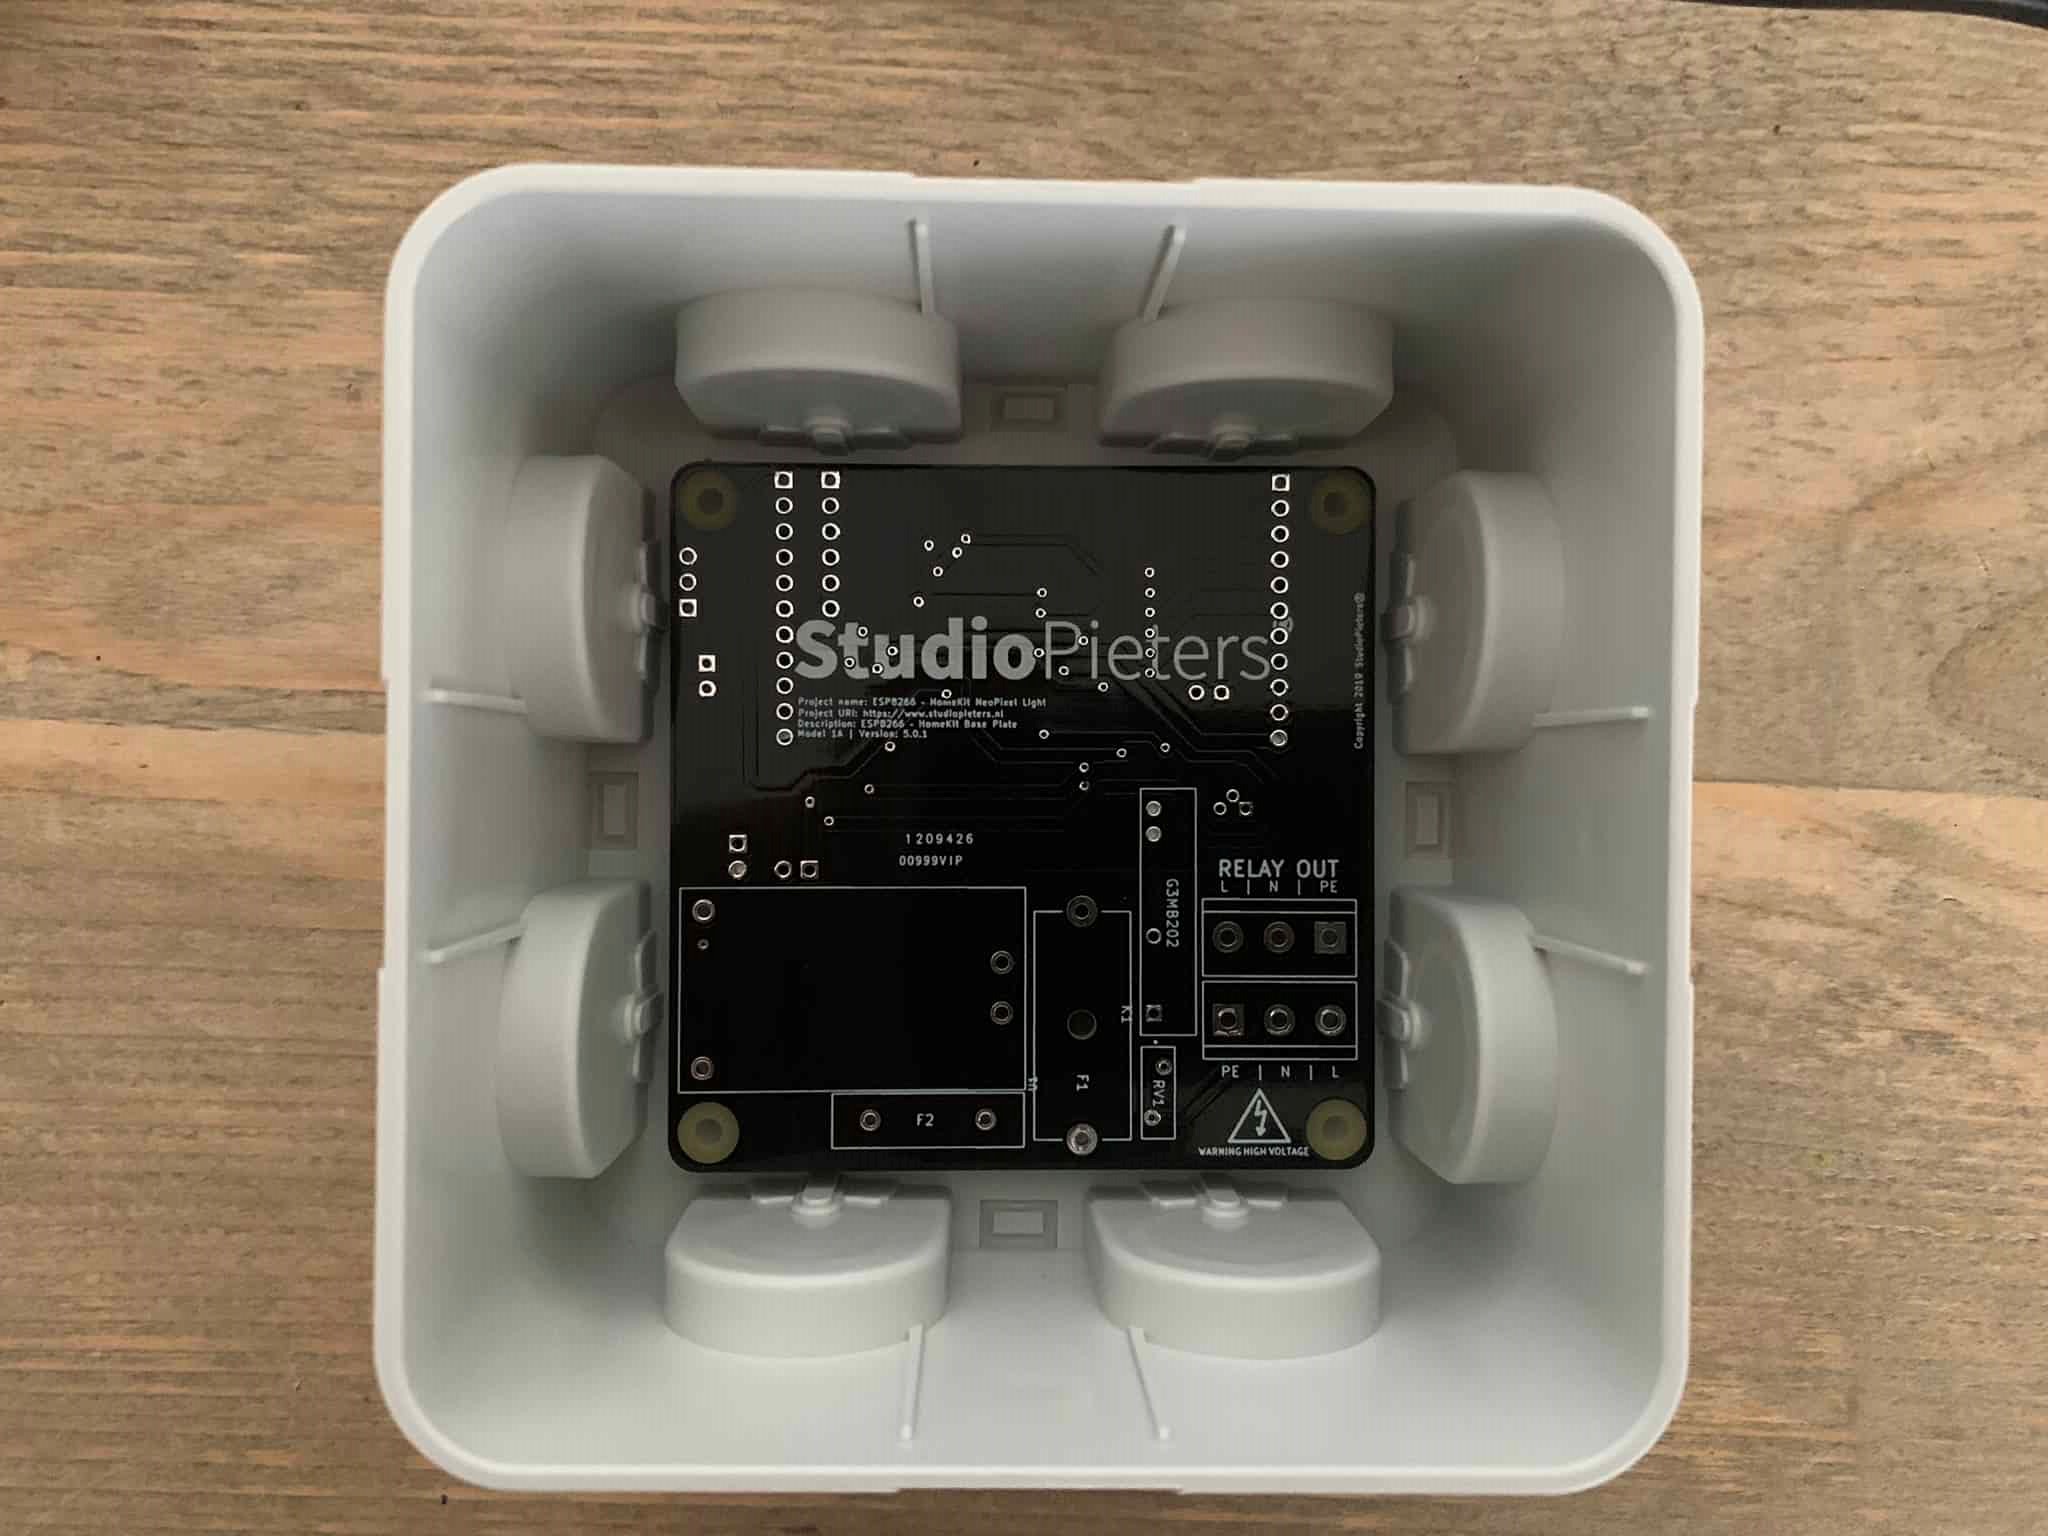
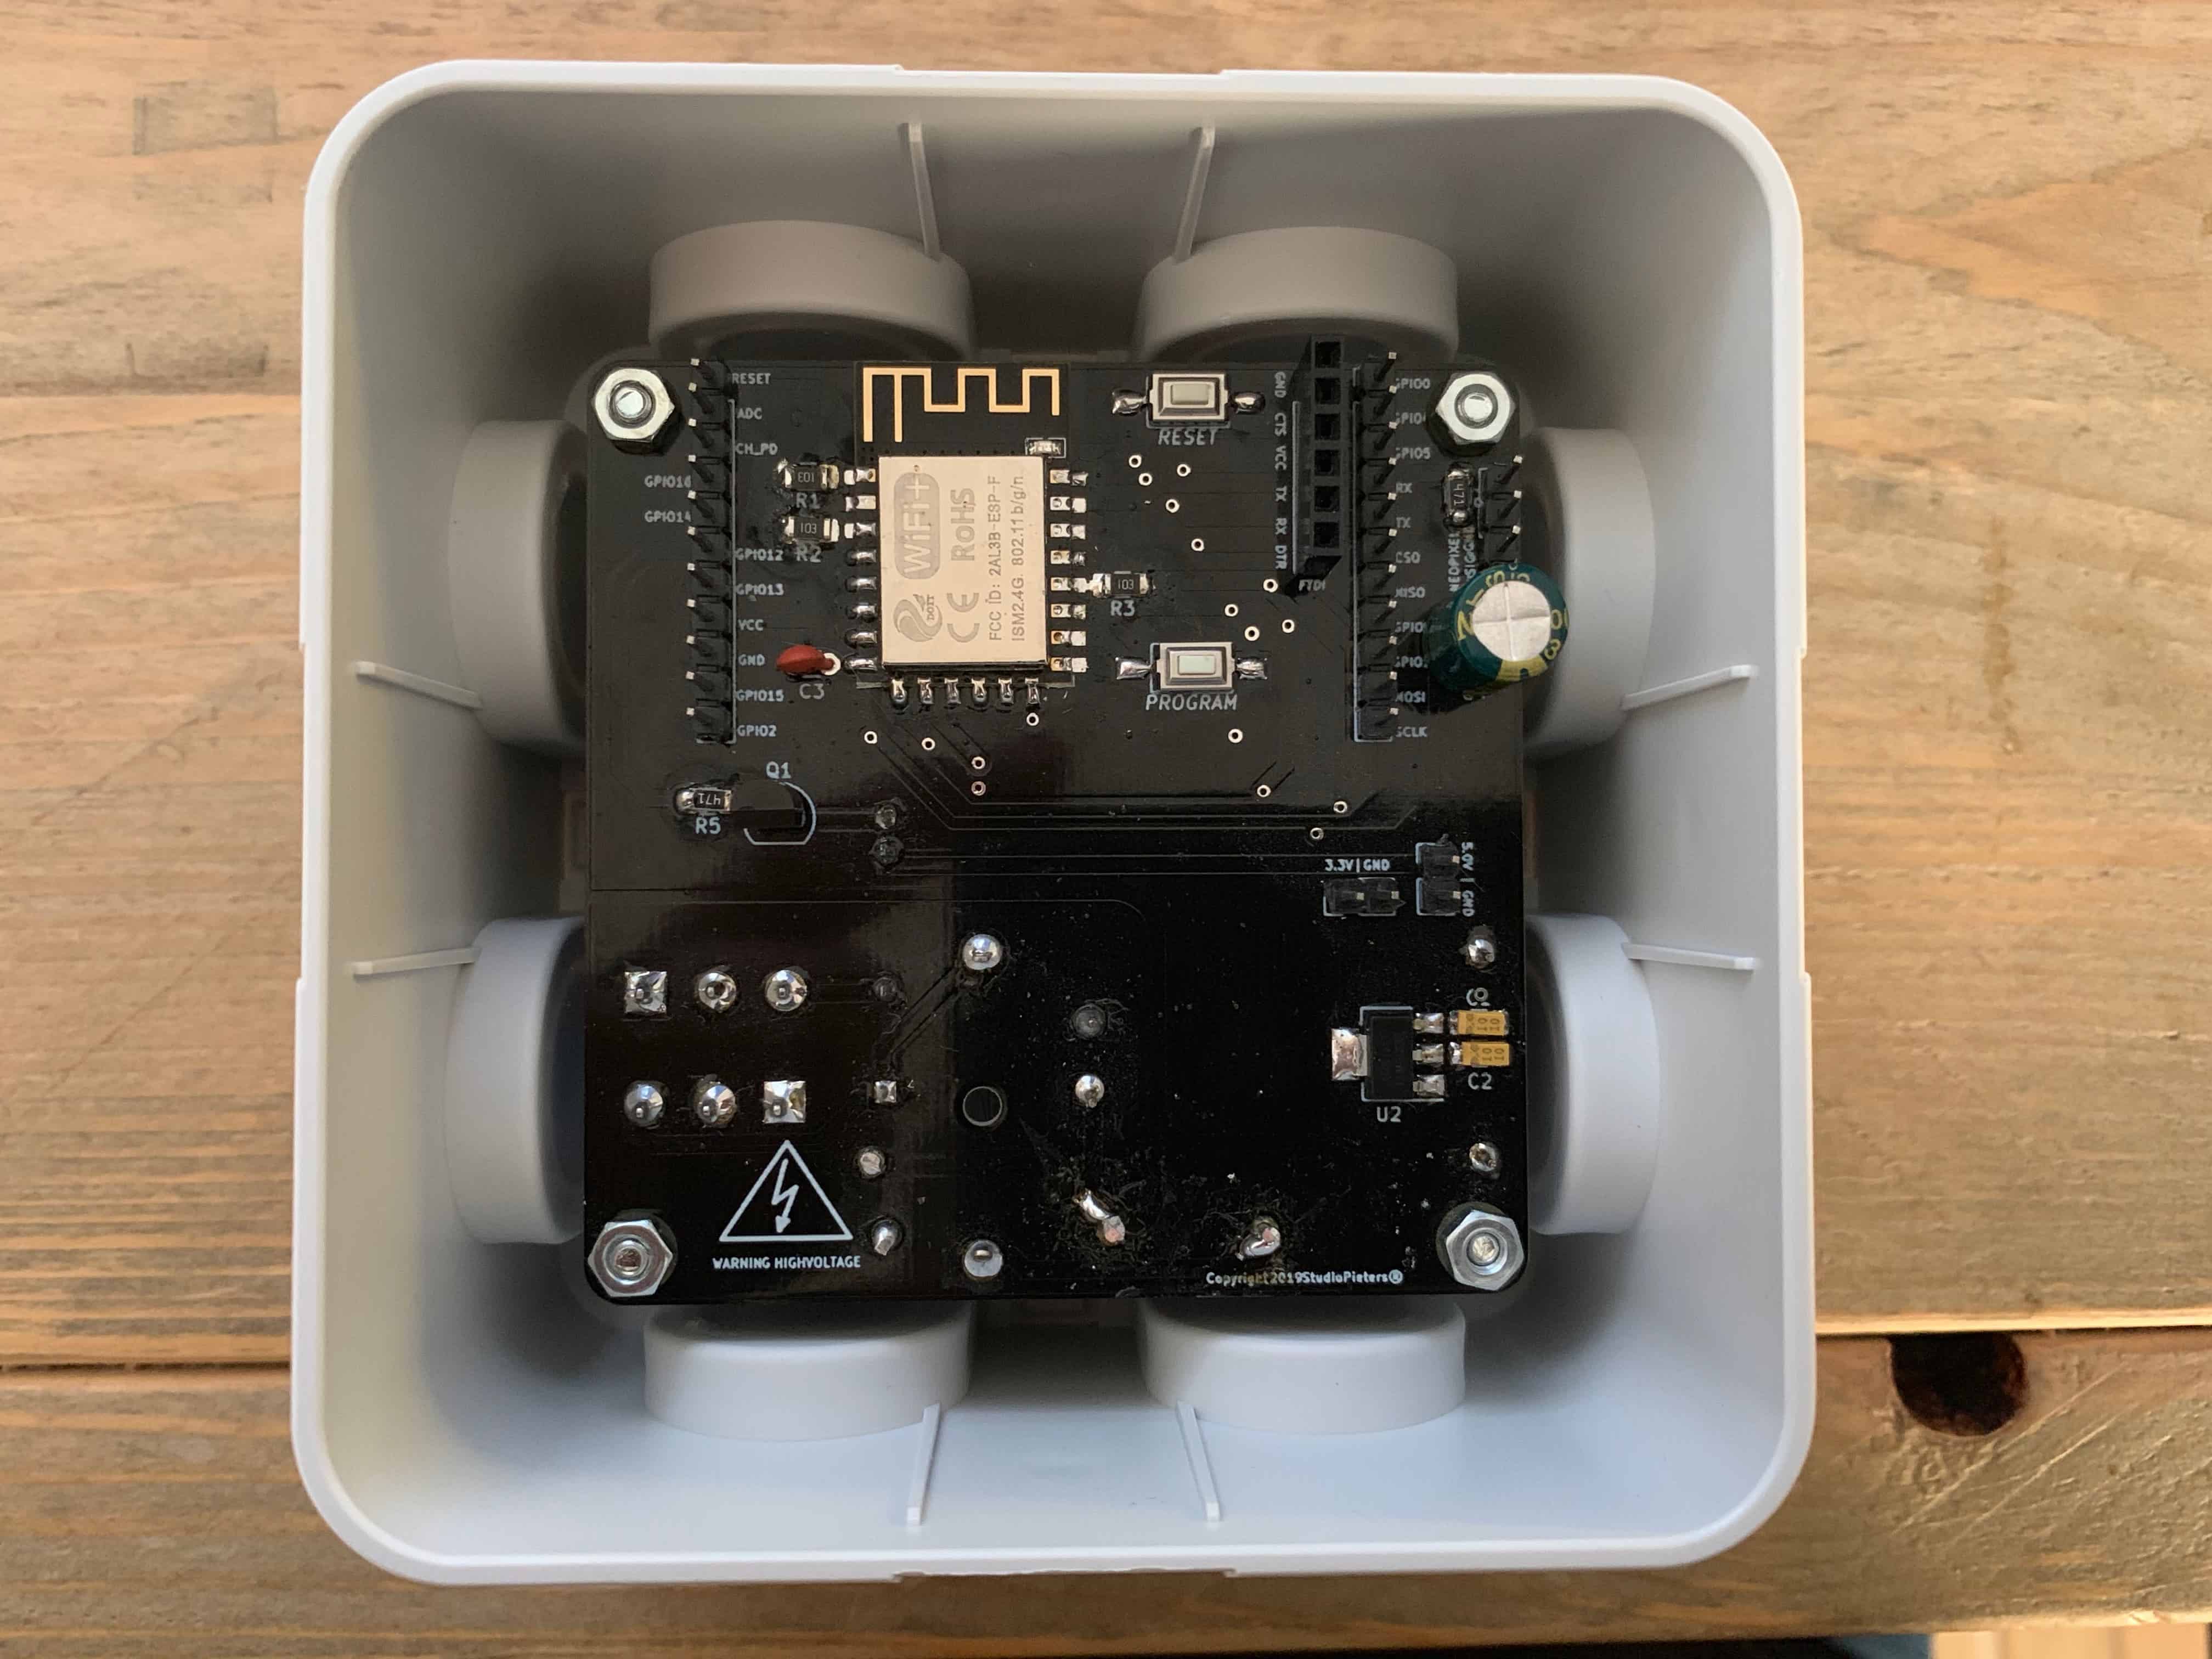
To fix the PCB I super glued four bolts in the enclosure. The Bolts provide enough height so the incoming wires will have enough space when the come into the enclosure. Then I fixed four nuts with some superglue so they stay at the desired height. Hereafter I can place the PCB and fix it with four Nuts. Here’s the result.
Real Life Installation and testing
Now that everything is ready, it’s time to install everything in the garden. After half an hour of work, everything is installed, time to test it. Here is the end result!

Testing the HomeKit Fountain light hardware

DO YOU HAVE ANY QUESTIONS? LEAVE A COMMENT DOWN HERE.
Note: To produce and sell HomeKit compatible accessories, your company need to be certified for that (https://developer.apple.com/homekit/, If you’re interested in developing or manufacturing a HomeKit accessory that will be distributed or sold, your company must enroll in the MFi Program.) Espressif have their implementation of HomeKit framework, but it will give you it only if you have MFi certification (notice this text at the bottom of page you mentioned: Please note that the Espressif HomeKit SDK is available to MFi licensees only, and you need to provide the Account Number for verification purposes when requesting the SDK.).This project is a non-commercial implementation of HAP protocol, not meant for commercial use.
REFERENCE
Maxim Kulkin, esp-wifi-config (2019), Library to bootstrap WiFi-enabled accessories WiFi config, https://github.com/maximkulkin/esp-wifi-config Paul Sokolovsky, esp-open-sdk (2019), Free and open (as much as possible) integrated SDK for ESP8266/ESP8285 chips, https://github.com/pfalcon/esp-open-sdk Espressif Systems, esptool (2019), ESP8266 and ESP32 serial bootloader utility, https://github.com/espressif/esptool HomeACcessoryKid, life-cycle-manager (2019), Initial install, WiFi settings and over the air firmware upgrades for any esp-open-rtos repository on GitHub, https://github.com/HomeACcessoryKid/life-cycle-manager