
Opinion
The ESP32 Family, Explained Honestly
A plain-language walkthrough of every real ESP32 family (and the ESP8266), what each is actually good at, and which one to reach for depending on what you're building.
If you’ve ever searched for which ESP chip to use, you’ve probably noticed there isn’t just one ESP32: there’s the original ESP32, an S series, a C series, an H series, a P series, plus the older ESP8266. Most guides assume you already know the difference. This one doesn’t. Here’s what each family actually is, what it’s good at, and which one to reach for.
What “ESP” actually means
ESP chips are microcontrollers made by Espressif: small, cheap computers built to control hardware and connect to a network. They show up in smart-home devices, sensors, IoT projects, automation and DIY electronics generally. Different families trade off power consumption, wireless protocol support, security features and raw performance.
Quick comparison
| Family | CPU | Wireless | Strength | Best for |
|---|---|---|---|---|
| ESP8266 | Single-core Xtensa | Wi-Fi only | Cheapest | Very simple IoT |
| ESP32 (original) | Dual-core Xtensa LX6 | Wi-Fi + BLE | Balanced, huge community | Most projects |
| ESP32-S2 / S3 | Xtensa LX7 | Wi-Fi + BLE (S3 only) | Native USB, AI instructions (S3) | Displays, cameras, advanced builds |
| ESP32-C2 / C3 / C6 | RISC-V | Wi-Fi + BLE, C6 adds Thread/Zigbee | Low power, modern | Sensors, battery devices |
| ESP32-H2 | RISC-V | BLE + Thread/Zigbee, no Wi-Fi | Built for Matter/Thread | Smart-home nodes |
| ESP32-P4 | Dual-core RISC-V | None built in | High-performance applications processor | Camera/HMI, paired with a separate radio chip |
ESP8266: the classic beginner chip
Processor: Tensilica L106, single-core, ~80–160MHz.
Good at: ultra-cheap Wi-Fi projects, learning the basics. Limited by: little RAM, no Bluetooth, fewer GPIOs. Not ideal for: HomeKit or Matter, or anything doing more than one thing at once.
Still useful, but outdated for most serious builds. This site’s ESP8266 pinout guide covers the specifics.
ESP32 (original): the default choice
Processor: dual-core Xtensa LX6, up to 240MHz. This is the chip that made ESP32 the name people reach for.
Strengths: fast, stable, cheap, the largest library and tutorial ecosystem of any of these chips. Good for: HomeKit accessories, dashboards, displays, motor control, real-time automation, all backed by mature Wi-Fi, MQTT and OTA support.
If you don’t know which chip to pick, pick this one. See this site’s ESP-WROOM-32D pinout guide and the ESP32 HomeKit development guide.
ESP32-S series (S2 / S3): the power-user chips
Processor: Xtensa LX7, focused on performance and peripherals. Special features: native USB, AI/vector instructions (S3 only), camera support.
Good for: voice assistants, camera projects, USB HID devices, advanced UI builds. Fully compatible with esp32-homekit; the S3 also has solid Matter support.
This site covers the ESP32-S2 Mini and the AI-S3 (ESP32-S3).
ESP32-C series (C2 / C3 / C6): Espressif's modern direction
Processor: RISC-V. Advantages: very low power, cheap, modern architecture, strong wireless stacks. C3 is the cheap, stable default; C6 adds Wi-Fi 6 plus Thread and Zigbee on top of Wi-Fi and BLE.
Good for: battery sensors, smart switches, IoT nodes, mesh networks. Works well with esp32-homekit (C3/C6 recommended), and the C6 has excellent Matter support.
See this site’s ESP32-C2, ESP32-C3, ESP32-C5 and ESP32-C6 pinout guides.
ESP32-H2: built for smart-home protocols
Processor: RISC-V. Unlike the other families here, the H2 has no Wi-Fi radio at all, only Bluetooth LE and 802.15.4 (Thread and Zigbee). That’s deliberate: it’s built specifically to speak Matter, Thread and Zigbee directly to smart-home hubs and mesh networks, not to host a Wi-Fi connection itself.
Good for smart lights, sensors and switches that join a Thread/Zigbee mesh rather than your Wi-Fi network directly.
ESP32-P4: the high-performance outlier
The ESP32-P4 is a different kind of chip from the rest of this list: a dual-core, high-clock RISC-V applications processor built for camera, display and HMI workloads, with no wireless radio built in at all. It’s meant to pair with a separate, small connectivity chip (an ESP32-C6, for example) over a wired link when a project needs both serious local processing and a network connection.
Overkill, and the wrong tool, for a typical DIY sensor or smart-home accessory, this is for camera/vision or UI-heavy projects that need more CPU/GPU-adjacent power than the Wi-Fi-integrated chips above provide.
HomeKit, Matter, Thread and Zigbee support
| Chip | HomeKit (esp32-homekit) | Matter | Thread / Zigbee |
|---|---|---|---|
| ESP8266 | Limited | No | No |
| ESP32 (original) | Yes | Experimental | No |
| ESP32-S3 | Yes | Yes | No |
| ESP32-C6 | Yes | Yes | Yes |
| ESP32-H2 | No Wi-Fi, not applicable | Yes | Yes |
For an esp32-homekit project specifically, the recommended chips are the original ESP32, the ESP32-S3, the ESP32-C3 and the ESP32-C6. See this site’s own Matter project if you’re building toward Matter rather than classic HomeKit.
Which ESP should you use?
- Learning / first project: the original ESP32
- Smart-home node on a Thread/Zigbee mesh: ESP32-C6 or ESP32-H2
- Battery-powered sensor: ESP32-C3
- Camera, display or heavier UI: ESP32-S3
- Vision/HMI processing paired with a separate radio: ESP32-P4
The honest final verdict
If only one chip: the original ESP32 is still the best overall pick for most people. It’s the cheapest powerful option, extremely stable, has the largest community, and works with nearly every library and tutorial out there. For 90% of DIY projects, you don’t need anything else.
Choosing the right chip isn’t about picking the newest one, it’s about picking the one that actually fits what you’re building.
Related
 Tools
The ESP-WROOM-32 Programmer
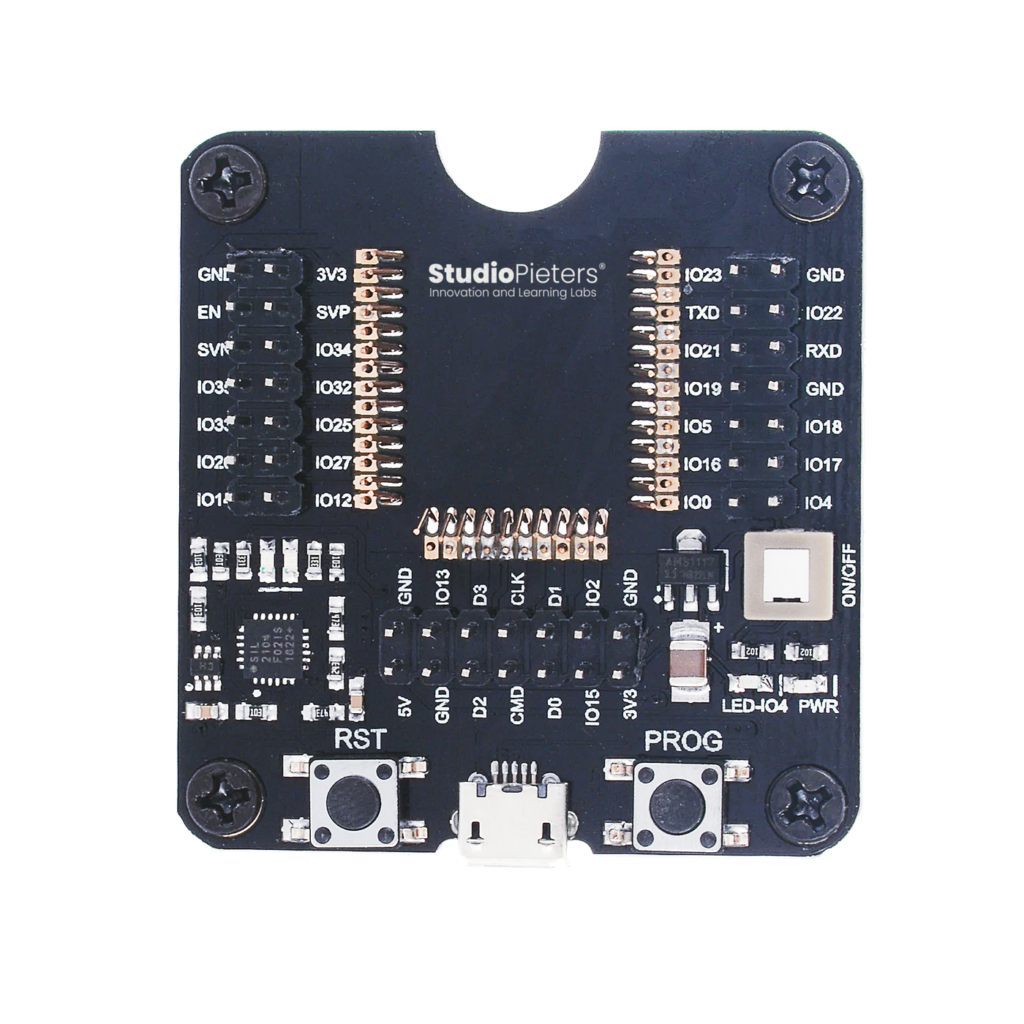
A development baseboard for the ESP-WROOM-32 module: labeled GPIO breakout, auto-reset circuitry, and dedicated BOOT/RESET buttons, so flashing firmware stops meaning jumper wires and a manual button dance.
Read more
Tools
The ESP-WROOM-32 Programmer
A development baseboard for the ESP-WROOM-32 module: labeled GPIO breakout, auto-reset circuitry, and dedicated BOOT/RESET buttons, so flashing firmware stops meaning jumper wires and a manual button dance.
Read more
 Electronics
Arduino Capacitive Buttons
Sometimes the magic isn’t in complex components, but in how cleverly you use the basics. Did you know you can create capacitive touch buttons using nothing more than a resistor, a bit of metal, and an Arduino?
Read more
Electronics
Arduino Capacitive Buttons
Sometimes the magic isn’t in complex components, but in how cleverly you use the basics. Did you know you can create capacitive touch buttons using nothing more than a resistor, a bit of metal, and an Arduino?
Read more
 3D printing
Philips Hue Bridge Pro – Wall Mount
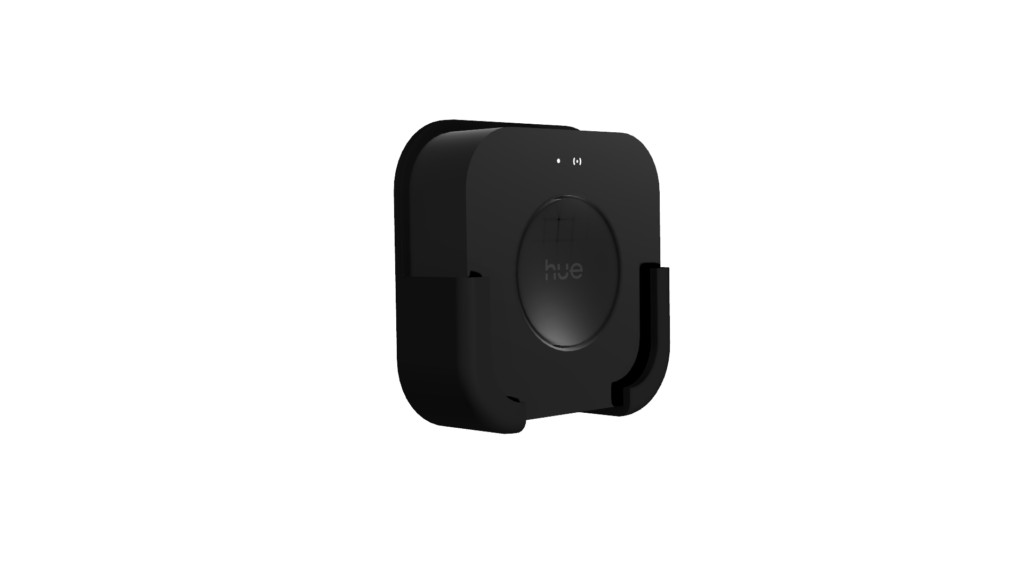
The Hue Bridge Pro is slightly larger than the original Hue Bridge, enough that the original wall mount no longer fits. A from-scratch V2 redesign in Fusion 360, re-measured for a snug slide-in fit with full port and ventilation access.
Read more
3D printing
Philips Hue Bridge Pro – Wall Mount
The Hue Bridge Pro is slightly larger than the original Hue Bridge, enough that the original wall mount no longer fits. A from-scratch V2 redesign in Fusion 360, re-measured for a snug slide-in fit with full port and ventilation access.
Read more