
Software
ESP32 HomeKit Development with ESP-IDF
A definitive setup guide for building Apple HomeKit accessories on the ESP32: a Dockerized ESP-IDF toolchain so the build environment stays identical across machines, no local dependency drift, no "works on my machine".

Welcome to a new era of smart development, where the power of the ESP32 meets the professionalism of Apple HomeKit. In this guide, we take you through the step-by-step process of setting up your development environment using Docker and the latest ESP-IDF, designed specifically for HomeKit development. Whether you're migrating from ESP8266 projects or diving in fresh, this is your definitive setup guide.
What is ESP-IDF?
The ESP-IDF (Espressif IoT Development Framework) is the official development framework for the ESP32 and ESP8266. Designed for reliability and performance, it provides all the necessary libraries, tools, and APIs to harness the full potential of the ESP32, including secure HomeKit integrations.
Why Use Docker for ESP-IDF?
Docker simplifies development across machines by isolating your build environment in a container. This ensures compatibility, eliminates local dependency issues, and makes your workflow cleaner and more reliable, especially when working with macOS.
Target Setup
Mac Studio M2 running macOS 15.4.1 Sequoia with Docker Desktop for Mac and an ESP32 DevKit (e.g. WROOM-32).
Setting Up Docker
Step 1: Install Docker Desktop for Mac
- Go to the official Docker website.
- Download Docker Desktop for macOS.
- Install the application by following the on-screen instructions.
- Launch Docker Desktop.
- Sign in with your Docker Hub account. If you don't have one, create it, it's free.
Step 2: Pull the Official Espressif IDF Docker Image
Open the Terminal application (Applications > Utilities > Terminal) and run:
docker pull espressif/idf:v5.3Wait until the download completes, then open Docker Desktop and confirm that the image espressif/idf:v5.3 appears in your local images.
Step 3: Clone the HomeKit Demo Repository
git clone --recursive https://github.com/AchimPieters/esp32-homekit-demo.git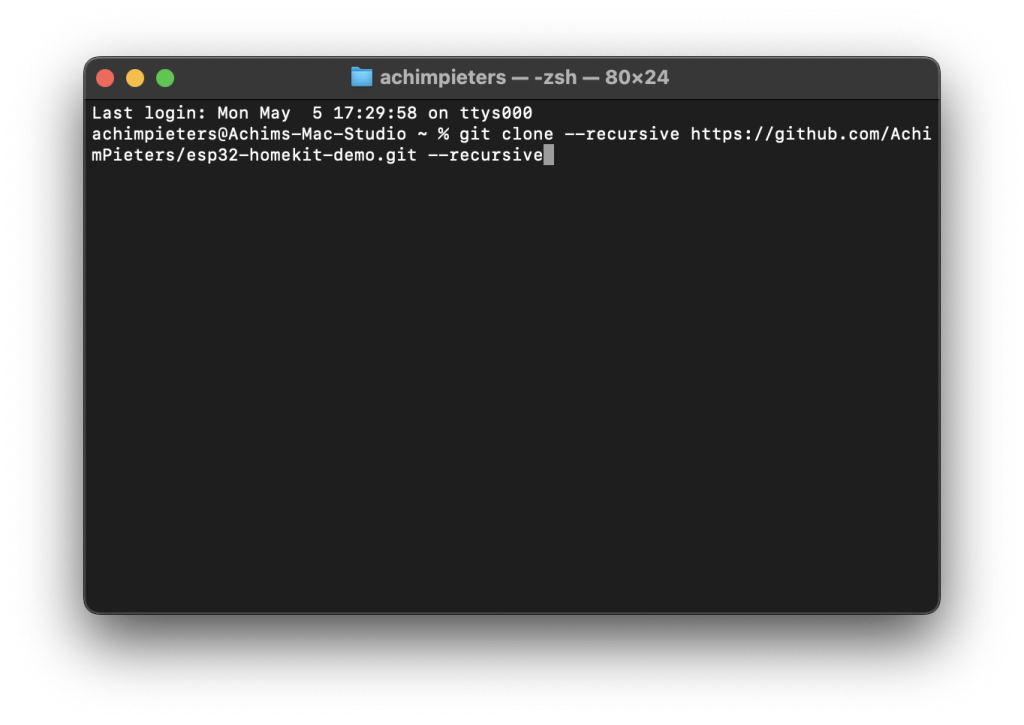
Step 4: Start the Docker Container
Run the container and mount your project folder:
docker run -it -v ~/esp32-homekit-demo:/project -w /project espressif/idf:release-v5.3You now have access to the ESP-IDF environment inside Docker, ready to build and flash your ESP32 project.
Prerequisites
Now we only need to make sure the necessary software is installed to flash your ESP32.
Step 1: Check for Python 3
Open Terminal and run:
python3 --versionIf it isn't installed, first install Homebrew:
/bin/bash -c "$(curl -fsSL https://raw.githubusercontent.com/Homebrew/install/HEAD/install.sh)"Then install Python 3.11 using Homebrew:
brew install python@3.11Step 2: Install esptool
Make sure pip3 is available:
python3 -m ensurepip --upgradeInstall esptool:
pip3 install esptoolVerify the installation:
esptool.py --versionYou're now ready to build, flash, and debug your HomeKit projects on the ESP32.
Best Practices and Notes
- Always test your setup with a minimal example (like a HomeKit LED) to verify toolchain integrity.
- Prefer Docker for consistent environments, especially when working across machines or collaborating.
- Use a USB-to-serial converter if your ESP32 board lacks onboard USB.
- Mount your source directory read-write to persist changes outside Docker.
- Stay up to date with Espressif's Docker Hub page for new versions.
Conclusion: Ready for the New Era
With your ESP32 development environment fully set up, you're prepared to take on Apple HomeKit projects with precision and confidence. Whether you're building smart lighting, shades, sensors, or switches, your foundation is now rock solid.