After writing quite a few blogs about ESP8266 in combination with HomeKit SDK, it is now time to look at the ESP32. The ESP32 and actually the ESP32-C3 is the upcoming replacement for the ESP8266. That’s why I’m going to show you how to migrate from the ESP8266 to the ESP32 series. We start simply by turning an LED on and off via HomeKit.
Install Prerequisites
As with the ESP8266 HomeKit environment, a development environment must be installed, but for the ESP32 series. How to install the so-called SDK can be found here in a further blog. So before we can continue, read this blog first: ESP32 – Developing With ESP-IDF
Atom
To write my code I use Atom because it’s lightweight and easy to use. Atom is a free and open-source “Text editor” and source code editor for macOS, Linux, and Microsoft Windows. But you will understand it’s more Than just a “Text editor” once you installed it. Lets start downloading the latest version of Atom.
When you use a Mac just like me its very easy to install. go to your download folder en then drag the new Atom application into your “Applications” folder. That’s it. Click on the Atom icon to open it and you are ready to go!
Hardware
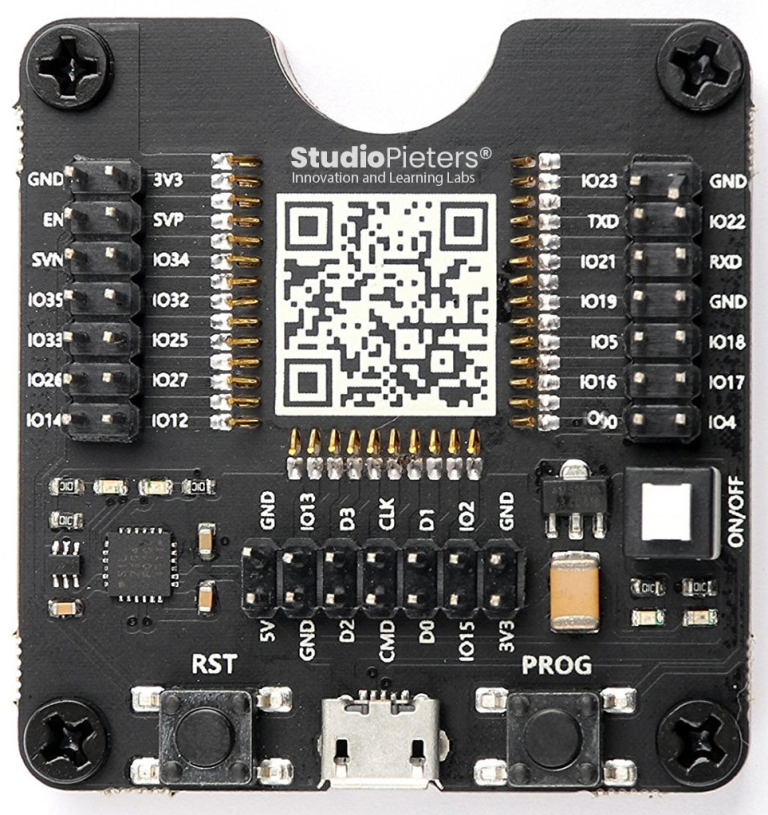
For my test environment I have purchased a so-called Testing / programming fixture for ESP32 / ESP-32S compatible modules. But of course you can also use a development board or NodeMCU. The acrylic base does not appear to be offered by all vendors, as some use some standoffs instead to lift the board up. You just need to insert your compatible ESP32 module in the board, flash the firmware it, take it out, and more to the next module. It can also be used as a development board since it exposes IO’s via three 14-pin headers, comes with a on/off button, reset and program buttons, as well as a micro USB port for power, programming and debugging!
Scheme
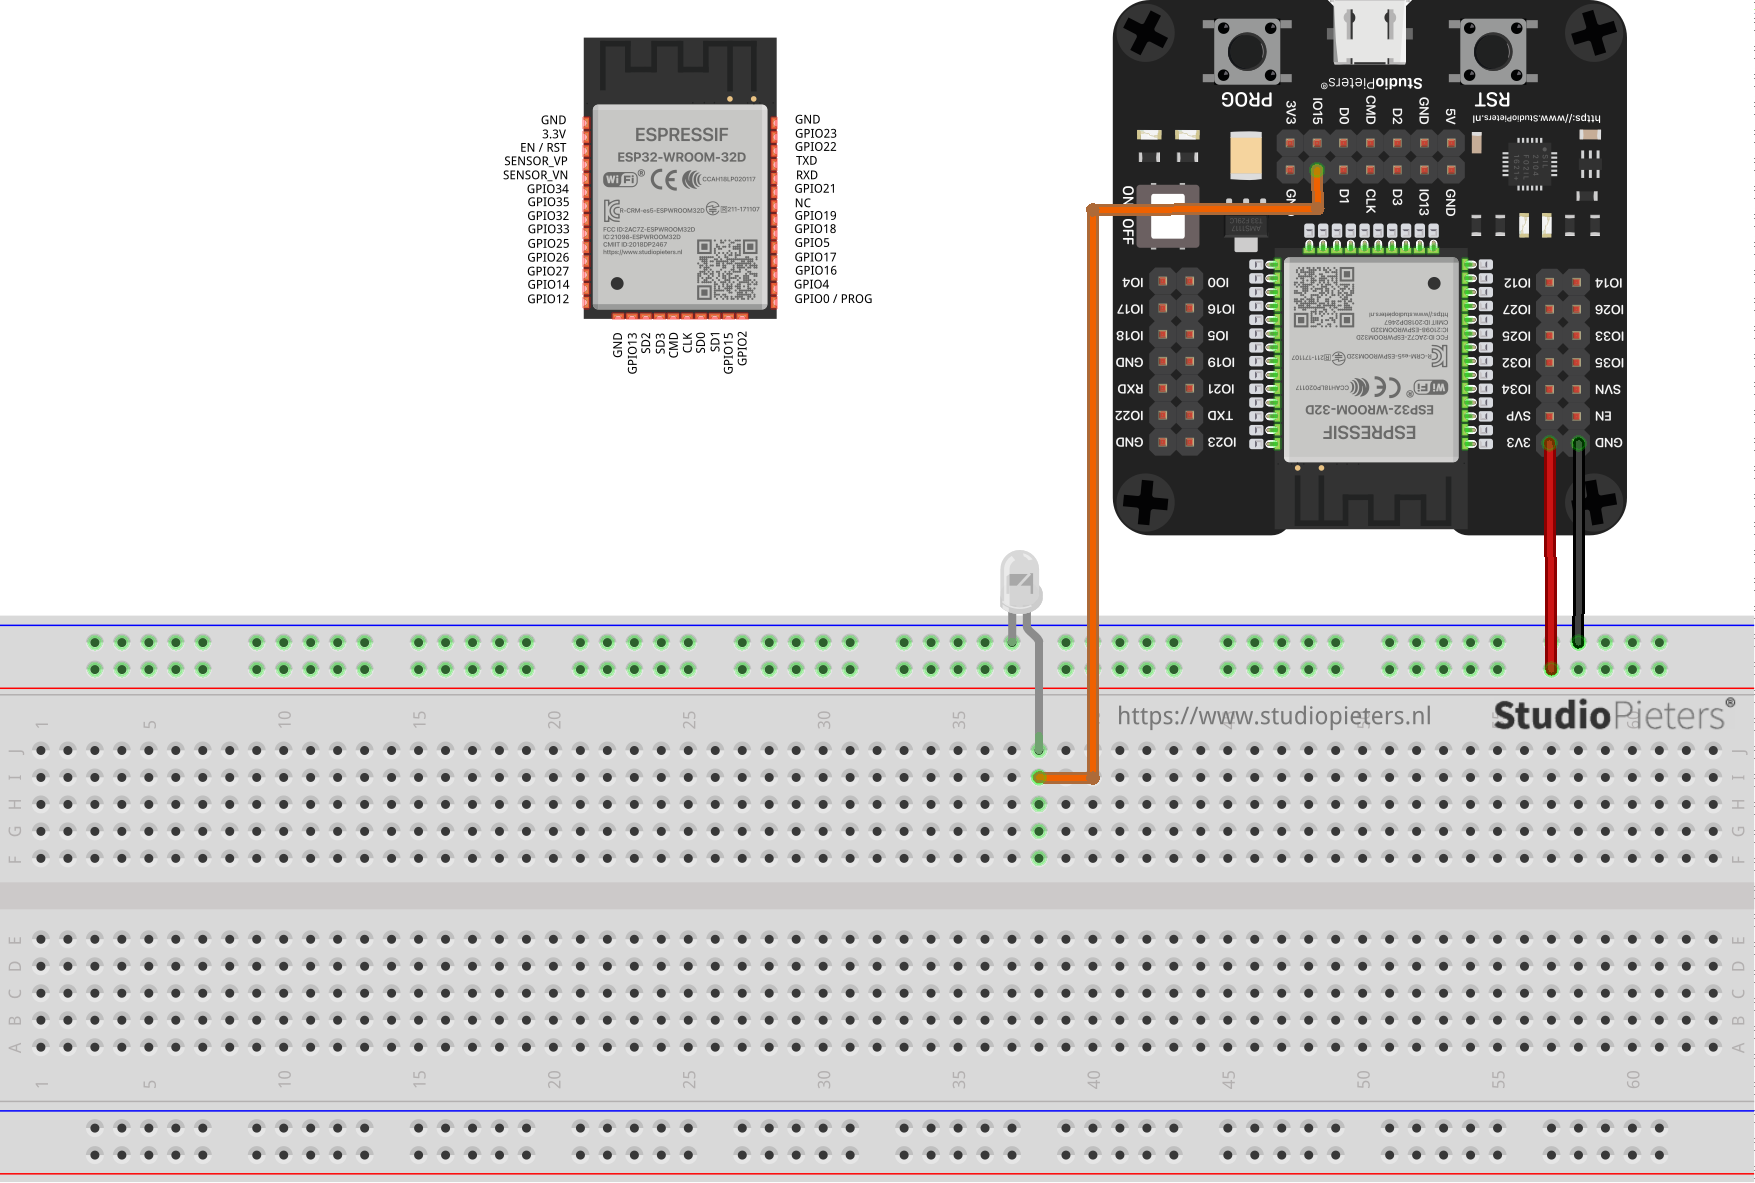
The basic electrical scheme consists of three main components, a ESP32, a LED, and Resistor. In the figure below , the basic circuit is illustrated. This circuit has some additional components of a Testing / programming fixture for ESP32 / ESP-32S compatible modules, Some wires, and a breadboard connecting the whole Circuit together.
Software Preparation
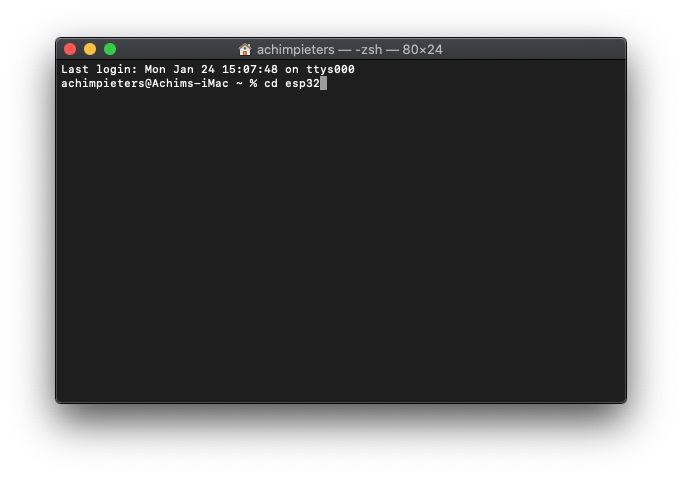
When you followed the instructions in the ESP32 – Developing With ESP-IDF blog, your development environment is setup. During the installation, a folder is created called ESP32. Open A terminal window.
Opening Terminal through the Finder
1. On the left toolbar, click “Applications“.
2. Scroll down and open the “Utilities” folder.
3. Double click “Terminal” to launch it.
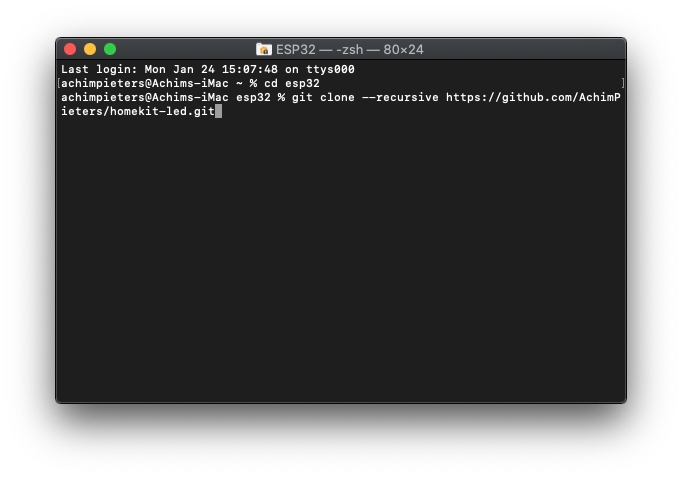
Change into the ESP32 directory by typing cd esp32 and press Enter.
Now we need to clone te code into the ESP32 directory. The git clone command creates a clone or copy of an existing repository in a Folder. It is the most commonly used command that allows users to obtain a development copy of an existing central repository. The git clone initializes a copy of the repository on the local machine. Then you can start editing files in the project so that they are ready to compile. Type the line below and press Enter.
git clone --recursive https://github.com/AchimPieters/homekit-led.git
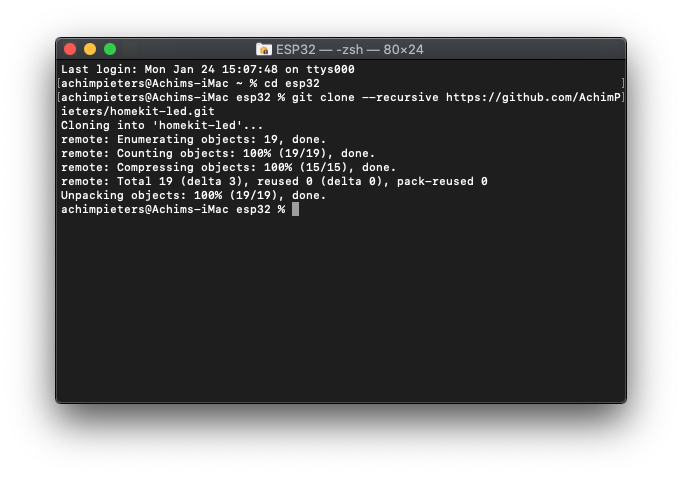
All files will be copied into the ESP32 folder.
Configure
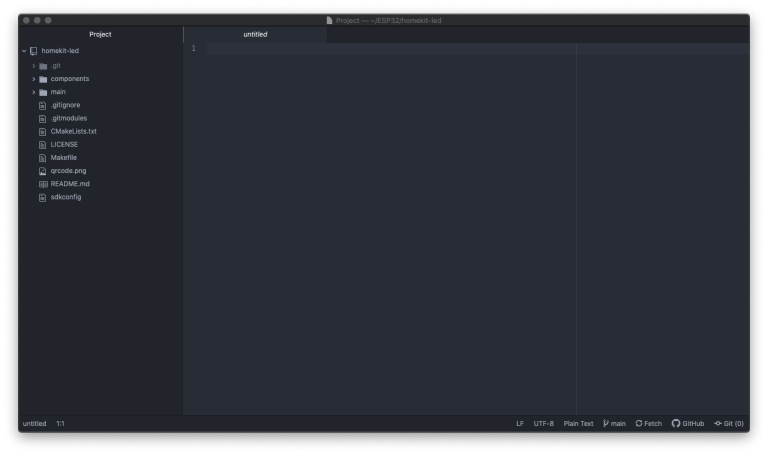
Before we can build our project we need to configure it first. Open the cloned folder in Atom.
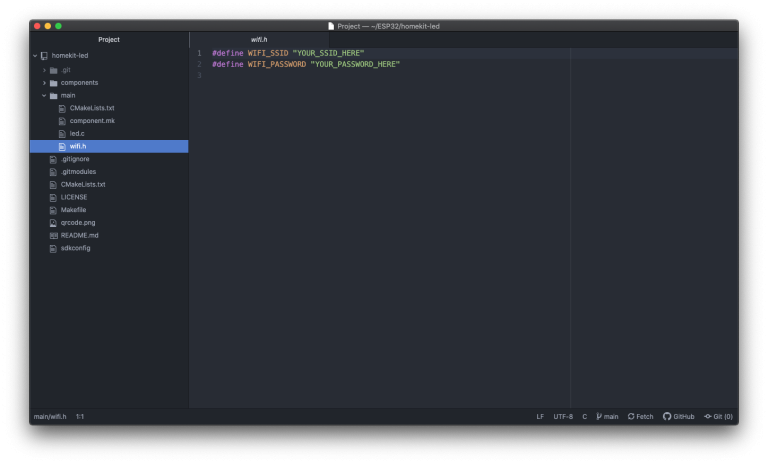
Go to the folder main en open the file wifi.h and edit it with correct WiFi SSID and password. Then save the file.
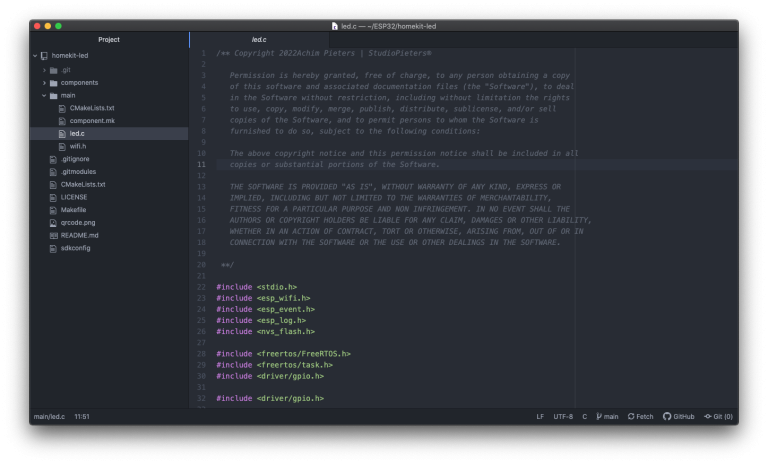
In the main folder you find the led.c main code. I’ll deal with the structure of the code and the implications of various parts another time. Do not change anything in this code.
You can close Atom now.
Build the Project
Now we start with the fun part! We are going to build the project. We will do this through a terminal window. Open a new terminal window.
Opening Terminal through the Finder
1. On the left toolbar, click “Applications“.
2. Scroll down and open the “Utilities” folder.
3. Double click “Terminal” to launch it.
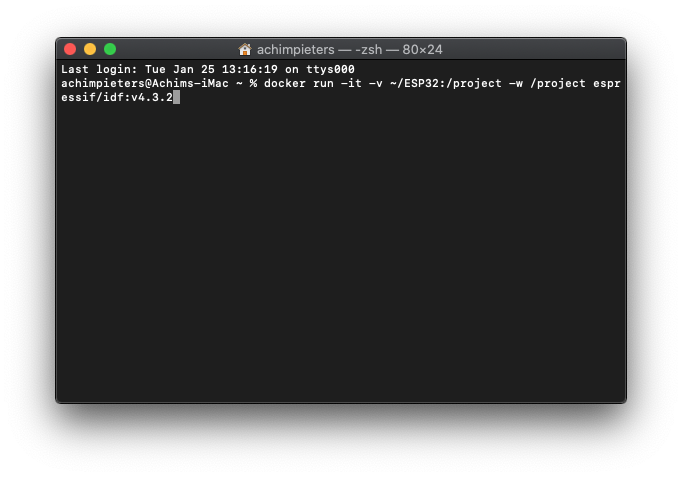
Next you execute the following command, where the path is the place, where in macOS, we stored our github repo. Type the following line in your terminal window en press enter.
docker run -it -v ~/ESP32:/project -w /project espressif/idf:v4.3.2
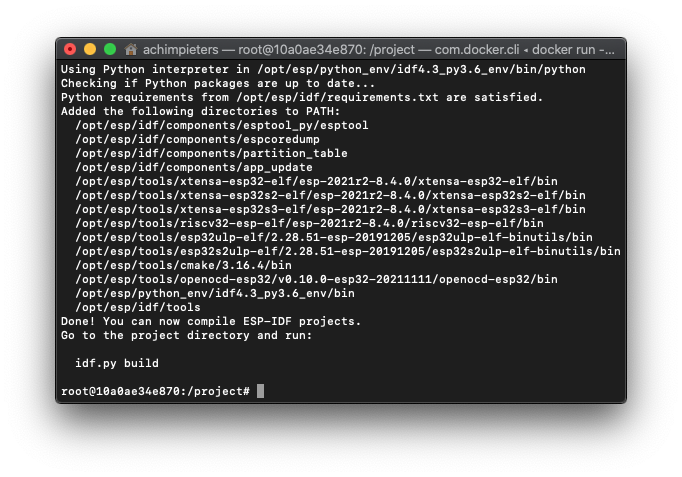
This places your terminal screen INSIDE the container (noticeable by the prompt with the container id) You start in the /project directory which is the same location as the path in macOS.
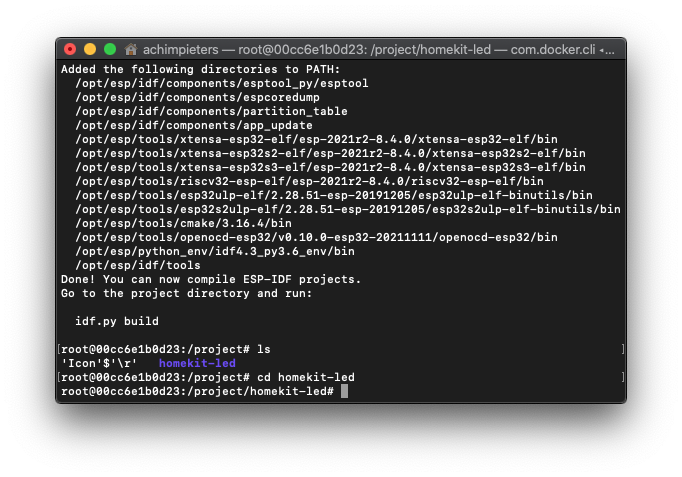
So, when you type ls you will see that you can access the homekit-led directory.

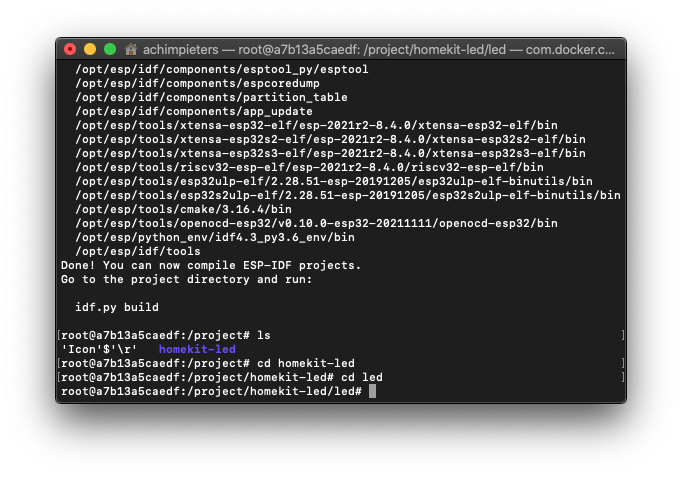
Now you can change into the homekit-led directory. type cd homekit-led and press enter.
Then we change into the led directory. type cd led and press enter.
Now we start the compiling by typing Make all and then press enter, The result will be in a directory build and the process ends with an instruction like this:
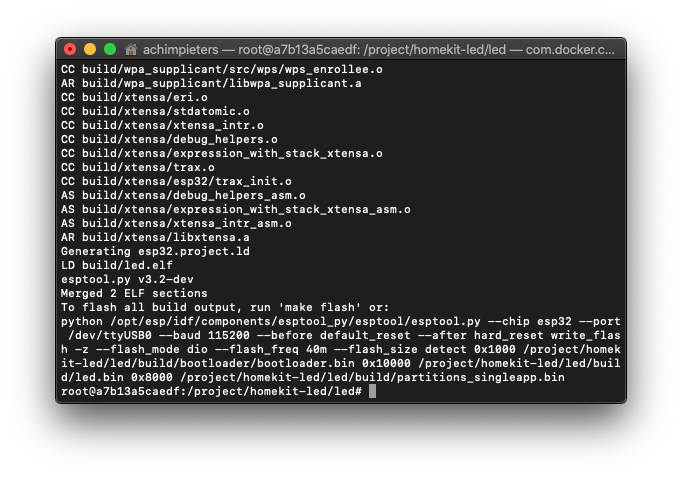
Open Atom and copy the line from esptool.py ……… And paste it into the empty document, save this file, you will need this later on.
Flash onto the Device
Now we start with the hardware part! We are going to flash our code to theESP32 module. We will do this through a terminal window. Open a new terminal window.
Opening Terminal through the Finder
1. On the left toolbar, click “Applications“.
2. Scroll down and open the “Utilities” folder.
3. Double click “Terminal” to launch it.
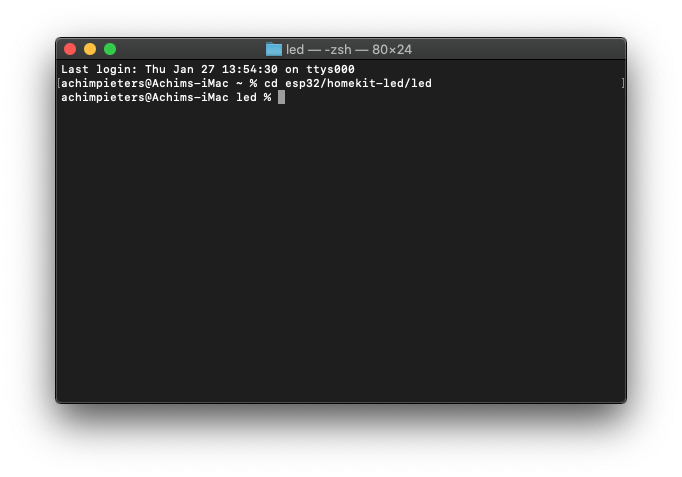
First we change into our work directory by typing cd esp32/homekit-led/led and press enter.
cd esp32/homekit-led/led
Now we need to find the USB port where our ESP32 module is connected to. On your Mac we can type ls /dev/tty.* and press enter.
ls /dev/tty.*
Next you execute the following command, where the path is the place, where in macOS, we stored our github repo. Type the following line in your terminal window en press enter.
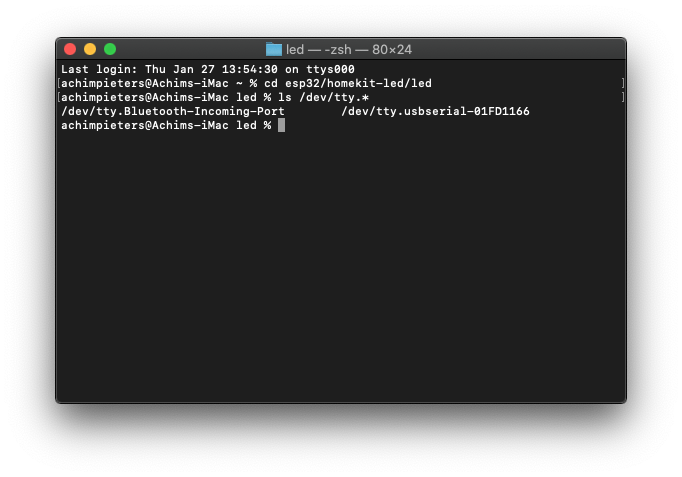
In my case it’s /dev/tty.usbserial-01FD1166.
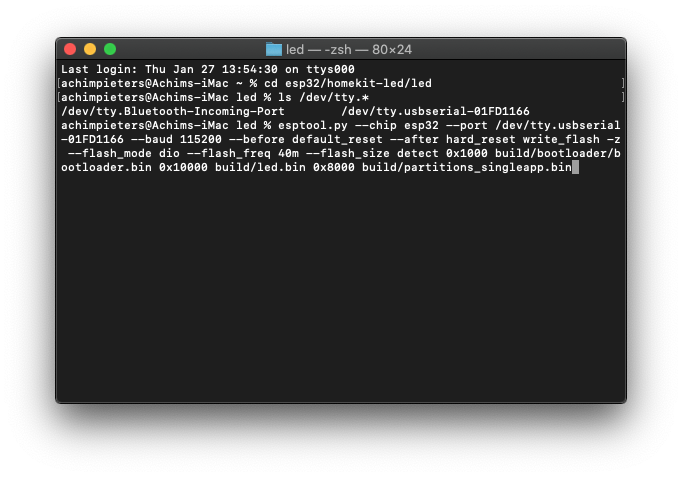
Remember the lats file we made in Atom, open it again and change the Port from /dev/ttyUSB0 to your USB port ESP32 module is connected to. In my case this wil look linke this:
esptool.py --chip esp32 --port /dev/tty.usbserial-01FD1166 --baud 115200 --before default_reset --after hard_reset write_flash -z --flash_mode dio --flash_freq 40m --flash_size detect 0x1000 build/bootloader/bootloader.bin 0x10000 build/led.bin 0x8000 build/partitions_singleapp.bin
Copy this text and paste it into your Terminal screen en press enter.
When the Flashing of the ESP32 module is done you will see this.
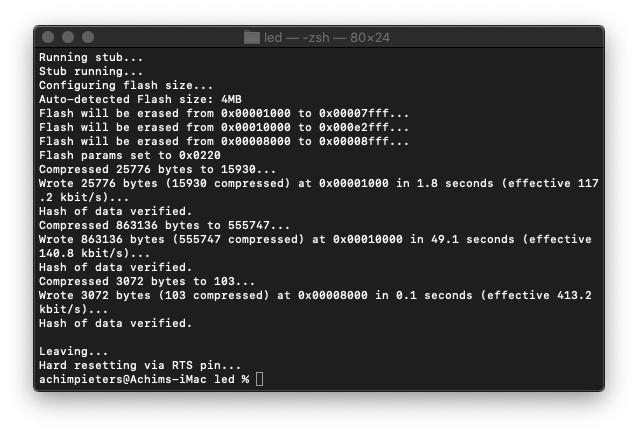
congratulations, your done with flashing your device!
Connection with HomeKit
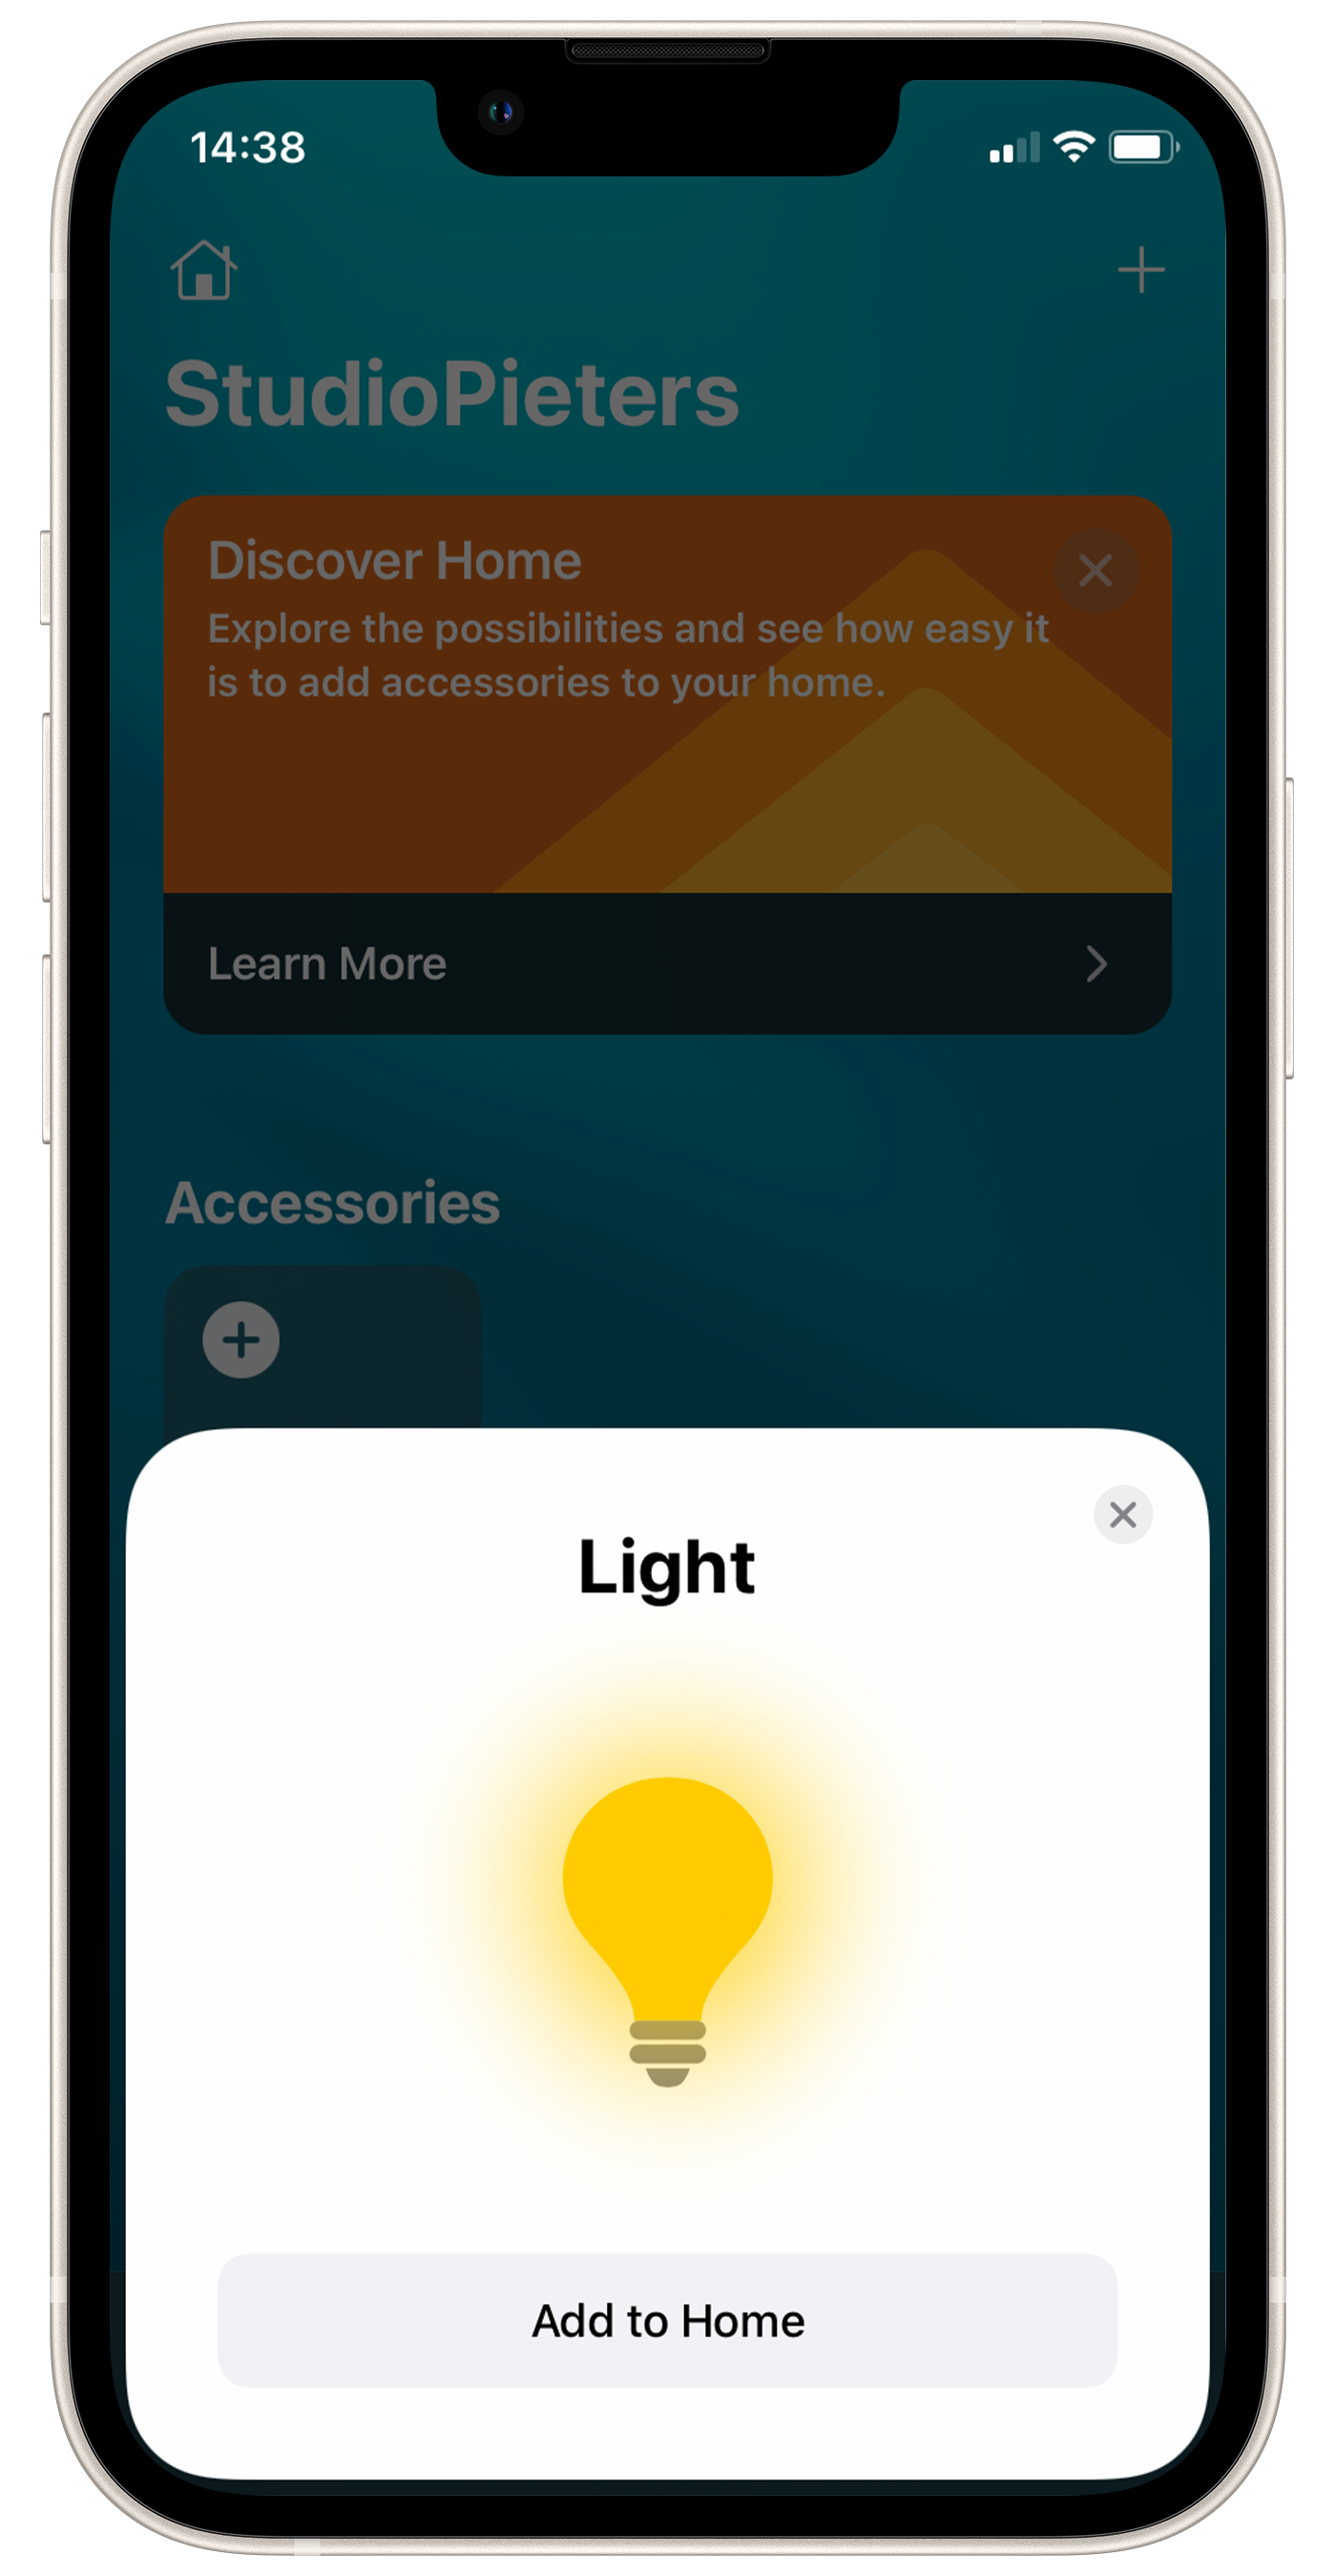
The moment of truth, now we will see if it works. Open your HomeKit App. And scan the QR Code here below.

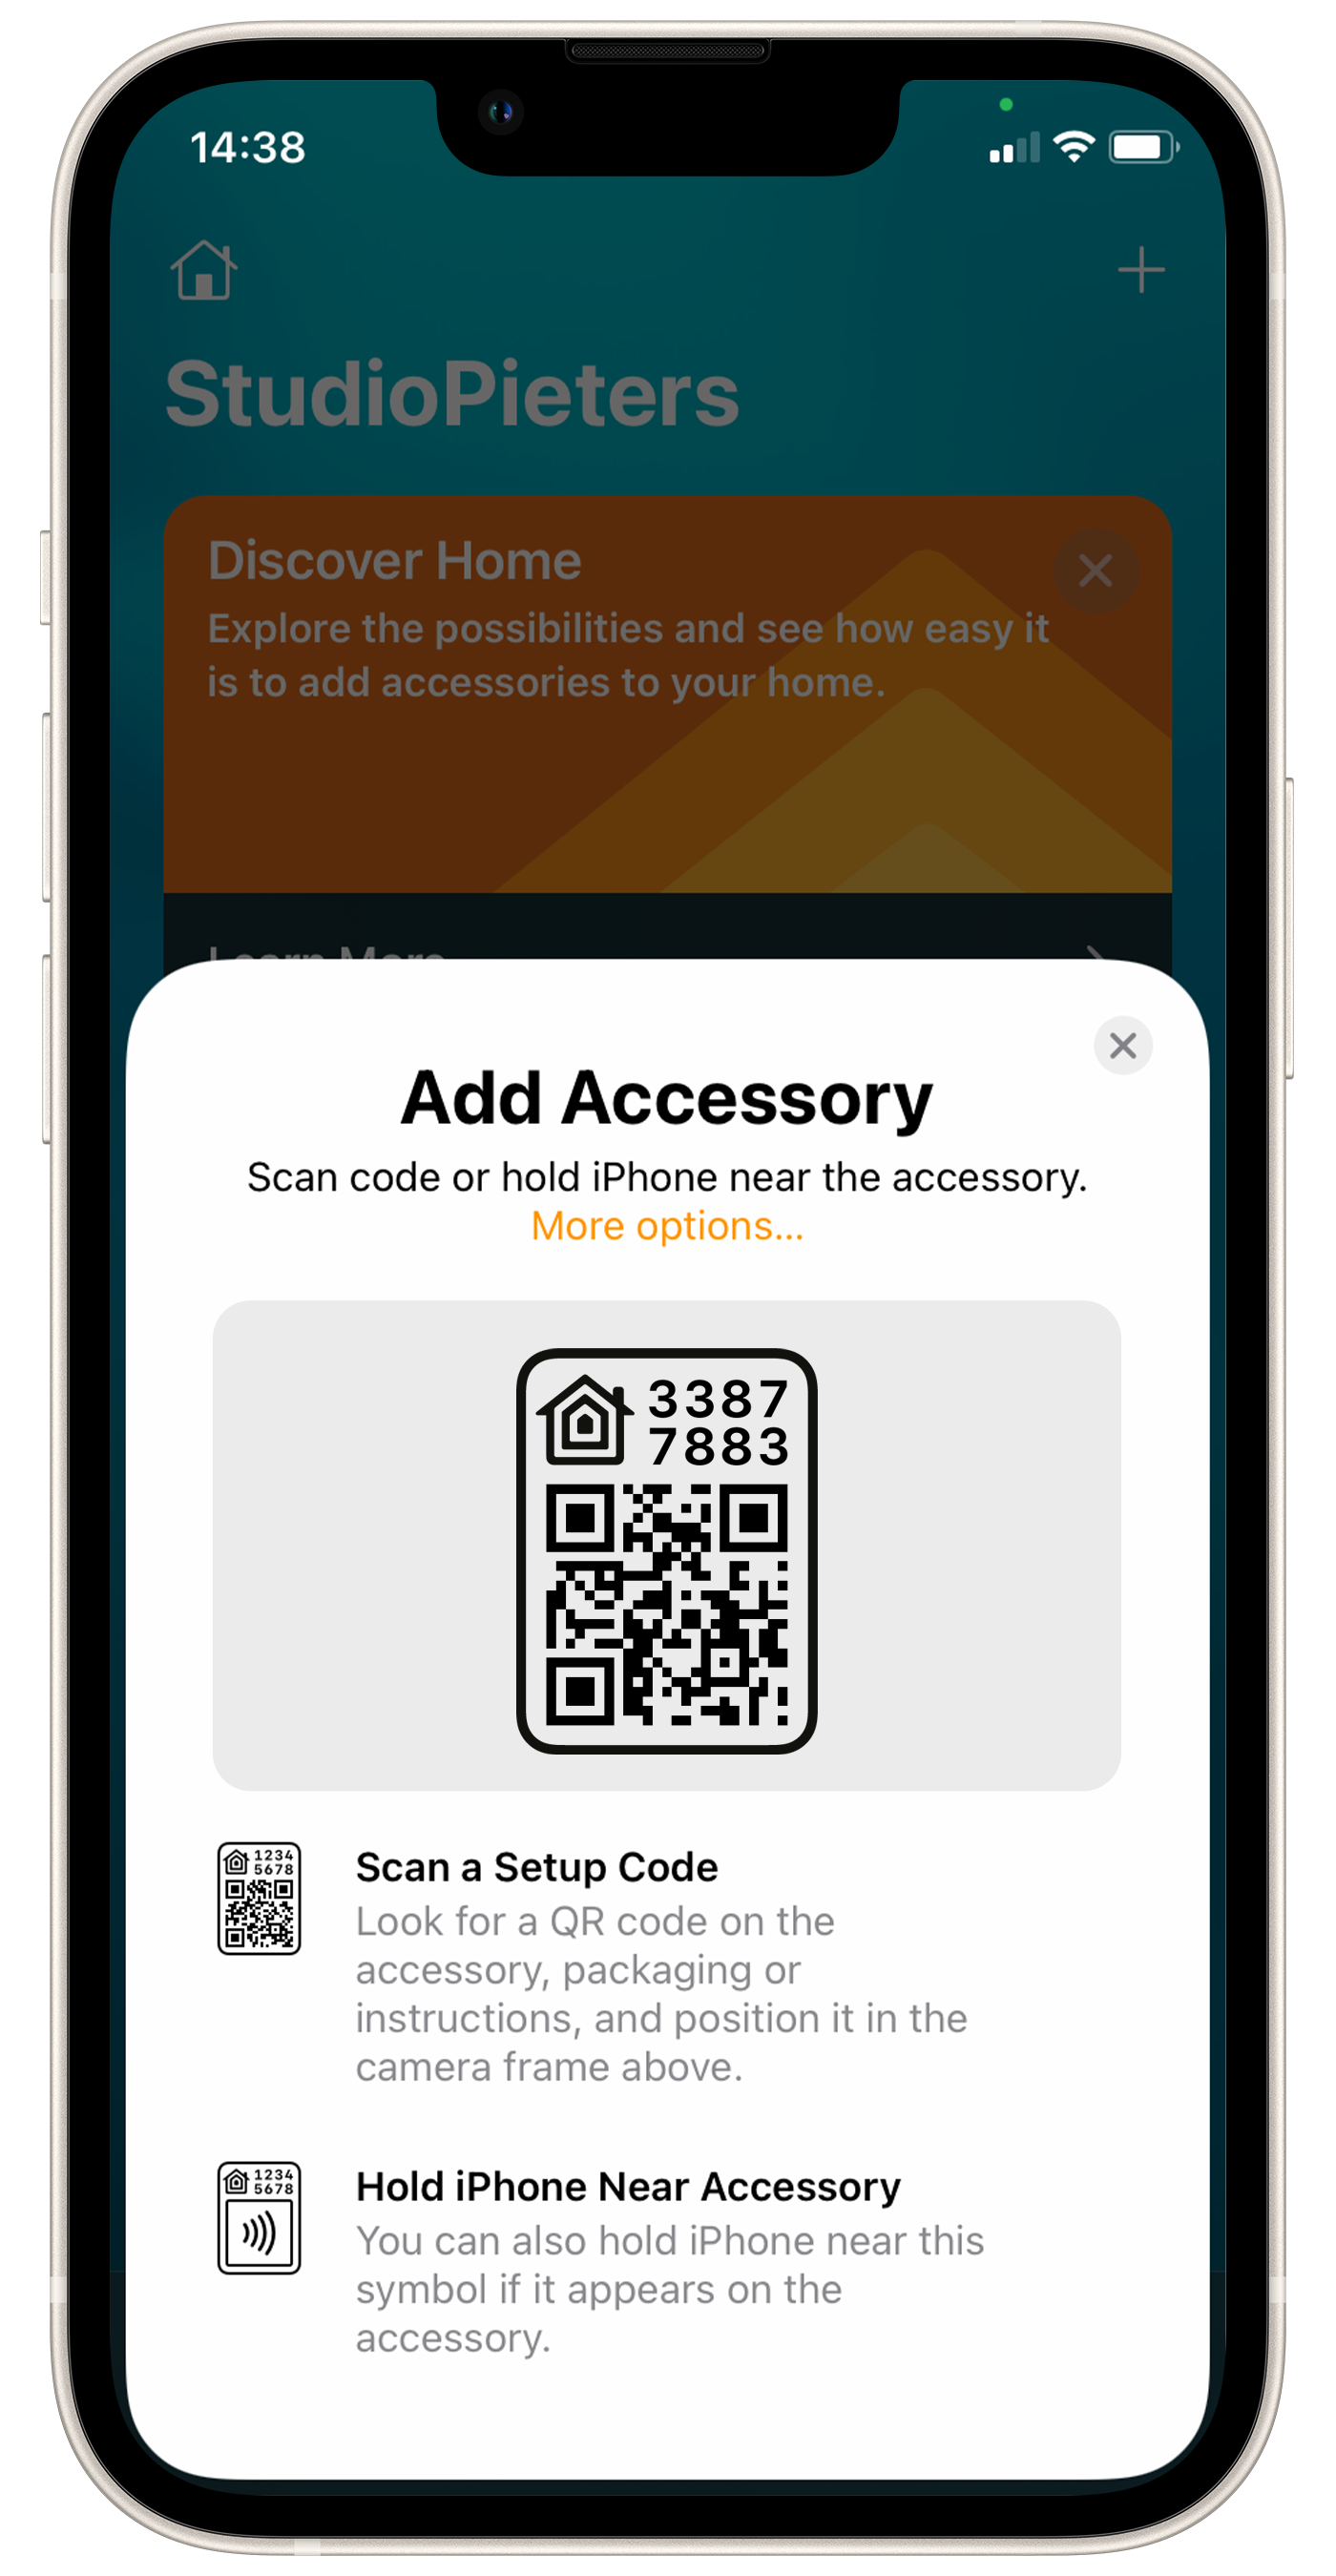

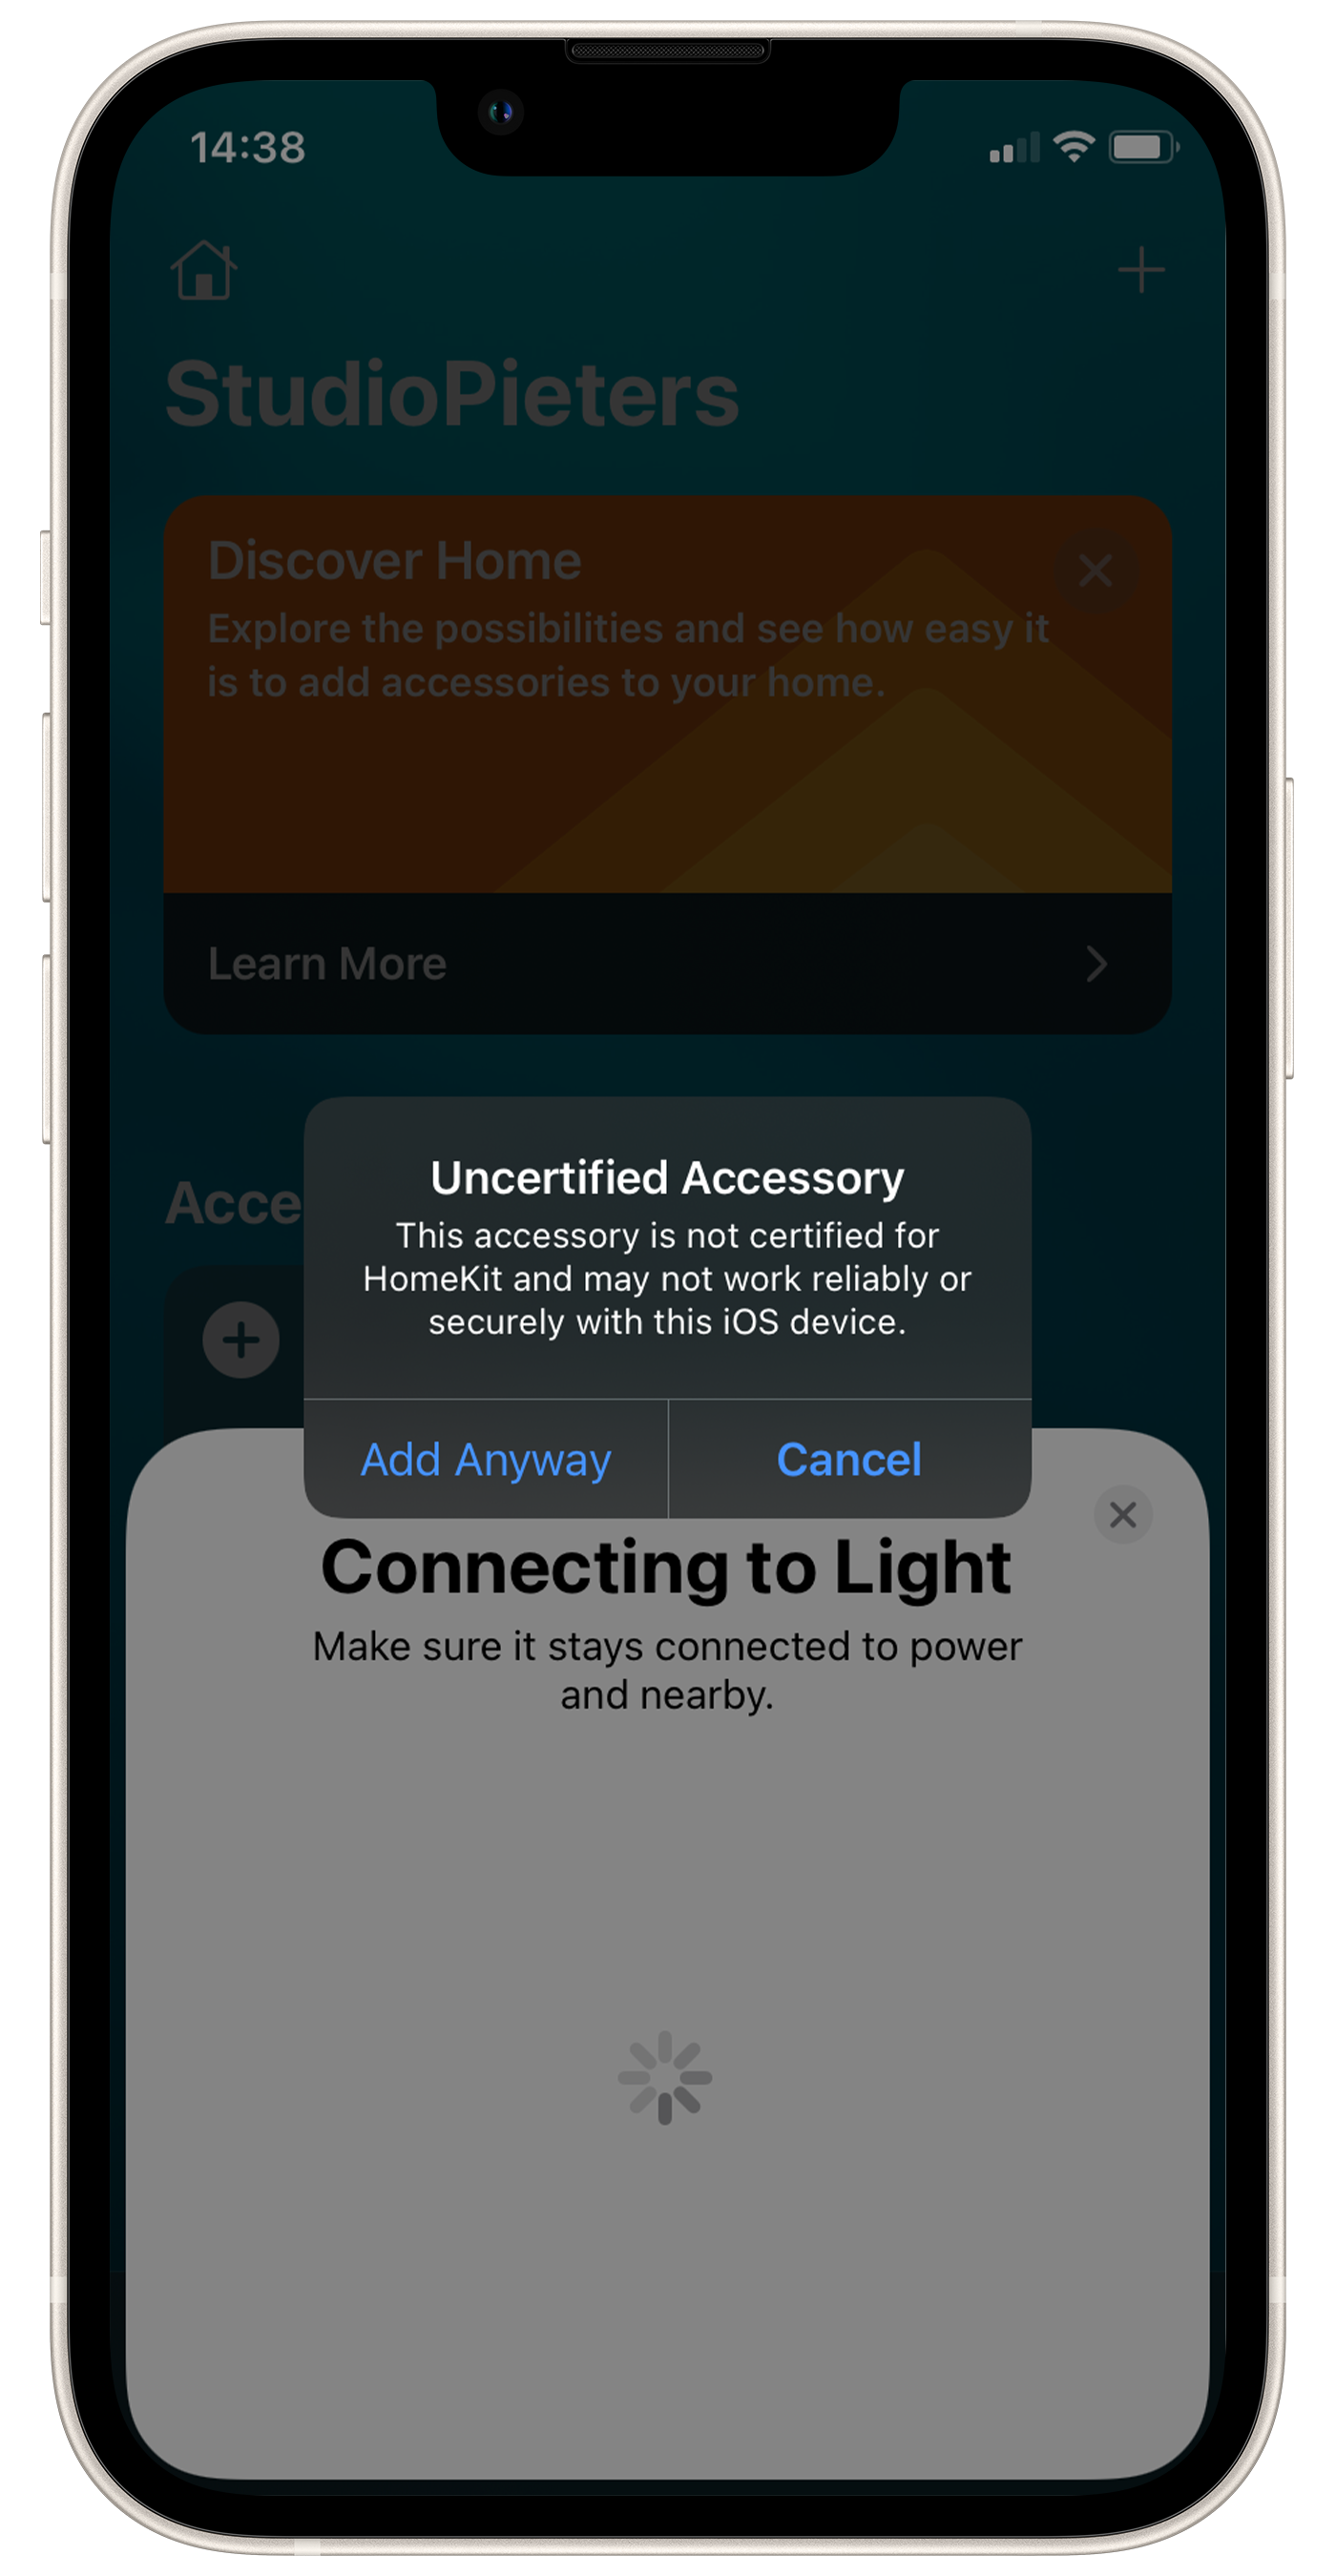
After scanning Homekit will find your device as A Light, press Add to home. The Homekit will prompt you that it is a Uncertified Accessory, click Add Anyway.
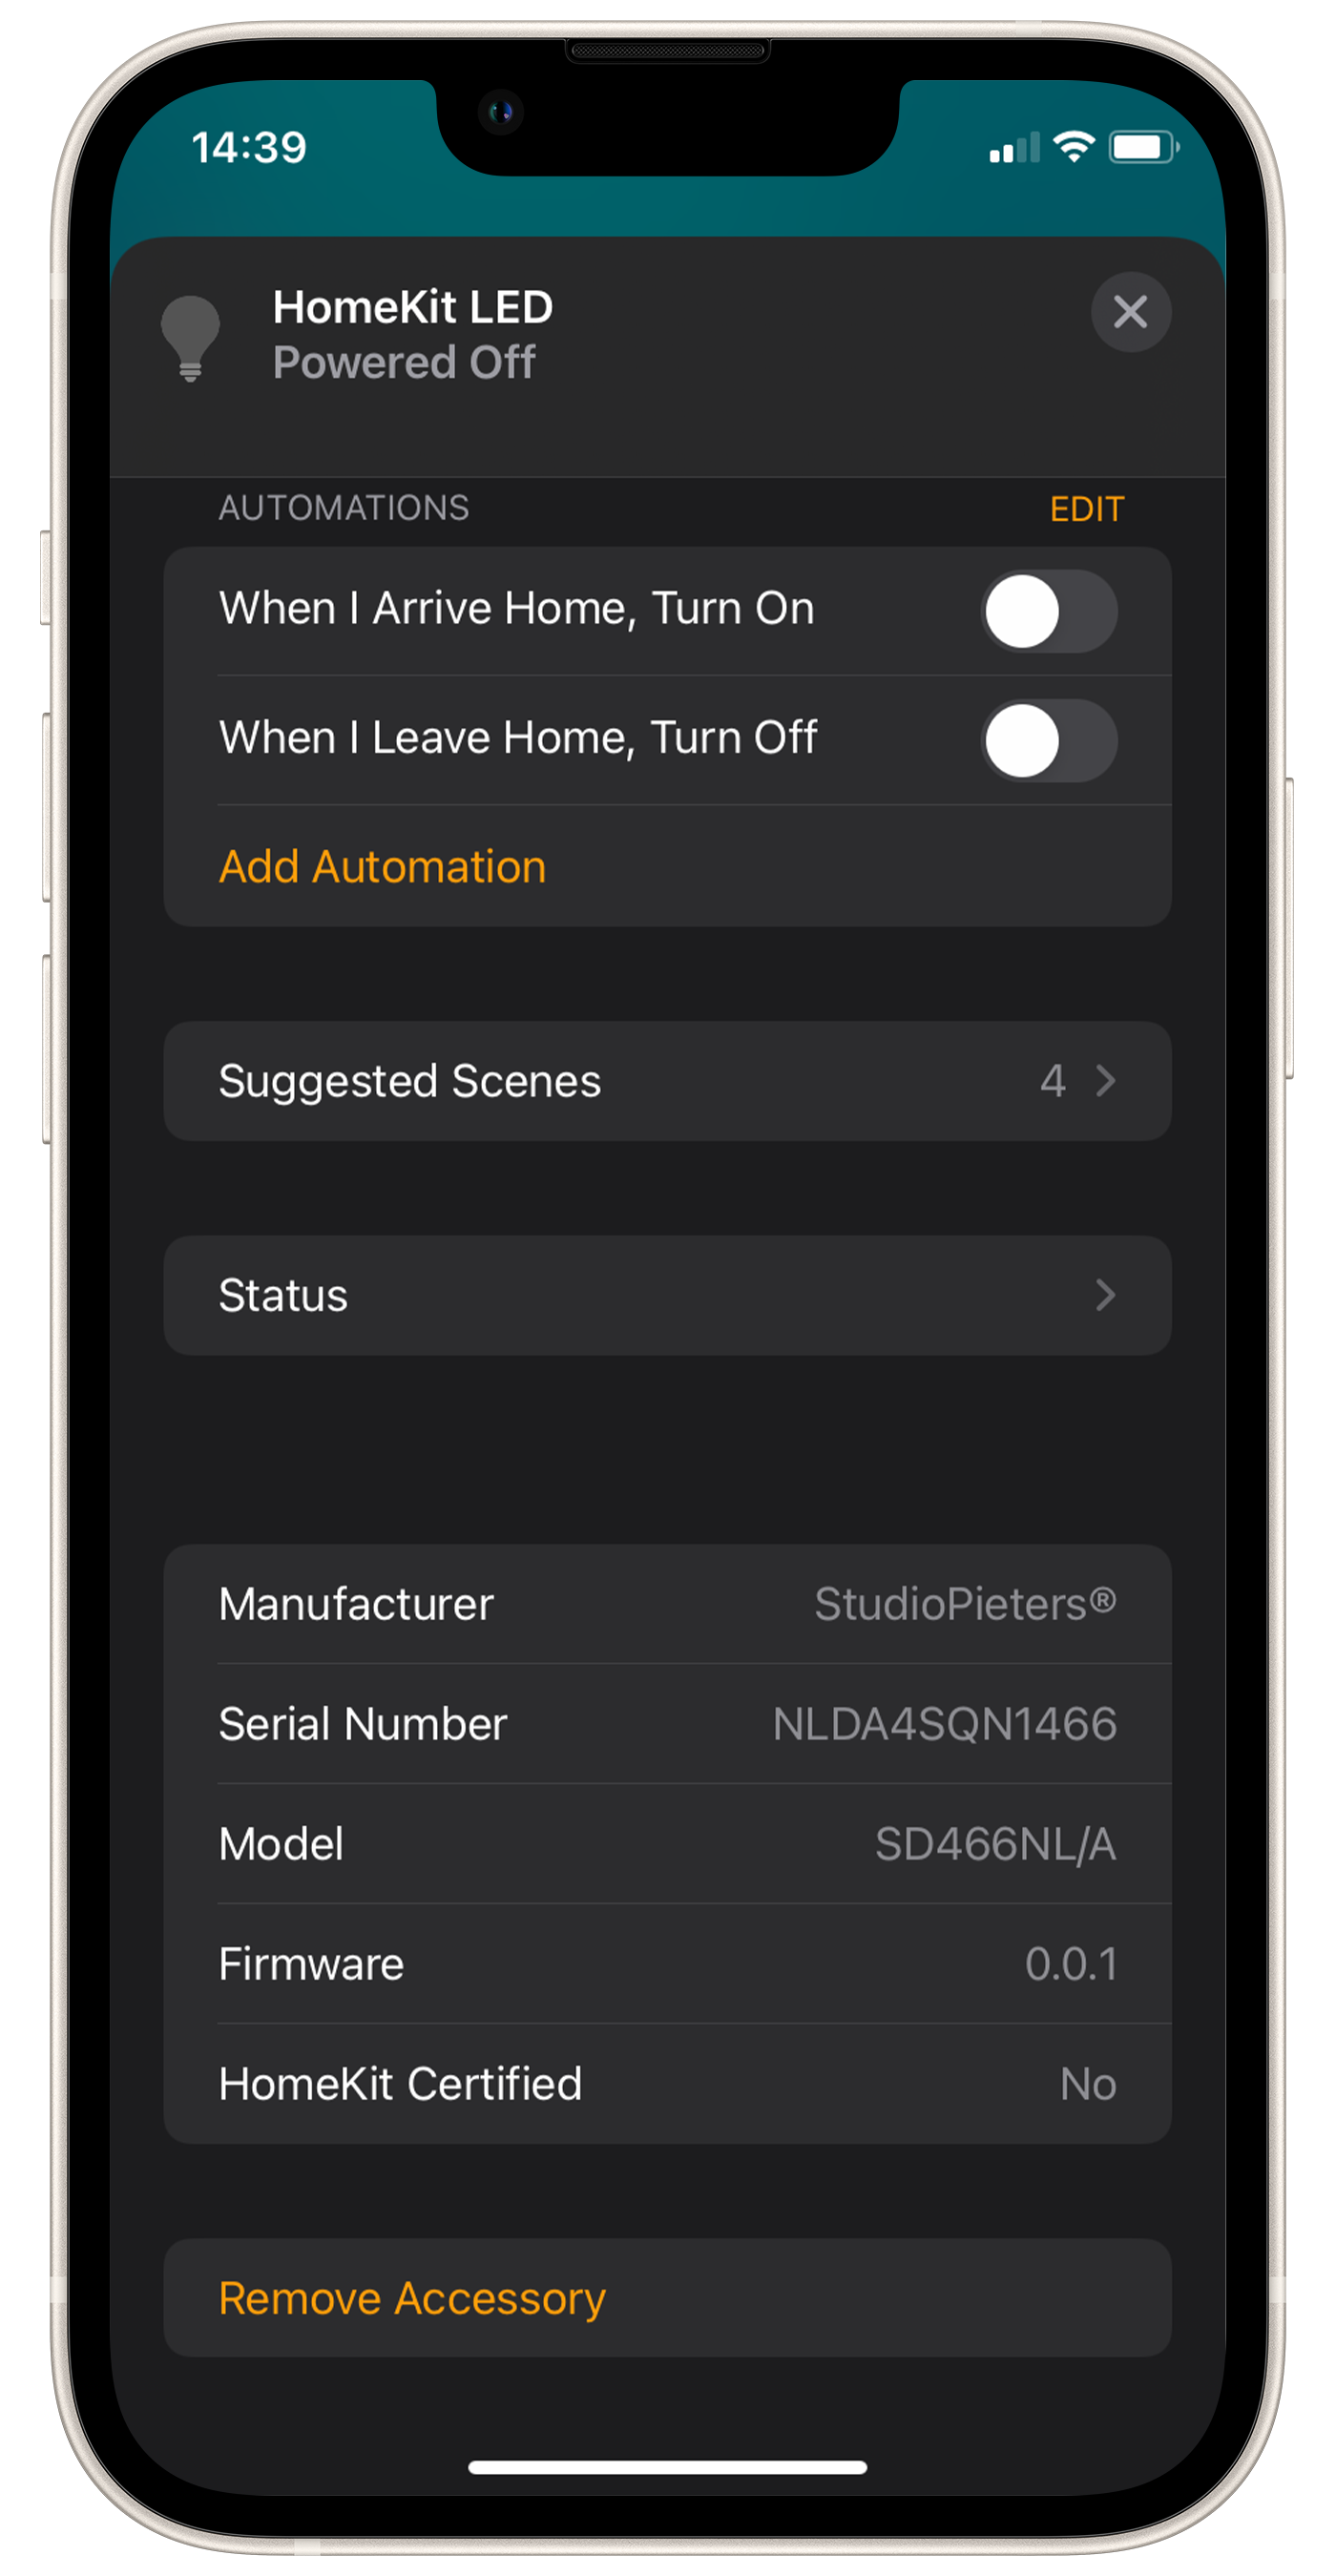
When HomeKit is ready you will see the HomeKit LED button in your screen, You can now turn your LED on and off. When you Look at the Settings you see al the information about your newly build device.
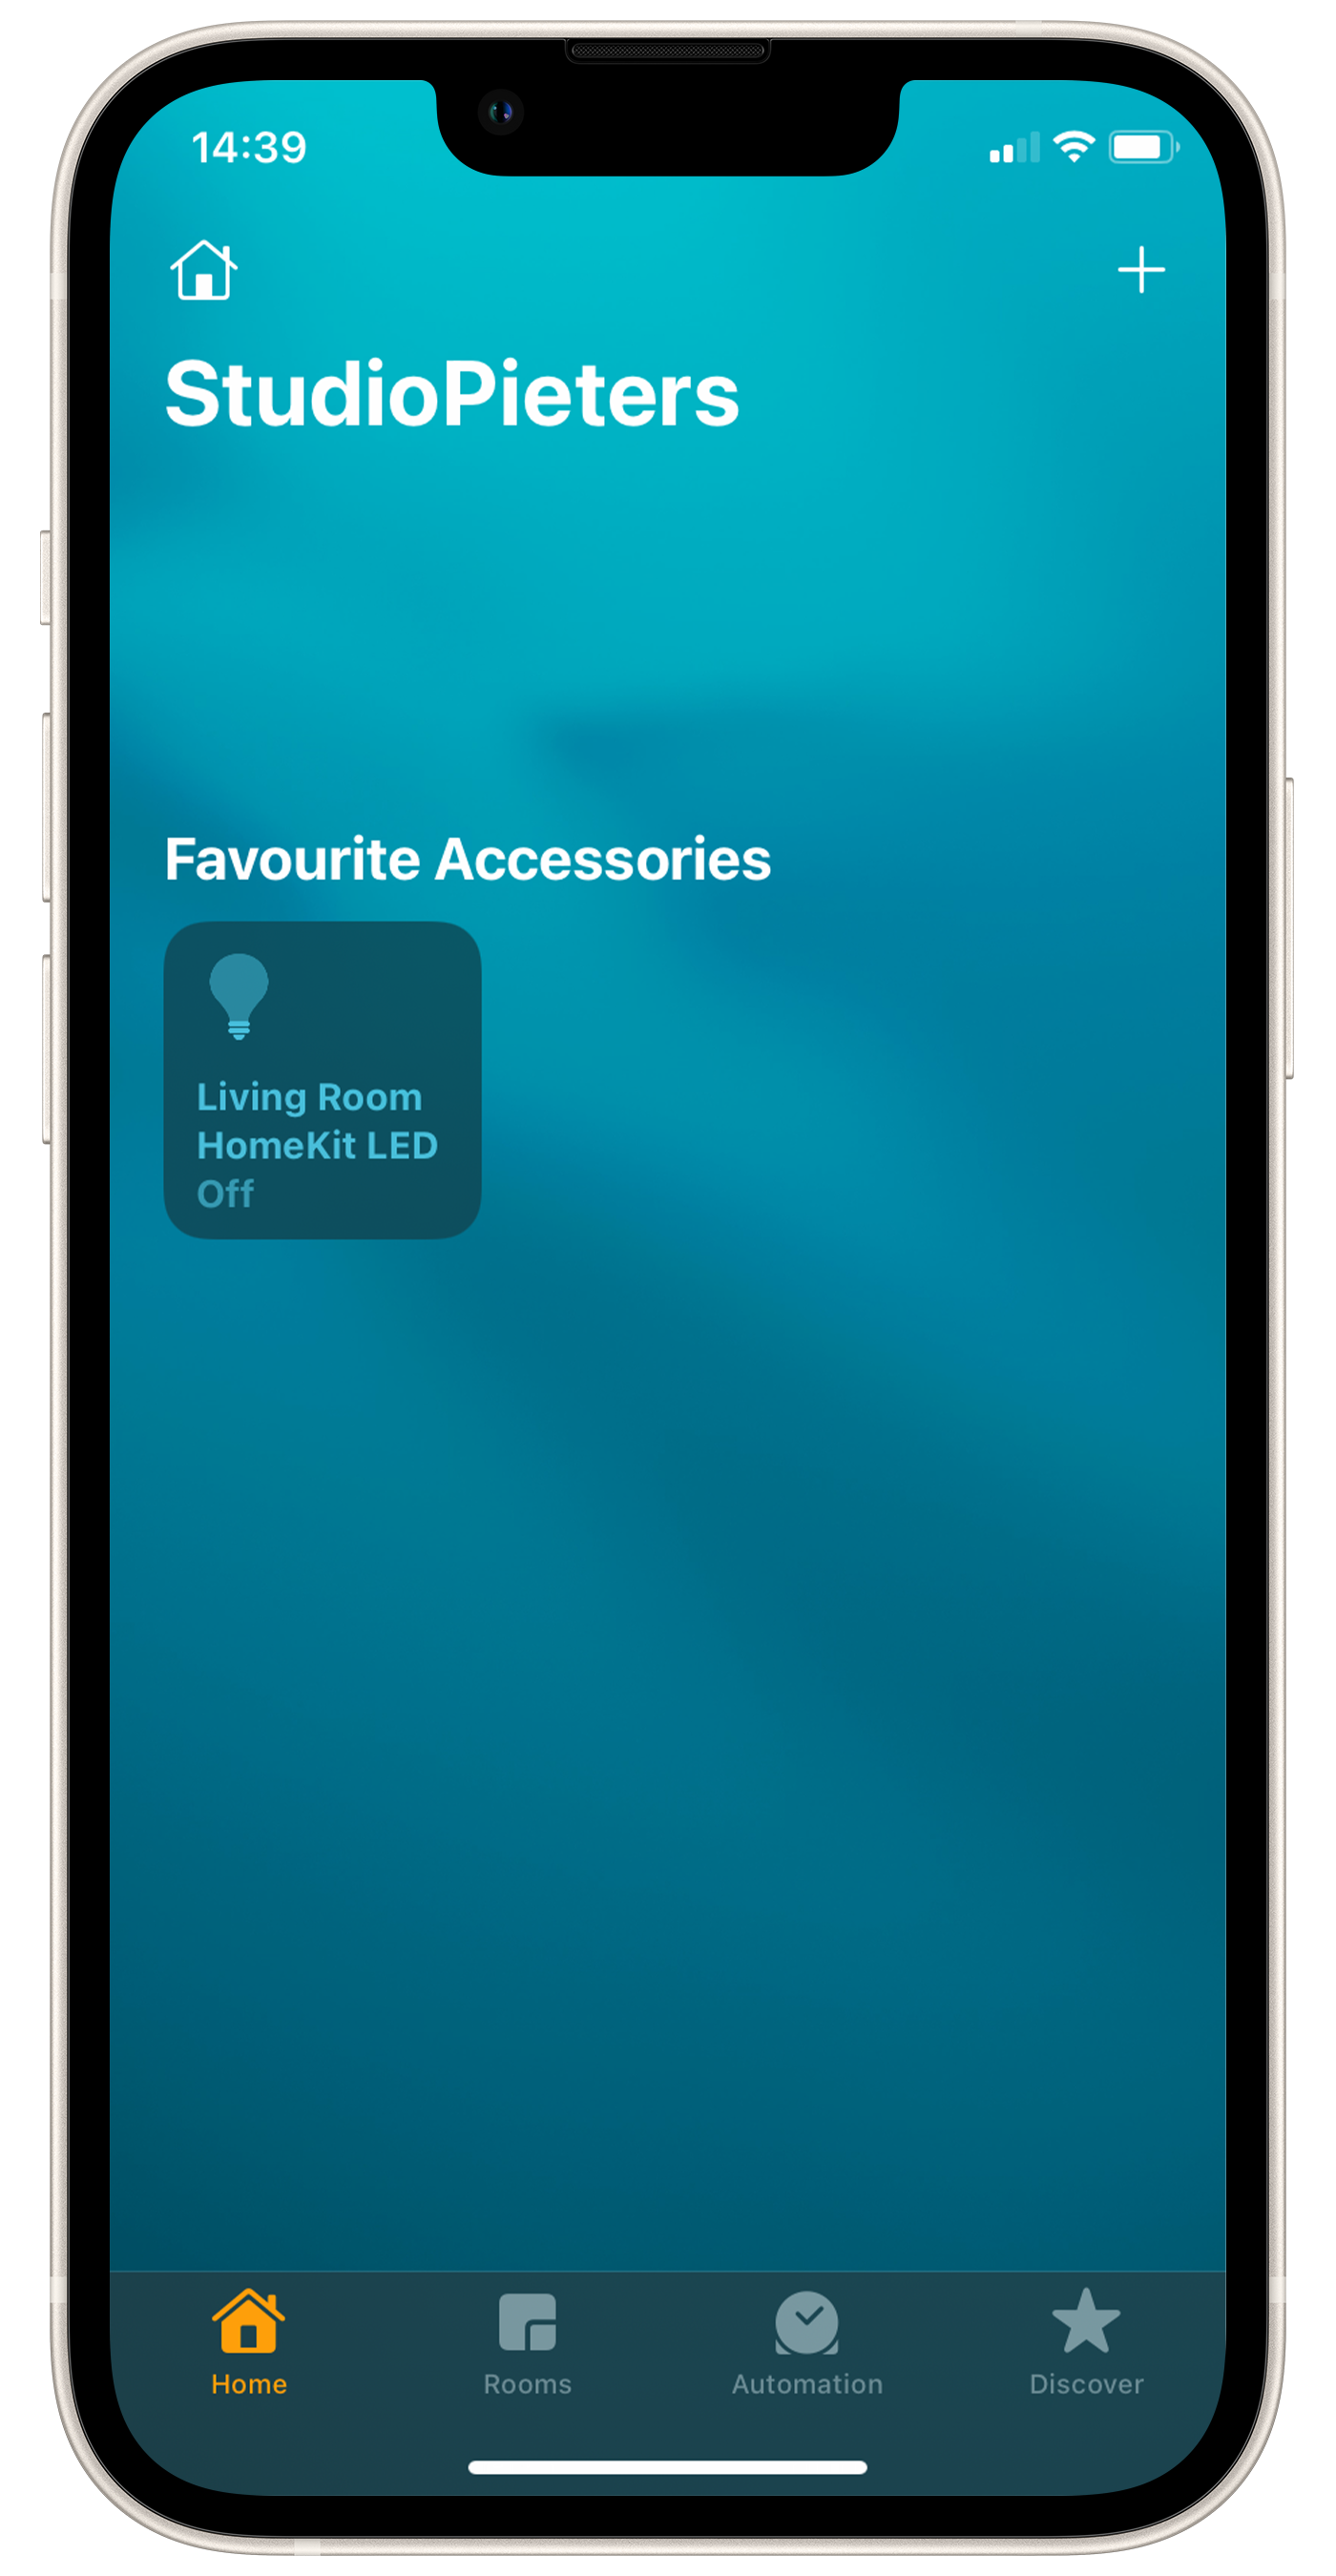
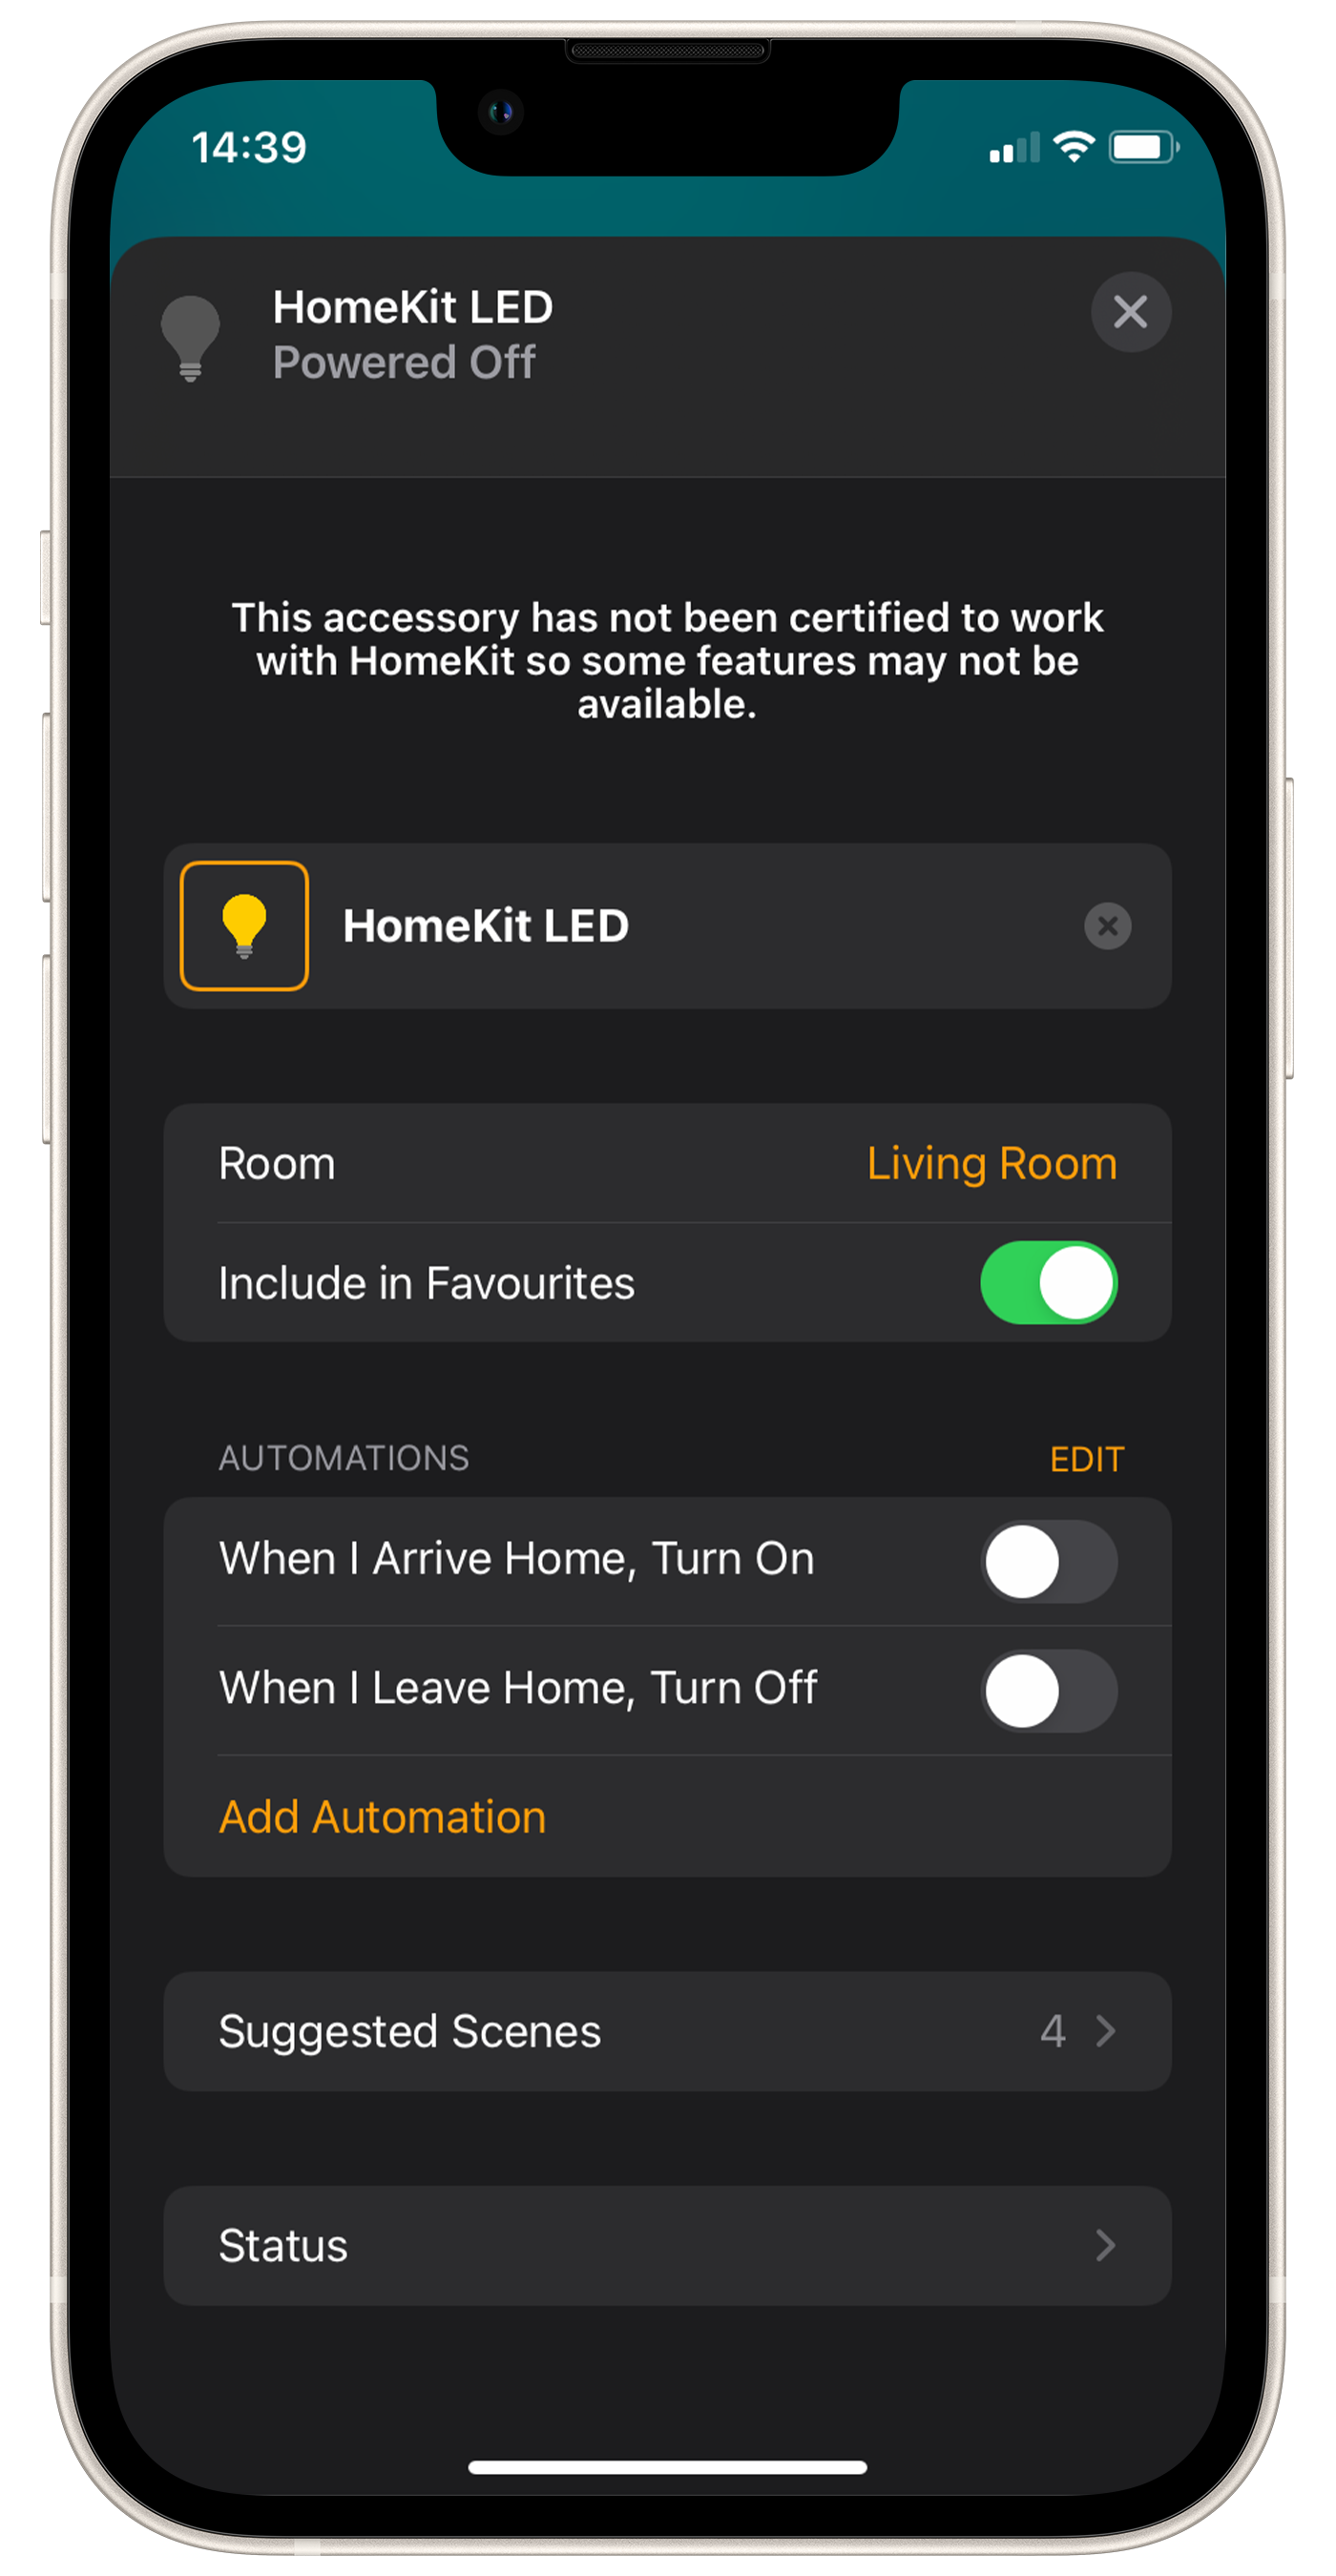
You can also add a automatisation to your HomeKit LED if you want to.
Testing the Hardware
To produce and sell HomeKit compatible accessories, your company need to be certified for that (https://developer.apple.com/homekit/, If you’re interested in developing or manufacturing a HomeKit accessory that will be distributed or sold, your company must enroll in the MFi Program.) Espressif have their implementation of HomeKit framework, but it will give you it only if you have MFi certification (notice this text at the bottom of page you mentioned: Please note that the Espressif HomeKit SDK is available to MFi licensees only, and you need to provide the Account Number for verification purposes when requesting the SDK.).This project is a non-commercial implementation of HAP protocol, not meant for commercial use.
REFERENCE
Maxim Kulkin, esp-wifi-config (2019), Library to bootstrap WiFi-enabled accessories WiFi config, https://github.com/maximkulkin/esp-wifi-config Paul Sokolovsky, esp-open-sdk (2019), Free and open (as much as possible) integrated SDK for ESP8266/ESP8285 chips, https://github.com/pfalcon/esp-open-sdk Espressif Systems, esptool (2019), ESP8266 and ESP32 serial bootloader utility, https://github.com/espressif/esptool HomeACcessoryKid, life-cycle-manager (2019), Initial install, WiFi settings and over the air firmware upgrades for any esp-open-rtos repository on GitHub, https://github.com/HomeACcessoryKid/life-cycle-manager