
HomeKit
ESP8266 HomeKit NeoPixel Light Strip
A WS2812 LED strip in the Home app on an ESP8266, with a ready-made firmware for strips of 30, 60, 90, 120 or 144 LEDs.
- ESP8266
- HomeKit
- 2 min read
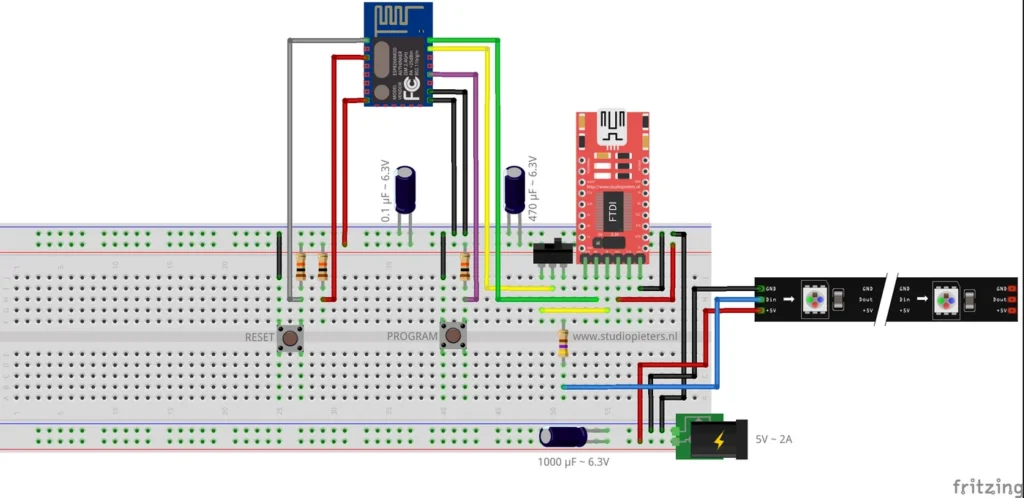
A WS2812 LED strip as a light in the Apple Home app, driven by an ESP8266. Strips come in many lengths, so this project ships one firmware build for each common length: 30, 60, 90, 120 and 144 LEDs. You pick the one that matches your strip.
Pick the firmware for your strip
The release contains five firmware files. The number in the file name is the number of LEDs the build drives, so choose the one for the strip you have.
| File | For a strip of |
|---|---|
| main30.bin | 30 LEDs |
| main60.bin | 60 LEDs |
| main90.bin | 90 LEDs |
| main120.bin | 120 LEDs |
| main144.bin | 144 LEDs |
Every file comes with a signature file, for example main60.bin.sig. In the firmware of this family the number of LEDs is set once in the source, with LED_COUNT, which is why each length is a separate build.
Hardware
| Component | Notes |
|---|---|
| ESP8266 module | An Ai-Thinker ESP8266 module of the ESP-12 type. See the ESP8266 pinout |
| WS2812 LED strip | Connected with GND, data in and +5 V. See the NeoPixels WS2812B guide for how these addressable LEDs work |
| 5 V, 2 A power supply | A barrel jack, as drawn |
| USB-serial (FTDI) adapter | For flashing. Set it to 3.3 V logic |
| Slide switch | Next to the FTDI adapter in the diagram |
| 2 push buttons | RESET and PROGRAM |
| Capacitors | 0.1 µF, 470 µF and 1000 µF, all rated 6.3 V, as drawn |
The diagram shows a 5 V, 2 A supply. A long strip draws far more current than a short one, so size the power supply for the strip length you choose.
Wiring
The Fritzing diagram at the top of this page shows the whole build on a breadboard. The repository has no firmware source, so the pin assignment is not listed in text: follow the diagram. Use an FTDI adapter set to 3.3 V, because a 5 V adapter can damage the module.
Flash and install
The installation is the same as for the other ESP8266 HomeKit accessories on this site. The firmware runs on ESP-Open-RTOS with Life Cycle Manager 2, which sets up the WiFi and installs updates over the air. The full steps, from installing esptool to flashing, joining the LCM- WiFi network and pairing, are in ESP8266 HomeKit Blinds.
In the portal, use these values:
| Field | Value |
|---|---|
| OTA repository | AchimPieters/ESP8266-HomeKit-NeoPixel-Light-Strip |
| OTA binary file | The file for your strip, for example main60.bin |
When the installation is done, scan the QR code the device generates in the Home app to add it.
The three boot files, rboot.bin, blank_config.bin and otaboot.bin, are in the repository.
Firmware release
| Version | Date | Files |
|---|---|---|
| 0.0.1 | 20 April 2019 | main30, main60, main90, main120 and main144, each with a signature file |
Good to know
- The HomeKit Accessory Protocol specification the firmware follows is the non-commercial version, for accessories you build yourself and do not distribute or sell.
- The repository holds the firmware as binaries, the boot files and the diagram, but no source code.
- The repository is under the MIT licence.
Everything is in the ESP8266-HomeKit-NeoPixel-Light-Strip repository on GitHub.
Related
 HomeKit
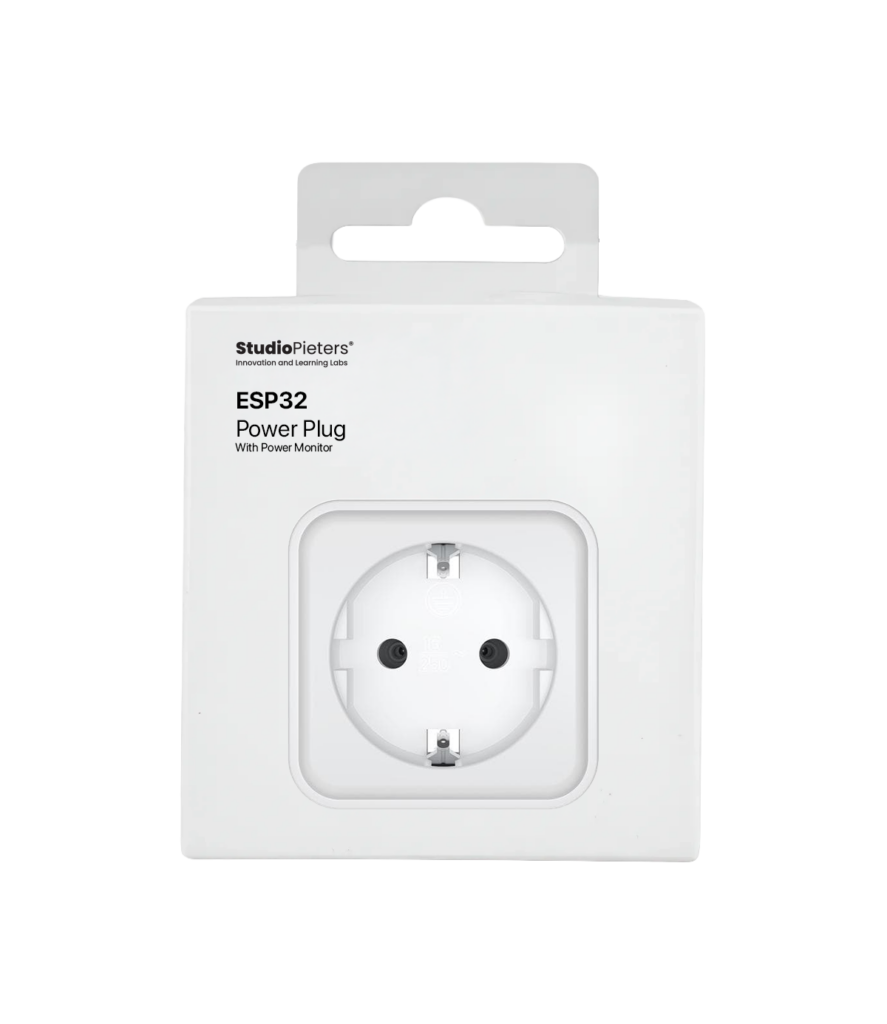
ESP32 Power Plug with Energy Meter
For many years, the Dutch retailer Action has sold affordable smart‑home devices under the LSC Smart Connect brand.
Read more
HomeKit
ESP32 Power Plug with Energy Meter
For many years, the Dutch retailer Action has sold affordable smart‑home devices under the LSC Smart Connect brand.
Read more
 HomeKit
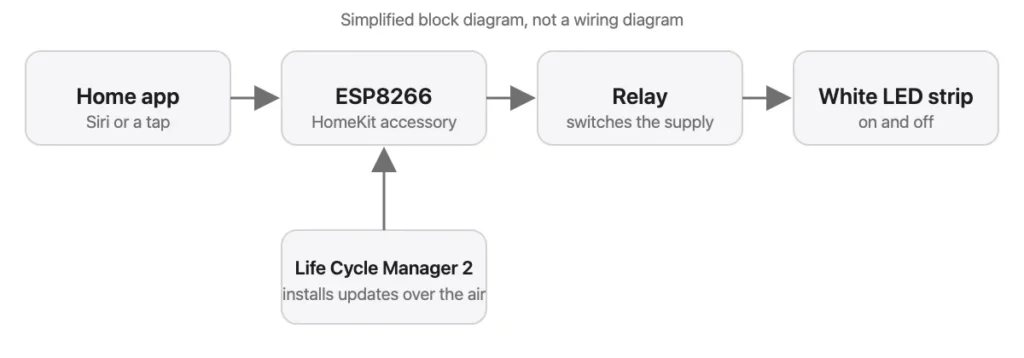
ESP8266 HomeKit White LED Strip
A standard white LED strip that Apple Home switches on and off through an ESP8266 and a relay, installed with Life Cycle Manager 2.
Read more
HomeKit
ESP8266 HomeKit White LED Strip
A standard white LED strip that Apple Home switches on and off through an ESP8266 and a relay, installed with Life Cycle Manager 2.
Read more
 HomeKit
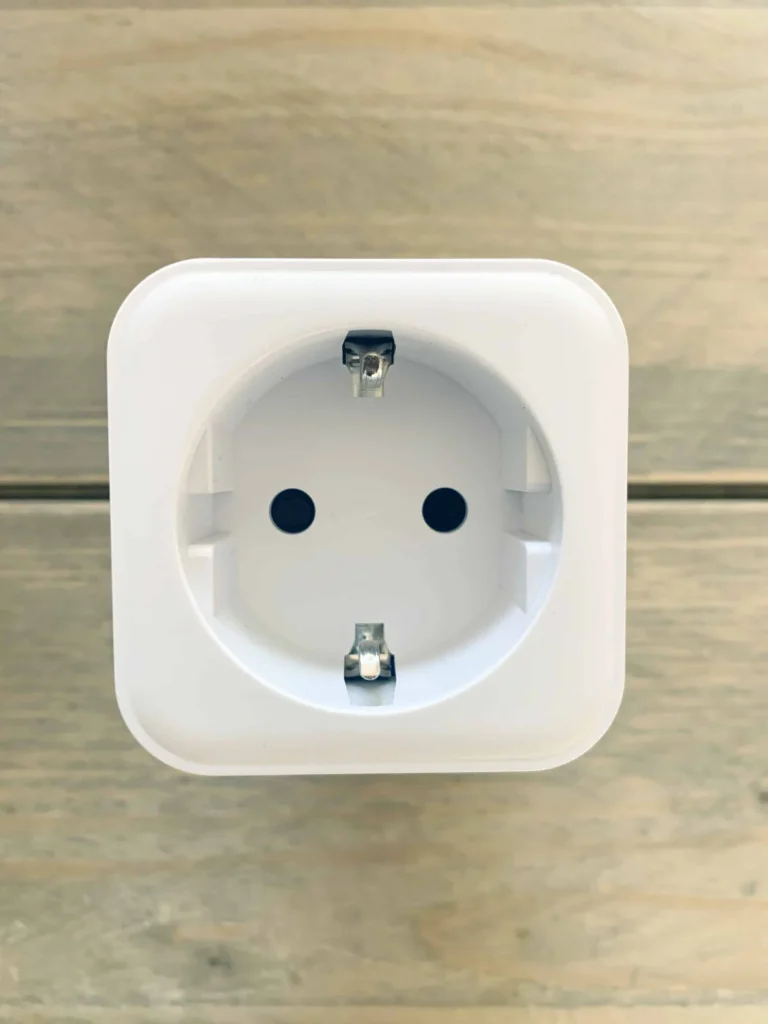
LSC Smart Plug with an ESP8285 as a HomeKit Outlet
The LSC Smart Connect plug from Action, flashed through its TYWE2S module with an FTDI adapter, as an Apple HomeKit outlet with over-the-air updates.
Read more
HomeKit
LSC Smart Plug with an ESP8285 as a HomeKit Outlet
The LSC Smart Connect plug from Action, flashed through its TYWE2S module with an FTDI adapter, as an Apple HomeKit outlet with over-the-air updates.
Read more
More HomeKit
Keep building.
Switches, sensors, plugs and blinds: more accessories that you build yourself and add to the Home app.
All HomeKit