I want to extend my storage but it also has to be redundant, so I don’t loss any data that’s why I’m going to build a Raspberry Pi® 3 with RAID Storage using Some old 2.5″ HD drives, the Linux native RAID application MDADM. It’s pretty easy and shows you how to create a Linux RAID array which is a good skill to have.
Raid Storage Requirements
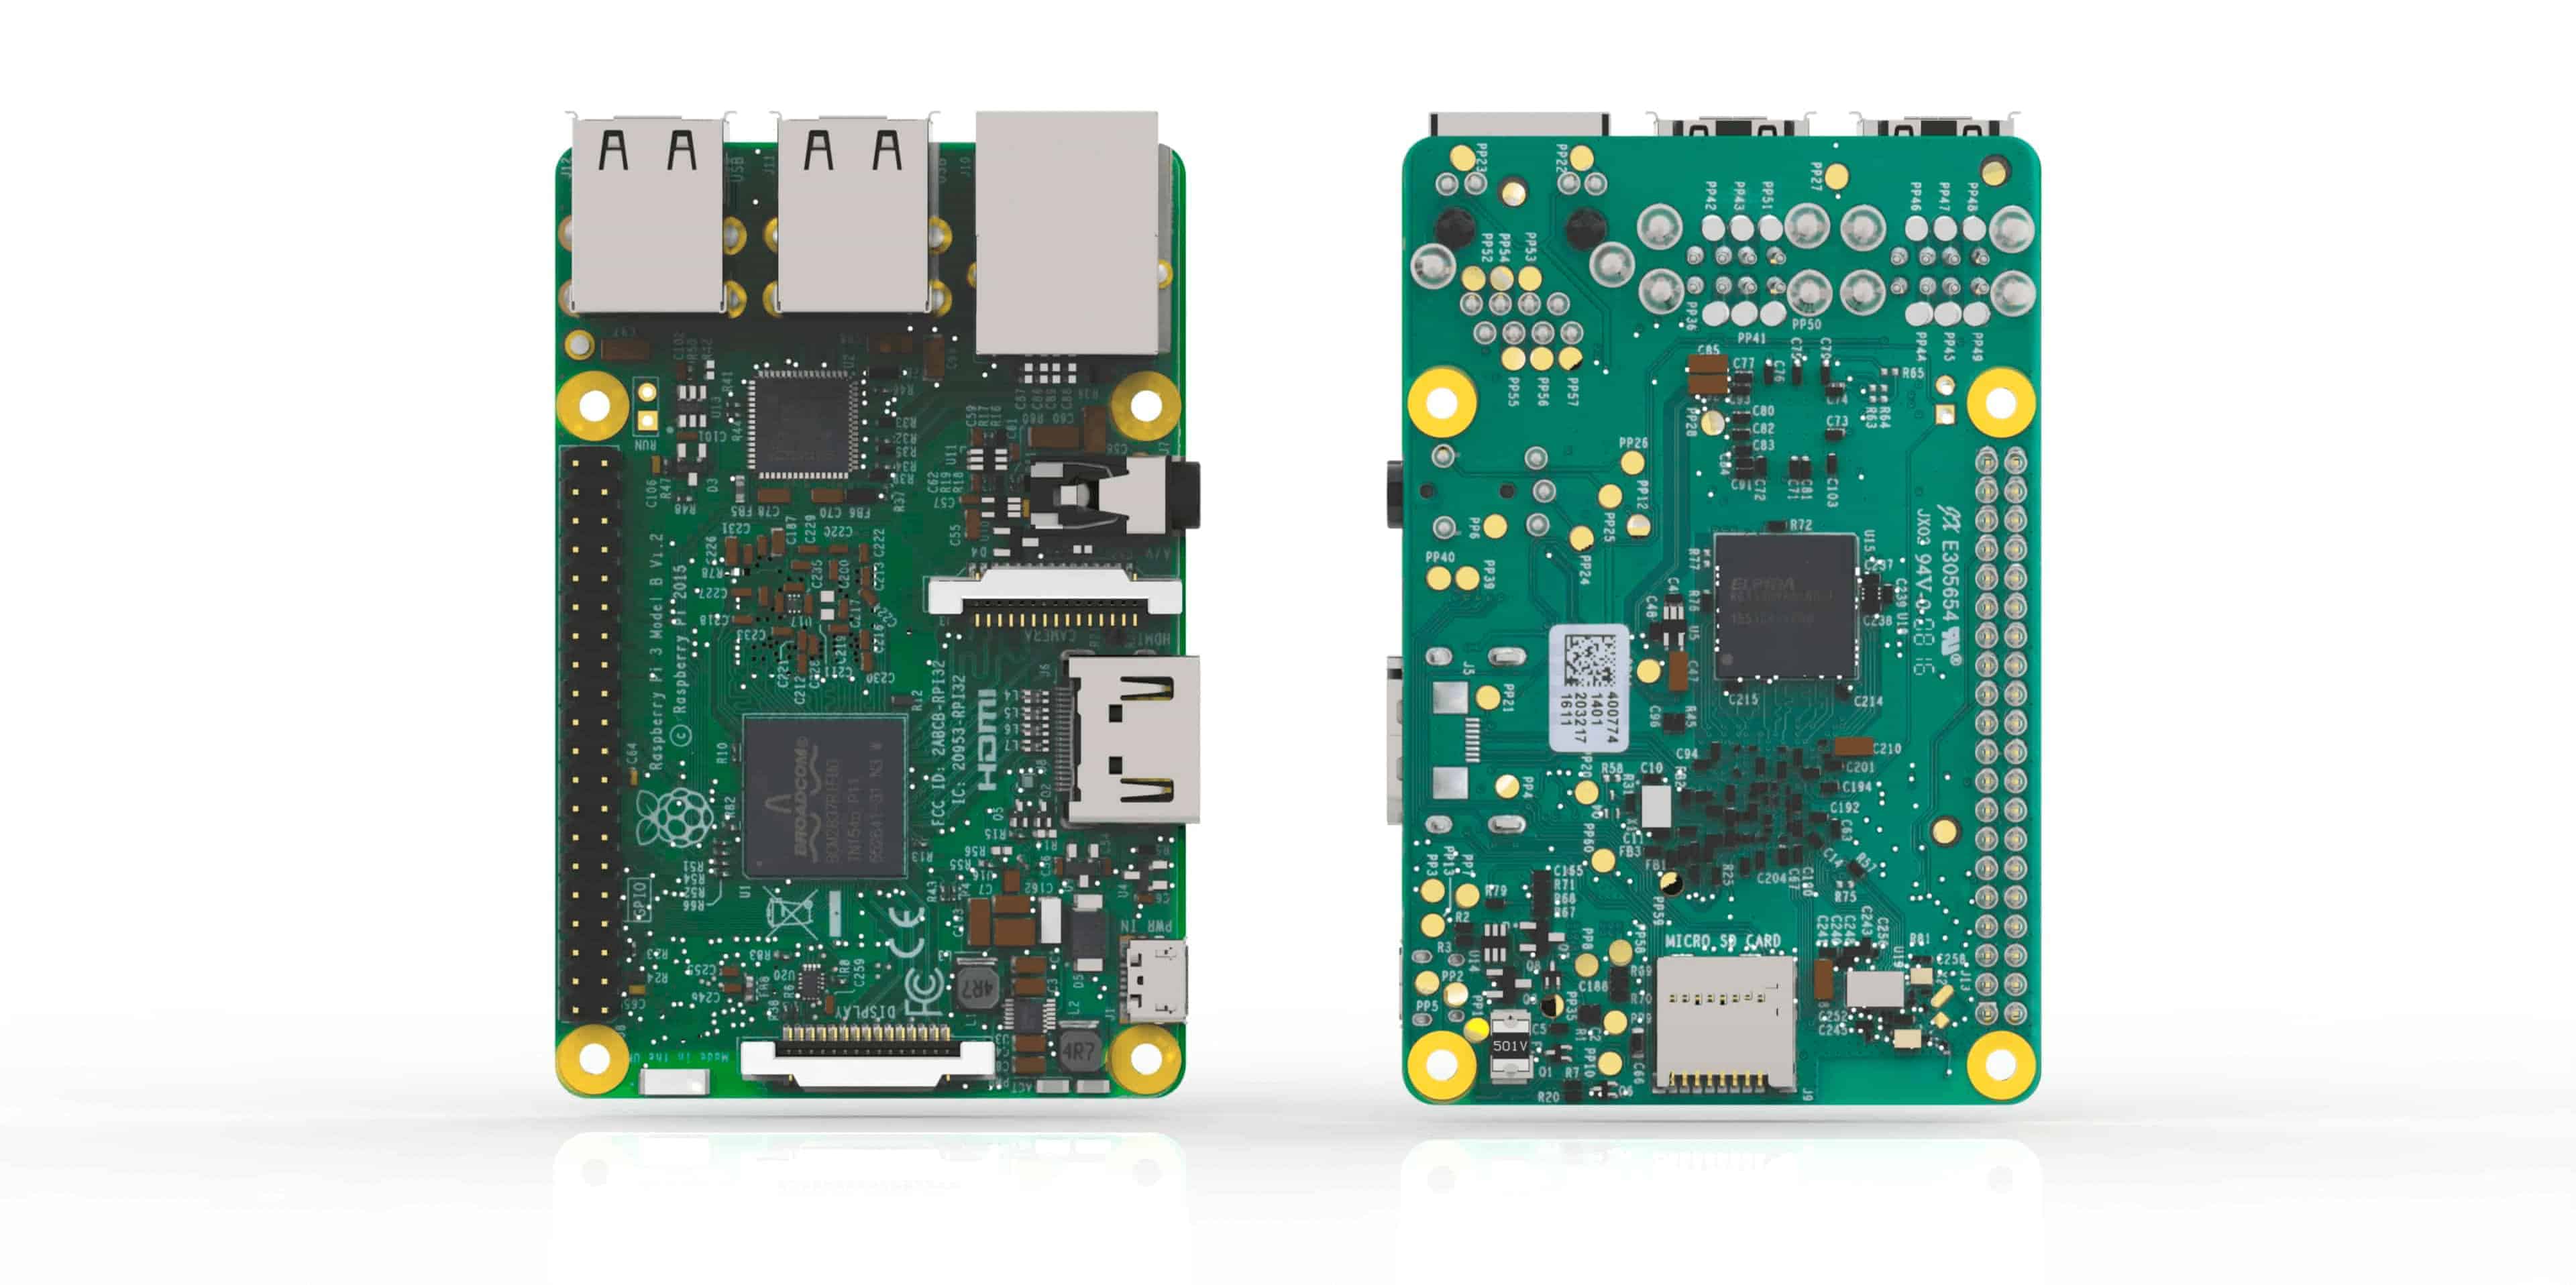
Raspberry Pi®
You can use Raspberry Pi’s from version 2 onwards, so 2B, 2B+ and RPi 3’s are fine, but I recommend the latest Raspberry Pi® 3. You’ll also need a good quality micro-USB power pack suitable for the Raspberry Pi® you’re using.
Recommended is a 5V ~ 2.5A power supply
2.5″ HDD Drives
We will be using some old 2.5″HDD drives for our RAID array. The drives should all be the same size and preferably the same manufacturer for a good RAID array however, if you have an odd one out, just make sure it’s the same size or larger than the smallest drive. USB 2.0 delivers up to 500 mA (at 5 V) and that’s enough for most 2.5″ HDD’s.
Note: Do not use HDD’s witch use more power, this can harm your Raspberry Pi®.
In terms of drive size, your budget will be the determining factor, so just get what you can afford. Remember that with RAID-0 you get the total amount of all drives put together, so 2x 64GB drives will give you 128GB. RAID-1 will halve your total capacity, so 2x 64GB drives will give you 64GB, and RAID-5/6 will give you roughly 2/3 of total capacity, so 3x 64GB drives will give you 128GB of storage. RAID-10 will halve you total capacity, so 4x 64GB drives will give you 128GB storage.
Note: You can all so use USB sticks!
 RAID Levels
The number of drives you have with determine what RAID level you will be able to create. I suggest 3 (or more) drives which is the minimum required for a RAID-4/5 array that offers a good balance between redundancy and speed. If you only have 2 drives, I suggest using RAID-0, and even though there is no redundancy, RAID-0 rarely fails on solid state media. I have had my workstation running on SATA-3 SSD RAID-0 for years and it never skips a beat, but If you’re storing important files, definitely go with RAID-1.
If you’re confident in your Linux skills you can create a RAID-10 array with 4 drives, which is 2 sets of RAID-1, then each set is used to form a RAID-0 array giving you the benefit of speed and redundancy (I will show you how to create all types of Linux RAID arrays).
| Number of Drives | RAID Level Availability |
|---|---|
| 2 |
|
| 3 |
|
| 4 |
|
Once you’ve chosen a desired RAID level you’re happy with, let’s move onto Install/Update Raspbian 9.x “Stretch” and MDADM.
Installing Raspbian 9.x “Stretch”
In this blog we therefore we use a Raspberry Pi® and do a Raspbian Stretch Lite, a Minimal image based on Debian™ Stretch, installation, where you make a complete web server upon. This means that we will install Apache2, a database server MySQL and PHP support from the ground up.
SD Formatter
Visit the SD Association’s website and download SD Formatter 4.0 for either Windows or Mac. Follow the instructions to install the software. Insert your SD card into the computer or laptop’s SD card reader, select the drive letter for your SD card and format it.
Download Raspbian lite image
These instructions are for a Raspbian Jessie image that I downloaded from here:
RASPBIAN STRETCH LITE
I’m using the lite image (no desktop / headless).
Once you download the file, note the location of the *.img file.
Download etcher
Visit etcher.io and download and install the Etcher SD card image utility. Run Etcher and select the Raspbian image you unzipped on your computer or laptop. Select the SD card drive. Note that the software may have already selected the right drive. Finally, click Burn to transfer Raspbian to the SD card. You’ll see a progress bar that tells you how much is left to do. Once complete, the utility will automatically eject/unmount the SD card so it’s safe to remove it from the computer.

Take your SD card out of your computer and place it back so it can be mounted again.
Enable ssh
For security reasons, ssh is no longer enabled by default. Open the Terminal app. Click the Finder icon in your dock. Then click Go. and click Utilities. Double-click Terminal. To enable it, run this command:
touch /Volumes/boot/ssh
Eject the micro SD card
Issue an eject command:
diskutil eject /dev/disk2
The command won’t physically eject the disk/card. It’s more of a logical eject: meaning it’s safe to remove the card now. You can also do this by right-clicking on the card on your desktop.

Boot the raspberry Pi®
Put the SD card into the Raspberry Pi®. Plug a Micro-USB power cable into the power port (the one closest to the end of the board). Give the Raspberry Pi® plenty of time to boot up (it can take as much as 90 seconds — or more)
Login to you raspberry Pi®
This part assumes that ssh is enabled for your image and that the default user is pi with a password of raspberry. Open the Terminal app. Click the Finder icon in your dock. then click Go. and click Utilities. Double-click Terminal. Run the following commands:
ssh pi@raspberrypi.local
If prompted with this warning:
The authenticity of host 'raspberrypi.local (xxxxxxxxxxxxxxxxxxxxxxxxxxxxx)' can't be established.
ECDSA key fingerprint is SHA256:xxxxxxxxxxxxxxxxxxxxxxxxxxxxxxxxxxxxxxxxxxx.
Are you sure you want to continue connecting (yes/no)?
just hit enter to accept the default (Yes). Type in the password — by default this is raspberry. Congratulations! You can now access your Raspberry Pi® over wifi! If you can’t connect, see the troubleshooting blog here.
Change your Hostname and Password
Because your pi is now on the network, you should immediately change the host name and password. At the command line type:
sudo raspi-config
Select the options for changing the host name and password. On a new image, I would also recommend expanding the file system (now under the Advanced options) and set the locale settings. Once the changes are made you need to, reboot. To reboot your Raspberry Pi®, type:
sudo reboot

Remember that once you reboot, you will need to use the new host name to login over ssh. For example, if your new host name is server you would connect like this:
ssh pi@server.local
Fix the locale issue
Last week I was trying to make my Raspberry Pi® work again, and while reinstalling and upgrading Raspbian OS packages I run into an issue where a perl warning is displayed.
The warning message appears during the installation packages(invoking Perl) and it’s due to missing locales. Type:
locale
when you see this message and see that LC_ALL = (unset), and LANG = (unset) are (unset), then proceed with the fix.
[...]
perl: warning: Setting locale failed.
perl: warning: Please check that your locale settings:
        LANGUAGE = "en_GB.UTF-8",
        LC_ALL = (unset),
        LC_TIME = "en_GB.UTF-8",
        LC_MONETARY = "en_GB.UTF-8",
        LC_ADDRESS = "en_GB.UTF-8",
        LC_TELEPHONE = "en_GB.UTF-8",
        LC_NAME = "en_GB.UTF-8",
        LC_MEASUREMENT = "en_GB.UTF-8",
        LC_IDENTIFICATION = "en_GB.UTF-8",
        LC_NUMERIC = "en_GB.UTF-8",
        LC_PAPER = "en_GB.UTF-8",
        LANG = (unset),
    are supported and installed on your system.
perl: warning: Falling back to the standard locale ("C").
locale: Cannot set LC_ALL to default locale: No such file or directory
I searched the internet for the fix but non of them where working. But I found one that did. Type:
sudo nano /etc/default/locale
Change it, and include these three lines:
LANG=en_GB.UTF-8
LC_ALL=en_GB.UTF-8
LANGUAGE=en_GB.UTF-8
Save your changes, press CTRL + O, followed by Enter. Then press CTRL + X.
Static Ip adress
After setting up the network connection, all I have to do is configure a static IP address and my Raspberry Pi is ready for use. Here I will show you how to set a static IP address on your Raspberry Pi® on Raspbian OS.
sudo nano /etc/dhcpcd.conf
Scroll all the way to the bottom of the file and add one, or both of the following snippets. Depending on whether you want to set a static IP address for a wired connection or a wireless connection eth0 = wired, wlan0 = wireless.
You’ll need to edit the numbers in the snippet so they match your network configuration:
interface eth0

static ip_address=192.168.0.200/24
static routers=192.168.0.1
static domain_name_servers=192.168.0.1
interface = This defines which network interface you are setting the configuration for.
static ip_address = This is the IP address that you want to set your device to. (Make sure you leave the /24 at the end)
static routers = This is the IP address of your gateway (probably the IP address or your router)
static domain_name_servers = This is the IP address of your DNS (probably the IP address of your router). You can add multiple IP addresses here separated with a single space.
Save your changes, press CTRL + O, followed by Enter. Then press CTRL + X. Now all you need to do is reboot, and everything should be set!
sudo reboot
Get the updates and upgrade
Once connected over WiFi, the next thing you should do is run some updates:
sudo apt-get update
and then:
sudo apt-get upgrade -y
Now we are ready to install MDADM.

Update & Install MDADM
Now we just need to update Raspbian and install the MDADM RAID package:
sudo apt-get update
Then we are going to upgrade your Raspberry Pi®:
sudo apt-get upgrade -y
Now you can give the command to install MDADM:
sudo apt-get install mdadm -y
Now let’s move on to Setup RAID Volume & File System.
Setup Drives and RAID Volume
Just to make things easier for identifying our USB drives, we need to format and label each one sequentially:
MAC OS X
Insert one of your USB drives (close any automatic windows). Go to Finder > Applications > Utilities > Disk Utility. Locate the USB drive from the left hand side and select it. Click on the Erase tab and choose the following options: Format: ExFAT, Name: USB01. Now click on Erase button, then confirm the Erase on the alert box. Repeat this process for each USB drive you want to use, increment Name: to USB02, USB03 etc.
Windows
Insert one of your USB drives (close any automatic windows). (Win7,XP,Vista) Go to Start > Computer (Win8,10) search “File Explorer” and open top result. Right-click on the USB drive icon, then select Format. In the Format window, change the following options: File system: NTFS, Volume label: USB01. Now click the Start button, then Yes to alert box. Repeat this process for each USB drive you want to use, increment Volume label: to USB02, USB03 etc
Now it’s time to insert your USB drives into your Raspberry Pi®, it doesn’t matter which drive goes where. Now we need to find out the mount points for each drive using the following command:
sudo blkid
Which should produce something like the following:
pi@RASPINAS:~ $ sudo blkid
/dev/mmcblk0p1: LABEL="boot" UUID="CDD4-B453" TYPE="vfat" PARTUUID="498dcd43-01"
/dev/mmcblk0p2: LABEL="rootfs" UUID="72bfc10d-73ec-4d9e-a54a-1cc507ee7ed2" TYPE="ext4" PARTUUID="498dcd43-02"
/dev/sda1: LABEL="1TB01" UUID="8A44B0F244B0E1DD" TYPE="ntfs" PARTUUID="01411281-01"
/dev/sdb1: LABEL="1TB02" UUID="2CF48901F488CE90" TYPE="ntfs" PARTUUID="bd5d9029-01"
/dev/sdc1: LABEL="1TB03" UUID="A8CE3E46CE3E0D56" TYPE="ntfs" PARTUUID="0fb30d0e-01"
/dev/sdd1: LABEL="1TB04" UUID="3AC2CC7DC2CC3F3F" TYPE="ntfs" PARTUUID="0fb30d2b-01"
/dev/mmcblk0: PTUUID="498dcd43" PTTYPE="dos"
pi@server:~ $
We need to confirm the mount points of our USB drives, for 99% of the time it will be /dev/sda1, /dev/sdb1, /dev/sdc1 and /dev/sdd1
/dev/sda1: LABEL="1TB01"
/dev/sdb1: LABEL="1TB02"
/dev/sdc1: LABEL="1TB03"
/dev/sdd1: LABEL="1TB04"
If you have different mount points than shown here, it doesn’t really matter, you’ll just need to replace the code snippets with the mount points you have. It also doesn’t matter if the drive labels are out of order, just so long as they match up to your mount points.

Depending on how many drives you have (see RAID levels chart above) choose your RAID level and follow the instructions for your chosen level below.
Setup RAID-0 Volume
Enter the following code to setup two or more USB drives into a high performance RAID-0 array in parallel, replacing –raid-devices=X with the number of drives you’re using, and /dev/sda1 /dev/sdb1 with your mount points:
sudo mdadm --create --verbose /dev/md0 --level=stripe --raid-devices=2 /dev/sda1 /dev/sdb1
So if I were using 4 drives in my RAID-0 array the code would be as follows:
sudo mdadm --create --verbose /dev/md0 --level=stripe --raid-devices=4 /dev/sda1 /dev/sdb1 /dev/sdc1 /dev/sdd1
Setup a RAID-1 Volume
To setup a redundant RAID-1 array using two drives, enter the following code:
sudo mdadm --create --verbose /dev/md0 --level=mirror --raid-devices=2 /dev/sda1 /dev/sdb1
You can also setup an additional “hot spare” for your RAID array using –spare-devices=1 /dev/sdc1
sudo mdadm --create --verbose /dev/md0 --level=mirror --raid-devices=2 /dev/sda1 /dev/sdb1 --spare-devices=1 /dev/sdc1
Setup RAID-4/5/6 Volume
To setup a redundant RAID-4, RAID-5 with three drives, or RAID-6 array with four drives, use the following code, replacing –level=X with the RAID level you want:
sudo mdadm --create --verbose /dev/md0 --level=4 --raid-devices=3 /dev/sda1 /dev/sdb1 /dev/sdc1
So if I wanted a RAID-5 array using three drives and a hot spare, I would use the following code:
sudo mdadm --create --verbose /dev/md0 --level=5 --raid-devices=3 /dev/sda1 /dev/sdb1 /dev/sdc1 --spare-devices=1 /dev/sdd1
Setup RAID-10 Volume
To setup a fast, redundant RAID-10 (aka Nested RAID-1+0) use the following code:
sudo mdadm --create --verbose /dev/md0 --level=10 --raid-devices=4 /dev/sda1 /dev/sdb1 /dev/sdc1 /dev/sdd1
Confirm your RAID Array
No we need to confirm that all went well creating your RAID array, so enter the following:
cat /proc/mdstat
Which should produce something like the following (of course replace raid10 with whatever RAID level you chose):
pi@RASPINAS:~ $ cat /proc/mdstat
Personalities : [raid10]
md0 : active raid10 sdd1[3] sdc1[2] sdb1[1] sda1[0]
15319040 blocks super 1.2 512K chunks 2 near-copies [4/4] [UUUU]
[>....................] resync = 0.4% (61504/15319040) finish=28.9min speed=8786K/sec

unused devices: <none>
Save your RAID array
For some reason Raspbian won’t let us save the RAID array as user:pi even using sudo, so we need to temporarily change to root account, enter the following:
sudo -i
Now we can save our RAID array by entering the following code:
mdadm --detail --scan >> /etc/mdadm/mdadm.conf
It’s also good to confirm it was saved by viewing the mdadm.conf file and look for something like this at the bottom of the file:
# This configuration was auto-generated on Fri, 19 Jan 2018 08:14:18 +0000 by mkconf
ARRAY /dev/md0 metadata=1.2 name=RASPINAS:0 UUID=0d7c55bd:ae5f8fbc:0e048a15:79de5064
Then exit from root user:
exit
Create File System
You have a number of choices when it comes to Linux file systems, but I will be using the EXT4 file system as it’s the best choice for our RAID array. If you want to learn more about some of the flags (stride, stripe-width, block options) see this article. The following code will produce an EXT4 filesystem with a block size of 4096kb, stride of 32, a stripe-width of 64 and will leave 1% free so it won’t fill up and cause issues:
mkfs.ext4 -v -m .1 -b 4096 -E stride=32,stripe-width=64 /dev/md0

If successful, you should see the following output:
pi@Server:~ $ sudo mkfs.ext4 -v -m .1 -b 4096 -E stride=32,stripe-width=64 /dev/md0
mke2fs 1.43.4 (31-Jan-2017)
fs_types for mke2fs.conf resolution: 'ext4'
Filesystem label=
OS type: Linux
Block size=4096 (log=2)
Fragment size=4096 (log=2)
Stride=32 blocks, Stripe width=64 blocks
958464 inodes, 3829760 blocks
3829 blocks (0.10%) reserved for the super user
First data block=0
Maximum filesystem blocks=2151677952
117 block groups
32768 blocks per group, 32768 fragments per group
8192 inodes per group
Filesystem UUID: 394fd8f2-7b2a-474f-8e58-48b81a6ca8fb
Superblock backups stored on blocks:
32768, 98304, 163840, 229376, 294912, 819200, 884736, 1605632, 2654208

Allocating group tables: done
Writing inode tables: done
Creating journal (16384 blocks): done
Writing superblocks and filesystem accounting information: done

pi@Server:~ $
We also need to mount the file system so we can access it using the following command:
sudo mount /dev/md0 /mnt
We need to automatically mount the file system at boot, so let’s find out the UUID of our mounted file system by entering the following command:
sudo blkid
Which should produce something like the following:
pi@RASPIServer:~ $ sudo blkid
/dev/mmcblk0p1: LABEL="boot" UUID="CDD4-B453" TYPE="vfat" PARTUUID="498dcd43-01"
/dev/mmcblk0p2: LABEL="rootfs" UUID="72bfc10d-73ec-4d9e-a54a-1cc507ee7ed2" TYPE="ext4" PARTUUID="498dcd43-02"
/dev/mmcblk0: PTUUID="498dcd43" PTTYPE="dos"
/dev/sda1: UUID="0d7c55bd-ae5f-8fbc-0e04-8a1579de5064" UUID_SUB="f954ff33-87db-4e26-8be9-e978aa0ef815" LABEL="RASPINAS:0" TYPE="linux_raid_member" PARTUUID="bd5d9029-01"
/dev/sdb1: UUID="0d7c55bd-ae5f-8fbc-0e04-8a1579de5064" UUID_SUB="eea15556-4e0a-1985-163a-064670df9db2" LABEL="RASPINAS:0" TYPE="linux_raid_member" PARTUUID="01411281-01"
/dev/md0: UUID="394fd8f2-7b2a-474f-8e58-48b81a6ca8fb" TYPE="ext4"
/dev/sdc1: UUID="0d7c55bd-ae5f-8fbc-0e04-8a1579de5064" UUID_SUB="2a8456d7-6fea-eba2-7728-ebd20aa238e5" LABEL="RASPINAS:0" TYPE="linux_raid_member" PARTUUID="0fb30d2b-01"
/dev/sdd1: UUID="0d7c55bd-ae5f-8fbc-0e04-8a1579de5064" UUID_SUB="51019b58-995f-cf35-f6c3-33d61a104d76" LABEL="RASPINAS:0" TYPE="linux_raid_member" PARTUUID="0fb30d0e-01"
The item we’re after is the UUID of /dev/md0: which in my case is 394fd8f2-7b2a-474f-8e58-48b81a6ca8fb but yours will be different. Highlight and copy the UUID, then we need to add it to fstab and backup the original fstab just in case:
sudo cp /etc/fstab /etc/fstab.bak
sudo nano /etc/fstab
Just before the bottom comments, make a space and enter the following on a single line (replace [your_uuid] with the UUID of your file system):
UUID=[your_uuid] /mnt ext4 defaults 0 0
So my fstab entry would look like this:
UUID=394fd8f2-7b2a-474f-8e58-48b81a6ca8fb /mnt ext4 defaults 0 0
Now save Ctrl+O and exit Ctrl+X.
That’s it your done!

Now you have a Raspberry Pi® as a RAID array controller. Now it won’t be the fastest raid controller on the planet, but if you’re only doing a bit of streaming, and a bit of backup, and would like a bit of redundancy, then this solution might be for you. The performance will not compete with a real Raid controller. This because the Raspberry Pi® has USB 2.0 ports with a maximum speed of 480 Mbit/s (high speed). But it will do for your Small Office / Home Office setup.
REFERENCE
Raspberry Pi® (2019), The Raspberry Pi is a tiny and affordable computer that you can use to learn programming through fun, practical projects, https://www.raspberrypi.org