Handy, such a ready-to-use hosting package, but to have complete control over your web server, it’s best to roll up your sleeves yourself. For example, you can install your own Apache web server. The necessary components can be installed with the help of the command line. Also useful as a test server.
Install your own web server
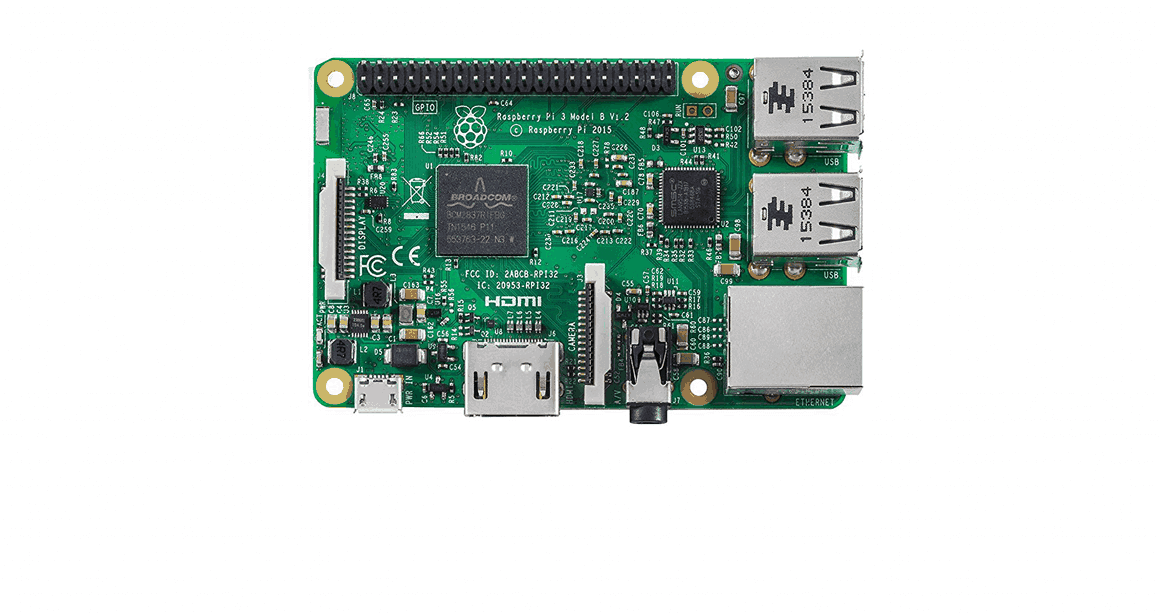
In this blog we therefore we use a Rapberry Pi and do a Raspbian Stretch Lite, a Minimal image based on Debian Stretch, installation, where you make a complete web server upon. This means that we will install Apache2, a database server MySQL and PHP support from the ground up.
SD Formatter
Visit the SD Association’s website and download SD Formatter 4.0 for either Windows or Mac. Follow the instructions to install the software. Insert your SD card into the computer or laptop’s SD card reader, select the drive letter for your SD card and format it.
Download Raspbian lite image
These instructions are for a Raspbian Jessie image that I downloaded from here:
RASPBIAN STRETCH LITE
I’m using the lite image (no desktop / headless).
Once you download the file, note the location of the *.img file.
Download etcher
Visit etcher.io and download and install the Etcher SD card image utility. Run Etcher and select the Raspbian image you unzipped on your computer or laptop. Select the SD card drive. Note that the software may have already selected the right drive. Finally, click Burn to transfer Raspbian to the SD card. You’ll see a progress bar that tells you how much is left to do. Once complete, the utility will automatically eject/unmount the SD card so it’s safe to remove it from the computer.

Take your SD card out of your computer and place it back so it can be mounted again.
Enable ssh
For security reasons, ssh is no longer enabled by default. Open the Terminal app. Click the Finder icon in your dock. Click Go. Click Utilities. Double-click Terminal. To enable it, run this command:
touch /Volumes/boot/ssh
Eject the micro SD card
Issue an eject command:
diskutil eject /dev/disk2
The command won’t physically eject the disk/card. It’s more of a logical eject: meaning it’s safe to remove the card now. You can also do this by right-clicking on the card on your desktop.

Boot the raspberry Pi
Put the SD card into the Raspberry Pi. Plug a Micro-USB power cable into the power port (the one closest to the end of the board). Give the Raspberry Pi plenty of time to boot up (it can take as much as 90 seconds — or more)
Login to you raspberry Pi
This part assumes that ssh is enabled for your image and that the default user is pi with a password of raspberry. Open the Terminal app. Click the Finder icon in your dock. Click Go. Click Utilities. Double-click Terminal. Run the following commands:
ssh pi@raspberrypi.local
If prompted with this warning:
The authenticity of host 'raspberrypi.local (xxxxxxxxxxxxxxxxxxxxxxxxxxxxx)' can't be established.
ECDSA key fingerprint is SHA256:xxxxxxxxxxxxxxxxxxxxxxxxxxxxxxxxxxxxxxxxxxx.
Are you sure you want to continue connecting (yes/no)?
just hit enter to accept the default (Yes). Type in the password — by default this is raspberry. Congratulations! You can now access your Raspberry Pi over wifi! If you can’t connect, see the troubleshooting blog here.
Change your Hostname and Password
Because your pi is now on the network, you should immediately change the host name and password. At the command line type:
sudo raspi-config
Select the options for changing the host name and password. On a new image, I would also recommend expanding the file system (now under the Advanced options) and set the locale settings. Once the changes are made you need to, reboot. To reboot your Raspberry Pi, type:
sudo reboot

Remember that once you reboot, you will need to use the new host name to login over ssh. For example, if your new host name is webserver you would connect like this:
ssh pi@webserver.local
Fix the locale issue
Last week I was trying to make my Raspberry Pi work again, and while reinstalling and upgrading Raspbian OS packages I run into an issue where a perl warning is displayed.
The warning message appears during the installation packages(invoking Perl) and it’s due to missing locales. Type:
locale
when you see this message and see that LC_ALL = (unset), and LANG = (unset) are (unset), then proceed with the fix.
[...]
perl: warning: Setting locale failed.
perl: warning: Please check that your locale settings:
        LANGUAGE = "en_GB.UTF-8",
        LC_ALL = (unset),
        LC_TIME = "en_GB.UTF-8",
        LC_MONETARY = "en_GB.UTF-8",
        LC_ADDRESS = "en_GB.UTF-8",
        LC_TELEPHONE = "en_GB.UTF-8",
        LC_NAME = "en_GB.UTF-8",
        LC_MEASUREMENT = "en_GB.UTF-8",
        LC_IDENTIFICATION = "en_GB.UTF-8",
        LC_NUMERIC = "en_GB.UTF-8",
        LC_PAPER = "en_GB.UTF-8",
        LANG = (unset),
    are supported and installed on your system.
perl: warning: Falling back to the standard locale ("C").
locale: Cannot set LC_ALL to default locale: No such file or directory
I searched the internet for the fix but non of them where working. But I found one that did. Type:
sudo nano /etc/default/locale
Change it, and include these three lines:
LANG=en_GB.UTF-8
LC_ALL=en_GB.UTF-8
LANGUAGE=en_GB.UTF-8
Save your changes, press CTRL + O, followed by Enter. Then press CTRL + X.
Static Ip adress
After setting up the network connection, all I have to do is configure a static IP address and my Raspberry Pi is ready for use. Here I will show you how to set a static IP address on your Raspberry Pi on Raspbian OS.
sudo nano /etc/dhcpcd.conf
Scroll all the way to the bottom of the file and add one, or both of the following snippets.
Depending on whether you want to set a static IP address for a wired connection or a wireless connection eth0 = wired, wlan0 = wireless.
You’ll need to edit the numbers in the snippet so they match your network configuration:
interface eth0

static ip_address=192.168.0.200/24
static routers=192.168.0.1
static domain_name_servers=192.168.0.1
interface = This defines which network interface you are setting the configuration for.
static ip_address = This is the IP address that you want to set your device to. (Make sure you leave the /24 at the end)
static routers = This is the IP address of your gateway (probably the IP address or your router)
static domain_name_servers = This is the IP address of your DNS (probably the IP address of your router). You can add multiple IP addresses here separated with a single space.
Save your changes, press CTRL + O, followed by Enter. Then press CTRL + X. Now all you need to do is reboot, and everything should be set!
sudo reboot
Get the updates and upgrade
Once connected over WiFi, the next thing you should do is run some updates:
sudo apt-get update
and then:
sudo apt-get upgrade -y
Now we are ready to install Apache.

Install Apache web server
Now that you have installed all the Prerequisites you’re ready for the real deal, installing Apache Server. Type:
sudo apt-get install apache2
Now that you have Apache up and running we need to open some ports.
Set up firewall
Because your Ubuntu server is protected as standard by your own firewall, you have to make sure that it is accessible from outside via the internet. This involves the protocols HTTP and HTTPS, which are used for the traffic of websites. The Ubuntu firewall is called UFW. Type:
ufw
UFW is an abbreviation of Uncomplicated FireWall. With that firewall you allow the HTTP and HTTPS protocols with the following two commands:
sudo ufw allow http
and
sudo ufw allow https
Basic website
With the following command you get a status overview of the web server. If behind ‘Active’ in green is ‘active’, the web server is activated.
sudo systemctl status apache2
That’s It your ready. If you use a browser to go to your server’s IP address or to the url of a domain name that you have linked to the IP address, the default Apache2 page should appear. Optionally, you can add things such as a database server, SSL certificate or management interface for more possibilities, ease of use and security. More to come in Part 2.