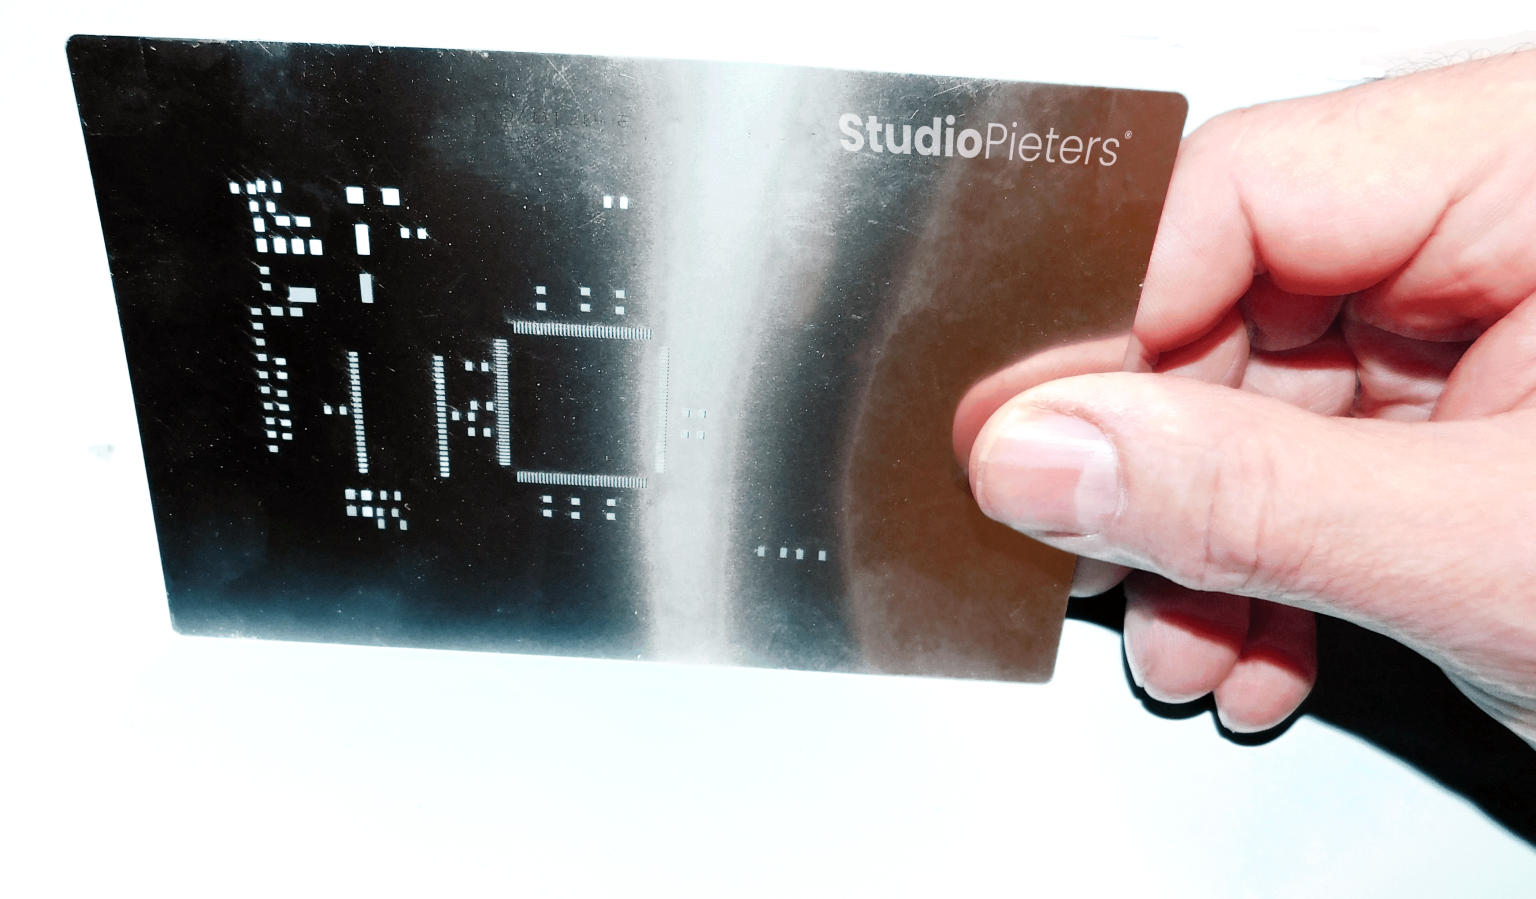
Since I started my ESP8266 – HomeKit Blinds project, I’ve tried all different kind of soldering techniques to improve my production speed whilst maintaining the quality. And although I found out a hot air soldering really makes life a lot easier, applying solder paste is a bit of a time-consuming work. To make life a little easier, I ordered a solder stencil with my next batch of ESP8266 – HomeKit Blinds PCB’s. For 9.90 Euro (12 dollars), Seeedstudio adds a high quality stencil to your order.
Seeedstudio
Seeed has been serving the global developer community since 2008, by providing open technology and agile manufacturing services, with the mission to make hardware more accessible and lower the threshold for hardware innovation. With Shenzhen’s vast resources, and trusted technology and distribution partners around the world, Seeed strives to be the most integrated platform for creating hardware solutions for IoT, edge AI applications.
Solder Paste for Stencils
To use solder paste, you need either a Reflow oven (See my ReflowMate· project) or a rework station (hot air soldering iron) is somewhat required. Since I currently don’t have a rework station, I have to go for a Reflow oven. Unfortunately, a rework station, always resulted in a game of Russian roulette with two possible outcomes: burning your PCB beyond recognition, or burning down your house.

Using one sacrificial PCB cut in pieces, I made a template to keep my PCB’s in the exact correct spot below my stencil. Using my IKEA Family pass, I applied the solder paste (Sn62, Pb36, Ag2) on the stencil. Thanks for your help, IKEA!
The first time you do this, you’ll be awed by the speed and precision in which you can apply solder paste.
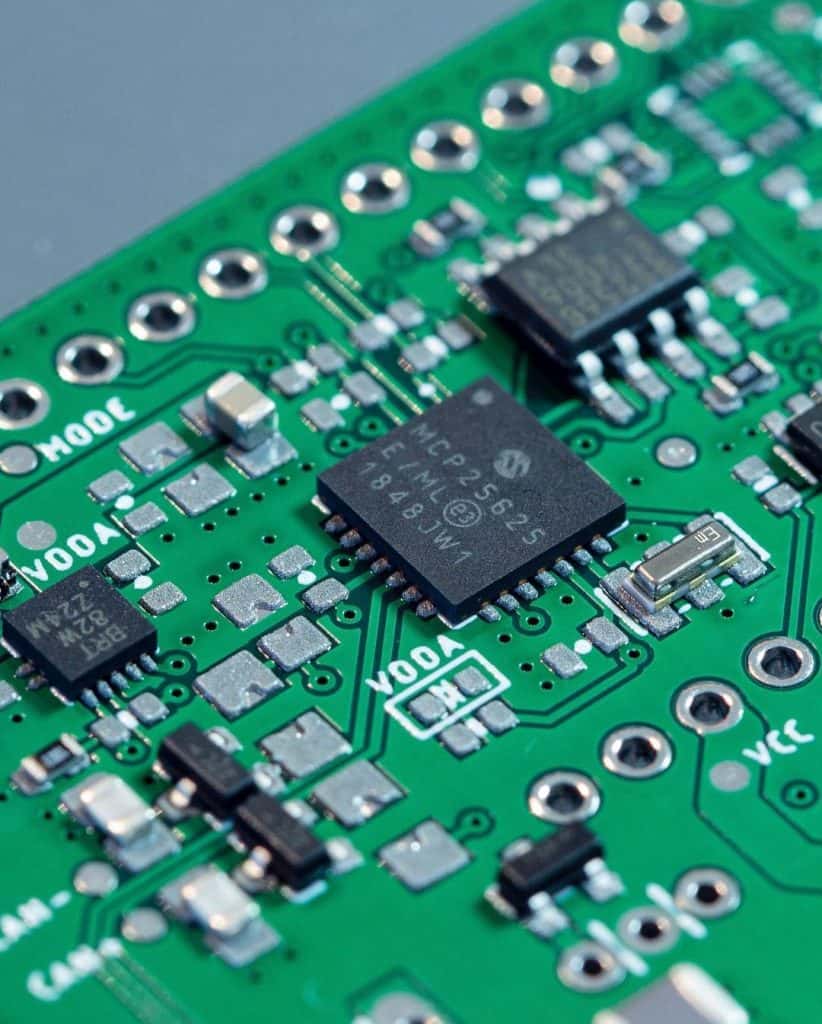
The next step will be picking and placing the parts. I don’t own a pick and place machine (yet), but with tweezers and some patience, you’ll come a long way.
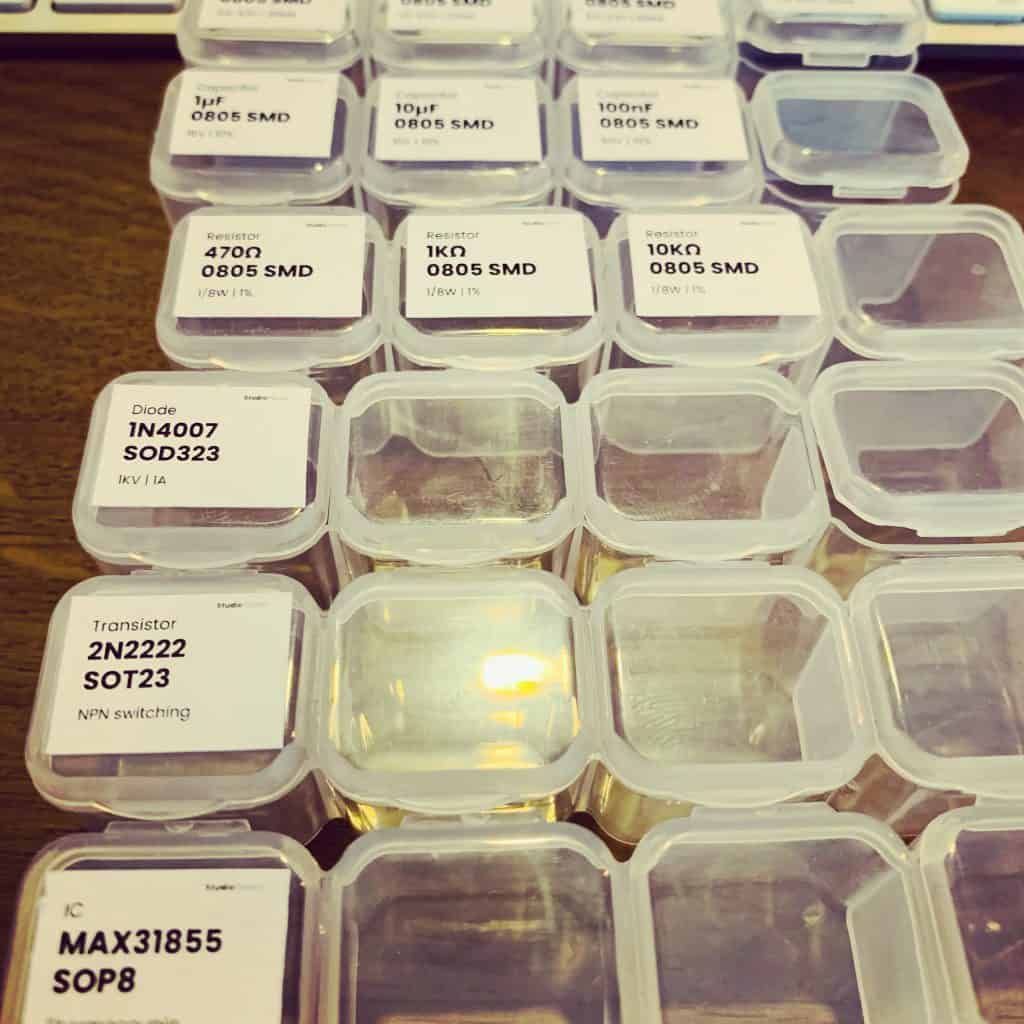
To make life a little easier, I filled a diamond painting container with all the tiny parts used for the projects. Going through my stash to find the right parts usually took most of the time. So this really speeds up the process.
Next up is putting the ReflowMate· to work. No fiddling to find out the right temperature and airflow. But right away the sweet spot! The result really puts a smile on my face. Soldering with the ReflowMate· really is a lot of fun!
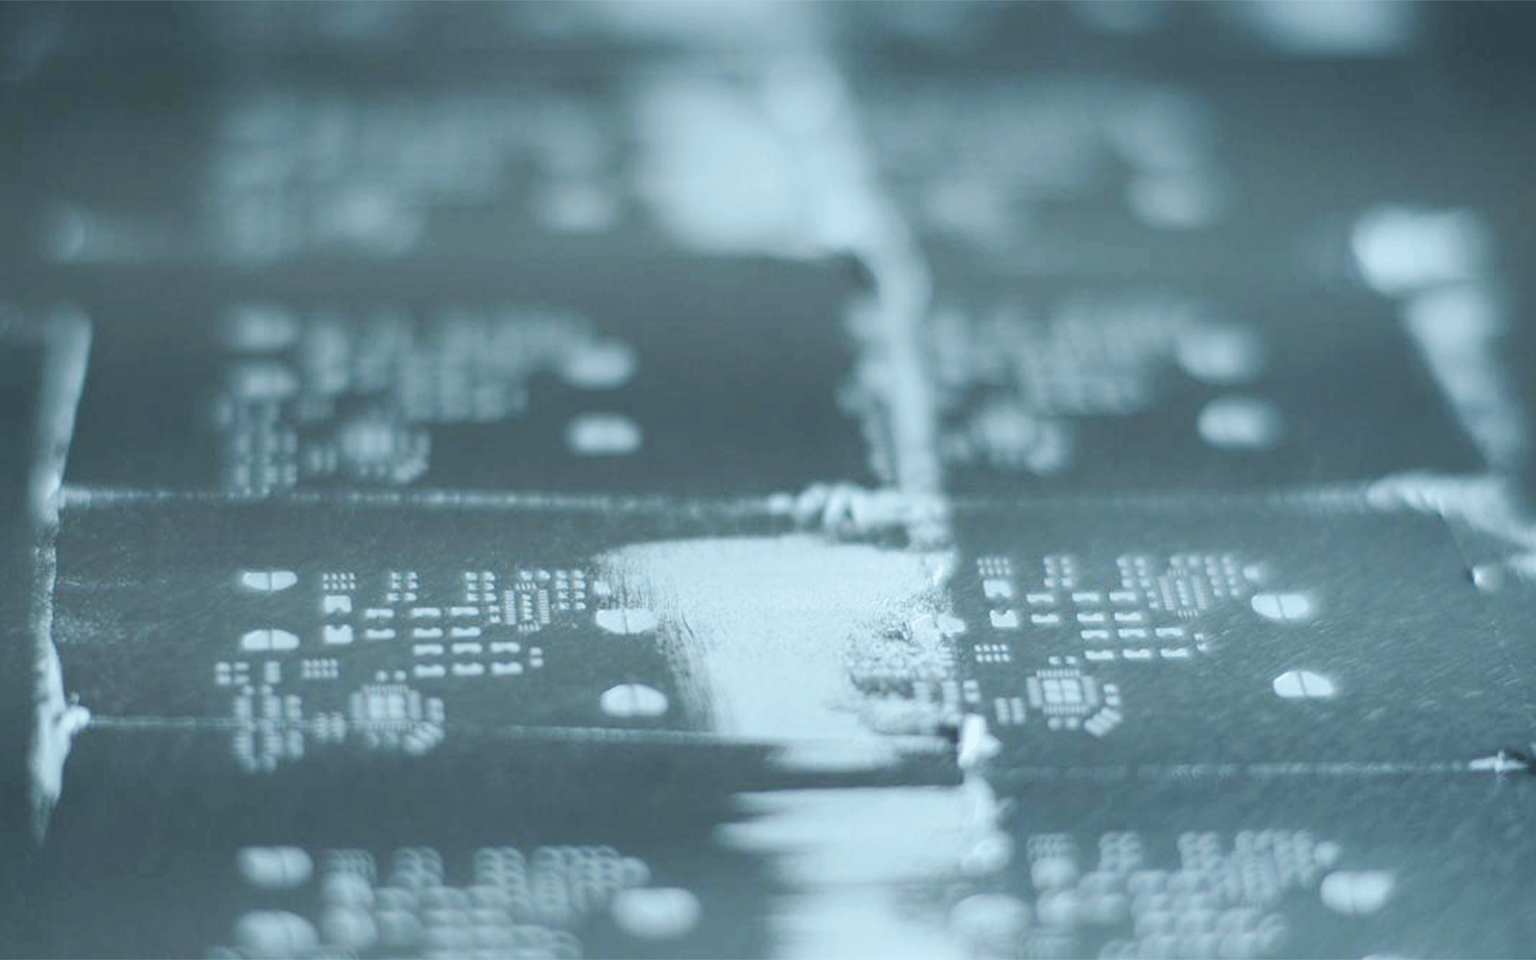
In surface mount assembly, the stencil is the gateway to accurate and repeatable solder paste deposition. As solder paste is printed through the stencil apertures, it forms deposits that hold the components in place and, when reflowed, secure them to the substrate, generally PCB. The stencil design – its composition and thickness, the size and shape of its apertures – ultimately determines the size, shape and positioning of the deposits, which are crucial to ensuring a high-yield assembly process.
Reference
Electronicsmaker, PCBWay for your SMT Stencil Requirement, https://electronicsmaker.com/pcbway-for-your-smt-stencil-requirement micaelteeuw, its-getting-hot-in-here, https://michaelteeuw.nl Adafruit, framed-stencils, https://learn.adafruit.com/smt-manufacturing/framed-stencils