As great as Octoprint® is, there are some limitations. Plus, while Raspberry Pi’s are cheap, they quickly add up in cost — memory cards, power supplies, enclosures, and even outlets in power strips and ports in network switches all add up. I started looking at how to run multiple Prusa printers on a single Pi and quickly went down the rabbit hole.
The end goal is pretty simple – secure remote access to my Octoprint® instances. To me, secure means encrypted connections to the printer over HTTPS. I also want to run 2 or more 3D printers on a single Raspberry Pi®.
Requirements
For the installation, we recommend
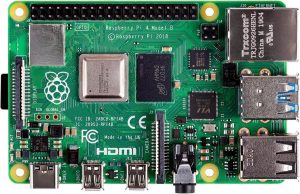
The latest Raspbian installation. We won’t be using the Octoprint® image, so we’ll have to do some extra work ourselves. For the Raspberry Pi®, I highly recommend the Model 4, and I’m using the 2 GB model.
Set up your SD card
With a new update to the Raspberry Pi® Imager, it’s become easier than ever to set up your Raspberry Pi’s connection, regardless of if you’re going for a headless setup or not. Let’s get started!
SD-Card Capacity
We recommend using an SD card of 16 GB or greater capacity with Raspberry Pi® OS. If you are using the lite version of Raspberry Pi® OS, you can use an 8 GB card.
Install Raspberry Pi® OS
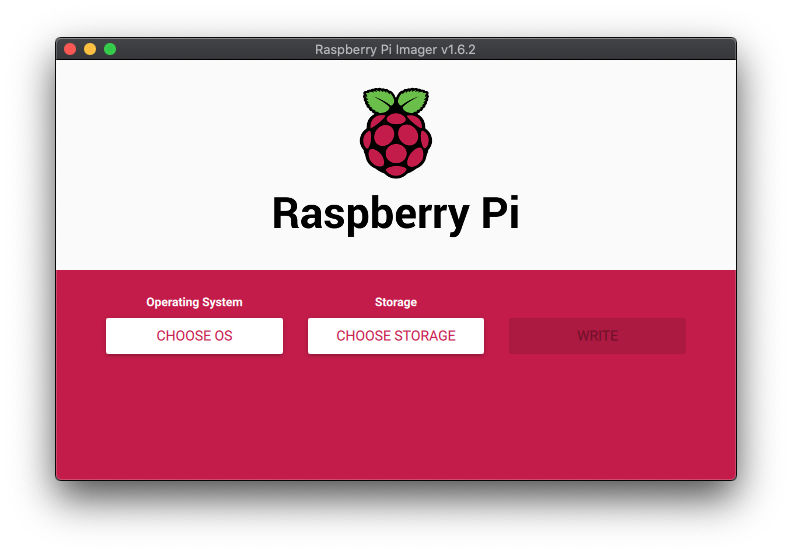
Raspberry Pi® Imager is the quick and easy way to install Raspberry Pi® OS and other operating systems to a microSD card, ready to use with your Raspberry Pi®. Download and install Raspberry Pi® Imager to a computer with an SD card reader. Put the SD card you’ll use with your Raspberry Pi® into the reader and run Raspberry Pi® Imager.
To install on Ubuntu or Raspberry Pi® OS, open a Terminal window and type:
sudo apt install rpi-imager
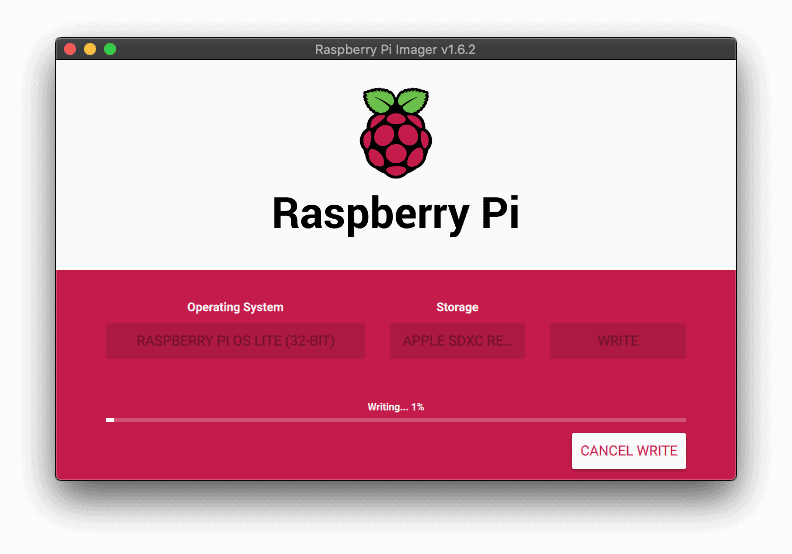
Open the Raspberry Pi® Imager. You should be greeted with the same screen as always.
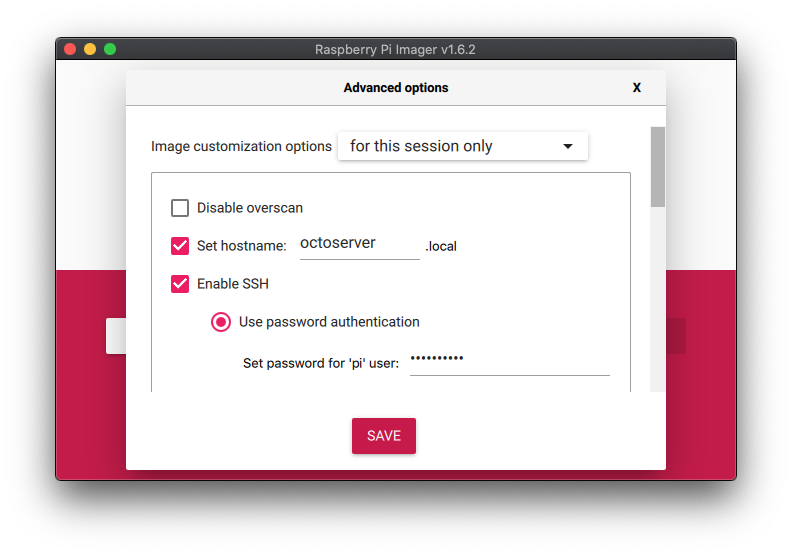
Press CMD + Shift + x to open the advanced menu (Ctrl + Shift + x for Windows). There are other settings in the Advanced options’ menu that you can explore. For example, you can turn on SSH for easier headless installations and even configure the hostname of your Raspberry Pi®
Note: Write down your password, as you need it Later on!
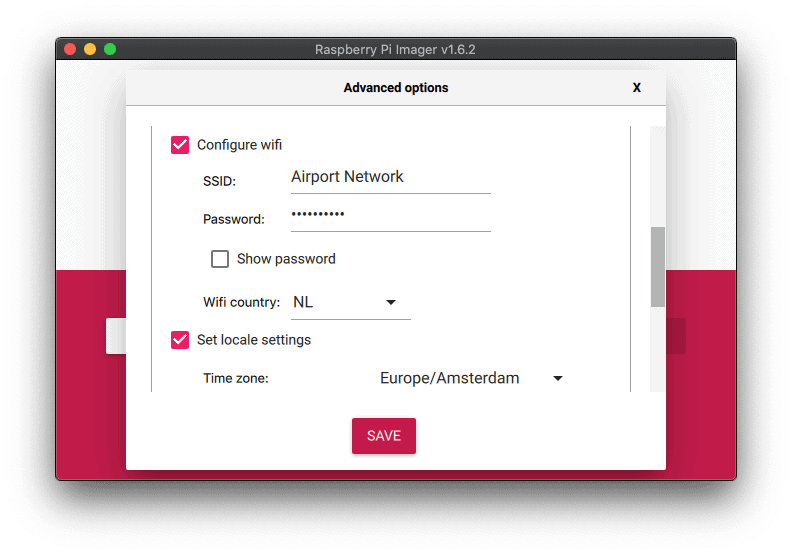
Scroll down to Configure Wi-Fi, check the box and enter your Wi-Fi credentials
Note: Be sure to change your Wi-Fi country according to your country code!
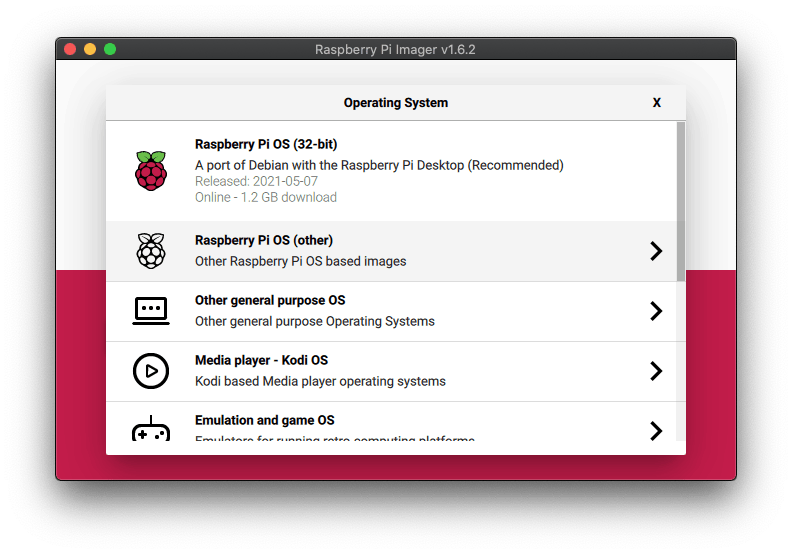
Click SAVE. Now click on choose OS. Next click Raspberry Pi® OS (other)
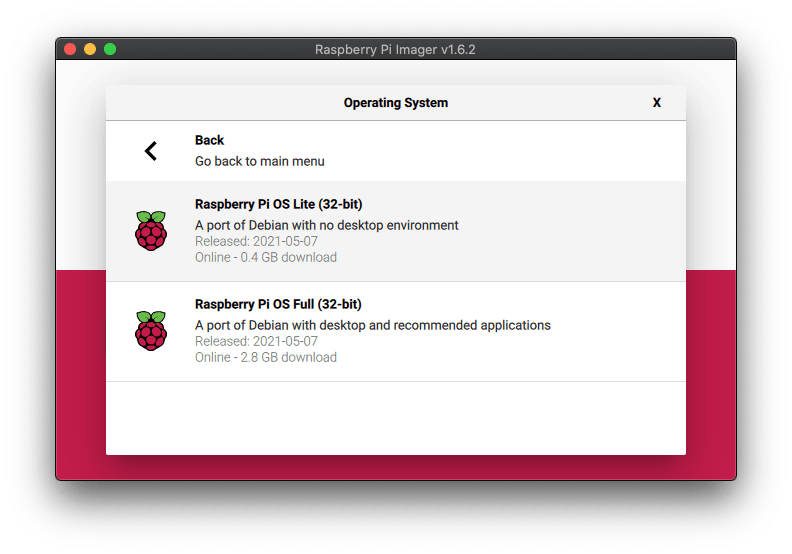
Here, select Raspberry Pi OS Lite (32bit).
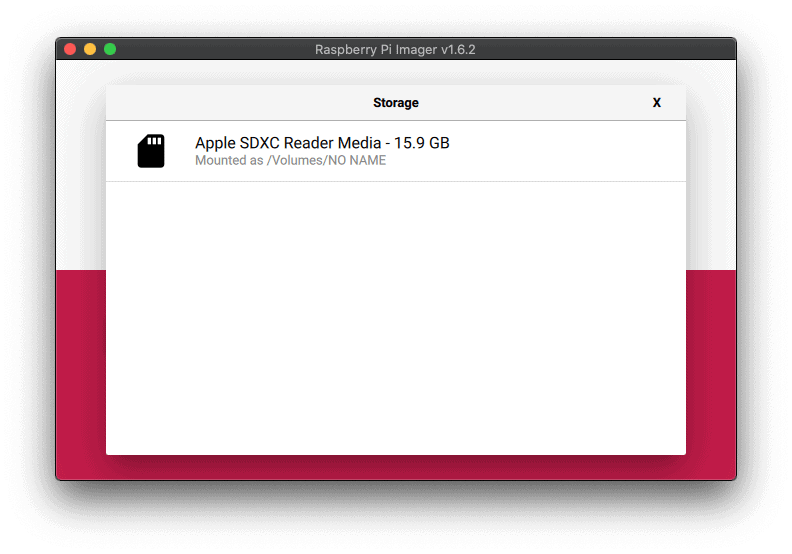
Now click Choose storage and select your SD card.
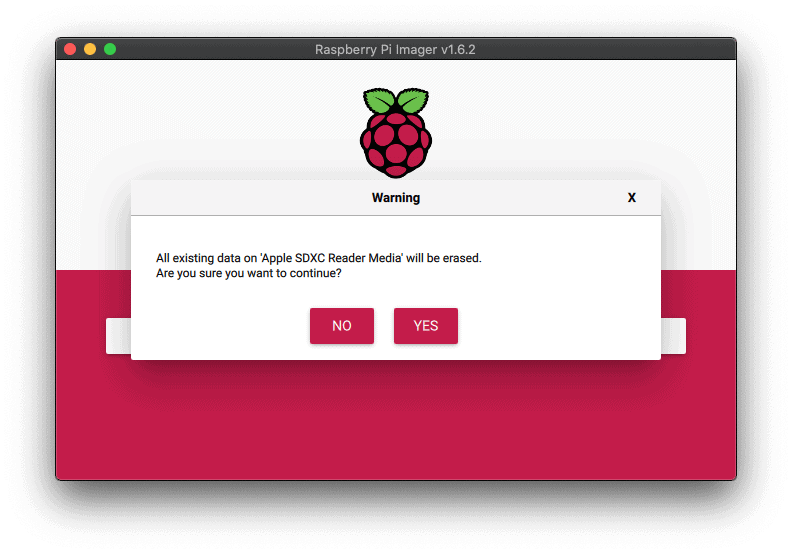
Click on the Write button. A warning pane will pop up, select YES.
Raspberry Pi® Imager now will Install the OS on your SD card with all the provided credentials.
That’s it!
Secure Shell connection
Click the Launchpad icon in the Dock, then Other, then click Terminal.
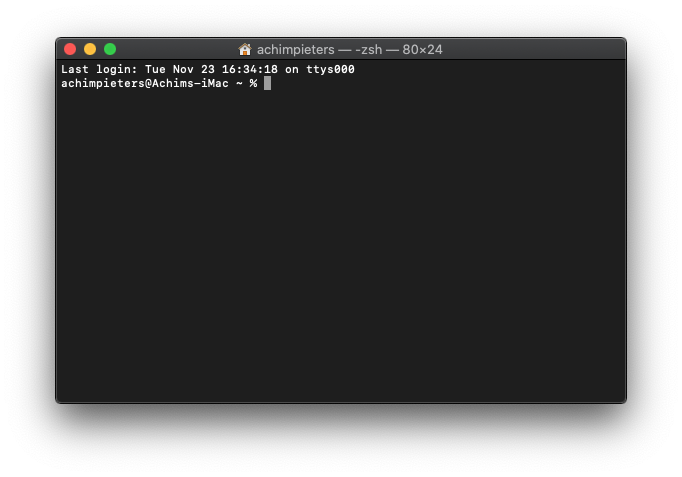
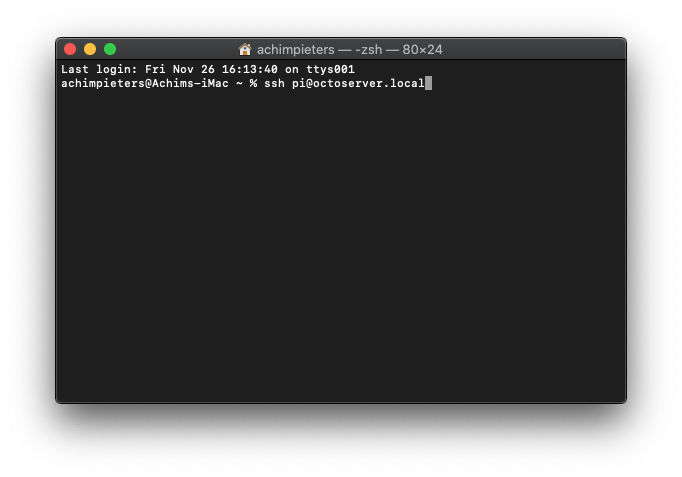
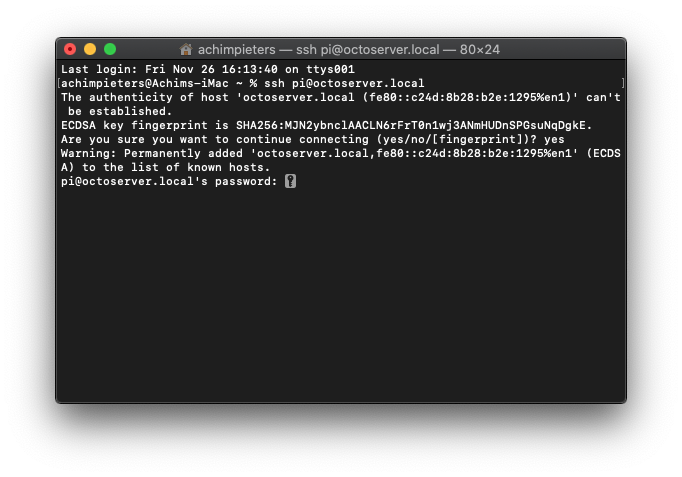
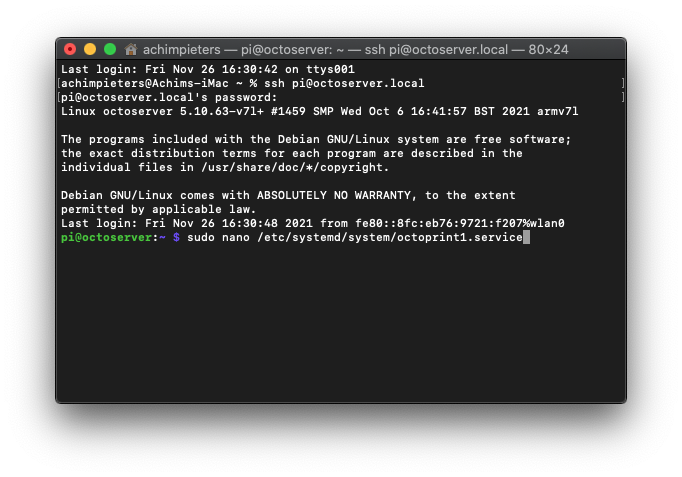
Now make a connection to your Raspberry Pi. By typing ssh pi@octoserver.local and pressing Enter.
ssh pi@octoserver.local
It will establish a secure connection, and ask you if you want to accept it. Type YES.
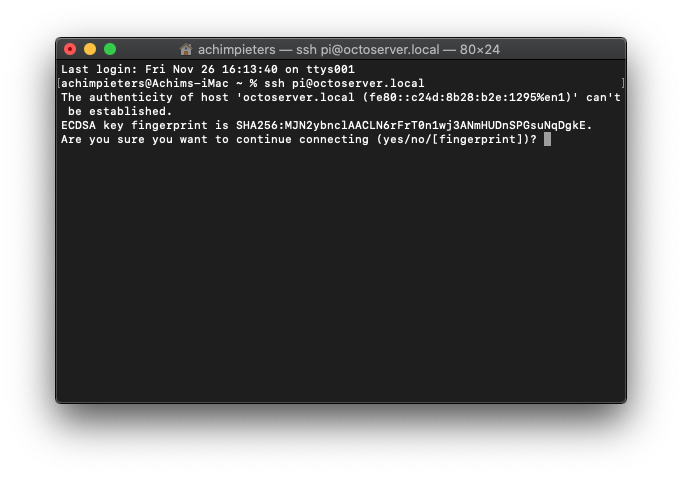
A secure connection will be established, but you have to give it access by typing the Password of your Raspberry Pi you provided in the Advanced options’ menu.
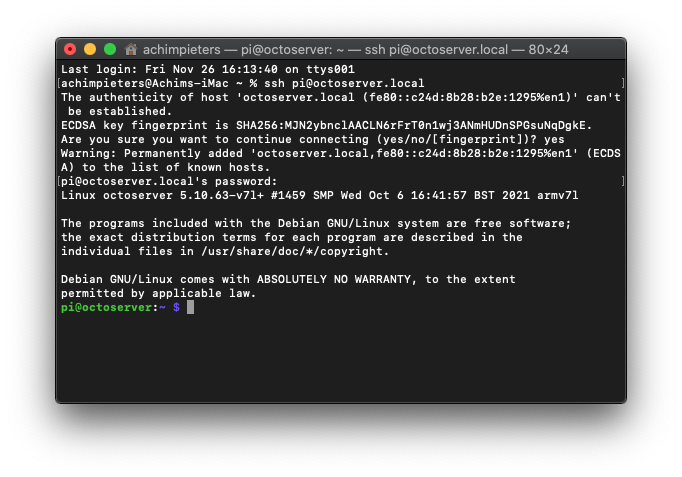
Once the connection is made, you will be granted access to the prompt of your Raspberry Pi.
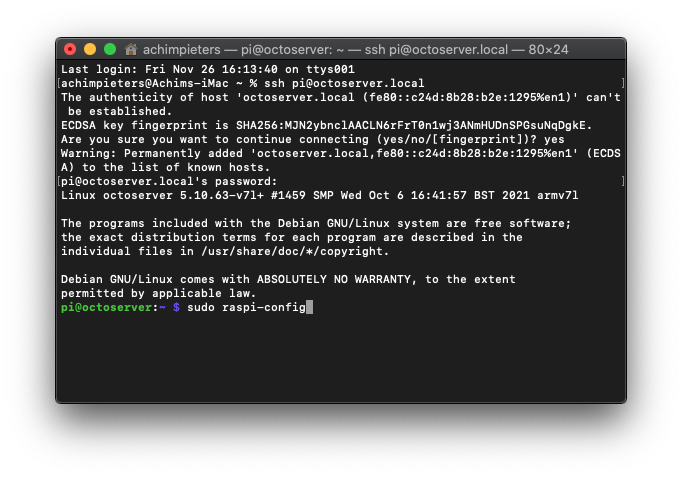
Now we only have to do one thing before we can install our OctoServer. First, we’re going to change one setting and do some updating. Type the following command and press enter.
sudo raspi-config
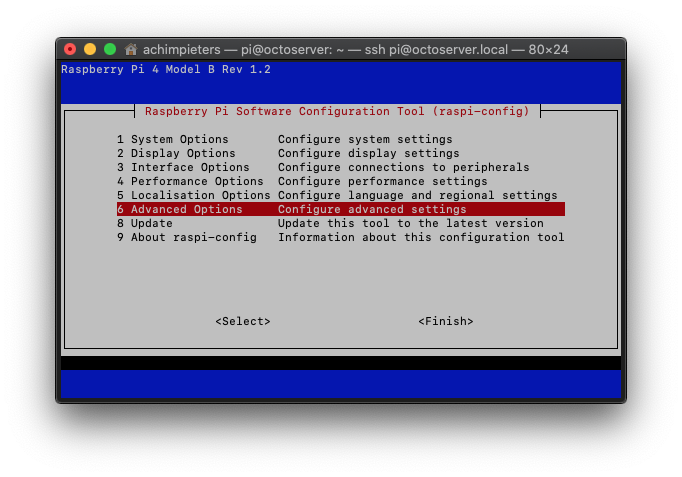
The Raspberry Pi Software Configuration Tool opens.

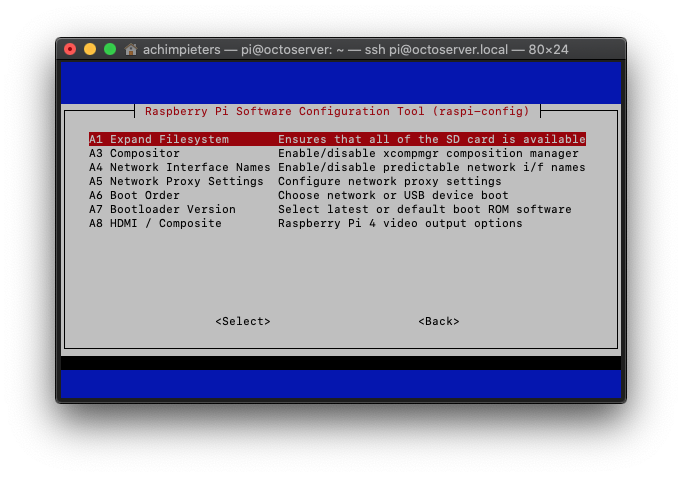
Select 6 Advanced Options and press enter.
Then select A1 Expand Filesystem and press enter.
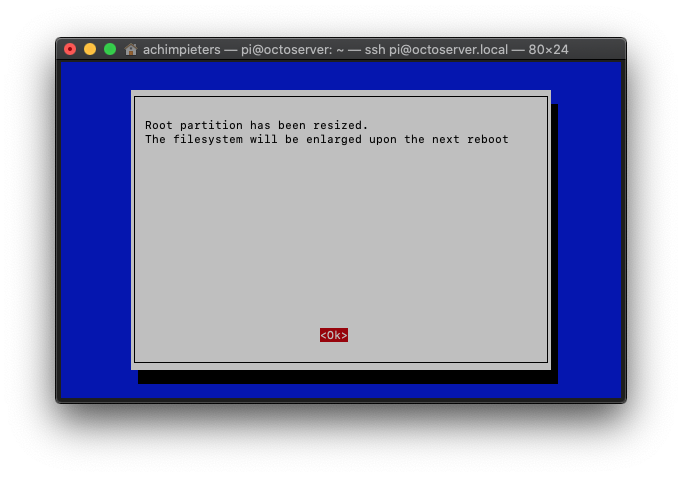
The files system fit be expanded and is will return to the Raspberry Pi Software Configuration Tool. A Pane will tell you the root partition has been resized. Press OK.
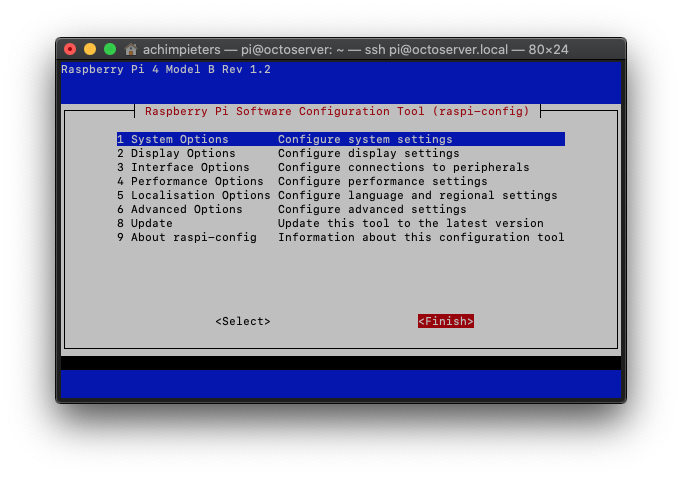
You will go back to the main menu, here select Finish.
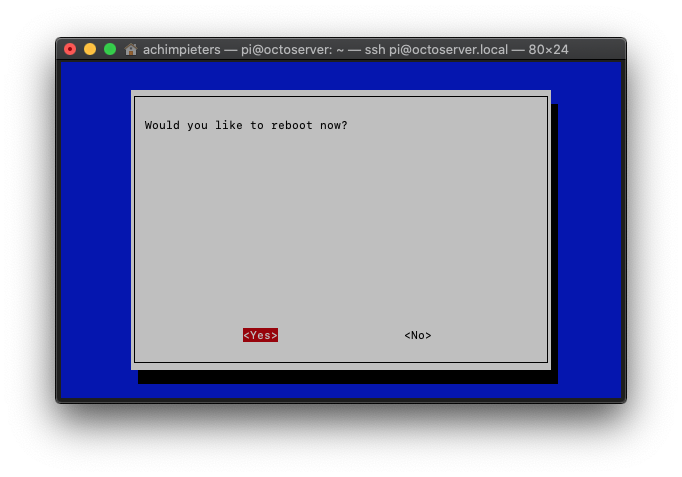
You will be asked if you want to reboot, press Yes.
Now make a new connection to your Raspberry Pi. By typing ssh pi@octoserver.local and pressing Enter.
ssh pi@octoserver.local
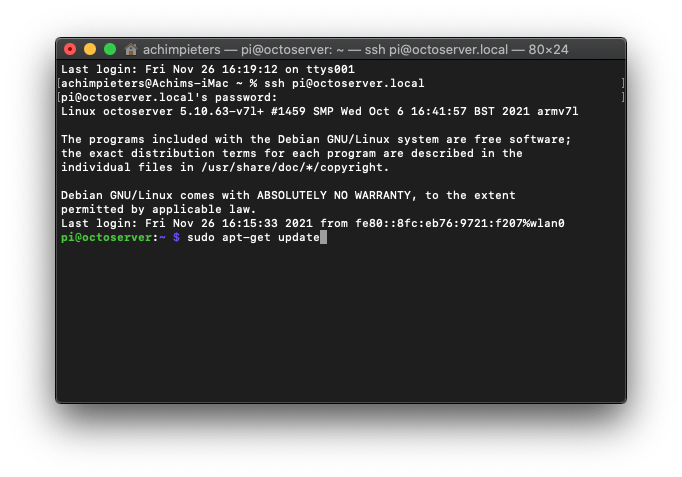
Now we need to update and upgrade your Raspberry Pi, to the latest available files. We start with the update. Type sudo apt-get update followed by an enter.
sudo apt-get update
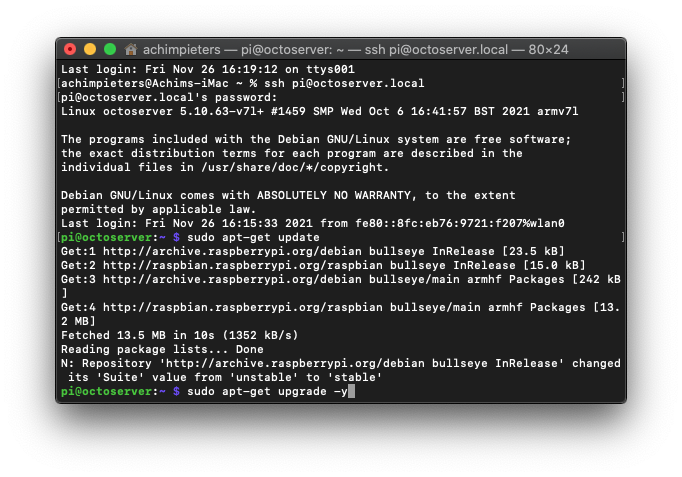
After this process is done, we can upgrade our Raspberry Pi by typing sudo app-get upgrade -y followed by an enter.
sudo apt-get upgrade -y
That’s it. Your Raspberry Pi is ready for use!
Hardware setup
Before installation, we need to prepare the hardware. First, we connect the Network cable. After this, we connect the two 3D printers1. After we have prepared the SD card, we can connect the USB-C for the power supply.
1 If you perform the installation without the 3D printers at hand. You can also connect an Arduino to the USB port, this simulates a serial connection.
Install Octoprint®
Installing and configuring Octoprint® is quite simple. I’ll cover one instance here and show how to point to different configurations.
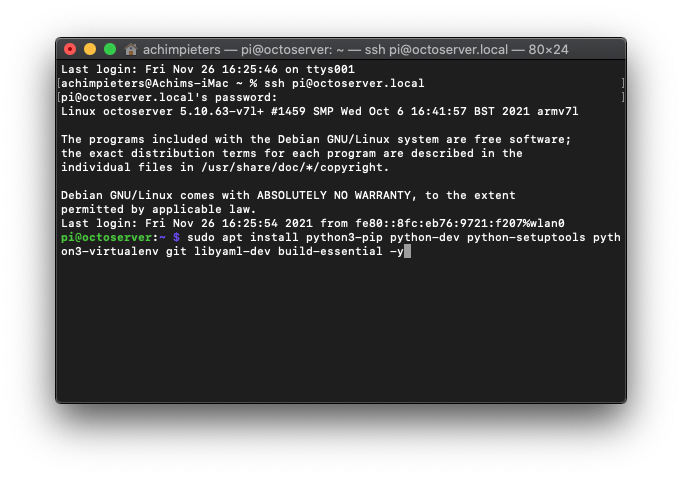
Install the perquisites needed for installing Octoprint® on your Raspberry Pi®.
sudo apt install python3-pip python-dev python-setuptools python3-virtualenv git libyaml-dev build-essential -y
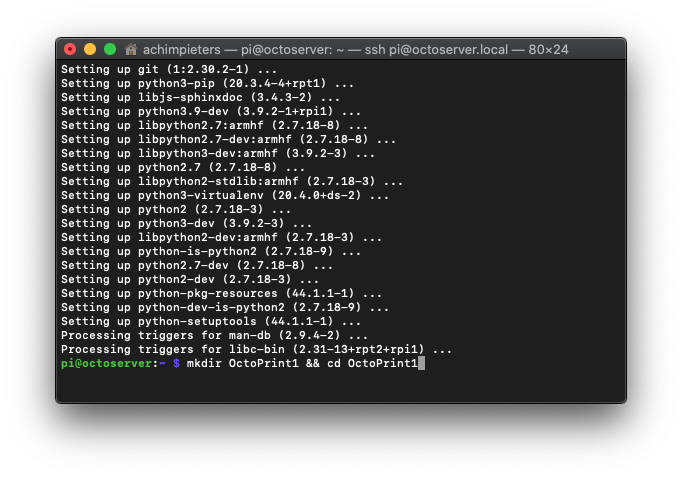
Starting the First install of Octoprint®
mkdir OctoPrint1 && cd OctoPrint1
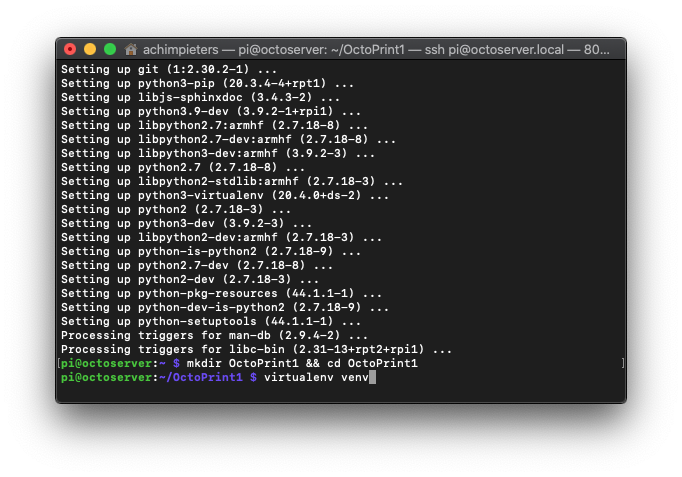
virtualenv venv
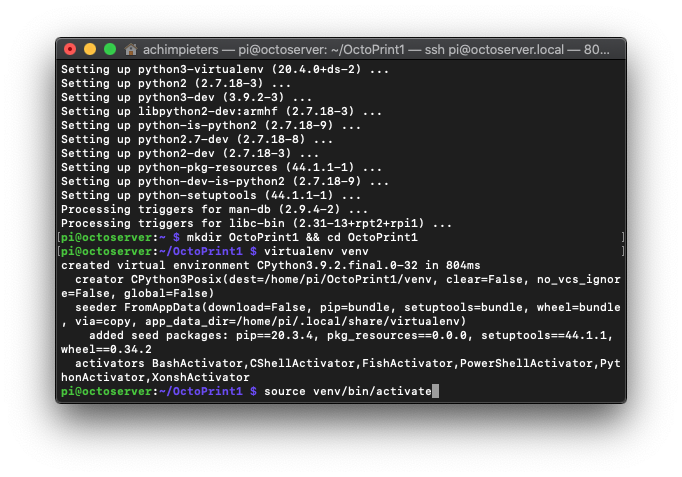
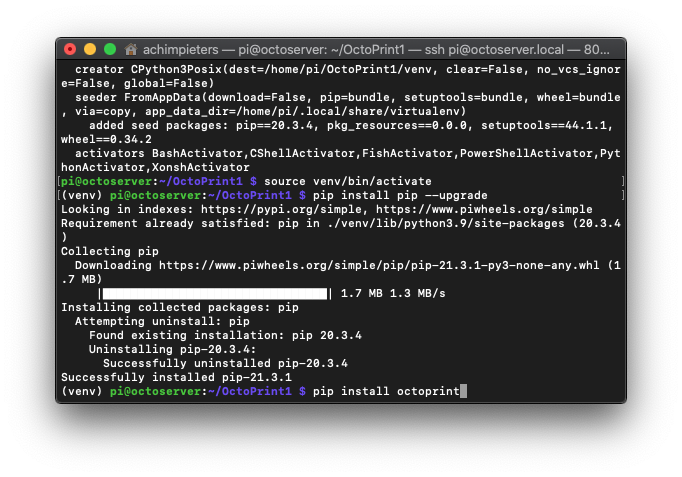
source venv/bin/activate
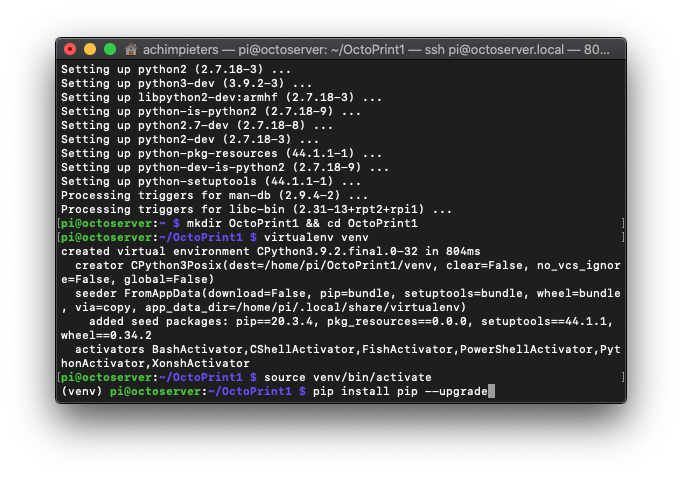
pip install pip --upgrade
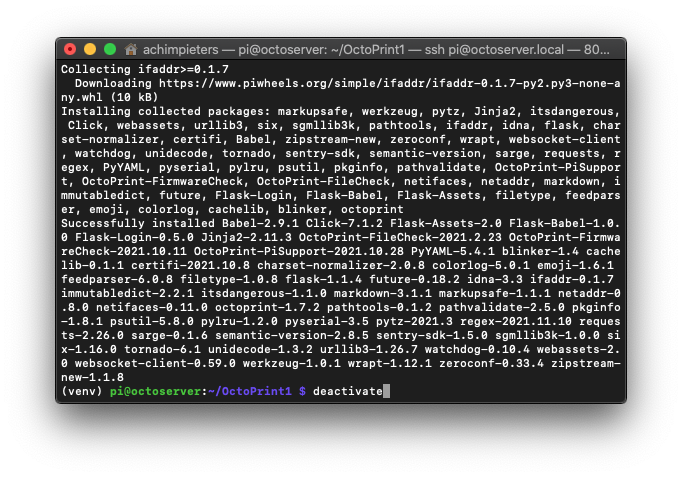
pip install octoprint
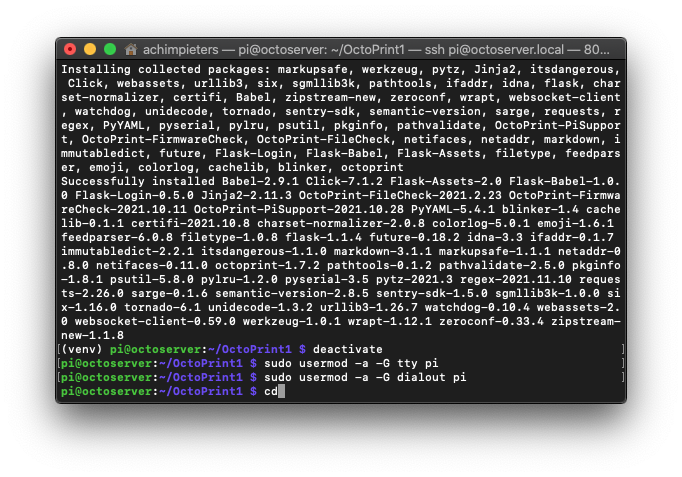
Now we have to exit the virtual environment.
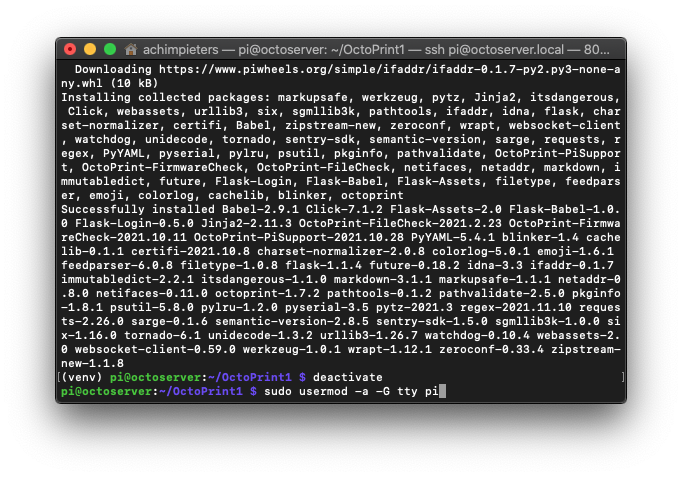
deactivate
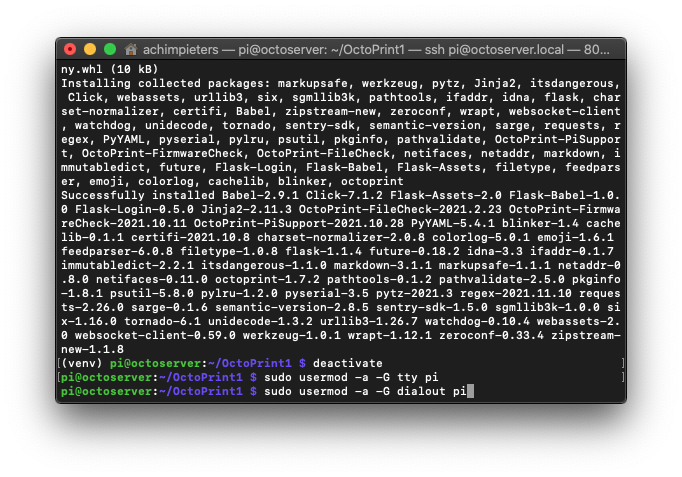
sudo usermod -a -G tty pi
sudo usermod -a -G dialout pi
cd
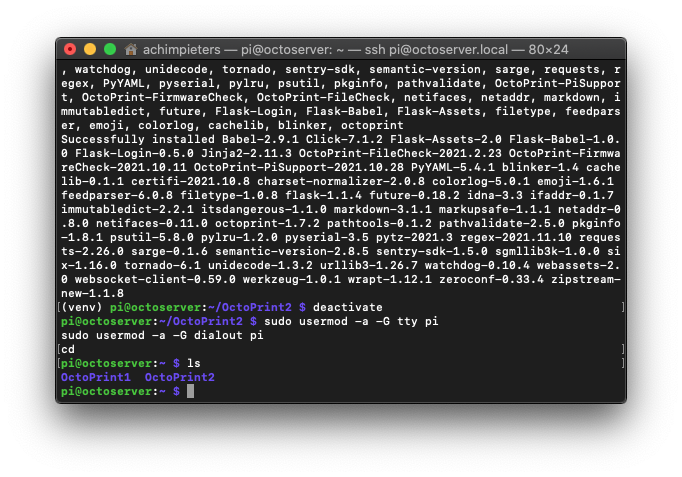
And now the second installation. Repeat these tips for the second installation. Except for the first line, use 2 instead of 1 behind OctoPrint.
mkdir OctoPrint2 && cd OctoPrint2
virtualenv venv
source venv/bin/activate
pip install pip --upgrade
pip install octoprint
deactivate
sudo usermod -a -G tty pi
sudo usermod -a -G dialout pi
cd
These are all pretty standard stuff if you’re used to building Octoprint® from scratch on a Raspberry Pi®.
Multi-instance really just means multiple Octoprint® installations.
Octoprint® Services
With your Octoprint® folders, we need to run each Octoprint® instance as a service. While there is documentation on the Octoprint® services for older Pi’s, the Raspbian images have been ported to systemd, and we have to write our own.
You can recreate these steps for each instance. I’m using simple names and directories like octoprint1, octoprint2, etc. So it’s pretty easy to see what I need to change. First create a file with the following command:
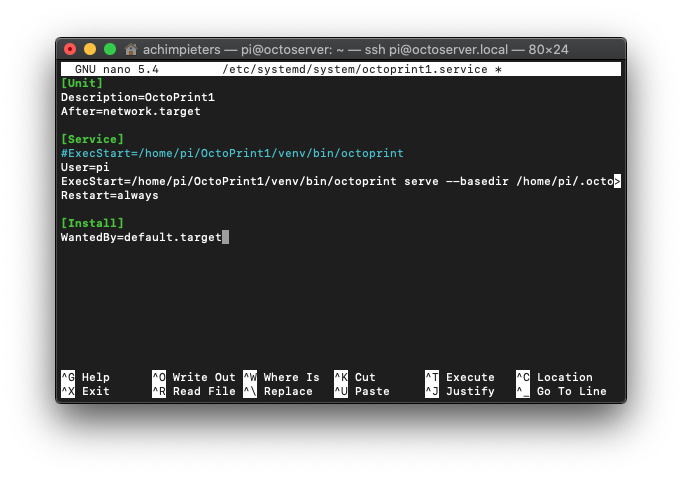
sudo nano /etc/systemd/system/octoprint1.service
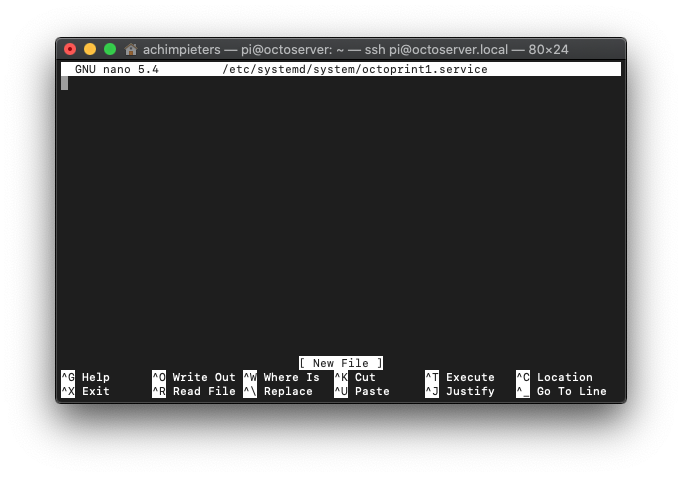
Put this in the file:
[Unit]
Description=OctoPrint1
After=network.target

[Service]
#ExecStart=/home/pi/OctoPrint1/venv/bin/octoprint
User=pi
ExecStart=/home/pi/OctoPrint1/venv/bin/octoprint serve --basedir /home/pi/.octoprint1/ --port=5001
Restart=always

[Install]
WantedBy=default.target
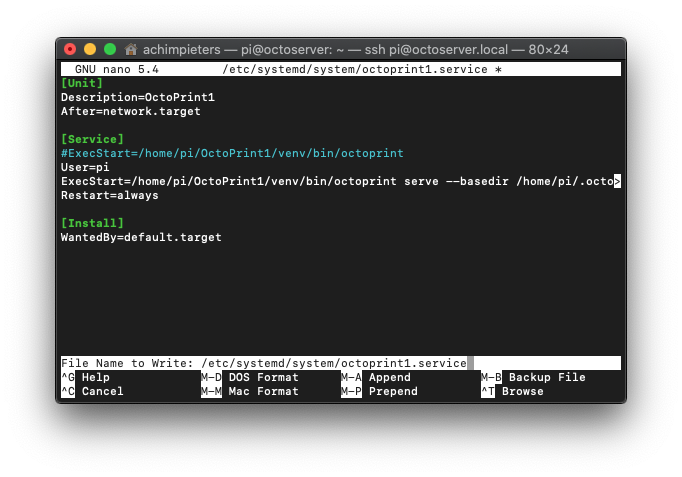
To save your changes, press CTRL + O, followed by Enter. Then press CTRL + X.
This is pretty simple and simply starts the Octoprint® program, but has it listen on port 5001. You need to change this port for each instance, and I have made instance #1 listen on 5001, #2 on 5002, etc. Once that’s done, go ahead and enable the service with this command:
sudo systemctl enable octoprint1.service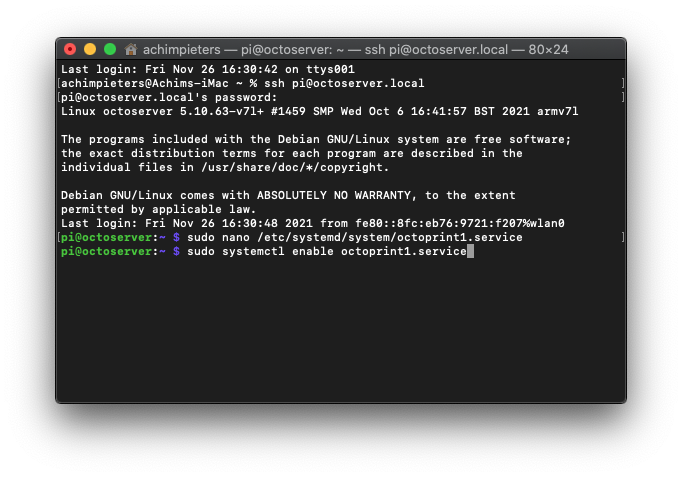
Now you can rescan systemctl to look for new services with this command:
sudo systemctl daemon-reload
Now start the service octoprint1 (it gets its service name from the filename octoprint1.service):
sudo service octoprint1 start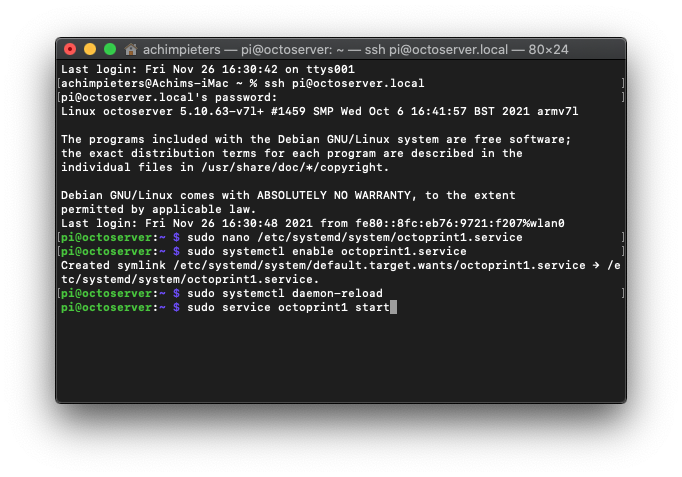
You should be able to go to your network address for your Pi and access port 5001 with an address like this: http://octoserver.local:5001
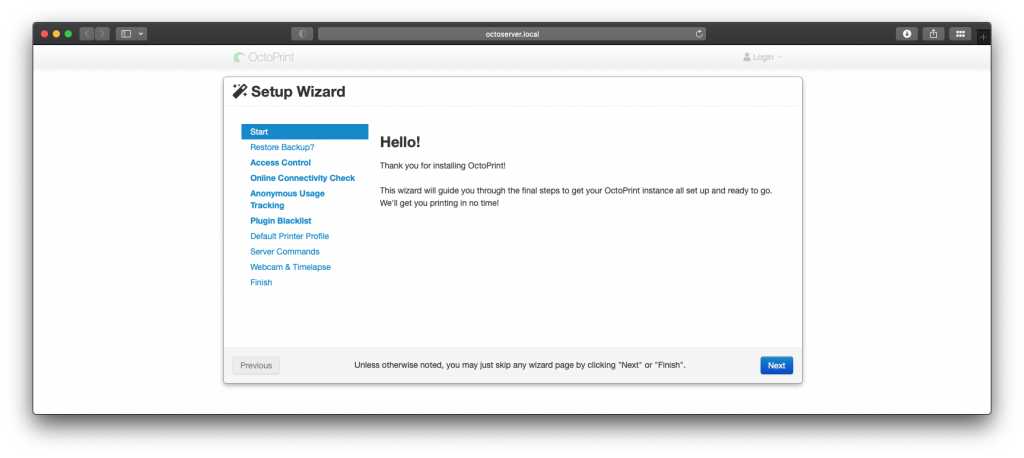
Walk through the octoprint wizard, so the configuration is completed, and the config files are saved.
Assuming you can access Octoprint® on port 5001, go ahead and create new service files for each instance you want. For this article there are two, but remember-you need the Octoprint® config directory (/home/pi/.octoprint1, 2, 3) for each instance, and you need to change the port number and working directory in each service file. The second installation:
sudo nano /etc/systemd/system/octoprint2.service
Put this in the file:
[Unit]
Description=OctoPrint2
After=network.target

[Service]
#ExecStart=/home/pi/OctoPrint2/venv/bin/octoprint
User=pi
ExecStart=/home/pi/OctoPrint2/venv/bin/octoprint serve --basedir /home/pi/.octoprint2/ --port=5002
Restart=always

[Install]
WantedBy=default.target
Save your changes, press CTRL + O, followed by Enter. Then press CTRL + X.
sudo systemctl enable octoprint2.service
Now you can rescan systemctl to look for new services with this command:
sudo systemctl daemon-reload
Now start the service octoprint1 (it gets its service name from the filename octoprint1.service):
sudo service octoprint2 start
You should be able to go to your network address for your Pi and access port 5002 with an address like this: http://octoserver.local:5002
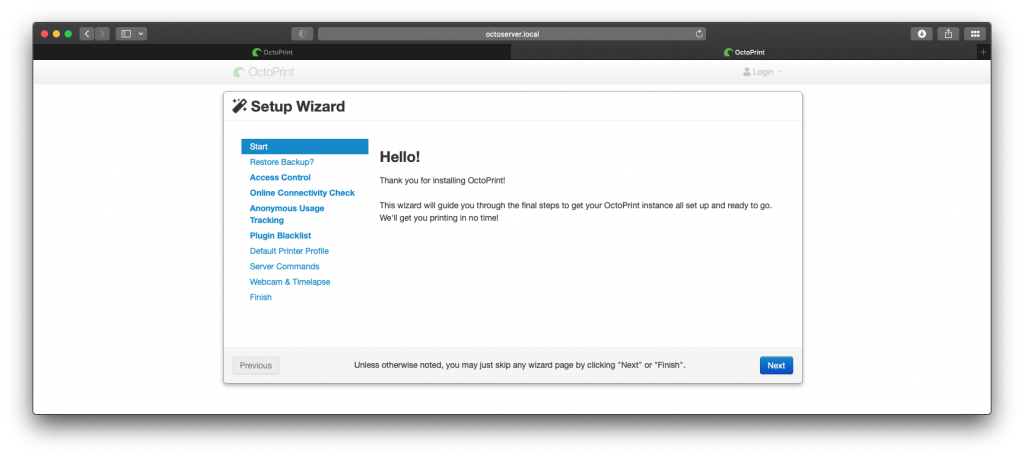
Walk through the octoprint wizard, so the configuration is completed, and the config files are saved.