
HomeKit
A HomeKit Thermostat Built on esp32-homekit
A community project: a HomeKit thermostat with a touch screen on an ESP32-C6, built by jozefcipa on the esp32-homekit library, and an invitation to build with it yourself.
- ESP32
- HomeKit
- 3 min read
Open source is at its best when someone takes your work and builds something you never planned. This thermostat is one of those projects: a HomeKit thermostat on an ESP32, with a touch screen, made by jozefcipa on GitHub, and built on the esp32-homekit library from this site.
He got in touch with me himself, to point out what he had built, and I was glad to share it. All credit for the thermostat goes to its author. This article describes what he made, links to his work, and hopes to encourage you to build something with esp32-homekit too.
Why he built it
According to the author, a thermostat that supports HomeKit usually costs $150 or more, so he decided to build one himself, and says it cost him less than $40. He wrote about how it came together in a blog post, and the code is on GitHub.
What it does
| Feature | Details |
|---|---|
| Touch screen | A 2.4 inch colour LCD with a touch screen, where you set the temperature you want |
| HomeKit | The thermostat is an accessory in the Home app, built on esp32-homekit |
| Two-way sync | Change the temperature in the Home app or on the screen, and the other follows |
| Heating | A relay switches a boiler on when the room is colder than the target, and off again when it is warm enough |
| Time | The clock is kept right over the internet with NTP |
| Setup | WiFi is set up from a phone over Bluetooth Low Energy, without typing the password in the firmware |
The hardware
| Part | What it is for |
|---|---|
| ESP32-C6 board | The brain, with WiFi and Bluetooth LE |
| SHT40 sensor | Measures the temperature and humidity every minute, over I²C |
| 5 V relay module | Switches the boiler |
| 2.4 inch ILI9341 touch display | The screen, on SPI, shared with its touch controller |
The sensor is on GPIO 6 for SDA and GPIO 7 for SCL, and the relay input on GPIO 12. If you want to know more about the sensor family, see the SHT sensor series guide.
The screens and the setup
The interface is built with the LVGL library and has three screens. The first is the WiFi setup screen, shown when the thermostat starts for the first time. Once a network is chosen, a loading screen shows what the device is doing, and if the WiFi connection fails five times it offers a button to start the setup again. The main screen shows the room temperature, the date and time, and the temperature you want.
Setting it up takes two steps. First you give the thermostat your WiFi credentials with a Bluetooth provisioning app on your phone, by scanning the QR code on the screen. After that you add it to the Home app with a second code. They cannot be one step, because Apple does not support WiFi provisioning for custom HomeKit devices that are not MFi certified.
What it is built on
The project uses esp32-homekit by Achim Pieters for the HomeKit part, the i2cdev and sht4x components by UncleRus for the sensor, and the lv_qrcode library from LVGL for the QR codes on the screen.
Build your own
Want to build something with esp32-homekit? A good place to start is ESP32 HomeKit for total beginners, which takes you from an empty computer to a working accessory, followed by ESP32 HomeKit Development with ESP-IDF. For a bigger example that uses the library, look at the ESP32 HomeKit Sunshade. And for an older thermostat on an ESP8266, see the ESP8266 HomeKit Thermostat.
If you build something with the library, whatever it is, tell me about it. It is great to see what other people make with it.
Good to know
- This is another person’s project. The thermostat, its code and its pictures belong to its author, so this article only describes it and links to it. The repository carries no licence file, so ask the author before you reuse anything from it.
- The thermostat is a fork on this site’s GitHub account, and the original is the one linked above.
The original is at jozefcipa/homekit-thermostat and the author’s write-up is his blog post.
Related
 HomeKit
ESP8266 HomeKit Fountain Light
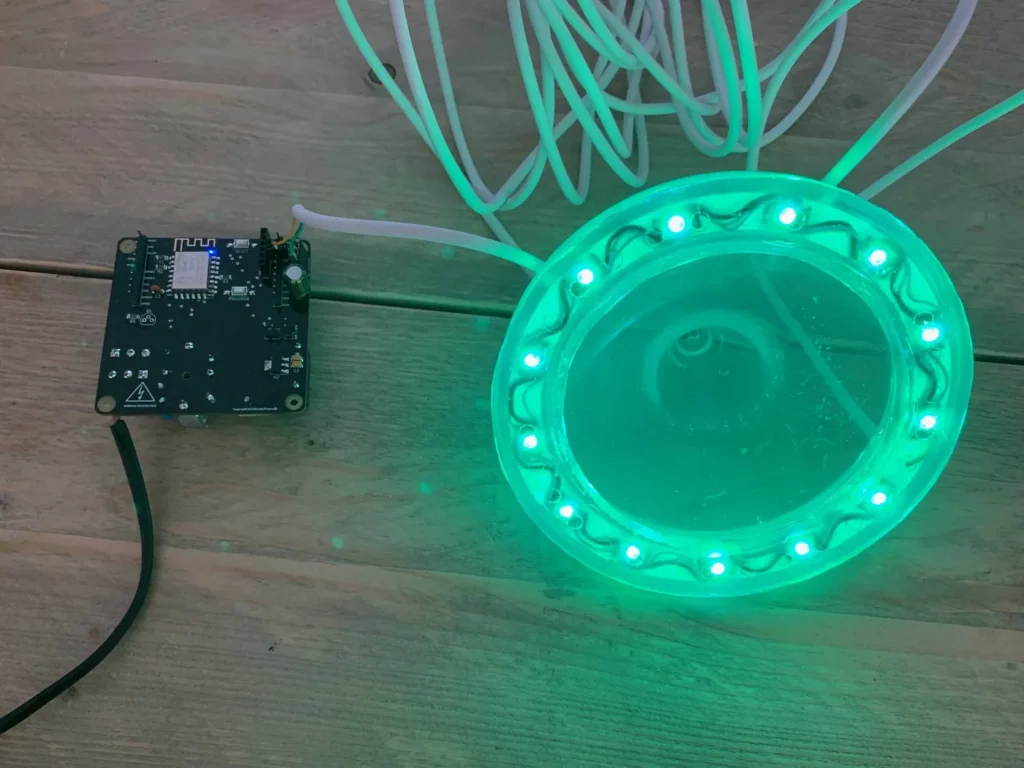
A HomeKit controller for a stone water feature: a ring of 16 colour LEDs cast in resin and a 230 V pond pump switch, on a custom KiCad board that was designed, produced and tested from scratch.
Read more
HomeKit
ESP8266 HomeKit Fountain Light
A HomeKit controller for a stone water feature: a ring of 16 colour LEDs cast in resin and a 230 V pond pump switch, on a custom KiCad board that was designed, produced and tested from scratch.
Read more
 HomeKit
ESP32 Smart Connect Plug
For years, the Dutch retailer Action has offered affordable smart-home devices under the brand LSC Smart Connect.
Read more
HomeKit
ESP32 Smart Connect Plug
For years, the Dutch retailer Action has offered affordable smart-home devices under the brand LSC Smart Connect.
Read more
 HomeKit
ESP32 HomeKit for Total Beginners
A slow, friendly, step-by-step guide from zero to working HomeKit accessory. I get a lot of e-mails and questions from people who want to “give ESP32 HomeKit a try”, but who get stuck almost immediately.
Read more
HomeKit
ESP32 HomeKit for Total Beginners
A slow, friendly, step-by-step guide from zero to working HomeKit accessory. I get a lot of e-mails and questions from people who want to “give ESP32 HomeKit a try”, but who get stuck almost immediately.
Read more
More HomeKit
Keep building.
Switches, sensors, plugs and blinds: more accessories that you build yourself and add to the Home app.
All HomeKit