
3D printing
Building a 3D Printed Pit Droid, Part 4: Sanding and Preparing
How to get from raw PLA prints to a smooth, painted and believably weathered Pit Droid: sanding, filler primer, colour choices without an official palette, and where the wear goes. Research and plan, tested parts follow.
- 3D printing
- 15 min read
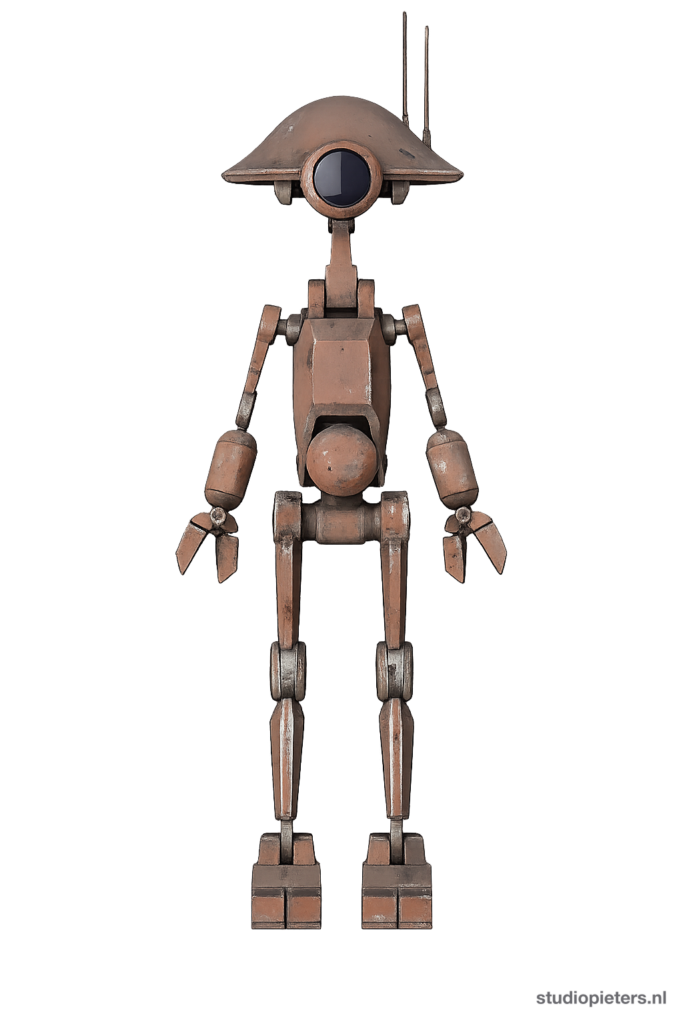
Because I have to wait until all the parts are printed and all the hardware has arrived, I am going to use the time to read up on colours, on sanding and smoothing the models, on spraying them and on finishing the job with a bit of wear.
Hi, it’s Achim again. In Part 1 we made the plan, in Part 2 we went shopping and in Part 3 the printer started on the head set. The Ender is now busy with torso and legs, and some of the hardware is still somewhere between a warehouse and my doormat. Waiting is not my strongest skill, so I picked the one job that needs no printer and no parcel: finding out how to make a pile of layer lines look like a droid.
This part is research and plan, not a finished job. I haven’t sanded or painted a single part yet, which makes me the most qualified person in the world to tell you what not to do yet. I’ll be clear about what I know, what I read and what I still have to test. When the tests are done, I’ll update this part with photos.
By the end you know the route from raw print to painted and weathered droid, which products you need, which Star Wars colours exist (spoiler: there are no official codes) and where I’m going to put the wear.
What Are We Doing?
| Goal | A smooth, evenly painted droid with believable wear |
| Status | Research and plan. Nothing tested on the prints yet |
| Difficulty | Beginner, with patience. It is a lot of small sessions, not one big one |
| Rough cost | I expect about 15 to 20 euros for primer, spray paint and sandpaper (my estimate, not a receipt) |
Start Early
This is exactly why it makes sense to start now. The designer recommends starting the prep work while the next parts are still printing. If you have a big batch done, such as the legs, begin with those. Don’t wait until everything is printed, or you face one huge pile of sanding.
Also test the fit first. The designer’s joints are made to be tight. Clean them, sand them lightly, and check that everything moves before you paint. He doesn’t paint the insides or faces of the joints, and he doesn’t mask them either. He simply avoids them. I’ll do the same: keep screw holes and fitting surfaces free of paint.
Smoothing the Print
The route that I found most often, and that matches the designer’s own method, is: sand a little, prime with a filler primer, sand again, then paint.
| Step | What to do |
|---|---|
| 1. Remove leftovers | Cut off support remains and blobs |
| 2. Pre-sand | Coarse paper on rough spots, then finer. The designer starts at 80 grit (roughly P80). Prusa and MatterHackers style guides use P180 to P240, then P240 to P320 |
| 3. Clean | Remove dust and grease, let it dry completely |
| 4. Filler primer | Several thin coats, following the label. Test adhesion on a spare print first |
| 5. Sand smooth | P400 on the cured primer. If lines are still visible, fill and sand that spot again |
| 6. Colour | Thin coats, with the drying and overspray times from the can |
A few things that surprised me:
- Not every primer does the same thing. Adhesion primer only helps paint stick. Filler primer fills small layer lines. Spray putty fills more but often needs a normal primer on top. Don’t buy only a normal primer if your goal is to remove print lines.
- Spot filler for deep seams only. For gaps and holes, use glazing putty or body filler from a tube, let it dry, and sand it.
- Sand PLA with little pressure. Wet sanding helps against heat build-up. Wear a dust mask, PLA dust is not something to breathe.
- No acetone vapour on PLA. That trick is for ABS and doesn’t work reliably on PLA.
- Walls are thin. Don’t sand through them. The wall thickness on my prints is an assumption, so go carefully.
- Read the label. One spray putty I looked at wants P400 sanding and then a primer before the colour, and it doesn’t list PLA as a surface. A test piece is not optional.
If you have big smooth surfaces, there is also XTC-3D, a two-part coating that fills layer lines. It looks interesting for large round parts and less so around small details and fitting surfaces. I haven’t tried it.
Matt or Gloss?
I’d pick satin or matt. Gloss makes every remaining flaw more visible. If you want the best result with the least post-work, go for less shine.
The Colours: There Is No Official Code
This is where I spent a lot of time. There is no official Lucasfilm colour code for Pit Droids, and no RAL, Pantone or Star Wars colour chart that I could find. What the films and merchandise show:
- Pit Droids have their own colour scheme per droid. Anakin’s droid is brown with a tan head, Gasgano’s is mostly white with dark red arms and feet, Sebulba’s is nearly all brown.
- Every droid has one black part and a yellow, translucent photoreceptor.
- Toys have been made in white, brown, orange and maroon. Orange and maroon exist as toys. I found no source that shows them in the film.
- The designer’s info sheets contain no colour codes. The coloured pictures there only help you identify the parts.
My Own Colours
I don’t have to build the film droid. I want my own colours, and still keep the Star Wars feel. These are my design choices, not official values:
| Swatch | Colour | Hex | Use |
|---|---|---|---|
 | Sand/tan | #BFA67A | Main body colour |
 | Dark brown | #6B4A2F | Panels and details |
 | Rust/copper | #8E4A32 | Accent |
 | Off-white/cream | #E9E2D0 | Light panels |
 | Black | #151515 | Sensor and details |
 | Yellow | #F5D33B | Photoreceptor |
 | Rust orange | #B5541F | Alternative accent |
 | Maroon | #6E2230 | Alternative accent |
 | Muted lilac | #9A86B5 | My own idea, not canon |
As a handy shortcut: the sand, brown and rust carry the droid, cream lifts the panels, and black and yellow are the two small details every Pit Droid has. The squares above are painted on a screen, which is a rather optimistic place to judge paint. The hex values are only for the screen. A phone shows paint differently than the real thing. Buy paint by name or code in the shop and test it on a spare print, in daylight.
About the lilac: I found no lilac or purple Pit Droid anywhere. The closest purple in Star Wars is Mace Windu’s lightsaber. If you want lilac, I’d go for a muted, greyish version rather than a bright one, and combine it with warm grey or cream.
Where Else to Look
Because there is no palette, I looked at the official model kits:
- The Bandai 1/12 R2-D2 kit uses white, blue, silver, red and black. A Mech9 guide lists conversion tables to other brands, for example white = Tamiya X2, Vallejo 70.842, Mr. Color C1.
- Archive-X is a UK paint brand for Star Wars scale models. I didn’t find a Pit Droid set.
- Rebel Scale shows what a weathered, cream-and-teal model looks like.
The simple lesson: pick your colours by eye from reference photos, and use a conversion table to find the same colour in another brand.
Weathering: Where the Wear Goes
Star Wars droids are almost never clean. Wear is what makes the paint look “Star Wars”. But too much of the same wear everywhere looks fake. A guideline I found for beginners is to keep about 95% of the paint intact.
The Techniques
The little pictures are my own simple illustrations of the effect on a sand-coloured panel, not photos of finished work. Real photos follow after my tests.
| Example | Technique | What happens | Good for |
|---|---|---|---|
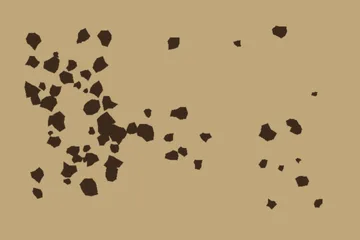 | Sponge chipping | Dab small damage on top of the colour | A simple first try |
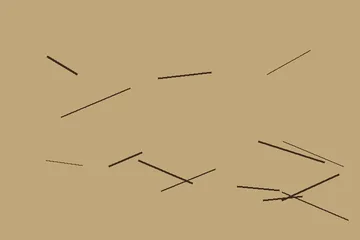 | Brush chipping | Paint single scratches and chips | Precise details |
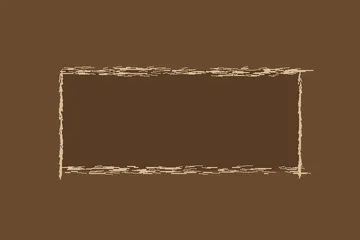 | Drybrushing | Brush almost dry paint over raised edges | Subtle metal wear |
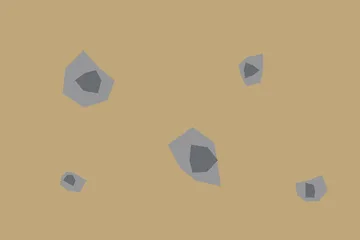 | Liquid mask | Cover the base colour in places, spray over, remove the mask | Planned chips |
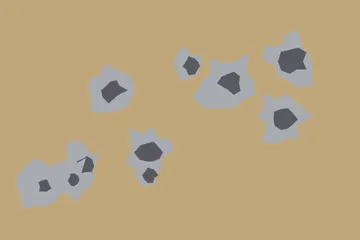 | Hairspray or chipping medium | A removable layer, loosen the top paint with water | Really flaking paint |
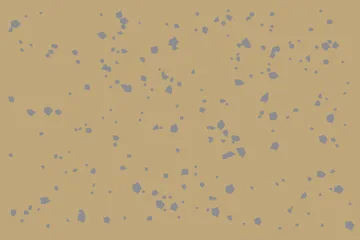 | Salt masking | Spray over salt grains, remove them later | Irregular damage |
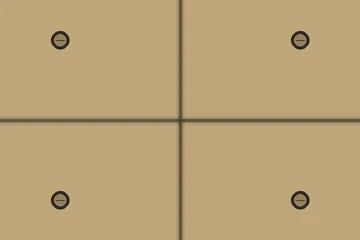 | Pin wash, panel lining | A thin dark liquid runs into seams | Depth around screws and panels |
 | General wash | Thinned paint, wiped off | Dirt and discolouration |
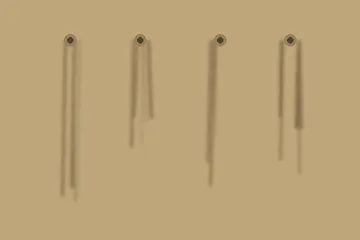 | Streaking | Thin dirt streaks, blended | Rain, oil and dirt marks |
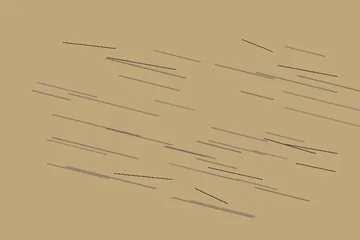 | Weathering pencils | Draw scratches and streaks, blend | Small details and dust |
Chipping with a removable layer: primer, then a metal or primer colour, then the mask or chipping layer, then your final colour, then remove it in places. The top paint must suit the technique, and a can that says “acrylic” is not automatically the right one. Test the full paint build-up on a spare print.
Pin wash: a thin liquid runs along seams by capillary action. On a light panel, use dark grey. Use dark brown for dirt and black only in the deepest seams. Enamel and water-based products work differently and clean up differently, and one maker warns that its enamel can attack the paint underneath and some plastics.
Hairspray Chipping, Layer by Layer
This is the method where paint really comes off. The order matters, and water does the dirty work:
| Layer | What it does |
|---|---|
| Primer | Grip on your smoothed print |
| Steel, aluminium or dark base colour | What shows through the chips |
| Hairspray or chipping medium | The in-between layer you wake up with water later |
| Suitable acrylic colour | The final colour of the droid |
| Water and a brush or pointed stick | Loosens the top paint locally |
| Protection and dirt weathering | Locks the result in and finishes it |
One honest warning: the tutorials use specific model paints. You cannot assume a random can of spray paint from the discount shop behaves the same, so my cheap-spray plan is not yet a tested system for this trick. My first experiment will be one spare panel: base colour, hairspray or chipping medium, suitable colour, a few small chips along one corner. If I want an easier, more controllable first try with ordinary spray cans, liquid mask is the safer bet.
Pin Wash, Step by Step
This is the one where a small drop of thin black liquid runs into a groove all by itself and makes the droid look three-dimensional. Capillary action does the work, so you only have to be patient. Here is the order I plan to follow:
- Spray the base colours and let them cure completely.
- Add a smooth, glossy clear coat and let that cure too. Test the whole combination on a spare print.
- Pick up a tiny amount of panel liner on a fine brush.
- Touch the groove or the foot of a screw. Let the liquid do the work, you do not have to paint the whole line.
- Add a small extra drop only where needed.
- Wipe off the excess with a barely damp cotton swab and the matching thinner.
- Finish with the matt or satin clear coat you want.
Two product families exist. Tamiya Panel Line Accent Color is ready-thinned enamel with a little brush in the cap (there is black, grey and brown). Vallejo Game Color Wash is a water-based acrylic wash. They clean up differently: dried acrylic wash does not come back off with enamel thinner. Tamiya warns that its product can attack the paint underneath and make some plastics brittle, so use it on a tested paint layer and never let it run into moving joints. Tamiya itself names grey as the subtler choice on white and light grey.
More Tricks Worth Trying
| Trick | What it adds | Where on the droid |
|---|---|---|
| Layered chips | A chip first shows the primer colour and only in a few places bare metal | Corners and maintenance hatches |
| Streaking | Thin dirt streaks, mostly blended away | Below fasteners and panel seams |
| Weathering pencils | Targeted scratches and dust edges you can smudge | Small details and the feet |
| Metal variation | Metal gets slightly different tints and sheens | Mechanical parts |
| Irregular imprints | Breaks up the obvious sponge pattern (cling film is one idea) | A few larger surfaces |
| Gloss differences | Dry paint, metal and greasy spots look different | Around the mechanics |
For streaking, let the streaks run in the direction a standing droid would really collect dirt. For pencils, I would try one or two colours first, not a whole set. You do not need all of these. A few subtle, fitting effects beat a shelf of products every time.
The Order I Will Work In
Base colour, small chips, pin wash, local dirt, final finish. Use the right in-between layers where your paint system needs them. My target for the finished droid is smooth colour paint, a subtle pin wash, a few chips that hint at two layers underneath, some dust on the feet and at most a couple of faded dirt streaks. A droid with a service history, not one that spent years on a scrapheap.
Where I Put the Wear
My starting point is a well-maintained droid that is used outdoors regularly:
| Part | Logical effect |
|---|---|
| Feet and toes | Most scuffs, bumps and dust |
| Lower legs | Less damage, maybe splashed dirt |
| Protruding corners | A few local chips |
| Maintenance hatches | Small damage at the edges and fasteners |
| Seams and screws | Subtle dark build-up |
| Wide, sheltered panels | Mostly intact |
| Sensors and lenses | Clean surface, some dirt around the frame |
For each effect, ask: what caused this, could it happen here, and which direction fits? Avoid the same silver edge everywhere, symmetrical damage, and rust on every metal part.
What I Plan to Buy
- Filler primer, sandpaper in several grits, a dust mask
- Spray paint in my chosen colours
- Brown, black and steel-grey acrylic paint, a fine brush, a cheap flat brush, a torn piece of sponge, kitchen paper and cotton swabs
- Later, a panel liner or liquid mask, only if I need it
I haven’t bought any of this yet.
I did not buy these yet, but here is what I found in the shops. Prices are what I saw while searching, not receipts, so check them when you buy:
| Product | Price found |
|---|---|
| MOTIP Primer Filler 04053, 500 ml | €7.99 |
| Spectrum colour spray paint, 400 ml, Action | €2.99 |
| Sandpaper on a roll, Action | €1.33 per roll |
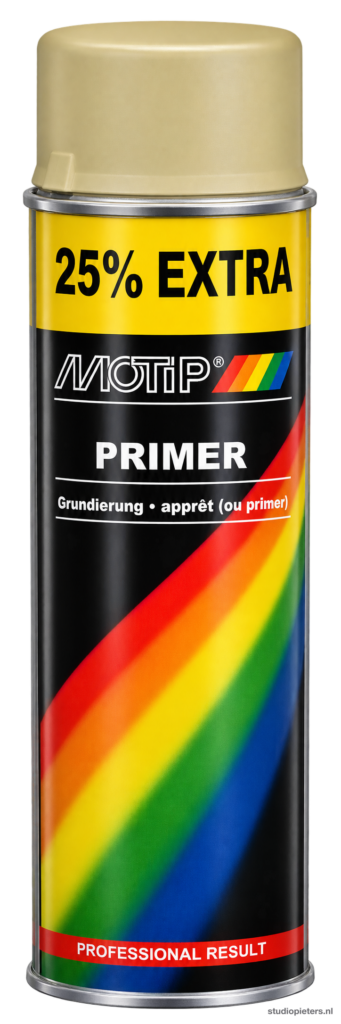
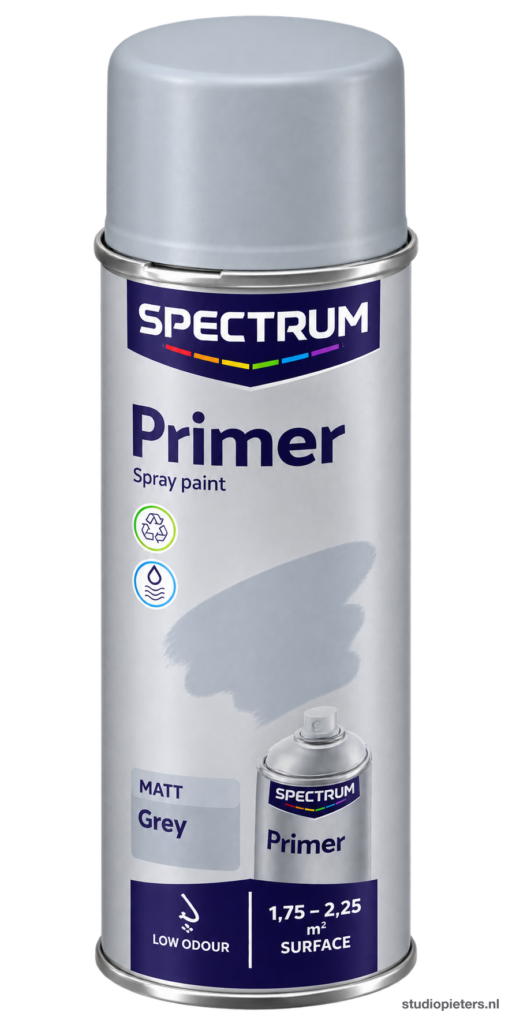
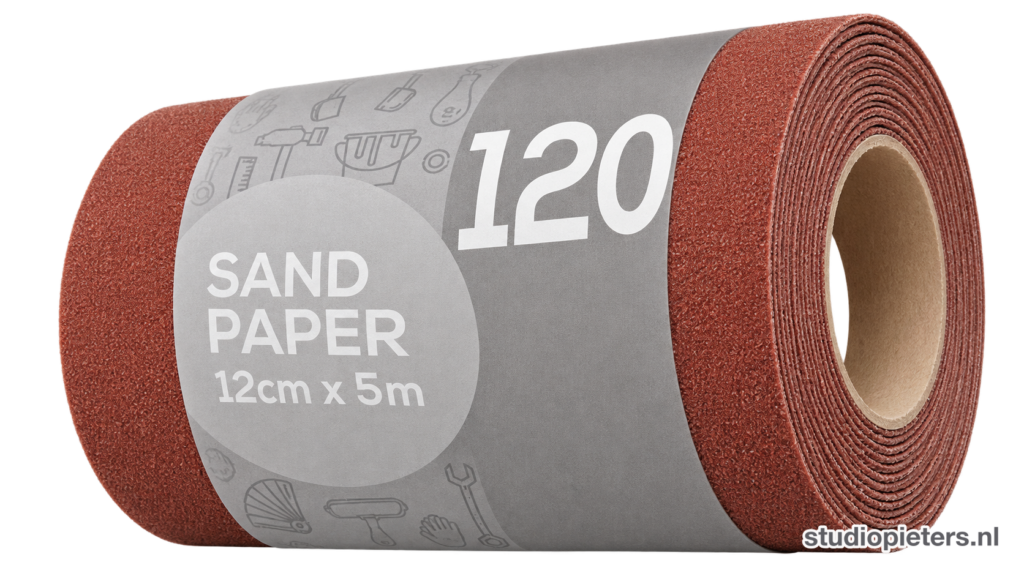
One can of primer and a couple of cans of colour already gets you most of the way, which is why my estimate of 15 to 20 euros for the start is not crazy. The specialist products (chipping medium, panel liner, weathering pencils) come later, and only if the tests say I need them.
Where to Learn More
Videos and guides I plan to watch, in this order. I found these through research and haven’t followed them yet, so check them yourself:
- Jon Bius: four chipping methods
- Punished Props: Acrylic Paint Washes
- FineScale Modeler: paint chipping with hairspray
- Simon Phipps: Painting Your Mandalorian Helmet Kit
- For the sanding part: Prusa’s step-by-step postprocessing guide and MatterHackers: Smooth and Finish Your PLA Prints
After a second round of searching, the list grew. I have not watched or read these yet either. I only know them by name, so search the title to find them:
| Source | What you learn |
|---|---|
| Punished Props: Acrylic Paint Washes, Drybrush Weathering, Weathering with Oil Paints | Cheap dirt and depth, subtle wear, and a Star Wars blaster made to look like used metal |
| Adam Savage: Weathering Tricks | How wear, stains and damage tell a believable history |
| Galactic Armory: Fallout Weathering and Rust | A big printed prop turned into used metal. Take the techniques, use far less rust |
| Bob’s Workshop: Mandalorian Helmet Weathering | Subtle dirt with thinned Raw Umber and Mars Black |
| Volpin Props: Painting and Weathering for Props and Replicas | A paid 90+ page guide, about US$8, from bare plastic to patina |
| Kamui Cosplay: two painting books | Brushes and acrylics, or airbrush and weathering, about US$7.99 each |
| Stan Winston School: Metallic Paint Effects for Prop Weapons | A paid beginner course (2 h 16 min) on making plastic look like metal. Great later, not a first purchase |
| Vallejo and AK Interactive instruction sheets | Chipping medium, liquid mask and worn effects, step by step |
| AMMO and Jon Bius on streaking and weathering pencils | Dirt streaks and pencil tricks |
Build logs are worth a look too, because they show the failed paint combinations as well as the winners. Good places are The RPF, The Dented Helmet, the 405th, Whitearmor, Astromech.net and Printed Droid, which has a print-to-paint route. A 405th weathering tutorial reminds you that silver damage should be broken dots, dashes and chips, and I will use much less of it than on armour. The Dented Helmet has a long guide to additive weathering, but do not copy old paint recipes blindly, since different sprays need different thinners.
Mistakes I Want You to Avoid
- Painting joints and fitting surfaces. Keep them free so the droid can still move.
- Sanding through the walls of thin parts.
- Skipping the test piece. Primer, paint and weathering products don’t always get along.
- Putting the same wear everywhere.
- Judging colours on a screen. Look at them in daylight.
Words Explained
- Filler primer: a spray primer that fills small layer lines.
- Spray putty: a thicker filler spray, often followed by a normal primer.
- Grit (P400): how fine sandpaper is. A higher number is finer.
- Pin wash: a thin dark liquid that runs into seams and gives depth.
- Chipping: paint damage that shows the layer underneath.
- Weathering: making a model look used, dirty or worn.
Conclusion: Plan Done, Time to Test
I now have a clear route from rough print to a painted droid. The next step is to try it on one head part, with photos, and to see if what I read holds up on my own prints. I’ll update this part afterwards.
Next up: Part 5, which I’ll write after the first sanding and painting tests.
Previous: Part 3: Printing the Parts
Unofficial fan project
Pit Droid and Star Wars are trademarks of Disney/Lucasfilm. This site is not affiliated with, endorsed by or sponsored by Disney. The droid in this series is based on the PD-23 files by DroidDivision (Dave Moog), which are used under a single-person licence.
Related
 Electronics
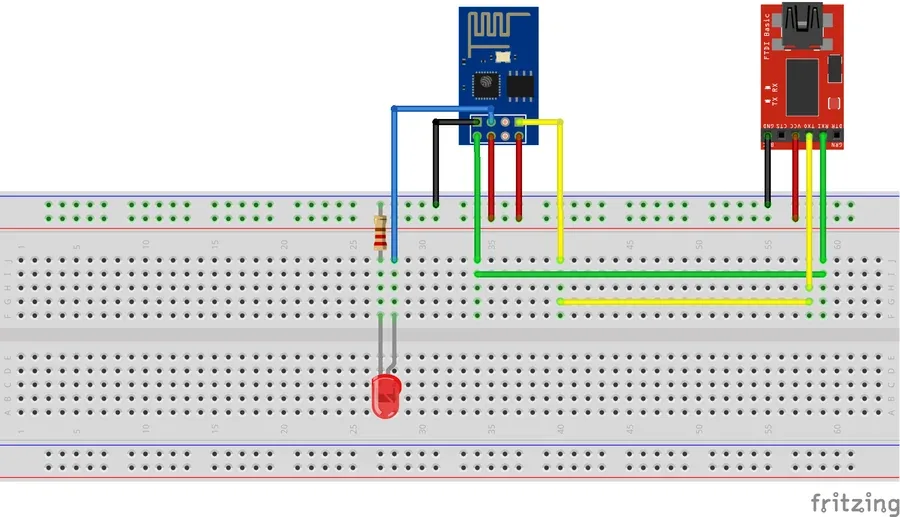
Switch a Relay or a Led from Homebridge with an ESP-01
An ESP-01 web server that sets GPIO2 high or low, the basic building block for switching lights and relays from Homebridge.
Read more
 3D printing
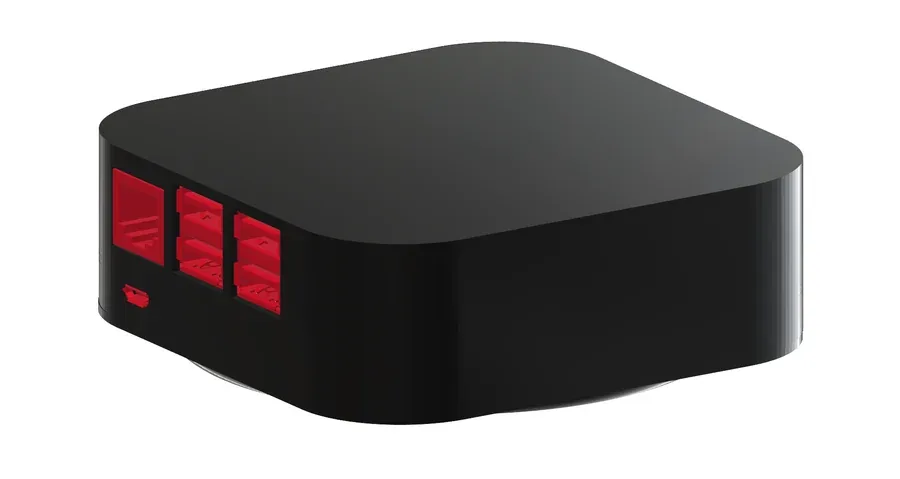
3D Printed Case for a Homebridge Raspberry Pi
A black 3D printable case with openings for the network port, USB ports and power connector, for a Raspberry Pi that runs Homebridge.
Read more
 Software
ESP32 HomeKit Development with ESP-IDF
A definitive setup guide for building Apple HomeKit accessories on the ESP32: a Dockerized ESP-IDF toolchain so the build environment stays identical across machines, no local dependency drift, no "works on my machine".
Read more
More projects
Keep building.
Electronics, 3D printing and CNC builds, documented from the first idea to the last screw.
All projects