Dad I want a Nintendo! that’s what I hear for days from my little princess. Ever since Mario is popular again, even Nintendo and LEGO introduced several Super Mario LEGO sets with an interactive Super Mario doll. Also the Nintendo game console is hip and happening again. Time to make my little princess happy.
Hardware
Before we get into the process of installing Super Nintendo aka RetroPie on your Raspberry Pi 4, I thought it would be helpful to know all the parts you will need. Don’t worry, it’s just a few things. I wished I had a list like this before I clicked the purchase order button on sossolutions.nl. However, I did buy a set of Old School USB Controllers for my Super Nintendo / RetroPie setup.
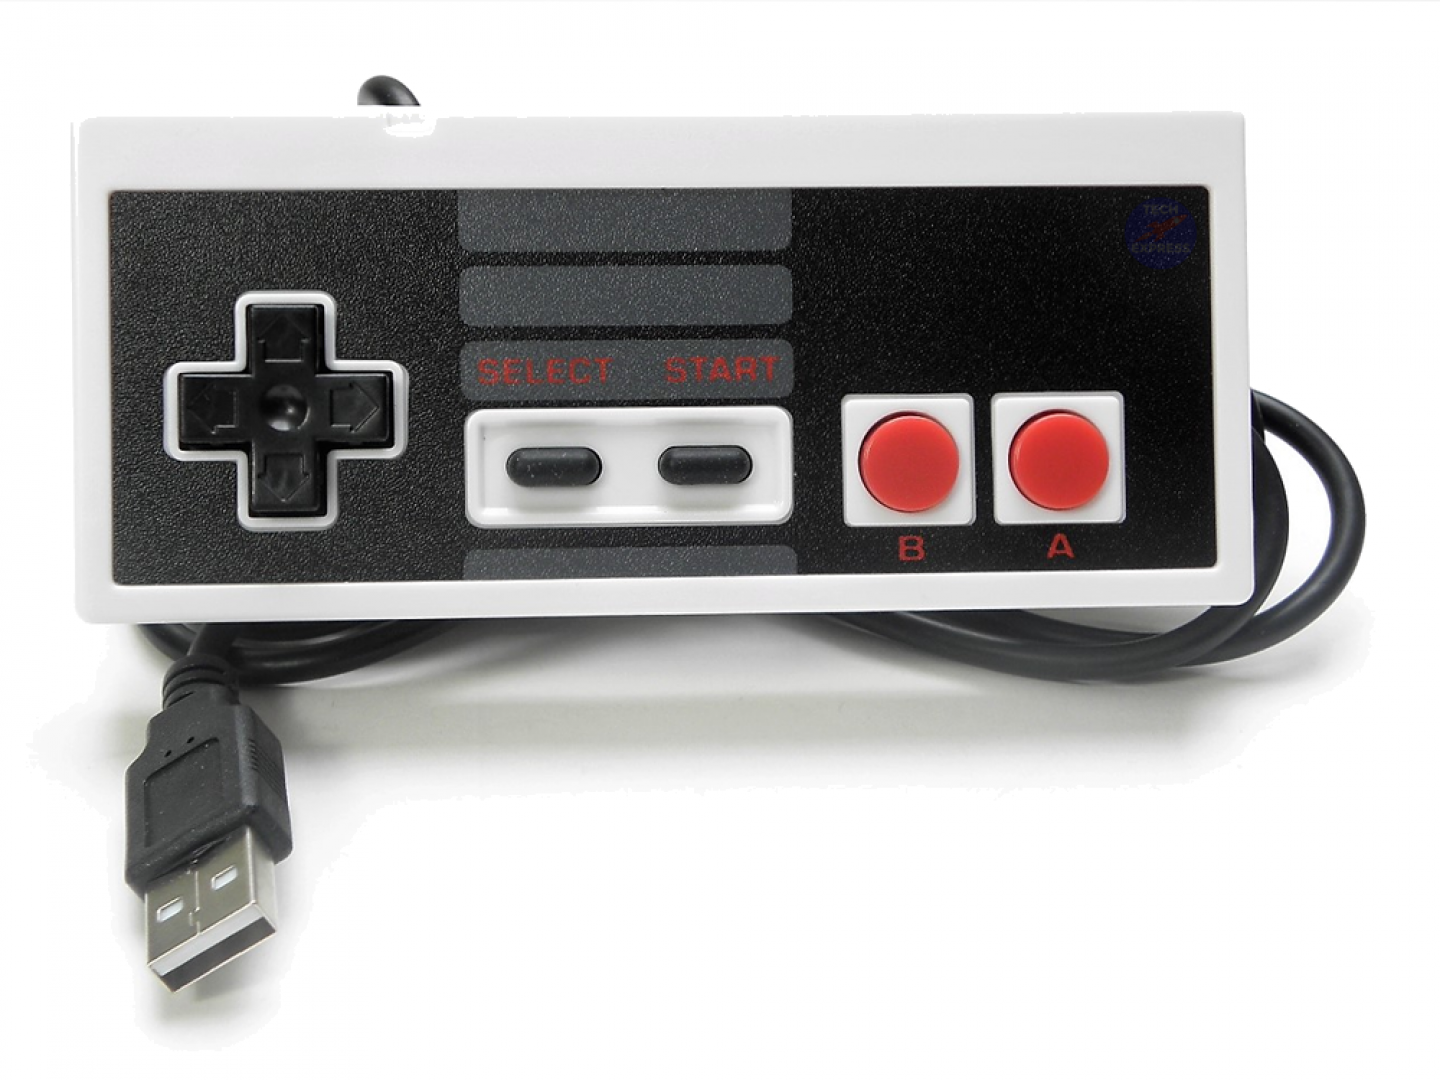
If you don’t want to spend the extra money, you can use any controller with a USB attachment cable. Your Playstation / Xbox controller will be just fine. In my opinion, I suggest using your PS3 Controller if you plan on playing games with many options in them. Mario Kart on Nintendo 64 needs to have more buttons. My Old School NES controllers work just fine. However, I can’t do some of the special moves. Like throwing Banana peels and jumping into turns.
Here’s all the stuff you need to get going
- Raspberry Pi 4 Model B 2GB
- 16GB Micro SDHC
- 2 x NES Controller
- 3A USB-C Power supply for Raspberry Pi 4
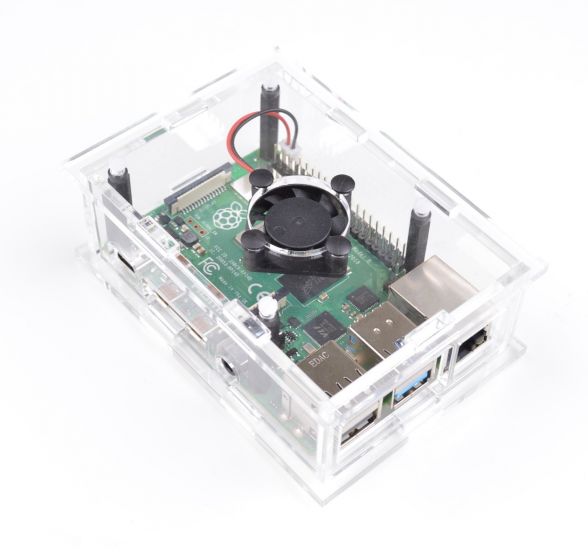
- Housing for Raspberry PI 4 model B with fan
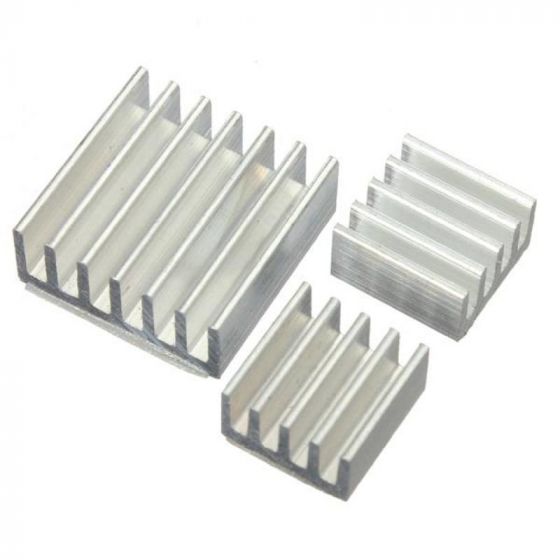
- Heatsinks for Raspberry PI 3-pieces
- HDMI cable
After I spent hours searching YouTube and Google, I watched a number of Raspberry Pi & Retro-pie tutorials. After they all let me down, I finally figured out what I needed to do. Hence why, this article was written. I want to save you the time and headache I went through. Those videos were not a total let down, they did help me piece this tutorial together. I should note that this tutorial is for Mac computers only. If you want something for Windows, I suggest finding another article.

This process is pretty simple and should take less than 20 minutes. Your mileage may vary. Your internet connection and processor speeds will determine the amount of time it will take you.
Building your RetroPie
We’re going to start by assuming you already took your Raspberry Pi 4 out of the box and have it in the case. It’s pretty easy to set up. Put the heat-sink’s on after the Raspberry Pi 4 is in the case. It will save you headaches down the road.
I also bought a casing with a fan, for some extra cooling.
Installation
Download
There are currently 3 versions of RetroPie. There is one version for Raspberry Pi 0/1 (Model A, A+, B, B+), a version for Raspberry Pi 2/3 and a version for Raspberry Pi 4. Download the SD image for your version of Raspberry Pi from the following page: https://retropie.org.uk/download/

Extract
Once you have downloaded your SD card image you do not need to extract it macOS does it for you. when you are using Windows you need to use a program such as 7-Zip. You will extract the downloaded .gz file and the extracted file will be a .img file.
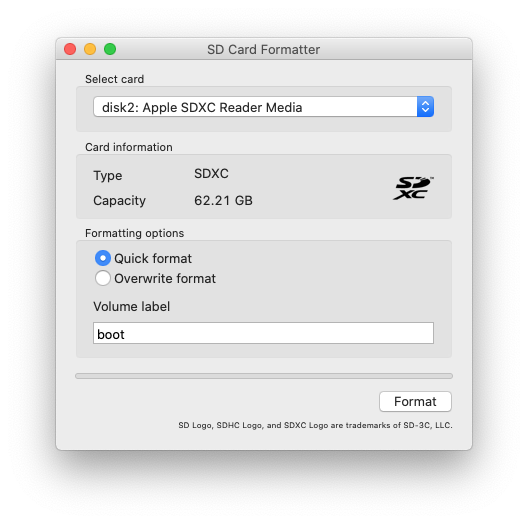
SD FORMATTER
Visit the SD Association’s website and download SD Formatter 4.0 for either Windows or Mac. Follow the instructions to install the software. Insert your SD card into the computer or laptop’s SD card reader, select the drive letter for your SD card and format it.
DOWNLOAD ETCHER
Visit etcher.io and download and install the Etcher SD card image utility. Run Etcher and select the Raspbian image you unzipped on your computer or laptop. Select the SD card drive. Note that the software may have already selected the right drive. Finally, click Burn to transfer Raspbian to the SD card. You’ll see a progress bar that tells you how much is left to do. Once complete, the utility will automatically eject/unmount the SD card so it’s safe to remove it from the computer.

Note: RetroPie is built on top of Raspberry Pi OS Buster (a Linux based OS for the Raspberry Pi) and as such the partition on the SD card is EXT4 (a linux filesystem). This parition is is not visible on Windows systems, so the card will show up as a smaller size than usual and you won’t be able to see everything on the card, but it is all there. You will be able to access the filesystem over the network as described in the transferring roms section below.
Connecting cables
There are three connections on one side of your Raspberry Pi. First connect the Raspberry Pi to the television / monitor using the HDMI cable. Then you put the power on the Raspberry Pi by plugging the power cable into the wall socket and into the Raspberry Pi. Finally, plug a controller of your choice (or a keyboard) into one of the USB ports on the Raspberry Pi.

Select HDMI channel
Make sure you select the correct channel on your television / monitor. In any case, it must be one of the HDMI channels. You can often find the right channel by pressing the “source” button on your remote control
Please wait.
Then leave the Raspberry Pi alone while the program loads. You will then see the following screens passing by. Give it some time.
Configure input devices
You will then see this screen.

This is to configure the controller with the system. Press and hold the A button on your controller and then set the buttons as indicated on the screen. If a certain button is not applicable, you can briefly press and hold a certain button and then it jumps to the next. Do this until you can click “OK”.
Check out your emulators
Once your controller is set up, you will be taken to the Retropie home screen where you can already view some emulators.
NOTE: this is the point where you need to get started. At the moment you cannot play any games of your choice.
Find ROMs
To be able to play retro games of your choice on your Retropie you need emulators. The emulators make it possible to simulate a system such as the gameboy, the playstation or the nintendo. But to play games on it, you need ROMS running on these emulators.
For example, on the internet you search for the ROM for super mario, mario kart or mario bros. For this you will have to Google a bit, but there are enough websites and ROMS available.
Choose a suitable USB stick
To get your new games easily on your Raspberry Pi with Retropie, it is best to use a USB stick (with sufficient memory) that is FAT32 or NFTS formatted.
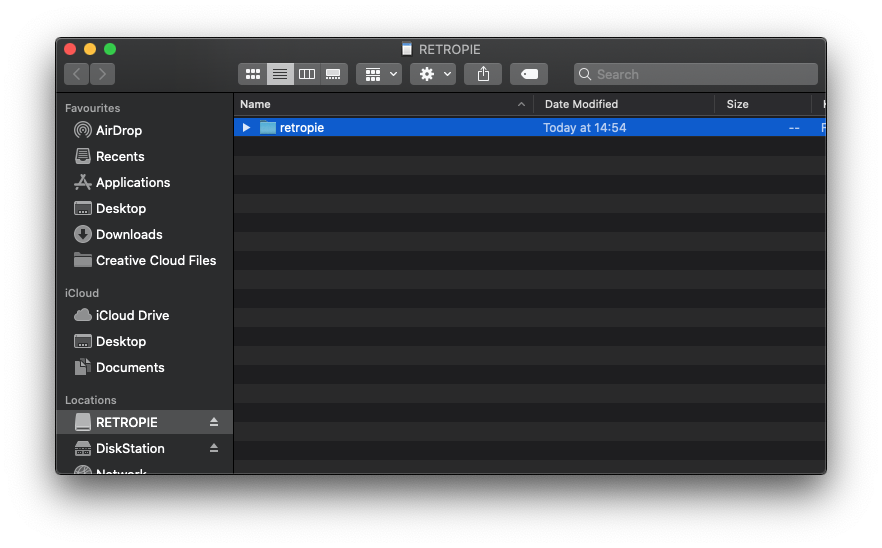
Create a folder called Retropie
Insert your USB stick in the computer and create a folder on this USB stick with “Retropie” as shown in the image below. Once you’ve done this, carefully remove the USB stick
Wait …
Then you put the USB stick where you just created the Retropie folder in the Raspberry Pi. Wait until the light stops blinking, or if you don’t see a light wait a few seconds.

View the ROMs folders
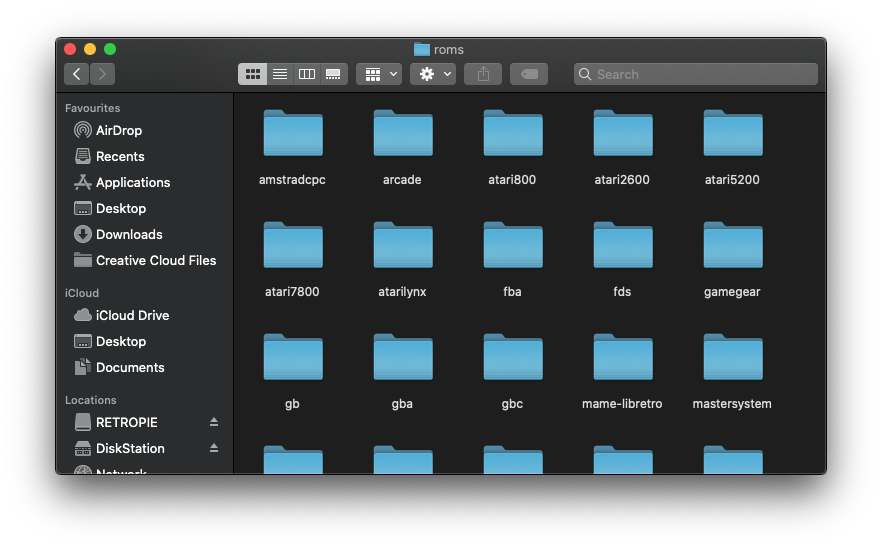
Remove the USB stick from the Raspberry Pi and plug it back into your computer. If you now look in your Retropie folder there should be some new created folders.
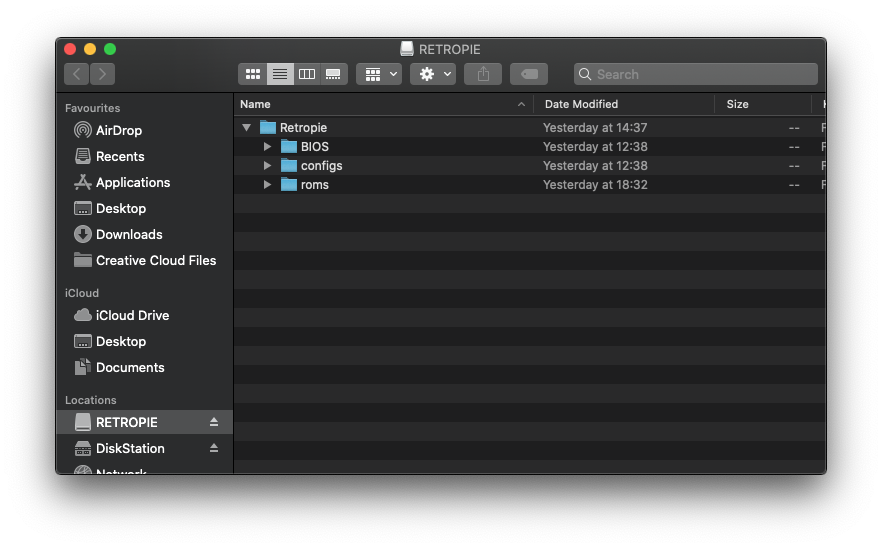
Now look into the folder called all ‘roms‘.
Download ROMs
Now it is up to you to download your desired ROMS. Shop around the internet and make sure you download (as far as possible) reliable ROMS.

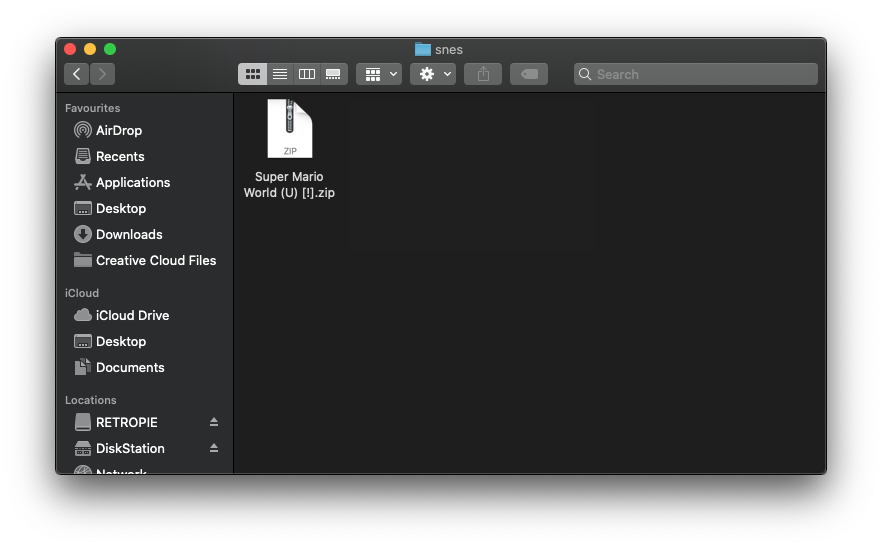
Copy to your USB sticks
Once you have downloaded the ROMS onto your computer, you can easily drag / copy them to the corresponding ROM folder on your USB stick.
USB in Raspberry Pi
Are you ready? Then safely remove the USB stick and insert the USB stick back into the Raspberry Pi.
Additional emulators visible
If everything went well, you will now see the same screen with emulators as before, but with the extra emulators for the ROMS you just downloaded. Like the Super Nintendo.
Choose your game!
Select the desired emulator and the desired game you want to play. The game will then start loading. On to hours of fun!

Note: If you want to quit a certain game you can always use the hotkeys Press “select + start” (simultaneously) to return to the main menu where you can select another game.
* Alternative way of adding ROMS to your Raspberry Pi. You can also add ROMS through the network. Plug a network cable into your Raspberry Pi and you’ll find it between the servers on your computer. Drag the desired ROM to the corresponding folder in “roms” and refresh your Raspberry Pi. Then you can start playing the newly added games.
REFERENCE
RetroPie,Retro gaming on the raspberry Pi, Building your own RetroPie machine, https://retropie.org.uk/about/building Russell Aaron, RetroPie on Raspberry Pi 3,How to install RetroPie on Raspberry Pi 3 in less than 20 minutes, https://magicmirror.builders