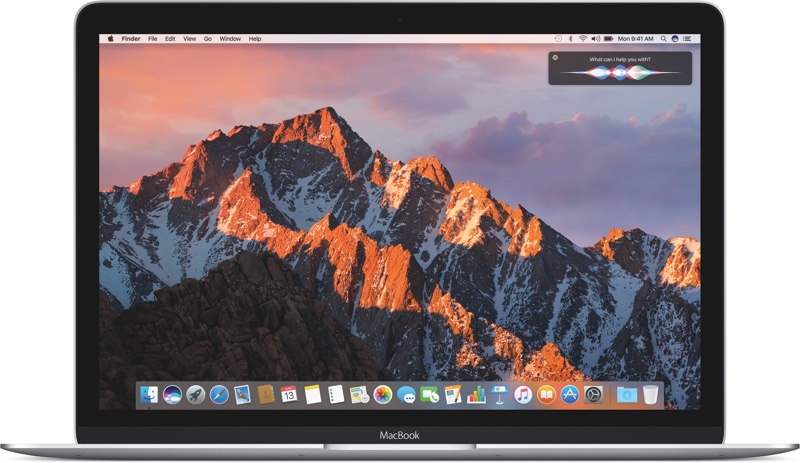
If a new version of macOS becomes available, there are a lot of people who are considering a clean installation, a so-called clean install. This can come in handy when you restore the Mac factory settings. You make a fresh start on your Mac, without taking all the previous problems and it also comes in handy if you have taken over a Mac from someone else and want to start with a clean Mac. In this case we use Sierra.

Note: make sure that you always have a backup of all your files and data should something go wrong! You can do this, for example, via a Time Machine or another external hard drive.
Clean Mac installation
Sierra is the latest version of macOS (at time of writing). If you want to install this or all of the following updates, you can simply do so from the Mac App Store. In addition, all user data is retained. The big advantage is that you do not have to worry about it: you just have to press a button and have some patience. But you also include all the junk from previous installations. If you want to start over with a clean Mac, you have to reset the Mac factory settings and perform a clean installation. In doing so, the complete content of your disks is deleted.
macOS clean installation from a USB stick
Before you get started, you will first need to install a version of macOS on a separate USB stick. You need a USB stick with at least 16GB of storage.

Download macOS Sierra (or another version) from the Mac App Store. Apple itself maintains a list of older software, which you can find via the official Apple Support download page. This is system software for your older Mac, but you will also find security updates and older versions of QuickTime, Safari, iMovie, Pages, Keynote and the like. Click Load more results repeatedly to see older software.Click here to go to the Official download page at Apple Support.
After the download is complete, you must disable the installation screen that appears, to prevent the installation from starting. Insert the USB stick into your Mac and give it a logical name, for example ‘macinstallation’. It is important that no special characters are allowed in it. Start the program Terminal via Programs – Utilities – Terminal or search for it in Launchpad. Enter the command below in Terminal.
Note that the word behind Volumes must be exactly the same as the name of the USB stick. The path can also be different if you want to install a different version of macOS.
sudo / Applications / Install \ macOS \ Sierra.app/Contents/Resources/createinstallmedia --volume /
Volumes / Untitled --applicationpath / Applications / Install \ macOS \ Sierra.app --nointeraction
Perform clean installation
Installing a clean installation of macOS is the next step in the process. Carefully follow the steps below, so nothing can go wrong. Insert the USB stick with the installer in your Mac and restart it with the Alt / Optn key pressed. The macOS Startup Manager will pop up with all bootable drives and devices that are connected. Select the USB stick that you had prepared for the installation and press Enter. The Mac will now boot from the installer on the USB stick. This can take a few minutes, depending on the speed of the USB port and the USB stick. Once this is done, the Mac will return to the macOS Utility startup window. You get a number of options there, such as Restoring a Time Machine backup. Choose Disk Utility. In the following steps your startup disk will be completely erased, so you can start with a clean slate. Select the desired startup disk. This is usually Macintosh HD.
Then click Clear to delete the entire disk. Also make sure that the format is set to macOS Advanced (Journaled). The Disk Utility now deletes the entire disk. Once this is done, you can close this program. After this you will return to macOS Utility. Now select Install macOS and the installation of Sierra will now take place. During the installation process, choose the correct drive you just deleted, such as Macintosh HD.

After these last steps you will be guided through the standard macOS installation procedure. Once everything has gone well, you have a completely clean Mac with the latest version of macOS. Of course you do not lose everything. When you log in with your Apple ID, all personal details such as calendars and e-mails are synchronized with iCloud.