How to make your KiCad 6 files ready for production isn’t that complicated, but you have to know the requirements your supplier wants. Usually, it is easier to generate Gerber files using KiCad than other PCB design software. All you need to do is to select the necessary layers, to apply a few settings that are required by SeeedStudio to produce your PCB as intended. Make sure you do to not forget generating the DRILL file. Now, let’s get started!

KiCAD 6
My favorite PCB design program is KiCad. If you plan to make a Printed Circuit Board (PCB), it is recommendable to learn how to use KiCad. You may be wondering why you should stick to KiCad, yet some CAD tools are more straightforward and practical—of making PCBs. Apart from KiCad’s quality and features suitable for numerous uses, it has a rich history pointing to a bright future.
Since the introduction of KiCad into the PCB CAD almost three decades ago, it has experienced five significant upgrades and advanced into a viable alternative to profit-oriented products. It was initially a chunky and scarcely usable software, but now it is a reliable and robust CAD app. Though it is incontestable that KiCad lags behind other commercial products in some features, the benefits you will enjoy from its free and open version are unbeatable.
KiCad has a lively and growing community of engineers, designers, and contributors. It has devoted developers financed by companies like CERN, Arduino LLC, and others. Besides, the KiCad community also contributes to KiCad development efforts. If you try KiCad, you will experience many more benefits without any show-blocking issues.
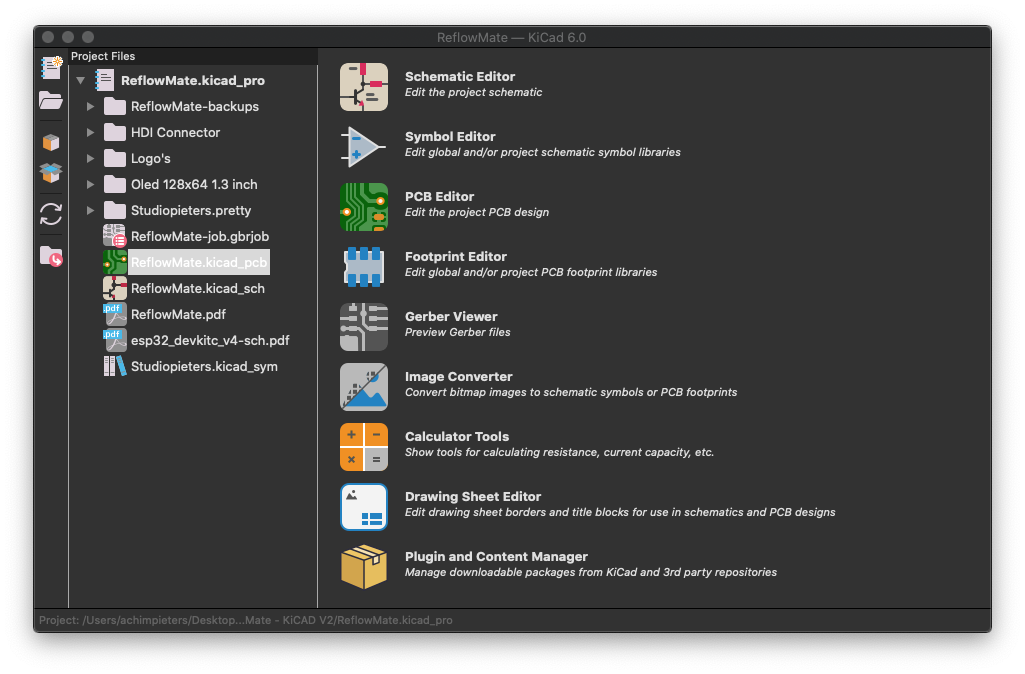
PCB file
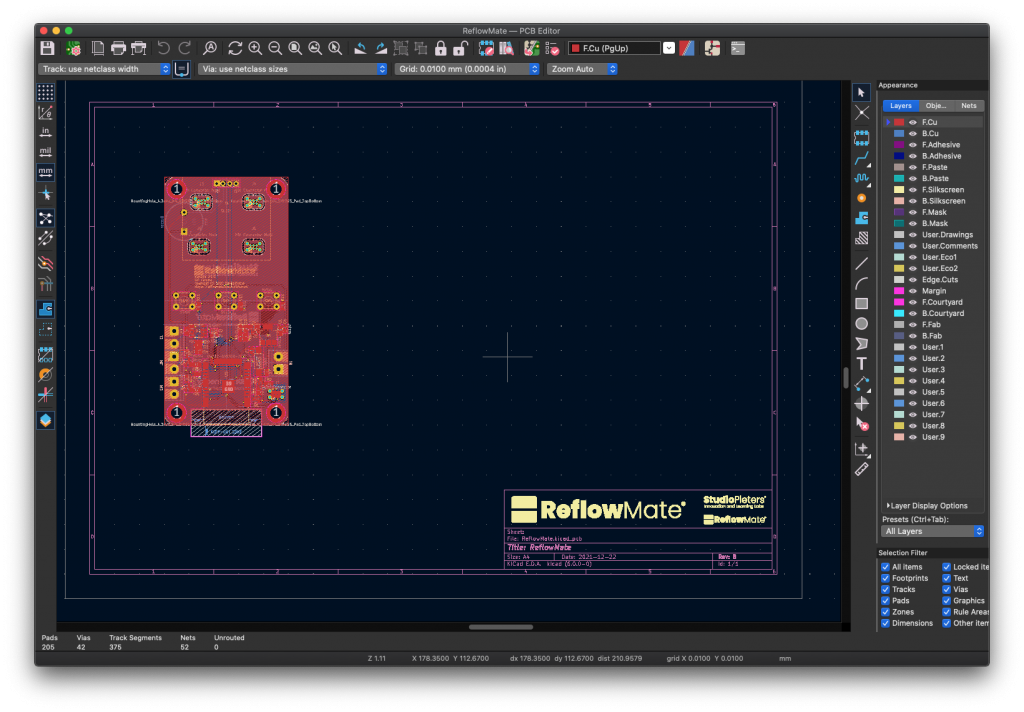
The KICAD_PCB document files are related to KiCad. KICAD_PCB file is a KiCad PCB Design Document. After opening your KiCad project – .pro file, you can double-click the .kicad_pcb file or click the “PCB New” button to open your PCB editor to create one.

Gerber files
After an engineer / maker has finished their circuit design for a printed circuit board (PCB), the next step is to enter the schematic details into a computer-based schematic capture program such as KiCad, Eagle, or Altium. The finished printed circuit board will provide the physical assembly and interconnection platform for the various electronic components required by the schematic.
The schematic capture program provides the detailed information about the completed board design in a series of data (Gerber) files for each conductive layer of the PCB.
The Gerber file is the most important item for fabricating a circuit board. These files were initially developed by a company called Gerber Scientific, founded by Joseph Gerber, and have become the traditional format for consistent production of circuit boards.
You can make your Gerber files by the following steps. Click the “File” menu –>”Plot” or the plotter icon in the window. Now choose the necessary layers shown as below (for 2 layer boards), then click the “Plot” button to generate the related layers.
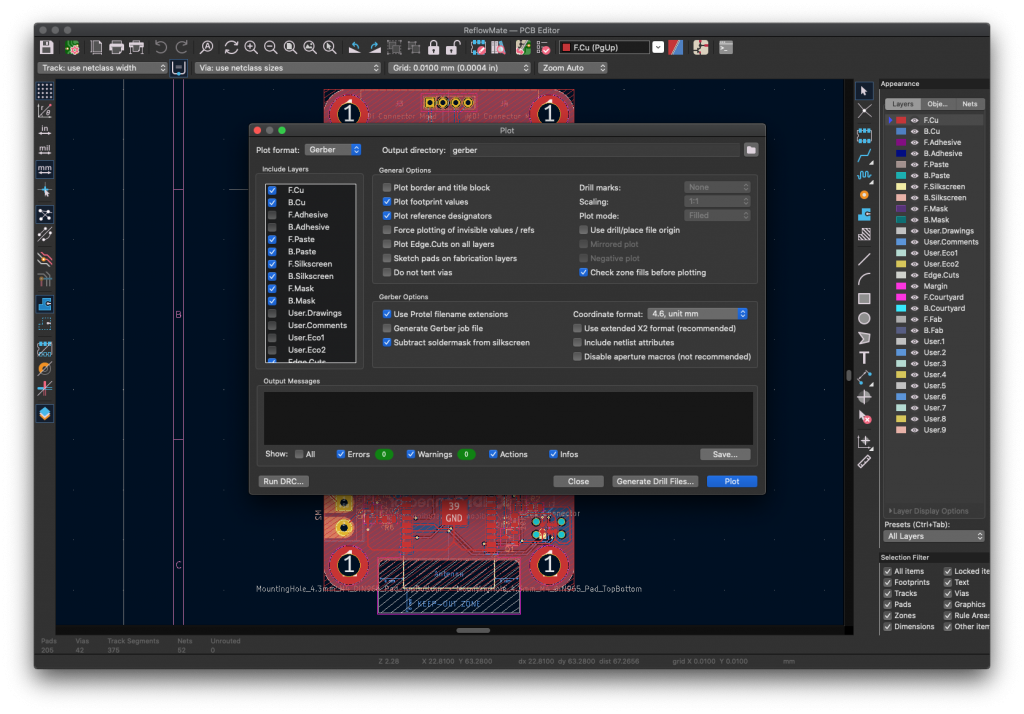
Note: In order to facilitate our access to your files, please do NOT check the “Include extended attributes” before Plot.
Do NOT check “Use extended X2 format”, otherwise, the format will not be accepted.
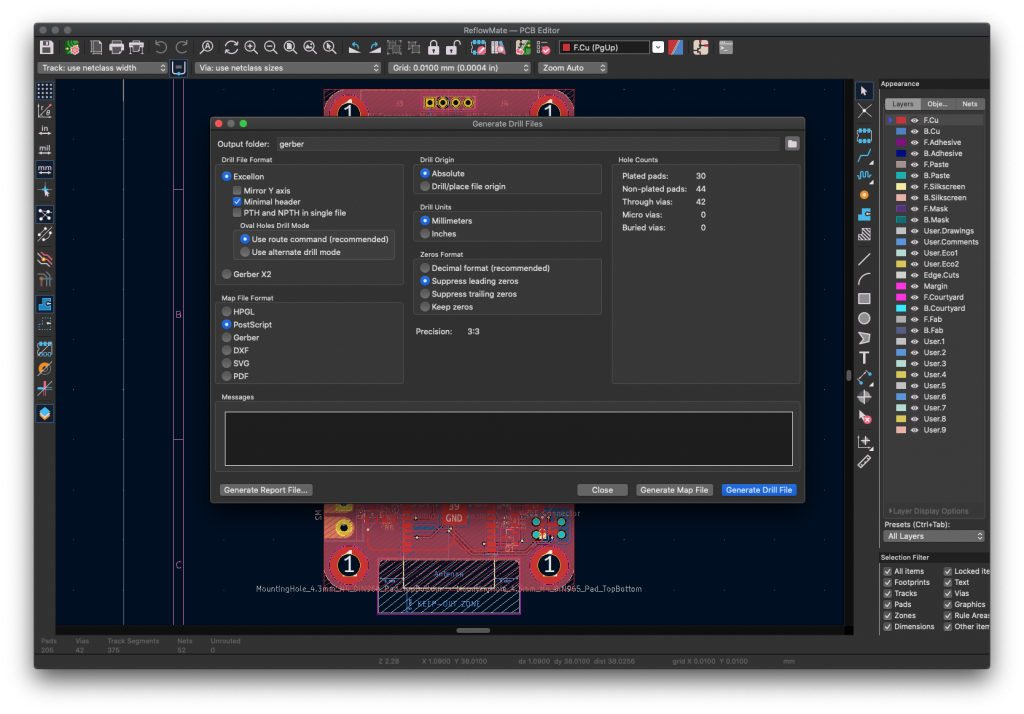
Generate the drill file
Before closing the plot window, you need also generate the drill for manufacturing. Select “Suppress leading zeros” and “Minimal header” and click “Drill File” button as the following shown.

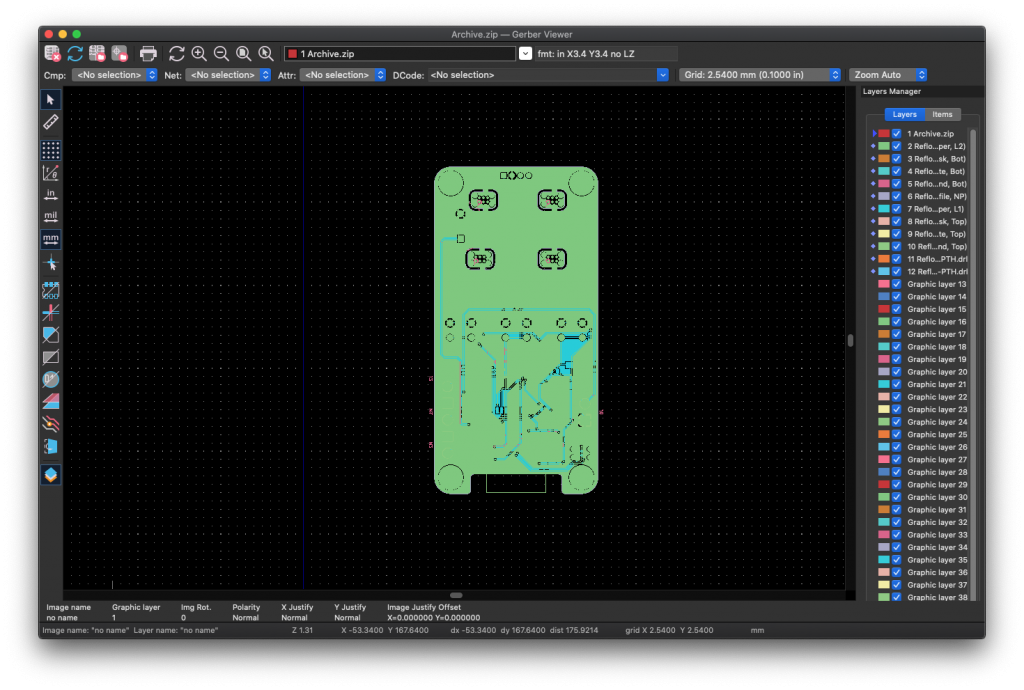
GerbView
Now you have finished the job. But you should always check whether your Gerber files are working or not. Open the “GerbView” and check what your board looks like before sending it to the manufacturer.
Now you can see your board like this.
Compress the file
The final step is to compress all the files in a single .zip file, then you can fill out the form about your PCB parameters ( size, quantity, layers, thickness, etc.). On our “PCB Instant quote” page and upload your .zip ( Gerber ) file to SeeedStudio online system, our engineers will check it again and feedback to you if any problems happen before it can be fabricated. Here we go!