Okay things have gotten a bit more complicated than we are used to. Since the arrival of the ESP32 module, Espressif the maker of the ESP modules has also worked hard behind the scenes. They have developed IDF. IDF is the compiler for all ESP32 XX chips. So for HomeKit Development, we have to start from scratch again, at least for my followers, who have already worked with ESP-HomeKit. Let’s start with setting up the development environment first.

Prerequisites Installation
Before we can start the Installation of the the software we need to install some software. Because I using a iMac with macOS 10.15.7 (Catalina) at this time of writing. I’m using Docker to install some docker files. You can also use Oracle Virtual Box and install Ubuntu, but this is a little more complicated, because you need to switch between the two OSes. When you install the docker files you can compile your code directly on your Mac.

Docker Installation
Okay let’s get started go to https://www.docker.com and press “Get Started”.
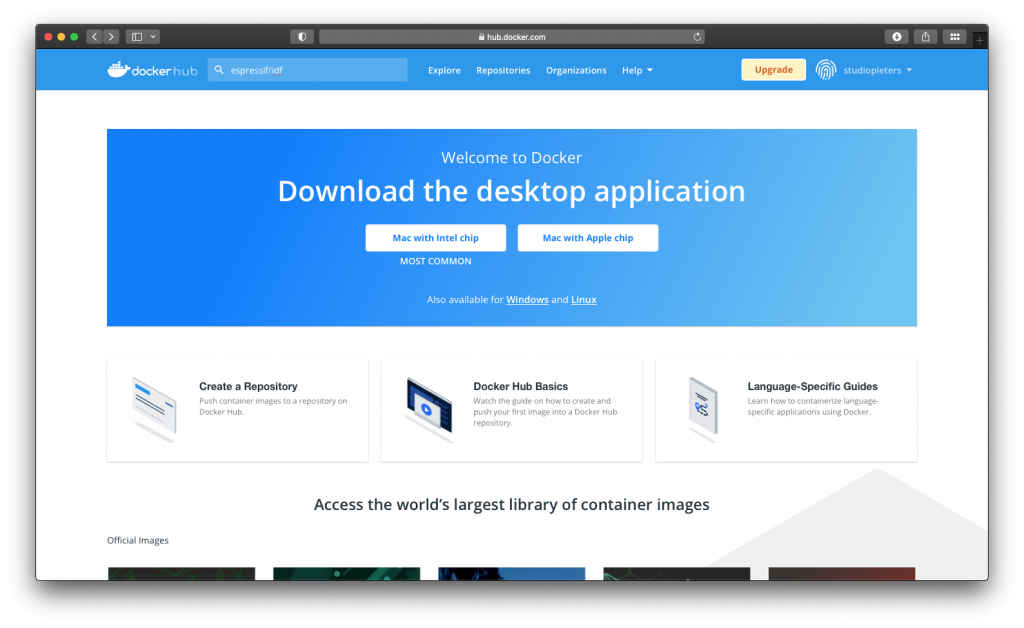
Under Docker Desktop press on “Download for Mac“.
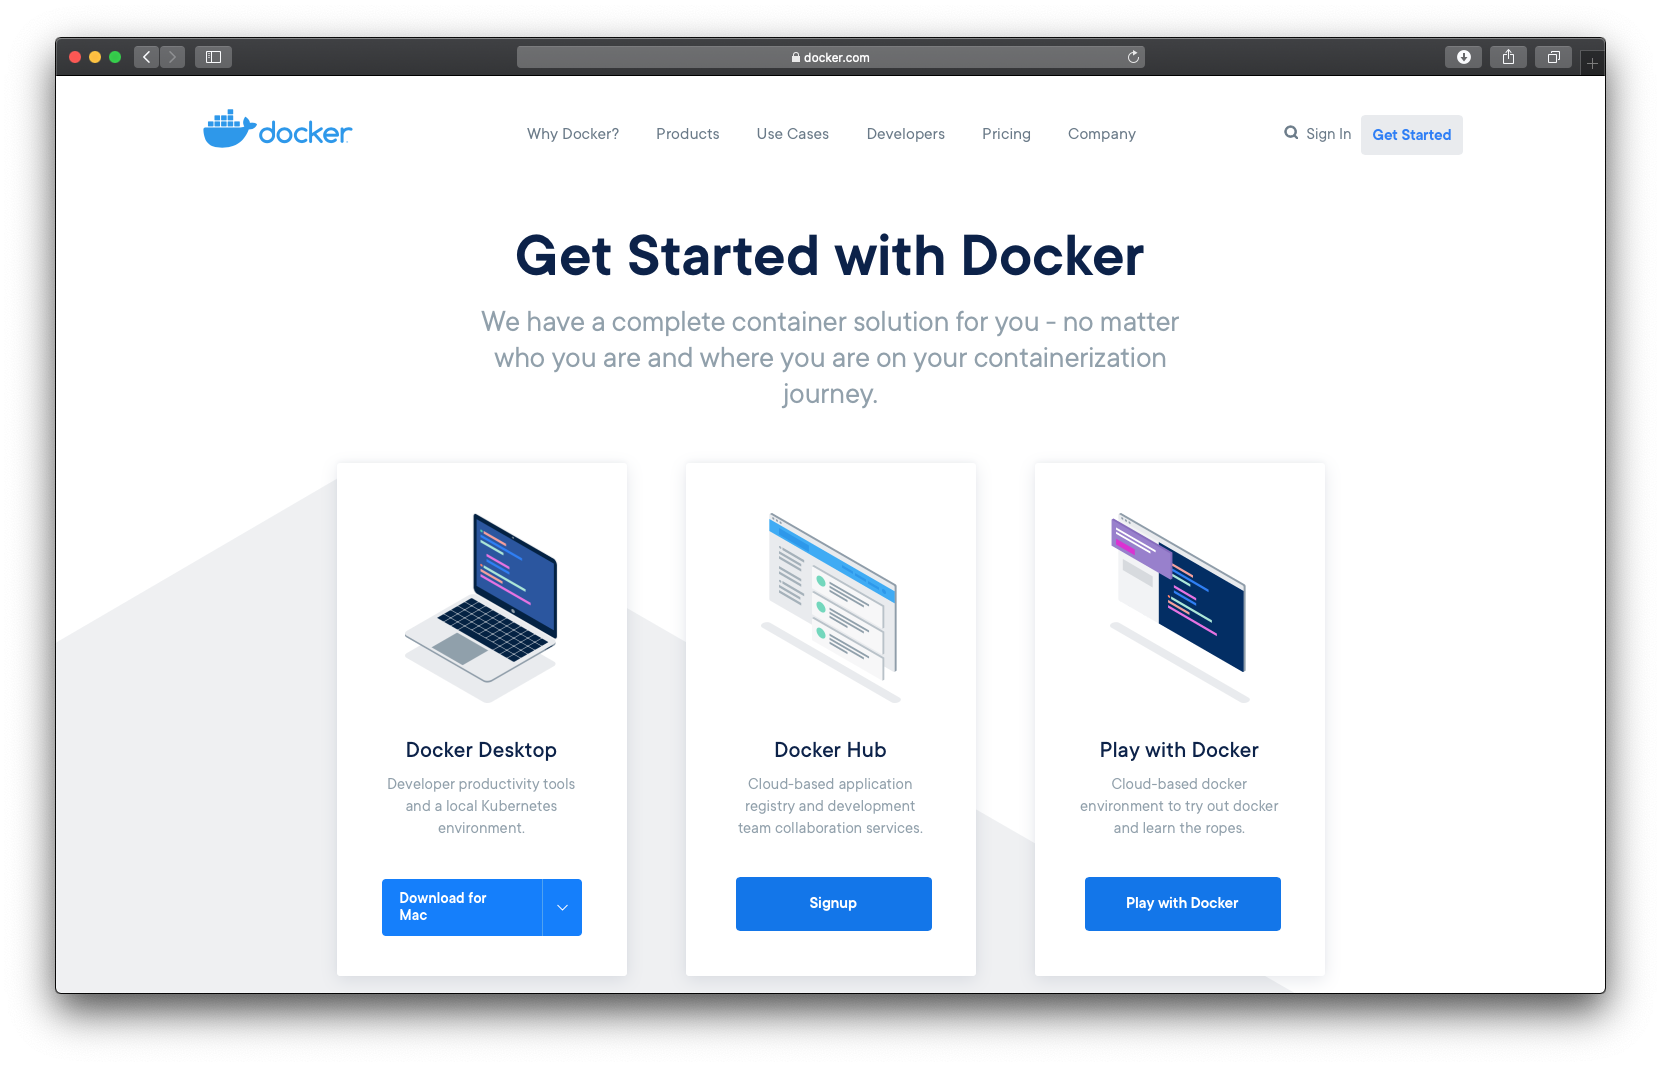
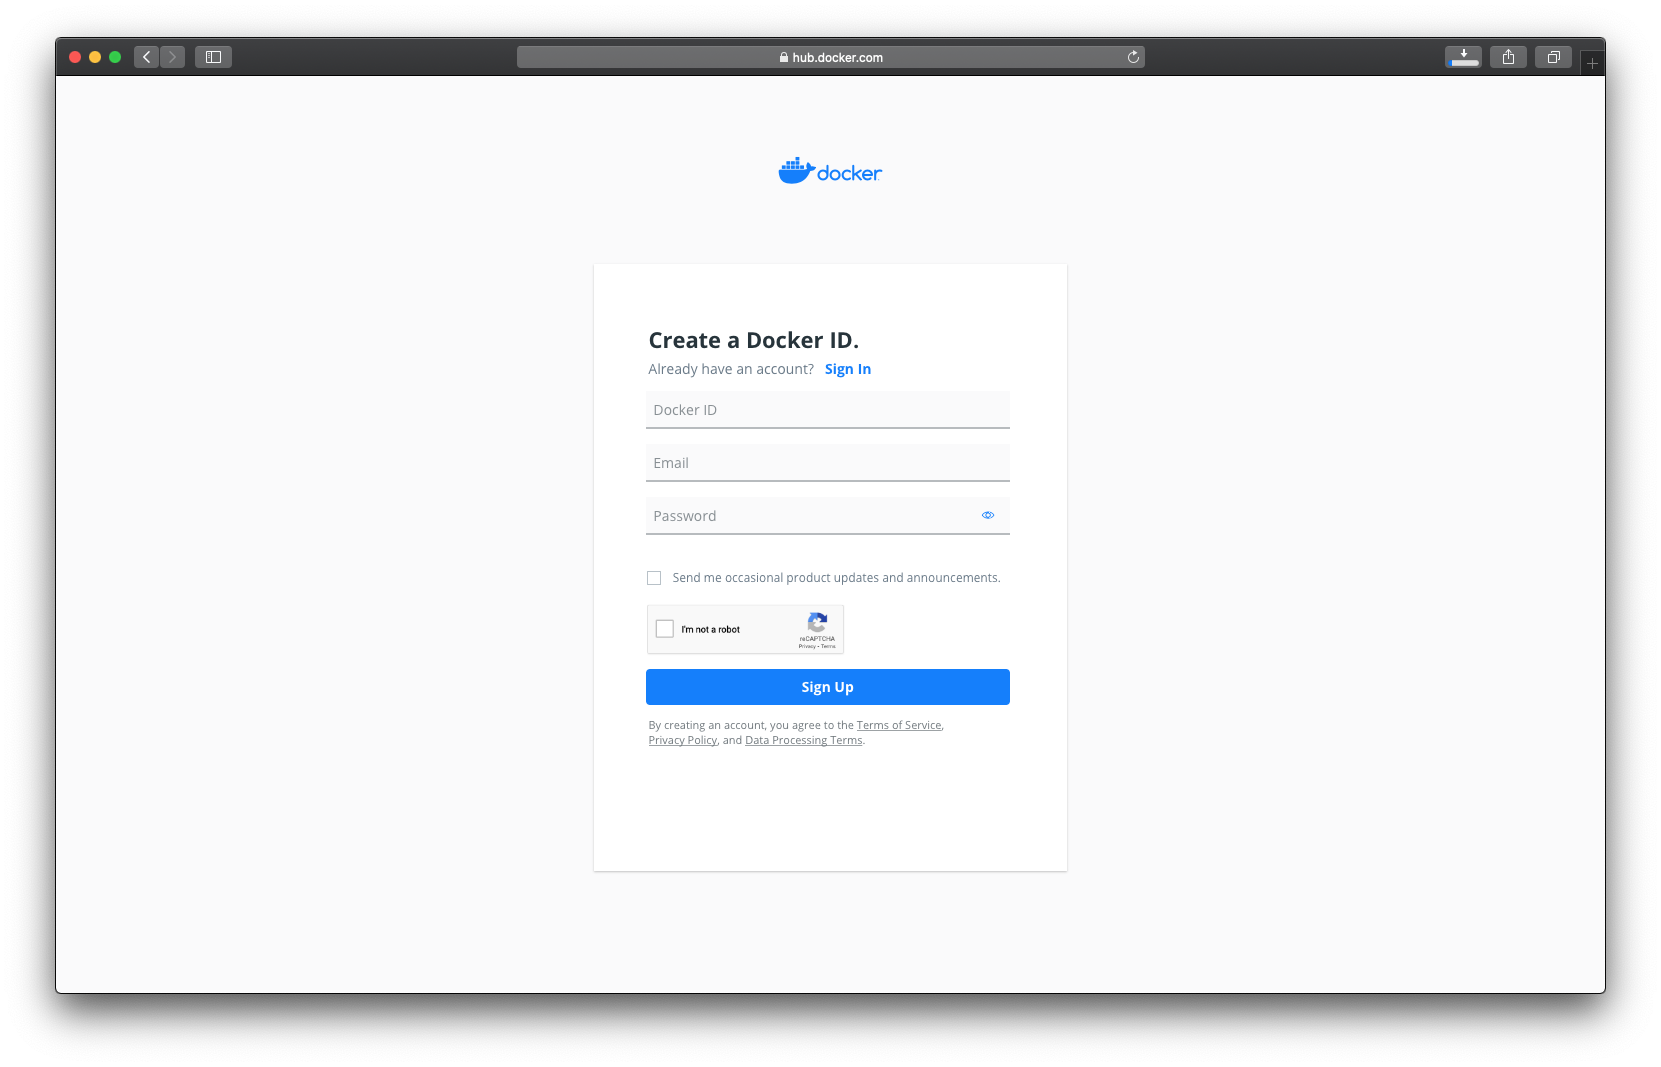
Now you only need to make an account. Under “Docker HUB” press on “Signup“. Be sure to write it down because you will need it later.
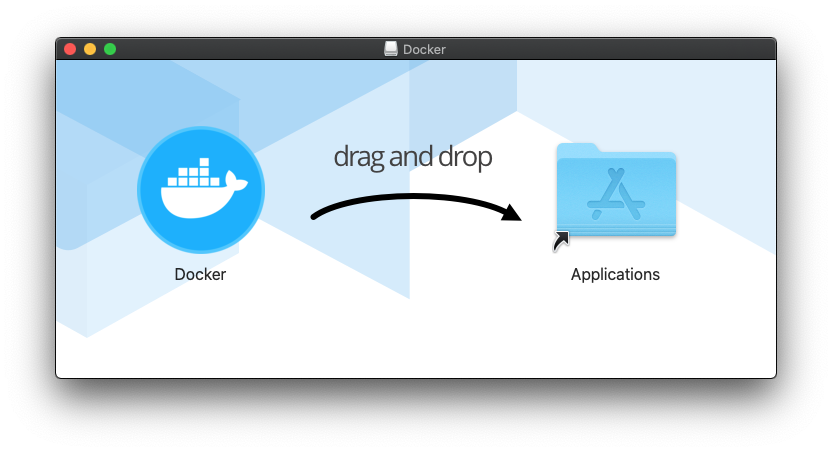
Double-click Docker.dmg to start the install process. When the installation completes and Docker starts. The whale in the top status bar shows that Docker is running, and accessible from a terminal.
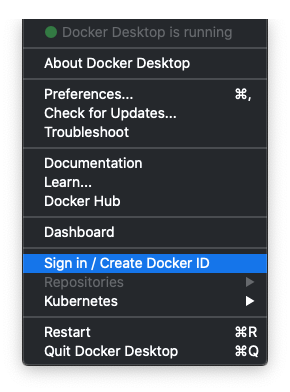
Once you have docker installed, start docker for the first time. When docker is started Sign in. In the top menu bar you see the docker icon ![]() , click it and select Sign in / Create Docker ID.
, click it and select Sign in / Create Docker ID.
After we have installed this part we can install some docker containers.

IDF Docker Image
IDF Docker image (espressif/idf) is intended for building applications and libraries with specific versions of ESP-IDF, when doing automated builds. The image contains:
- Common utilities such as git, wget, curl, zip.
- Python 3.6 or newer.
- A copy of a specific version of ESP-IDF.
IDF_PATHenvironment variable is set, and points to ESP-IDF location in the container. - All the build tools required for the specific version of ESP-IDF: CMake, ninja, cross-compiler toolchains, etc.
- All Python packages required by ESP-IDF are installed in a virtual environment.
The image entrypoint sets up PATH environment variable to point to the correct version of tools, and activates the Python virtual environment. As a result, the environment is ready to use the ESP-IDF build system.
Setting up IDF in Docker
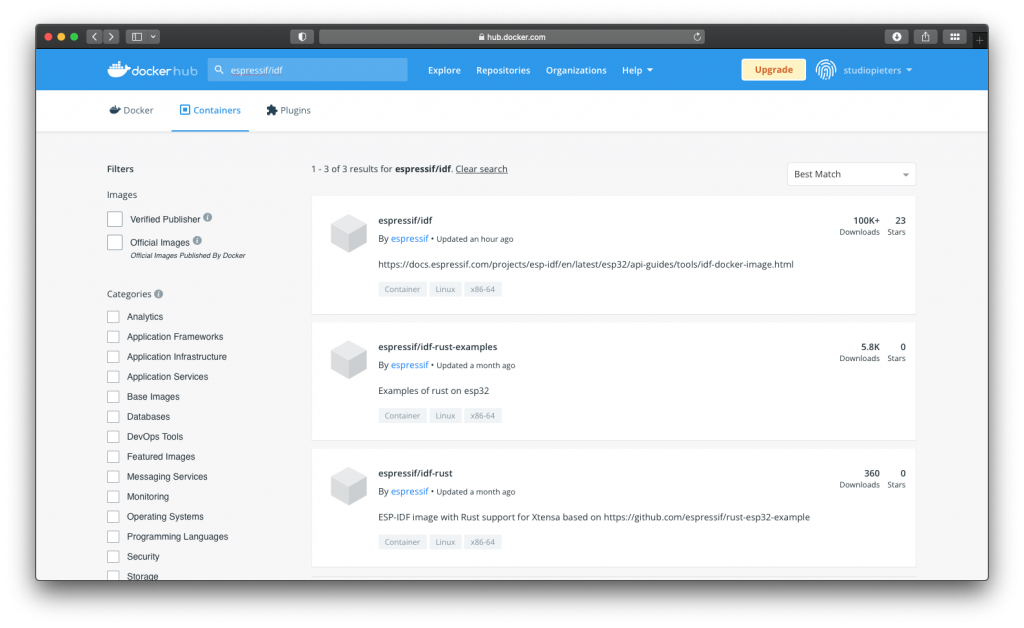
Before using the espressif/idf Docker image locally, make sure you have Docker installed as described here above. If that is done go to the website https://hub.docker.com. In the search field type espressif/idf and press enter.
Now you see a list of espressif containers, select espressif/idf.
Then you will see this page select Tags.
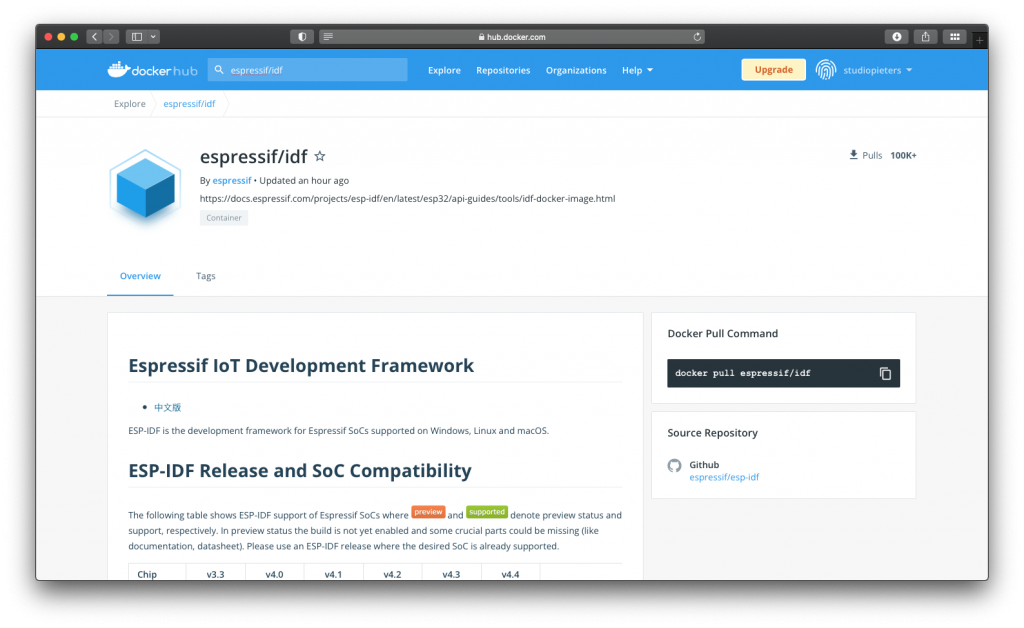
Now you see a overview of different builds. Now the question is, which release to use? ESP–IDF v4.3 is the latest stable release ( at this moment of writing) or should I use the latest? For more information Documentation on the latest version: https://docs.espressif.com/projects/esp-idf/. This documentation is built from the docs directory of this repository.
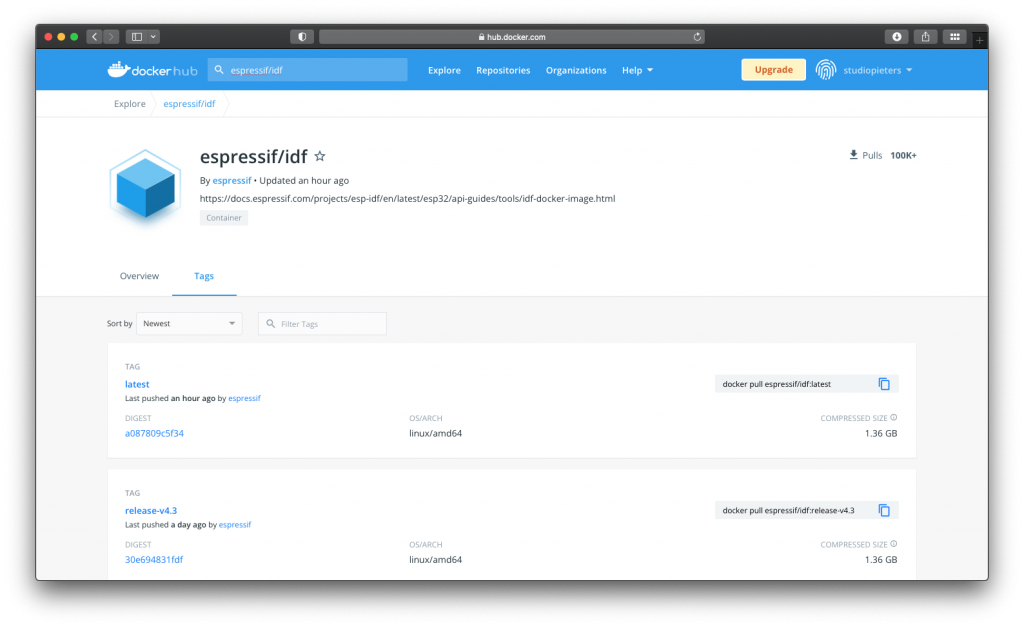
I chose the stable release in this case ESP–IDF v4.3.2 On the left you see the install command: docker pull espressif/idf:release-v4.3.2.
Opening Terminal through the Finder
2. On the left toolbar, click “Applications“.
3. Scroll down and open the “Utilities” folder.
4. Double click “Terminal” to launch it.
Paste the docker installation line it in the terminal screen.
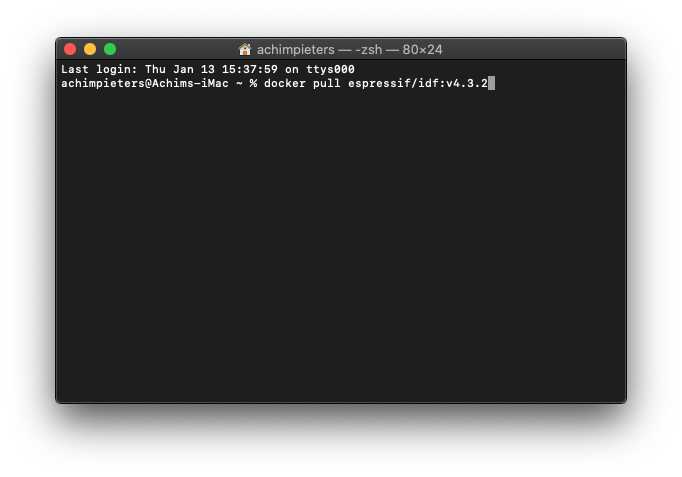

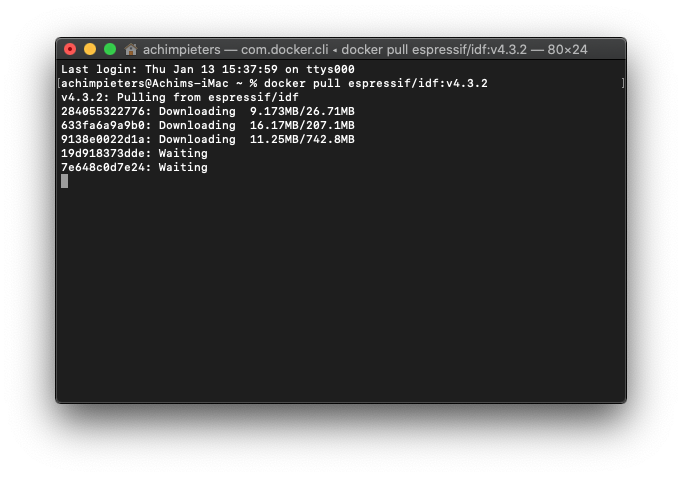
Press enter and the install will start.
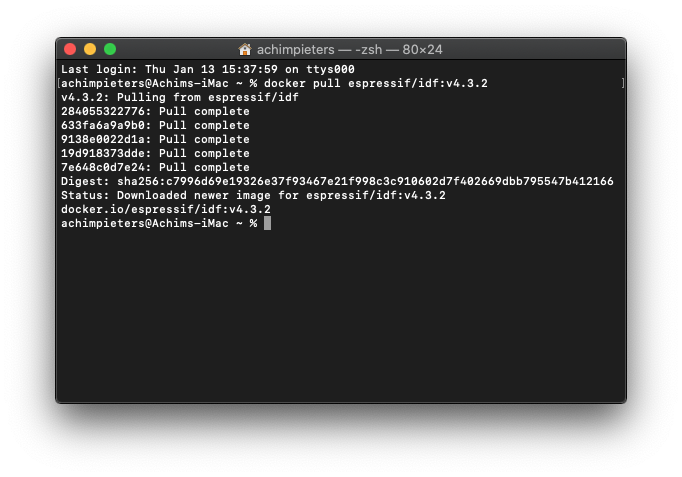
After the installation is completed you will see this.
In the top menu bar you see the docker icon ![]() , click it and select Dashboard.
, click it and select Dashboard.
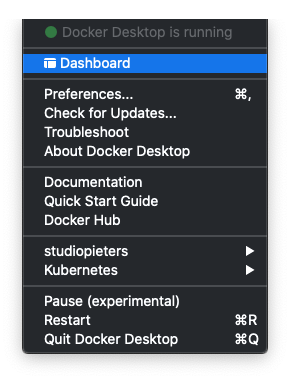
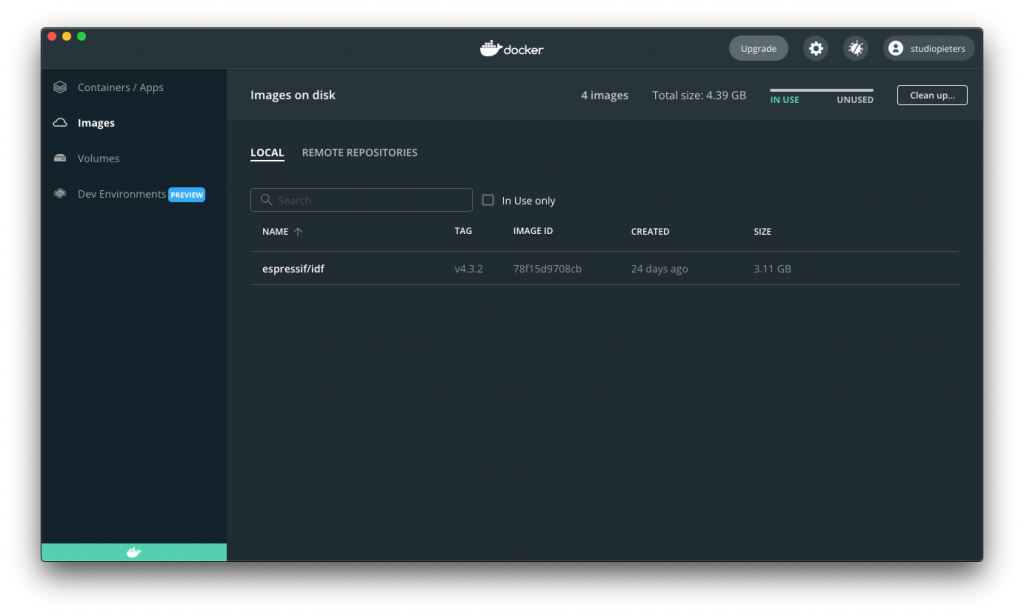
Then you will see this screen. On the left select Images.
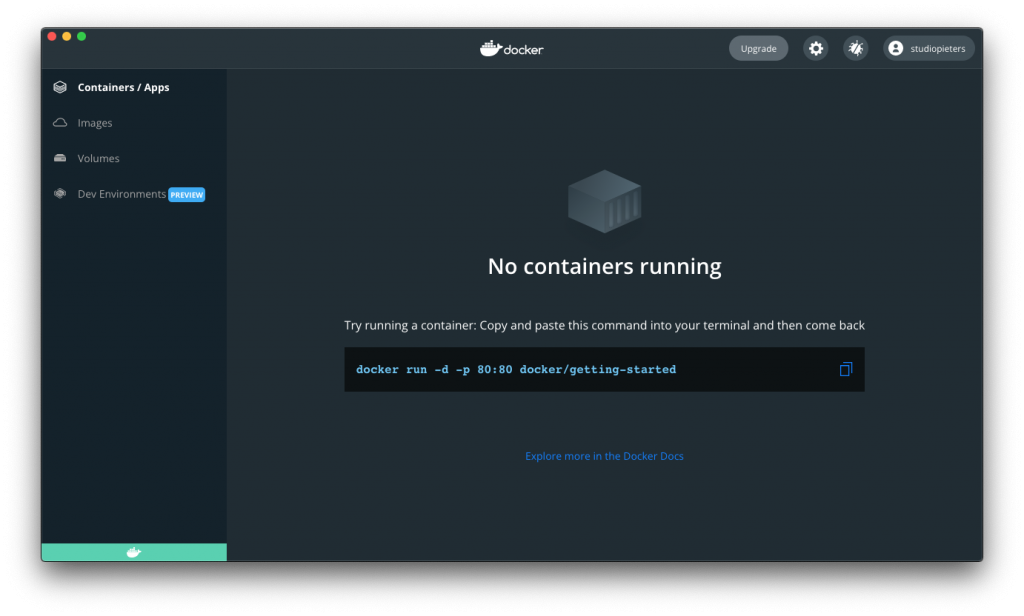
Now you will see you fresh installed, Idf installation.
Setup Build Environment
Now that the container is installed in docker we need to make a folder locally this is done by opening a Terminal window.
Opening Terminal through the Finder
2. On the left toolbar, click “Applications“.
3. Scroll down and open the “Utilities” folder.
4. Double click “Terminal” to launch it.
Now type this line to make a new folder called esp32.
mkdir -p ~/esp32
Now when we run:
docker run -it -v ~/ESP32:/project -w /project espressif/idf:v4.3.2
This places your terminal screen INSIDE the container (noticeable by the prompt with the container id).
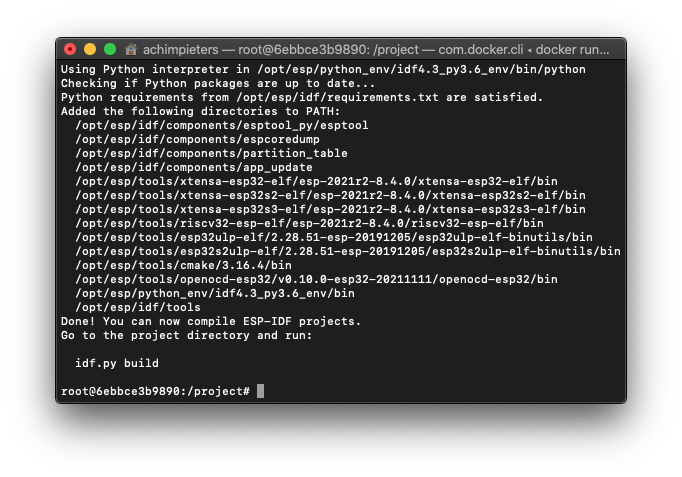
You start in the /project directory which is the same location as the path in macOS, in this case esp32.

Python Installation
The Homebrew package manager is a popular method for installing Python on macOS because it’s easy to manage from the command line and offers commands to upgrade Python without having to go to a website. Because Homebrew is a command-line utility, it can be automated with bash scripts.
However, the Python distribution offered by Homebrew isn’t controlled by the Python Software Foundation and could change at any time. The most reliable method on macOS is to use the official installer.
How to Install From the Official Installer
Installing Python from the official installer is the most reliable installation method on macOS. It includes all the system dependencies needed for developing applications with Python. You can install from the official installer in two steps.
Step 1: Download the Official Installer
Follow these steps to download the full installer:
- Open a browser window and navigate to the Python.org Downloads page for macOS.
- Under the “Python Releases for Mac OS X” heading, click the link for the Latest Python 3 Release – Python 3.x.x. As of this writing, the latest version was Python 3.10.1.
- Scroll to the bottom and click macOS 64-bit installer to start the download.
When the installer is finished downloading, move on to the next step.
Step 2: Run the Installer
Run the installer by double-clicking the downloaded file. You should see the following window:
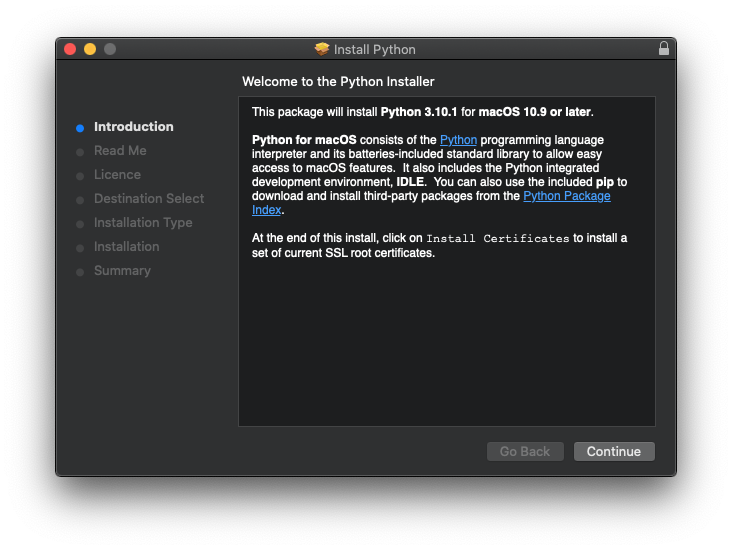
Follow these steps to complete the installation:
- Press Continue a few times until you’re asked to agree to the software license agreement. Then click Agree.
- You’ll be shown a window that tells you the install destination and how much space it will take. You most likely don’t want to change the default location, so go ahead and click Install to start the installation.
- When the installer is finished copying files, click Close to close the installer window.
Congratulations — you now have the latest version of Python 3 on your macOS computer!
PiP Installation
While Python is the “Batteries Included” programming language and comes with a wide variety of modules in the standard library, there are even more libraries, frameworks, and tools available to be installed from the Python Package Index. To install those packages, a developer needs the installer tool pip. Installing a tool meant to install tools presents an interesting bootstrapping issue, which ensurepip solves.

python -m ensurepip --upgrade
ESPTool Installation
Before we can compile the code we need to install the esptool. You will need Python 3.10.1 or newer installed on your system.
The latest stable esptool release can be installed from PyPI via pip:
pip install esptool
With some Python installations this may not work and you’ll receive an error, try python -m pip install esptool or pip3 install esptool, or consult your Python installation manual for information about how to access pip.
Compiling the code
Compile the code start with setting up the right environment for your ESP32 XX Module.

Configure
ESP-IDF supports multiple targets (chips). A full list of supported targets in your version if ESP-IDF can be seen by running idf.py –list-targets. To select the target before building the project, use idf.py set-target <target> command, for example:
idf.py set-target esp32
You can choose (at time of writing) from: esp32, esp32s2, esp32c3
So this means when you want to compile your code for a ESP32 you should use:
idf.py set-target esp32
this means when you want to compile your code for a ESP32s2 you should use:
idf.py set-target esp32s2
this means when you want to compile your code for a ESP32c3 you should use:
idf.py set-target esp32c3
The following table shows ESP-IDF support (at time of writing) of Espressif SoCs where and
denote preview status and support, respectively. In preview status the build is not yet enabled and some crucial parts could be missing (like documentation, datasheet). Please use an ESP-IDF release where the desired SoC is already supported.
| Chip | v3.3 | v4.0 | v4.1 | v4.2 | v4.3 | v4.4 | |
|---|---|---|---|---|---|---|---|
| ESP32 | |||||||
| ESP32-S2 | |||||||
| ESP32-C3 | |||||||
| ESP32-S3 | Announcement | ||||||
| ESP32-H2 | Announcement |
Espressif SoCs released before 2016 (ESP8266 and ESP8285) are supported by RTOS SDK instead.
Menu configuration
You are using this menu to set up project specific variables, e.g. Wi-Fi network name and password, the processor speed, etc.
idf.py menuconfig
Setting up the project with menuconfig may be skipped for some projects. Some example will run with default configuration.
Build the Project
his command will compile the application and all ESP-IDF components, then it will generate the bootloader, partition table, and application binaries.
idf.py build
Flashing Firmware
Once the compiling is done and there are no errors, the build will finish by generating the firmware binary .bin files. Before you can Flash your chip you nee t to connect it to your Mac open a new terminal screen and then run:
ls /dev/tty.*
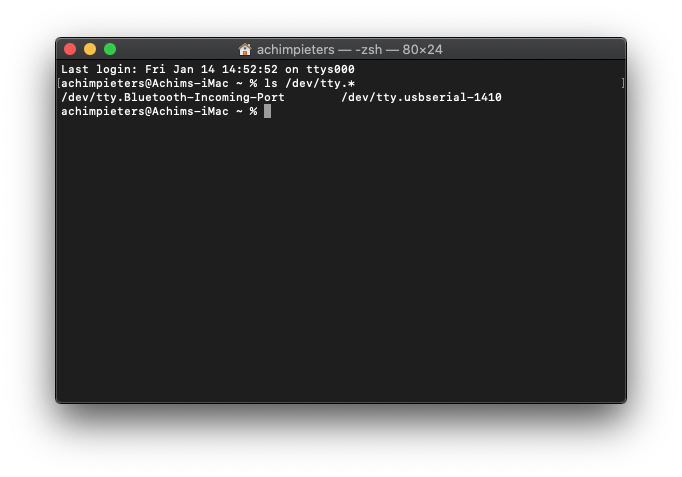
This will show you the (PORT) that your device is connected to. In this case /dev/tty.usbserial-1410.
Now you can do the following command where you replace the (PORT) with the revealed port /dev/tty.usbserial-1410
esptool.py -p (PORT) -b 921600 write_flash --flash_mode dio --flash_size detect --flash_freq 40m 0x10000 build/main.bin build 0x1000 build/bootloader/bootloader.bin 0x8000 build/partition_table/partition-table.bin
esptool.py resets ESP32 automatically by asserting DTR and RTS control lines of the USB to serial converter chip, i.e., FTDI or CP210x (for more information, see Establish Serial Connection with ESP32). The DTR and RTS control lines are in turn connected to GPIO0 and CHIP_PU (EN) pins of ESP32, thus changes in the voltage levels of DTR and RTS will boot ESP32 into Firmware Download mode. As an example, check the schematic for the ESP32 DevKitC development board.
In general, you should have no problems with the official esp-idf development boards. However, esptool.py is not able to reset your hardware automatically in the following cases:
- Your hardware does not have the DTR and RTS lines connected to
GPIO0andCHIP_PU(For the ESP32) - The DTR and RTS lines are configured differently
- There are no such serial control lines at all
Depending on the kind of hardware you have, it may also be possible to manually put your ESP32 board into Firmware Download mode (reset).
- For development boards produced by Espressif, this information can be found in the respective getting started guides or user guides. For example, to manually reset an esp-idf development board, hold down the Boot button (
GPIO0) and press the EN button (CHIP_PU)(For the ESP32). - For other types of hardware, eg ESP32-3C you need to use (
GPIO9) instead of (GPIO0). Check your hardware before use.
If there are no issues by the end of the flash process, the board will reboot and start up your application.

Reference
Espressif, Espressif IoT Development Framework, https://github.com/espressif/esp-idf