
Reference
HX711 + Load Cell Weight Sensor Complete Guide
The HX711 is a 24-bit ADC purpose-built to amplify the tiny signal from a 4-wire load cell into something a microcontroller can read reliably. This guide covers the real wiring convention, which varies by manufacturer, and the calibration process every load cell genuinely needs, regardless of which specific one you bought.
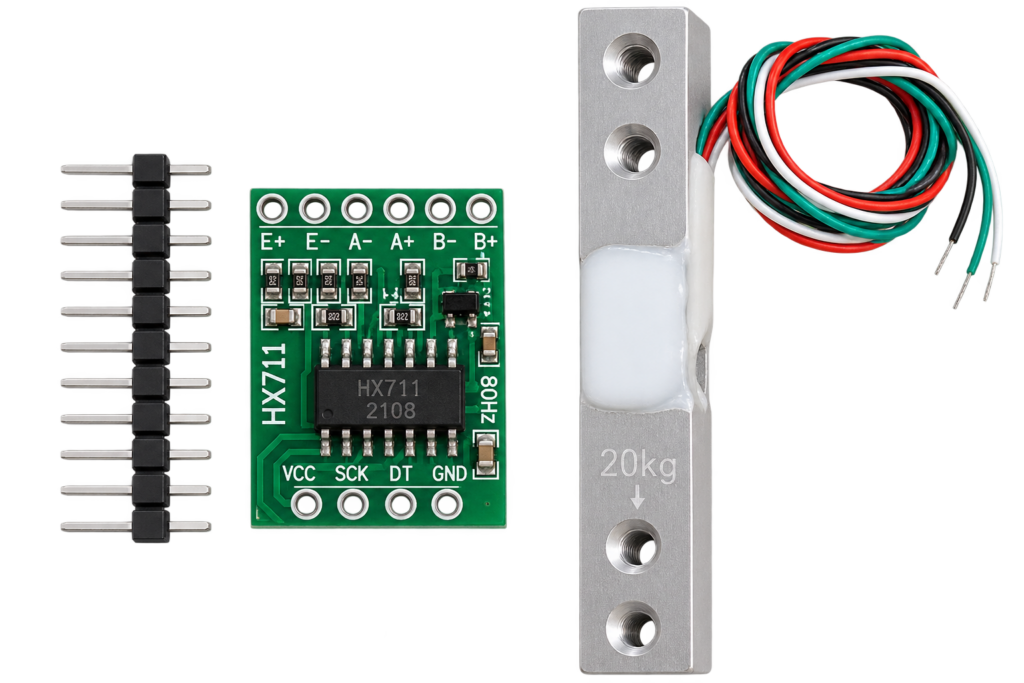
A load cell is a strain gauge that outputs a microvolt-scale signal proportional to force, far too small and noisy for a microcontroller’s ADC to read directly. The HX711 is a dedicated 24-bit precision ADC that amplifies and digitizes that signal, then hands your microcontroller a clean number over a simple 2-wire protocol. This guide covers the HX711 module itself, not a specific load cell’s exact capacity, load cells range from a few hundred grams to several tonnes, and the wiring/calibration process below is the same regardless of which capacity you bought.
Pinout
| Pin | Function |
|---|---|
| VCC | Power, 2.6V–5.5V |
| GND | Ground |
| DT (or DOUT) | Serial data output |
| SCK | Serial clock input |
| E+ | Load cell excitation positive, to the load cell’s red wire |
| E− | Load cell excitation negative, to the load cell’s black wire |
| A+ | Load cell signal positive, to the load cell’s white wire |
| A− | Load cell signal negative, to the load cell’s green wire |
A 4-wire load cell’s color convention (red/black/white/green for excitation+/excitation−/signal+/signal−) is common but not universal, cheap load cells from different manufacturers sometimes swap white/green. If you accidentally swap the two signal wires, the reading just comes out with an inverted sign, harmless and fixable in your calibration factor, no need to re-wire.
Wiring to an ESP32
| HX711 Pin | ESP32 Pin |
|---|---|
| VCC | 3.3V |
| GND | GND |
| DT | GPIO4 |
| SCK | GPIO5 |
DT and SCK can be any two free GPIOs, this protocol is bit-banged, not a hardware peripheral.
Arduino code (HX711 library by Bogdan Necula)
#include "HX711.h"

#define DT_PIN 4
#define SCK_PIN 5

HX711 scale;

void setup() {
  Serial.begin(115200);
  scale.begin(DT_PIN, SCK_PIN);
  scale.set_scale();       // reset until you calculate a real factor, see below
  scale.tare();            // zero the scale with nothing on it
}

void loop() {
  if (scale.is_ready()) {
    Serial.print("Weight: ");
    Serial.print(scale.get_units(10)); // average of 10 readings
    Serial.println(" units");
  }
  delay(200);
}
Install “HX711” (by Bogdan Necula) via the Arduino Library Manager.
Calibration (the part every load cell actually needs)
A load cell’s raw HX711 reading is meaningless until you calculate its calibration factor, and this step is unavoidable, every load cell, even two units of the exact same model, calibrates slightly differently.
- With nothing on the scale, call
scale.set_scale()(no argument) andscale.tare()to zero it. - Place an object of known weight (a kitchen scale, a labeled weight, anything with a known real mass) on the load cell.
- Read the raw value with
scale.get_units(10). - Calculate the calibration factor:
raw_reading / known_weight. - Hard-code that factor into
scale.set_scale(your_factor)in your real sketch.
Practical Applications
- DIY kitchen/postal scales: the most common hobby use case.
- Filament-level monitoring: track remaining 3D-printer filament by weight.
- Plant/garden watering automation: trigger watering based on soil/pot weight.
- Inventory/stock-level sensing: detect when a bin or container needs refilling.
Conclusion
The HX711 turns a load cell’s tiny, noisy analog signal into a clean, calibratable digital reading over a simple 2-wire bit-banged protocol, pairing easily with an ESP32 on any two free GPIOs.
Related
 Guide
AI-C3 Pinout
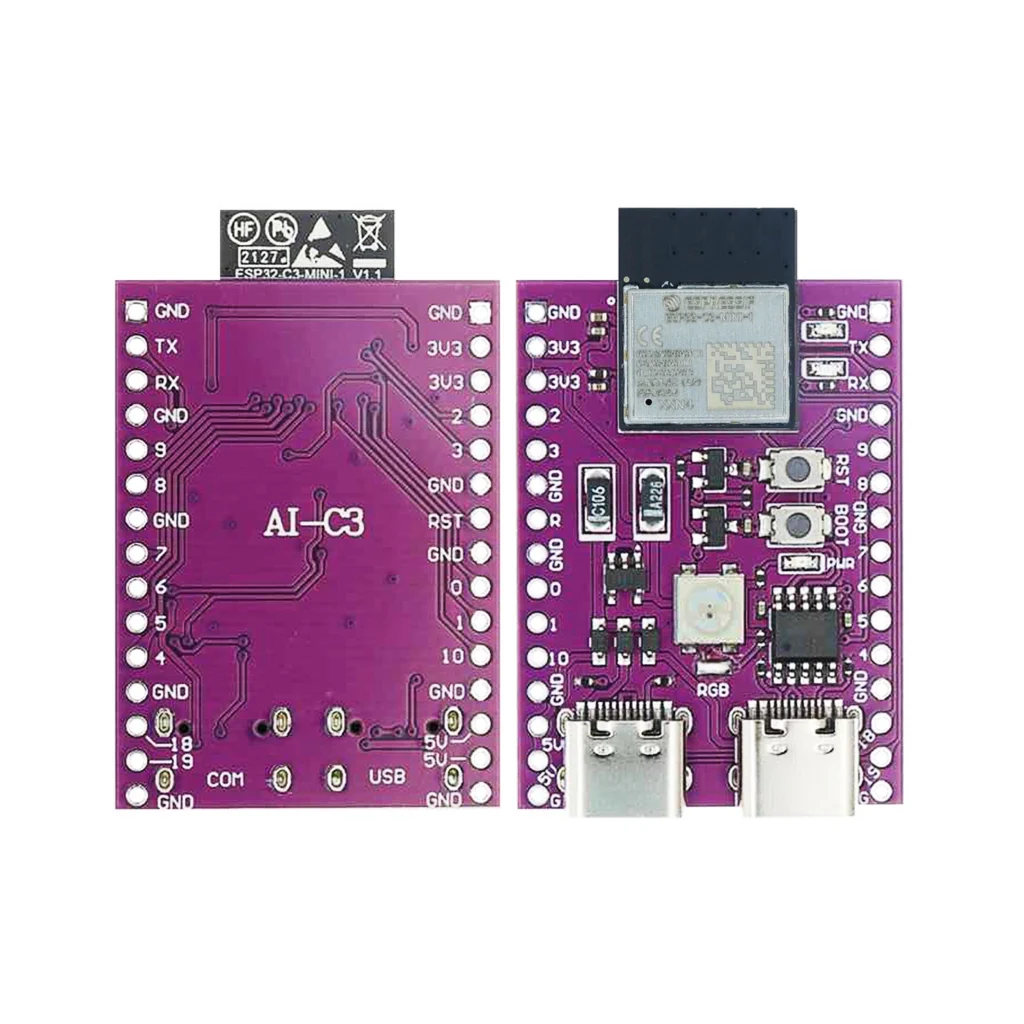
The complete pin reference for the AI-C3: a compact ESP32-C3-MINI-1 dev board with a USB-C port, onboard RGB LED, and 22 usable GPIOs.
Read more
Guide
AI-C3 Pinout
The complete pin reference for the AI-C3: a compact ESP32-C3-MINI-1 dev board with a USB-C port, onboard RGB LED, and 22 usable GPIOs.
Read more
 Reference
STM32F103C8T6 “Blue Pill” Pinout
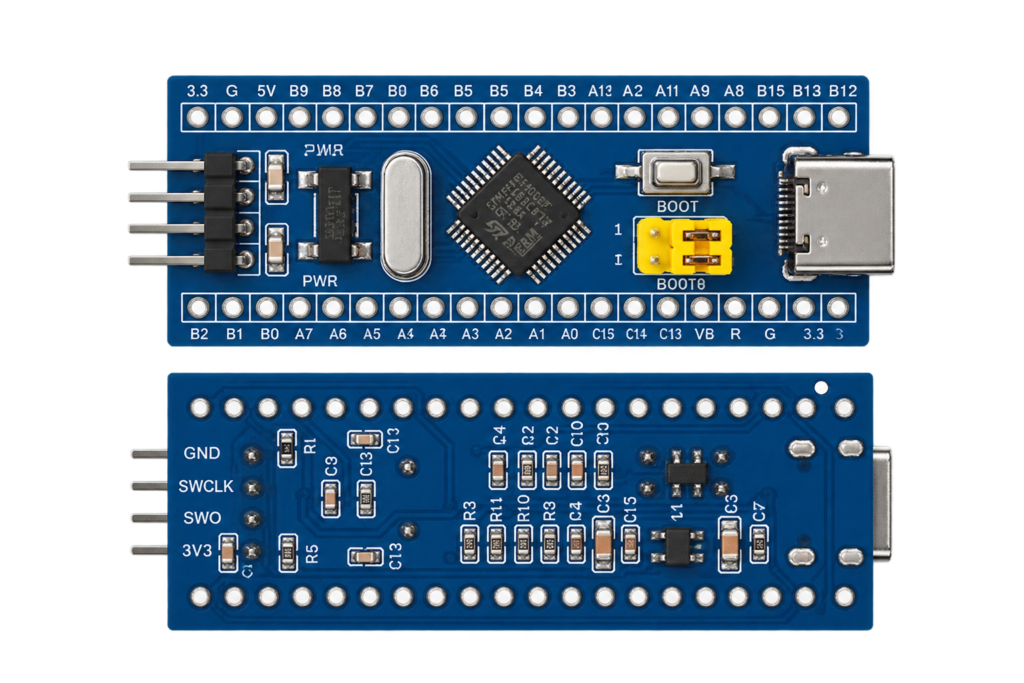
This site's first STMicroelectronics board and first chip with no wireless radio at all: an Arm Cortex-M3 on a breadboard-friendly board with a decade-long tutorial and library ecosystem, and two well-known clone-batch quirks worth knowing before you plug one in.
Read more
Reference
STM32F103C8T6 “Blue Pill” Pinout
This site's first STMicroelectronics board and first chip with no wireless radio at all: an Arm Cortex-M3 on a breadboard-friendly board with a decade-long tutorial and library ecosystem, and two well-known clone-batch quirks worth knowing before you plug one in.
Read more
 Reference
HC-SR04 Ultrasonic Distance Sensor
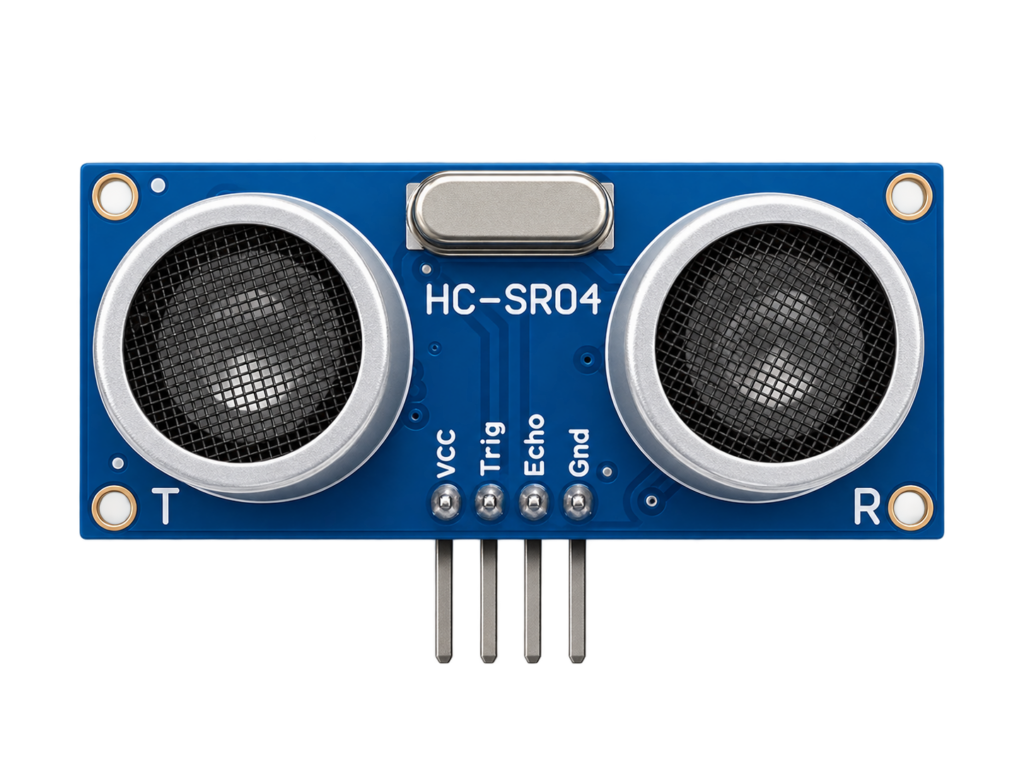
A cheap trigger/echo distance sensor for parking aids, water-level monitors and obstacle-avoiding robots. Covers the 5V echo pin that can damage a 3.3V-only ESP32 GPIO, and the safe ways to level-shift it.
Read more
Reference
HC-SR04 Ultrasonic Distance Sensor
A cheap trigger/echo distance sensor for parking aids, water-level monitors and obstacle-avoiding robots. Covers the 5V echo pin that can damage a 3.3V-only ESP32 GPIO, and the safe ways to level-shift it.
Read more
More guides
Keep building.
From ESP32 HomeKit accessories to Arduino and ATtiny reference guides, there’s more where this came from.
All guides