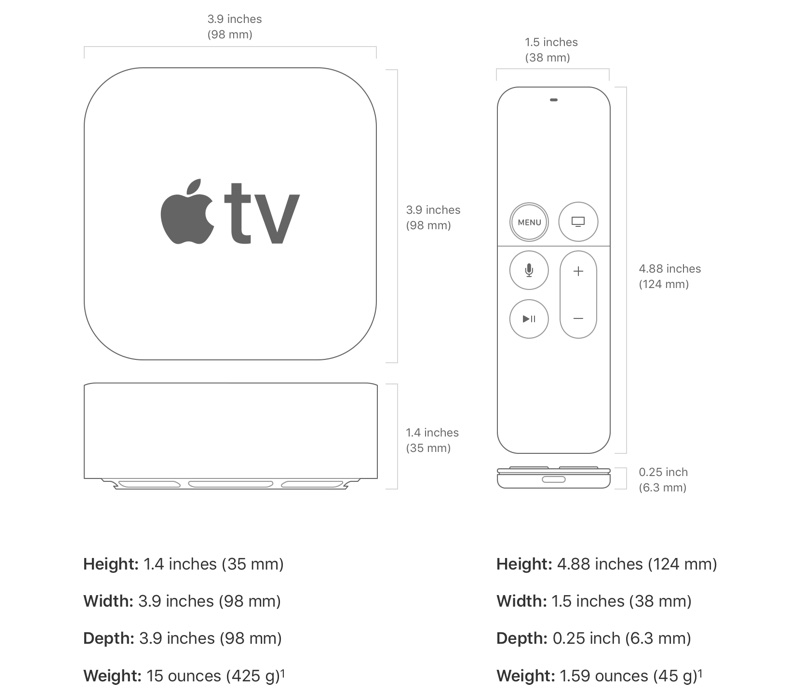
As my Homebridge Project extends, It’s time to give my Raspberry Pi, that’s functioning as HomeBridge server, a proper Enclosure. The goal is to make a casing that feels and looks like a Apple product , simplifying installation and eliminating clutter. So at first I took the dimensions from the Apple TV 4 casing, As then, I can also mount it to the wall with my previous Apple TV 4 – Wall Mount.
Lets, make the next step in my home automation.
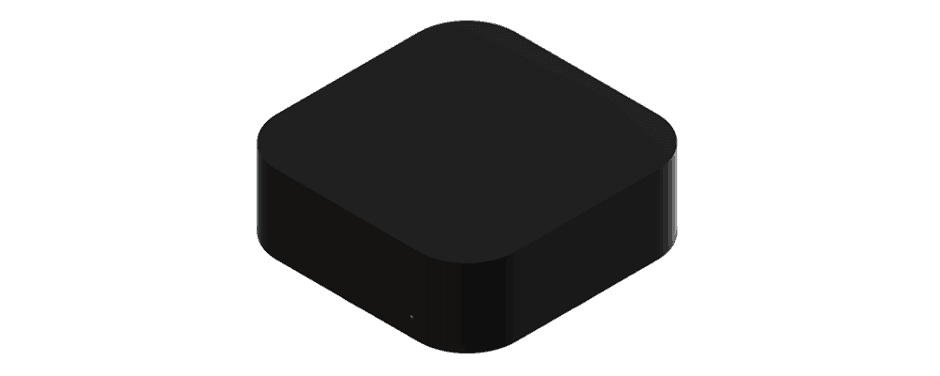
Then the design the Homebridge Enclosure in Fusion 360. Fusion 360 is a 3D CAD, CAM, and CAE tool that connects your entire product development process in a single cloud-based platform that works on both Mac and PC. You can download it here.

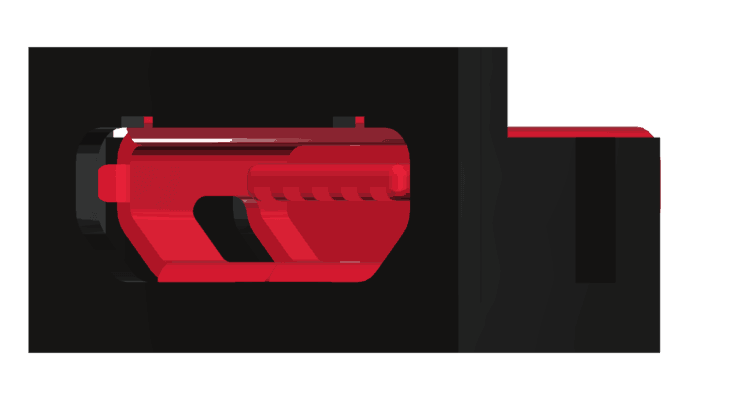
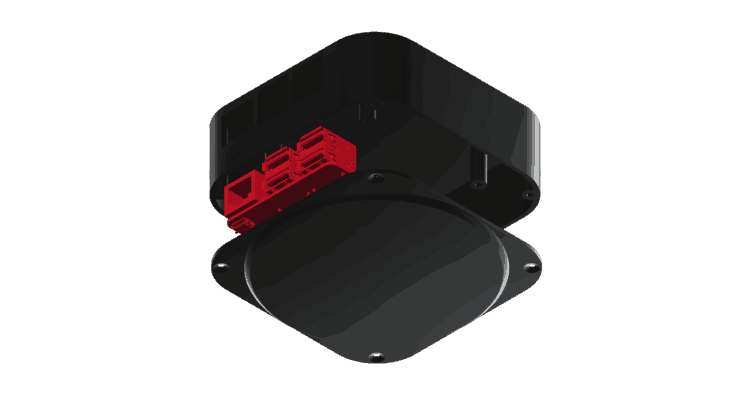
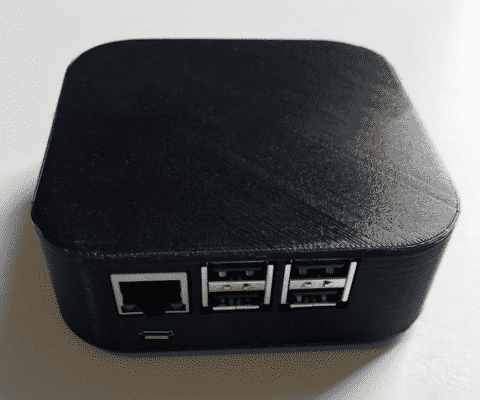
In the design stage I stumbled upon the Power supply issue, As the Raspberry Pi doesn’t has the power connector on one side and the other connectors on the other side of the PCB. I still wanted the clean Apple look so I had an idea: A Micro USB B Male to Micro USB B Female Cable with Lock Panel Mount.
 So I designed the HomeBridge server Enclosure so that it is now possible to connect the power at the back.
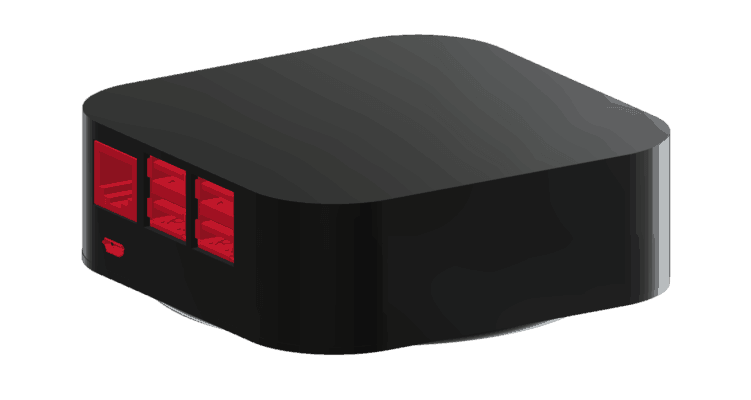
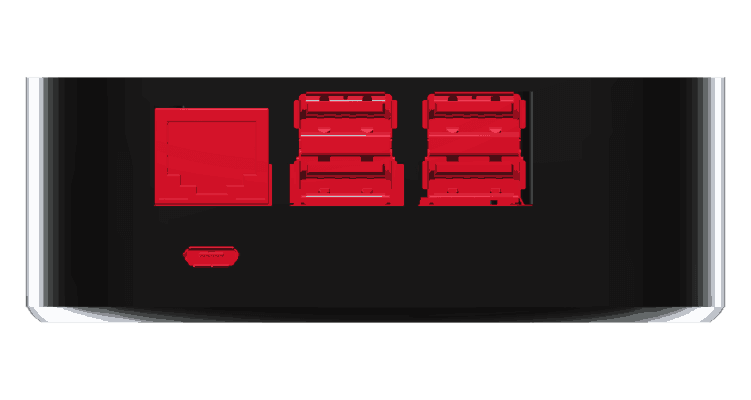
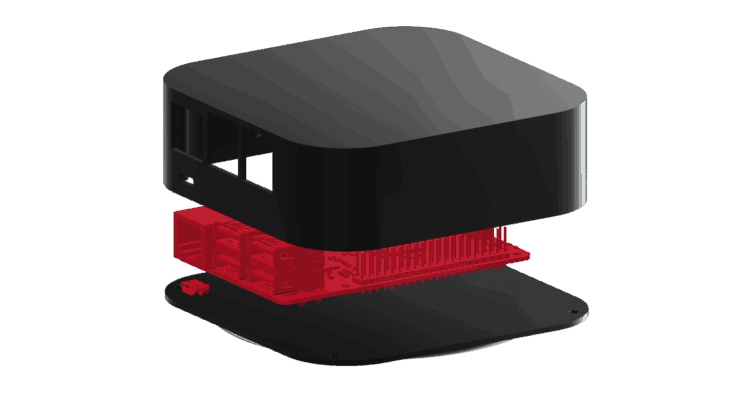
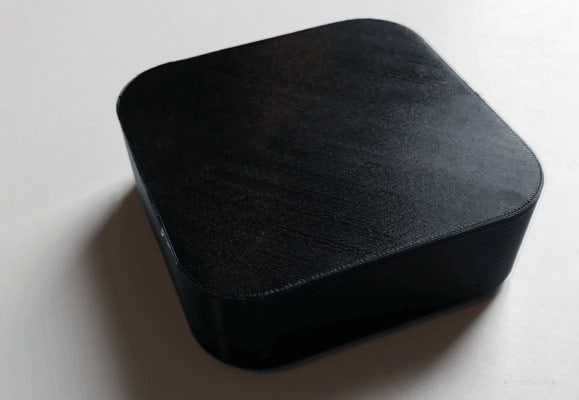
After a few hours of designing and 3D Printing this is the end product!
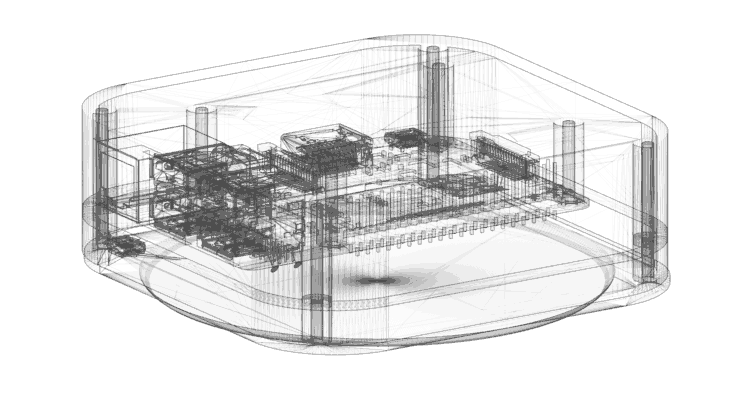
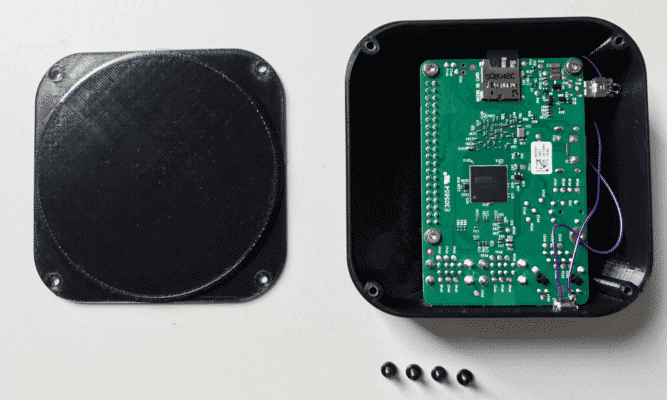
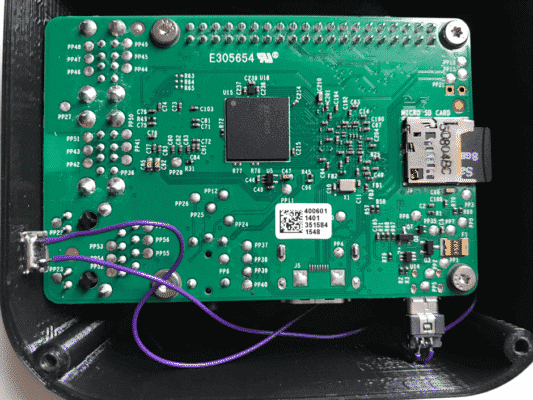
Here’s a look inside.
The power extension cable works for now, but Its isn’t what I aspected. It al fit’s like it should, but it’s to fragile. So I need to find a more solid solution.
So back to the drawing board for Version 1.2.0