For my CNC 3018 I want to be able to control it it wireless. So I need somekind of CNC Server. After an extensive search on the internet and trying different options, I chose CNCJS. CNCJS is a web-based gcode feeder that can be used to control the CNC hardware. Being web-based, I can now wirelessly control the CNC from anywhere on my home network, using my iMac, iPad or iPhone.
Setting Up The Raspberry Pi Zero W
With a new update to the Raspberry Pi Imager, it’s become easier than ever to set up your Raspberry Pi’s WiFi connection, regardless of if you’re going for a headless setup or not. Let’s get started!
SD-Card Capacity
We recommend using an SD card of 8GB or greater capacity with Raspberry Pi OS. If you are using the lite version of Raspberry Pi OS, you can use a 4GB card.
Install Raspberry Pi OS using Raspberry Pi Imager
Raspberry Pi Imager is the quick and easy way to install Raspberry Pi OS and other operating systems to a microSD card, ready to use with your Raspberry Pi.
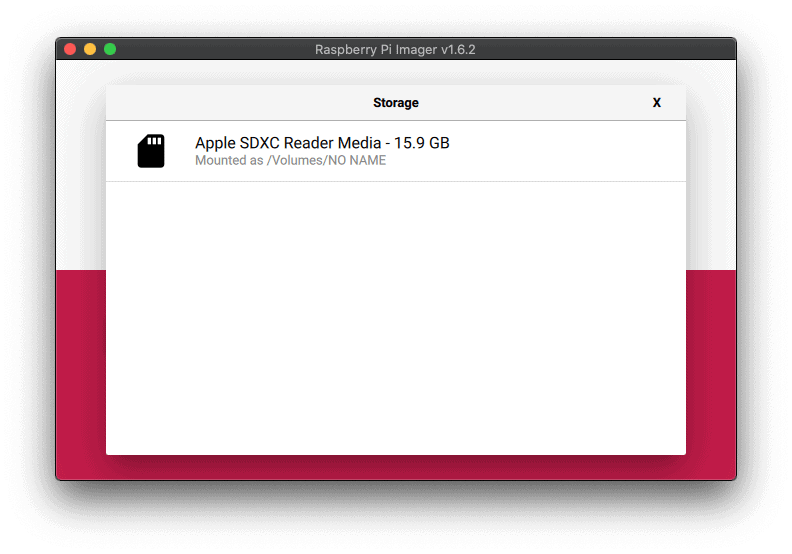
Download and install Raspberry Pi Imager to a computer with an SD card reader. Put the SD card you’ll use with your Raspberry Pi into the reader and run Raspberry Pi Imager.
 |
 |
To install on Ubuntu or Raspberry Pi OS, open a Terminal window and type:
sudo apt install rpi-imager
Open the Raspberry Pi Imager. You should be greeted with the same screen as always.

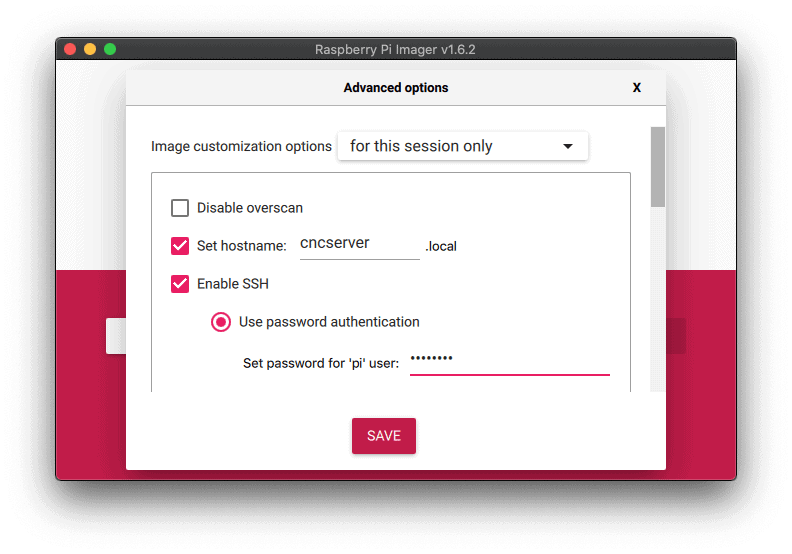
Scroll down to Configure wifi, check the box and enter your WiFi credentials.
Note: Be sure to change your Wifi country according to your country code!
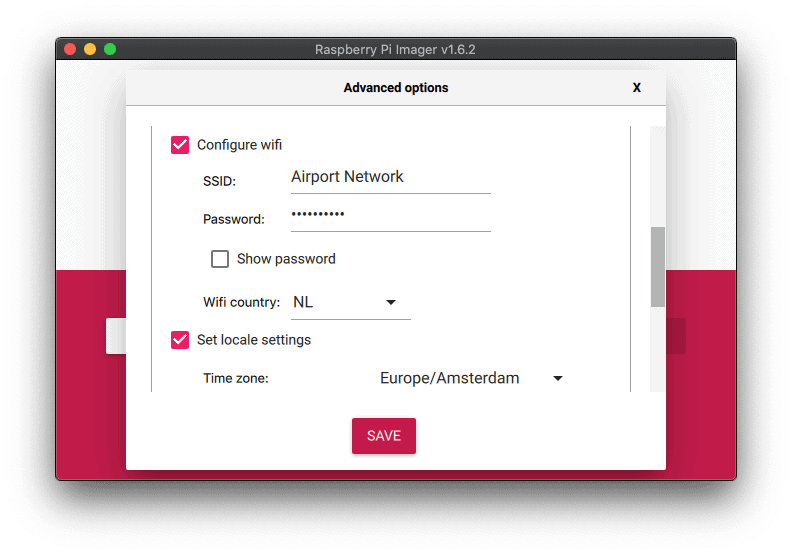
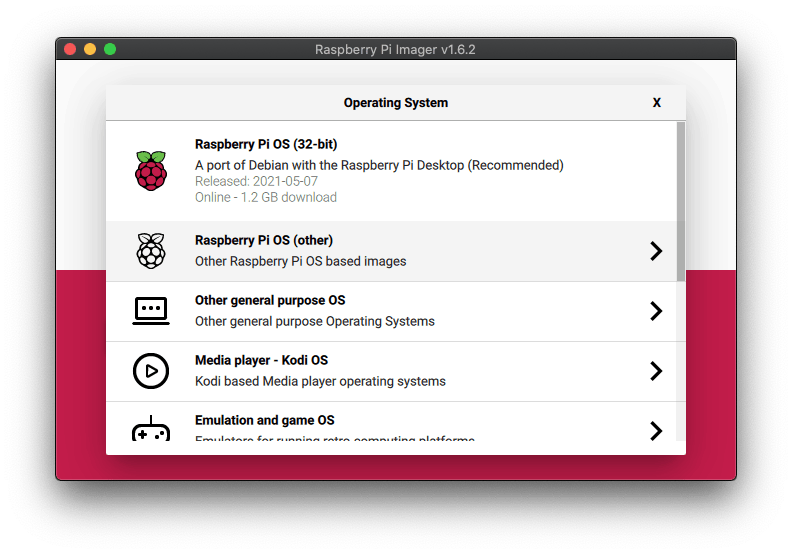
Click SAVE. No click on choose OS. Next click Raspberry Pi OS (other)
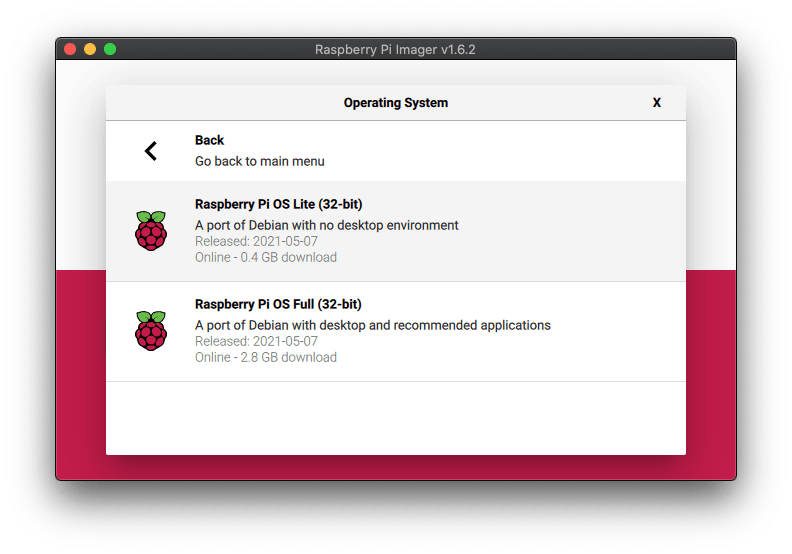
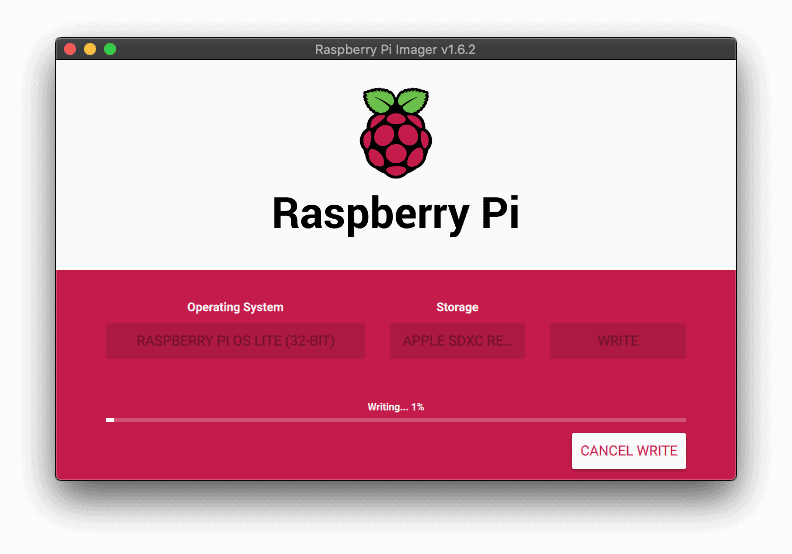
and flash your OS to your microSD card for your Raspberry Pi! That’s it!
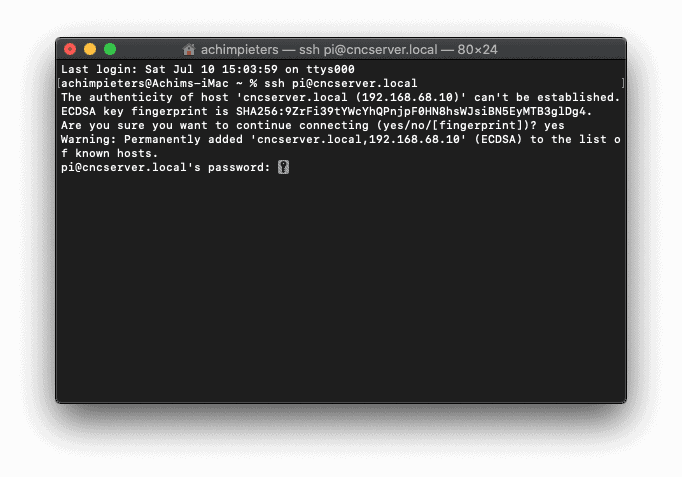
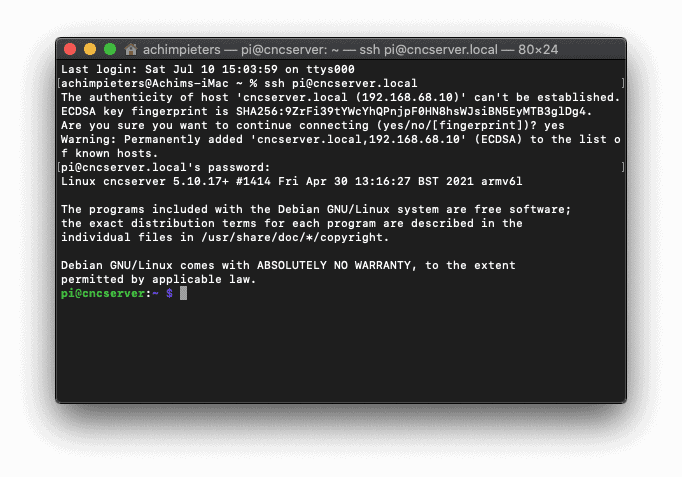
Secure Shell connection
Prequisites
Before we go any further, let’s investigate why keeping our devices updated is important.
- The first and probably the most important reason is security. A device running Raspberry Pi OS contains millions of lines of code that you rely on. Over time, these millions of lines of code will expose well-known vulnerabilities known as Common Vulnerabilities and Exposures (CVE), which are documented in publicly available databases meaning that they are easy to exploit.
- The second reason, which is related to the first, is that the software you are running on your device most certainly contains bugs. Some bugs are CVEs, but bugs could also be affecting the desired functionality without being related to security. By keeping your software up to date, you are lowering the chances of hitting these bugs.
APT (Advanced Packaging Tool)
First, update your system’s package list by entering the following command:
sudo apt-get update
Next, upgrade all your installed packages to their latest versions with the following command:
sudo apt-get upgrade -y
I followed the instructions from https://cnc.js.org. Node.js 4 or higher is recommended.
Node.js Installation
sudo apt-get install nodejs npm
Update npm:
sudo npm install npm@latest -g
CNCJS Installation
Install cncjs as a non-root user, or the serialport module may not install correctly on some platforms like Raspberry Pi.
sudo npm install -g cncjs@latest --unsafe-perm
Now we need to created a systemd service in /lib/systemd/system/cncjs.system:
Powering the Pi Zero W
To provide the 5VDC needed by the Pi Zero W, I used a small 12-24V to 5VDC power supply, that I purchased from banggood.com. The unit has a 5V 3A output on a micro-USB connector, suitable for the Pi Zero W (I think a 5V2A one will be fine as well).
The input power is taken from a 12V output header located on the top left hand corner of the Woodpecker CNC board. I probed the header with a multimeter and confirmed that negative is on the left, positive is on the right. To make the connection, I attached a a 1×2 DuPoint connector to the input power cable.
I believe this header is intended to be used to power a fan for the woodpecker board, as many enclosure designs for it feature a 40x40mm fan. Those fans typically draw around 0.1A at 12V. I measured my Pi Zero W at 100% CPU using the power adapter above, and I got around 0.07A at 12V. So I doubt that the Pi Zero W will be straining the woodpecker’s power supply in any way. However, as with everything else in my blog, follow at your own risk!
Mounting the Pi Zero W
I made a mounting plate so that the Pi Zero W can be fixed to the CNC, similar to how the Woodpecker board is attached. I started with a custom plate and embedded within it a Pi Zero case designed by Thingiverse creator “mynameishamish”. I also added some holes to mount the DC-DC power adapter, and also to attach some cable ties.
I’ve also included mynameishamish’s cover for the Raspberry Pi Zero W. When printed on my printer, the cover was loose. This could be because I used different filaments for the base and cover. I resized the cover by adding 0.1mm to the width and height. YMMV.
I also included mounting spacers, and a simple Raspberry Pi Camera mount (more on this later).
The mounting plate design can be found on my TinkerCAD page here.
I fixed the mounting plate to the CNC machine using M5x10 hex Bolts and M5 Rhombus 2020 T-Nuts, similar to how the woodpecker board is mounted.
A USB-OTG-to-Type-A cable followed by a short USB-Type-A-to-Mini-USB cable (still waiting for this to arrive, using a long one for the time being) connects the Pi Zero W to the USB port on the Woodpecker CNC board.
Now the CNC is completely standalone except for the 24V DC power supply cable.
Tidying Up
I also took this opportunity to secure all the wires for the Pi Zero W, Stepper Motors, and Limit Switches I had added with 2m of 10mm cable wrap. The one I got was quite awful, as it was not the spiral type where you can easily wrap around the wires, but instead have to deal with multiple tabs. Avoid this and get the spiral type, it is so much easier to deal with.
The cable wrap was then fastened to the CNC machine frame using cable ties.
Pi Camera
I love having a camera on my 3D printer, so I decided to add one to the CNC as well. I bought a 5MP Pi camera, which connects via a ribbon cable directly to the Pi Zero W. It comes with a 16cm cable, which is a bit short, I have ordered a 30cm cable so I can position the camera better.
To be able to stream the camera video to a web browser, we need to install the mjpg-streamer software (Note: This allows anyone with the URL to view the camera and access to your Pi, so be careful of where you connect your Pi to).
sudo apt-get install cmake libjpeg8-dev git
git clone https://github.com/jacksonliam/mjpg-streamer.git
cd mjpg-streamer
cd mjpg-streamer-experimental
make
sudo make install
Create a sytemd service script at /lib/systemd/system/mjpg-streamer.service:
Autostart the mjpg-streamer:
sudo systemctl enable mjpg-streamer
sudo systemctl start mjpg-streamer
In CNCJS’s webcam widget, click on the gear icon, and then:
select “Use a M-JPEG stream over HTTP”
Enter the url as “http://picnc:8080/?action=stream” replacing picnc with the hostname/IP of your Pi Zero.
To attach the camera to the CNC frame, I designed a simple 3D-printed mount. I am still waiting for the longer camera cable to arrive, so the present location is not quite ideal. The Pi Camera board needs M2 mounting screws. While waiting for these to arrive, I temporarily used double-sided tape to fix the camera to the mount.
Now I can monitor the CNC work area through the CNC JS web interface:
Customizing CNCJS
Here are a few tweaks I found useful:
Create a Shutdown Command
The Pi Zero W should be shutdown properly before disconnecting power. To be able to do this from CNCJS, without having to login to the command prompt, I added a custom command for it.
Click on Settings (The gears on the extreme left)
Click on Commands in the menu on the left.
Click “+ New”
Title = Shutdown Pi
Command = sudo poweroff
Click “OK”
You can now shutdown the Pi from the cncjs web user interface. Just click on the “3 dots” on the top right, and select the “Shutdown Pi” command.
Remove unused widgets
Since the woodpecker CNC only understands GRBL, there is no need to have the Marlin, Smoothie and TinyG widgets inside CNCJS. I also do not need the Laser Widget.
Click on “Manage Widgets”
switch off Marlin Widget, Smoothie Widget, TinyG Widget and Laser Widget.
Press OK.
And In The End …
Here is the end result:
It should be a bit neater once I get a shorter USB cable, and a longer camera cable. I might look into putting a cover on the woodpecker at some point. I think I should also make some sort of strain-relief for the cables going to the spindle.
Next, I will look into adding a Z-Probe.
And then maybe I will finally get around to actually producing something with this CNC !