
Reference
HC-SR04 Ultrasonic Distance Sensor
A cheap trigger/echo distance sensor for parking aids, water-level monitors and obstacle-avoiding robots. Covers the 5V echo pin that can damage a 3.3V-only ESP32 GPIO, and the safe ways to level-shift it.
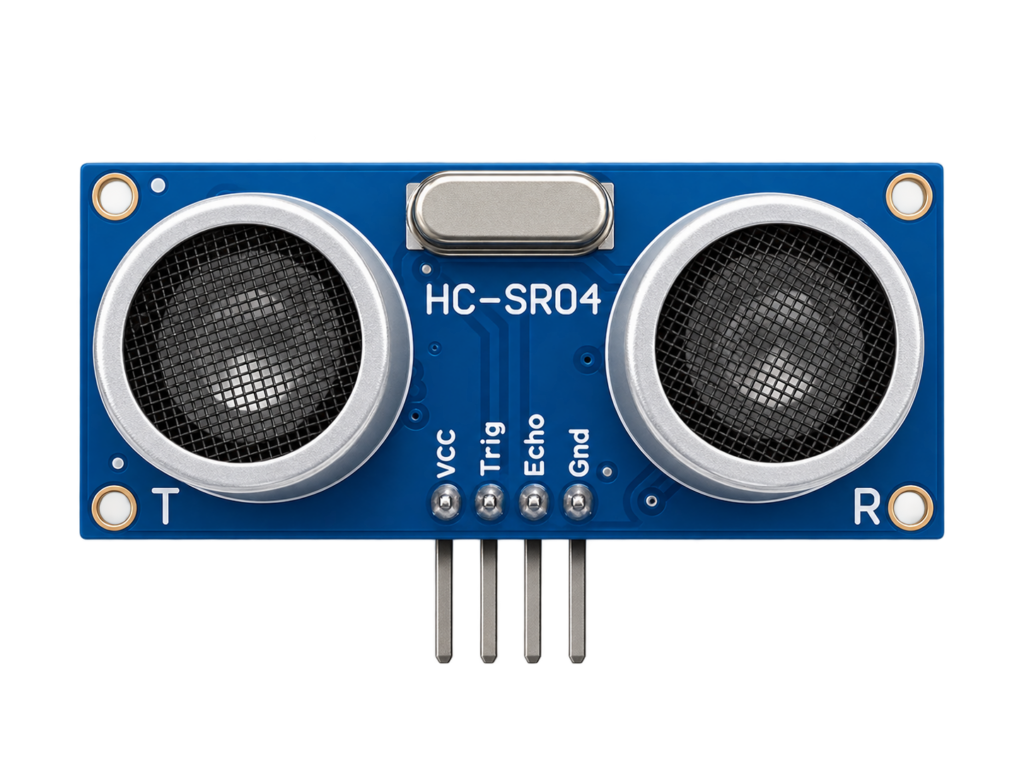
The HC-SR04 ultrasonic sensor is one of the easiest — and cheapest — ways to add distance measurement to your ESP32 project. It works like a tiny sonar: it sends out a burst of ultrasound and times the echo bouncing back. Perfect for parking sensors, water-level monitors, obstacle-avoiding robots and contactless triggers.
Unlike the I²C modules we’ve covered lately, the HC-SR04 speaks a simple trigger/echo timing protocol — and it has one sharp edge (a 5V echo pin) that can damage an ESP32 if you ignore it. This guide covers both.
In this complete guide we cover:
- What the HC-SR04 is
- Technical specifications
- Pinout (4-pin module)
- How ultrasonic ranging works
- The 5V echo problem (important!)
- ESP32-C6 SUPER MINI wiring with a level shifter
- Calculating distance from the echo time
- ESP-IDF example code
- Arduino example code
- Accuracy, blind zone and beam angle
- HC-SR04 vs HC-SR04P vs VL53L0X
- Practical engineering tips
What is the HC-SR04?
The HC-SR04 is an ultrasonic distance sensor with two “eyes” — one transmitter and one receiver. It emits a short 40 kHz sound burst, listens for the echo, and reports how long the round trip took. From that time you calculate distance, because the speed of sound is known.
Key features:
- Non-contact distance measurement from ~2 cm to ~400 cm
- Simple 4-pin interface: power, trigger, echo, ground
- No library or bus required — just precise timing
- Extremely cheap and universally supported
- Works in the dark and on transparent surfaces (unlike optical sensors)
It’s the default first distance sensor for almost every maker, and still a solid choice for level sensing, presence detection and robotics.
Technical Specifications
| Parameter | Value |
|---|---|
| Measuring range | 2 cm – 400 cm |
| Resolution | ~0.3 cm |
| Measuring angle | ~15° |
| Frequency | 40 kHz |
| Trigger pulse | 10 µs HIGH |
| Supply voltage | 5V (original HC-SR04) |
| Current | ~15 mA |
| Operating temperature | -15°C to +70°C |
⚠️ The original HC-SR04 is a 5V device, and its ECHO pin outputs a 5V pulse. Feeding that straight into an ESP32 GPIO (which is only 3.3V tolerant) can damage the pin. See “The 5V Echo Problem” below — this is the single most important part of this guide.
Pinout
The module has four pins in a row:
| Pin | Description |
|---|---|
| VCC | 5V supply |
| Trig | Trigger input — start a measurement |
| Echo | Echo output — HIGH for the round-trip time |
| GND | Ground |
How Ultrasonic Ranging Works
A measurement is a four-step handshake:
- The ESP32 pulls Trig HIGH for 10 µs to start a measurement.
- The sensor emits eight 40 kHz pulses of ultrasound.
- The sensor raises Echo HIGH and keeps it high until the echo returns.
- The ESP32 measures how long Echo stayed HIGH — that’s the round-trip time.
Because sound travels at a known speed, the width of that echo pulse tells you the distance. Longer pulse = farther away.
The 5V Echo Problem (Important!)
This is where most ESP32 + HC-SR04 projects go wrong, so read this before wiring anything.
⚠️ Trig is an input, so driving it from a 3.3V ESP32 pin is fine — the sensor reads 3.3V as HIGH. But Echo is an output that swings to 5V, and the ESP32’s GPIOs are not 5V tolerant. Connecting Echo directly can slowly (or instantly) damage the pin.
You have three safe options:
- Voltage divider on Echo — the simplest fix. Two resistors (e.g. 1 kΩ and 2 kΩ) drop the 5V pulse to ~3.3V.
- A logic level shifter — cleaner for permanent builds.
- Use the HC-SR04P — a 3.3V-capable variant that needs no level shifting at all (see the comparison below).
The voltage divider for Echo:
Echo ──[ 1 kΩ ]──┬──► ESP32 GPIO
                 │
              [ 2 kΩ ]
                 │
                GND
Connecting to the ESP32-C6 SUPER MINI
Using a resistor divider on the Echo line:
| HC-SR04 | ESP32-C6 SUPER MINI | Wire |
|---|---|---|
| VCC | 5V (VBUS) | Red |
| GND | GND | Black |
| Trig | GPIO4 | Yellow |
| Echo | GPIO5 (via 1 kΩ / 2 kΩ) | Green |
Notes:
- The original HC-SR04 needs 5V on VCC — use the board’s 5V/VBUS pin, not 3V3, or the range drops badly.
- Never connect Echo directly — always through the divider (or use an HC-SR04P at 3.3V).
- GPIO4 and GPIO5 are examples; check the ESP32-C6 SUPER MINI pinout guide and avoid GPIO8 (onboard RGB LED).
- Keep the two transducers clear of obstructions and pointed straight at the target.
Calculating Distance from the Echo Time
Sound travels at roughly 343 m/s at 20°C, which is 0.0343 cm/µs. The echo pulse covers the distance there and back, so you divide by two:
distance_cm = echo_time_µs × 0.0343 / 2
Or, as the popular shorthand:
distance_cm = echo_time_µs / 58
⚠️ The speed of sound rises with temperature (about 0.6 m/s per °C). For precision work — or wide temperature swings — measure ambient temperature (perhaps with your DS18B20) and adjust the speed accordingly.
ESP-IDF Example Code
Because this is timing, not a bus, the example triggers a pulse and measures the Echo width with the microsecond timer:
#include <stdio.h>
#include "freertos/FreeRTOS.h"
#include "freertos/task.h"
#include "driver/gpio.h"
#include "esp_timer.h"
#include "esp_log.h"
#include "rom/ets_sys.h"

#define TRIG_GPIO   4
#define ECHO_GPIO   5
#define TIMEOUT_US  30000   /* ~5 m round trip */

static const char *TAG = "HC-SR04";

static float measure_cm(void)
{
    /* 10 µs trigger pulse */
    gpio_set_level(TRIG_GPIO, 0);
    ets_delay_us(2);
    gpio_set_level(TRIG_GPIO, 1);
    ets_delay_us(10);
    gpio_set_level(TRIG_GPIO, 0);

    /* Wait for Echo to go HIGH */
    int64_t start = esp_timer_get_time();
    while (gpio_get_level(ECHO_GPIO) == 0) {
        if (esp_timer_get_time() - start > TIMEOUT_US) return -1.0f;
    }

    /* Measure how long Echo stays HIGH */
    int64_t echo_start = esp_timer_get_time();
    while (gpio_get_level(ECHO_GPIO) == 1) {
        if (esp_timer_get_time() - echo_start > TIMEOUT_US) return -1.0f;
    }
    int64_t echo_us = esp_timer_get_time() - echo_start;

    return echo_us * 0.0343f / 2.0f;
}

void app_main(void)
{
    gpio_config_t trig = {
        .pin_bit_mask = 1ULL << TRIG_GPIO,
        .mode = GPIO_MODE_OUTPUT,
    };
    gpio_config(&trig);

    gpio_config_t echo = {
        .pin_bit_mask = 1ULL << ECHO_GPIO,
        .mode = GPIO_MODE_INPUT,
    };
    gpio_config(&echo);

    while (1) {
        float cm = measure_cm();
        if (cm < 0) {
            ESP_LOGW(TAG, "Out of range / no echo");
        } else {
            ESP_LOGI(TAG, "Distance: %.1f cm", cm);
        }
        vTaskDelay(pdMS_TO_TICKS(200));   /* ≥60 ms between pings */
    }
}
For rock-steady readings without blocking the CPU, the ESP32’s MCPWM capture or RMT peripheral can measure the Echo width in hardware — worth exploring once the basic version works.
Prefer Arduino?
Arduino’s built-in pulseIn() makes it a few lines:
#define TRIG 4
#define ECHO 5

void setup() {
  Serial.begin(115200);
  pinMode(TRIG, OUTPUT);
  pinMode(ECHO, INPUT);
}

void loop() {
  digitalWrite(TRIG, LOW);  delayMicroseconds(2);
  digitalWrite(TRIG, HIGH); delayMicroseconds(10);
  digitalWrite(TRIG, LOW);

  long us = pulseIn(ECHO, HIGH, 30000);
  Serial.printf("%.1f cmn", us * 0.0343 / 2.0);
  delay(200);
}
Accuracy, Blind Zone and Beam Angle
The HC-SR04 is cheap and cheerful, with a few quirks to design around:
- Blind zone: objects closer than ~2 cm can’t be measured reliably — the echo returns before the sensor is listening.
- Beam angle: the ~15° cone means it detects the nearest thing in a fairly wide arc, not a precise point. Great for presence, less so for narrow targets.
- Surfaces: soft, angled or fabric surfaces absorb or deflect sound and read poorly. Hard, flat, perpendicular surfaces read best.
- Ping rate: leave at least ~60 ms between measurements so old echoes fade, or readings ghost.
HC-SR04 vs HC-SR04P vs VL53L0X
Three common ways to measure distance, each with a niche:
| Feature | HC-SR04 | HC-SR04P | VL53L0X (ToF laser) |
|---|---|---|---|
| Method | Ultrasound | Ultrasound | Infrared laser |
| Supply | 5V only | 3.3V – 5V | 2.6V – 3.5V |
| ESP32 level shift | Required | Not needed | Not needed (I²C) |
| Range | 2 – 400 cm | 2 – 400 cm | ~3 – 200 cm |
| Beam | Wide (~15°) | Wide (~15°) | Narrow (laser) |
| Interface | Trig/Echo | Trig/Echo | I²C |
| Best for | Cheap, robust | ESP32-friendly | Precise, short range |
When to Choose the HC-SR04
- You need cheap, robust ranging over a wide cone
- Lighting is poor or the target is transparent glossy
- You’re prototyping and already have one in the drawer
When to Choose the HC-SR04P
- Same as above, but you want to skip the level shifter on a 3.3V ESP32
When to Choose the VL53L0X
- You need precise, narrow-beam, short-range distance
- You’d rather use I²C than juggle timing pins
Practical Engineering Tips
1. Protect the Echo Pin
The number-one ESP32 mistake: Echo wired straight to a GPIO. Always use a divider or an HC-SR04P — 5V into a 3.3V pin is asking for trouble.
2. Power It From 5V
The original HC-SR04 needs a full 5V to reach its rated range. On 3.3V it “works” but reads short and flaky.
3. Compensate for Temperature
For water tanks and outdoor use, the speed of sound shifts with temperature. A quick temperature reading and an adjusted constant sharply improve accuracy.
4. Respect the Blind Zone
Don’t mount the sensor where the target can come closer than ~2 cm — you’ll get nonsense at close range.
5. Average and Filter
Ultrasonic readings jitter. Take a few pings and use a median or moving average to reject the occasional wild value.
Conclusion
The HC-SR04 is a tiny module that gives your ESP32 a sense of space for almost nothing. Combined with the ESP32-C6 SUPER MINI it’s the heart of parking aids, water-level monitors, robots and contactless triggers.
It offers:
- Non-contact distance from 2 cm to 4 m
- A dead-simple trigger/echo interface — no bus, no library
- Reliable performance in the dark and on glossy surfaces
- Rock-bottom cost and universal support
- An easy 3.3V upgrade path via the HC-SR04P
Just remember the golden rule: the original’s Echo pin is 5V, so protect your ESP32 with a divider or reach for the HC-SR04P. Handle that one detail and it’s one of the best-value building blocks you can add to your parts drawer.
Related
 Reference
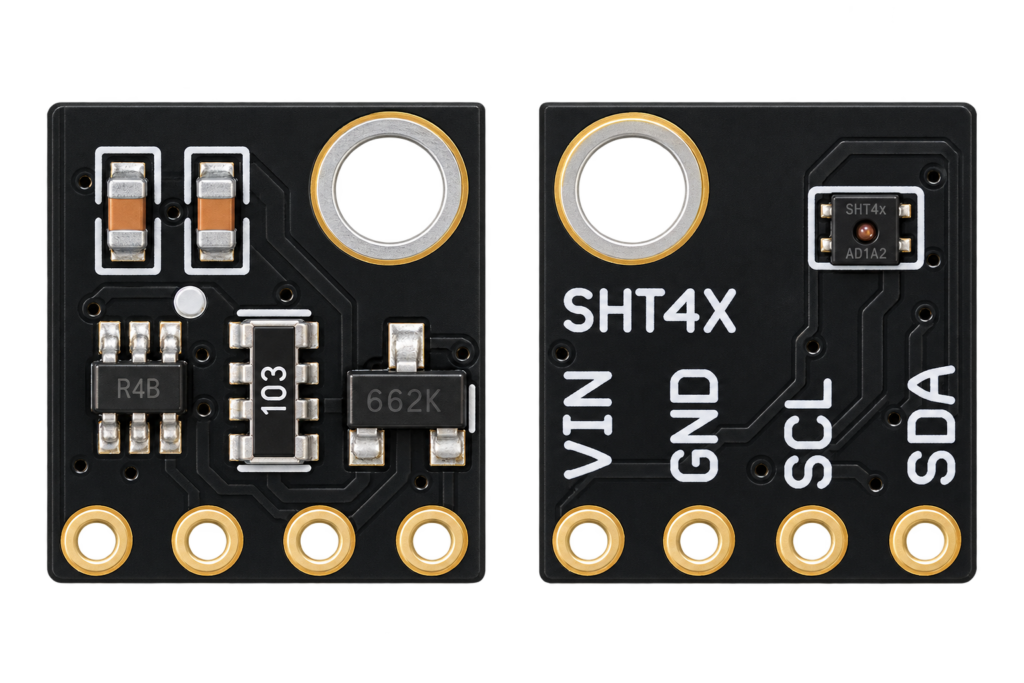
SHT40 / SHT41 Temperature and Humidity Sensor Complete Guide
Sensirion's fourth-generation SHT4x sensors trade the SHT3x series' heater-based self-test for an ultra-low idle power budget and a slightly tighter accuracy spec. This guide covers wiring an SHT40 or SHT41 to an ESP32, real I2C addressing, and which SHT generation actually makes sense for a new project.
Read more
Reference
SHT40 / SHT41 Temperature and Humidity Sensor Complete Guide
Sensirion's fourth-generation SHT4x sensors trade the SHT3x series' heater-based self-test for an ultra-low idle power budget and a slightly tighter accuracy spec. This guide covers wiring an SHT40 or SHT41 to an ESP32, real I2C addressing, and which SHT generation actually makes sense for a new project.
Read more
 Reference
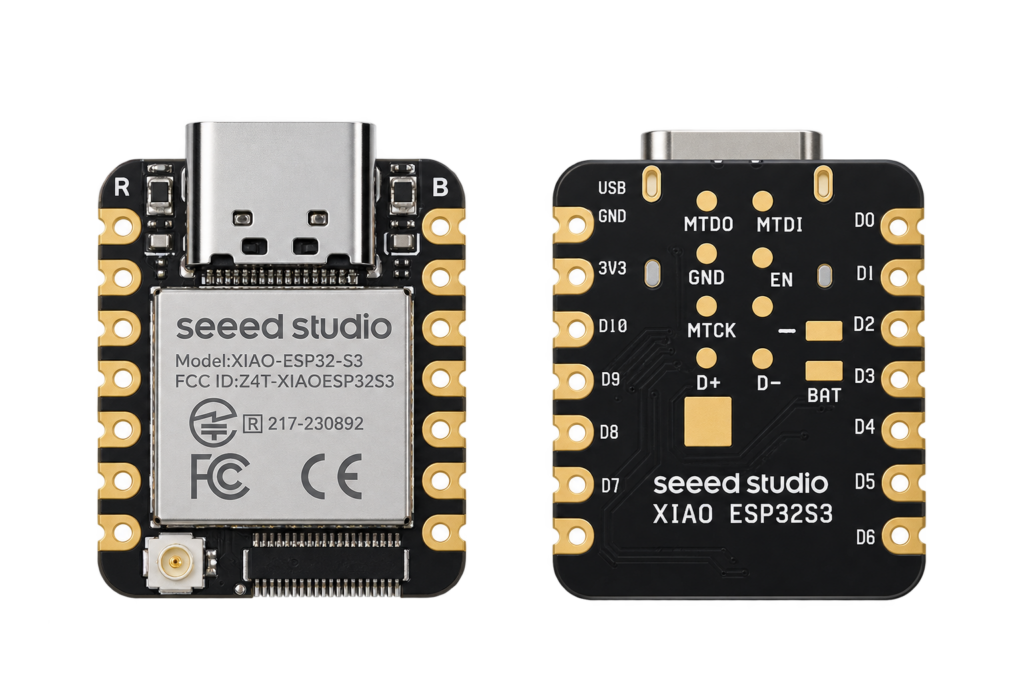
Seeed Studio XIAO ESP32C3 Pinout
The real pin reference for Seeed Studio's XIAO ESP32C3: a thumbnail-sized RISC-V Wi-Fi/BLE board with a U.FL antenna connector and no onboard LED.
Read more
Reference
Seeed Studio XIAO ESP32C3 Pinout
The real pin reference for Seeed Studio's XIAO ESP32C3: a thumbnail-sized RISC-V Wi-Fi/BLE board with a U.FL antenna connector and no onboard LED.
Read more
 Reference
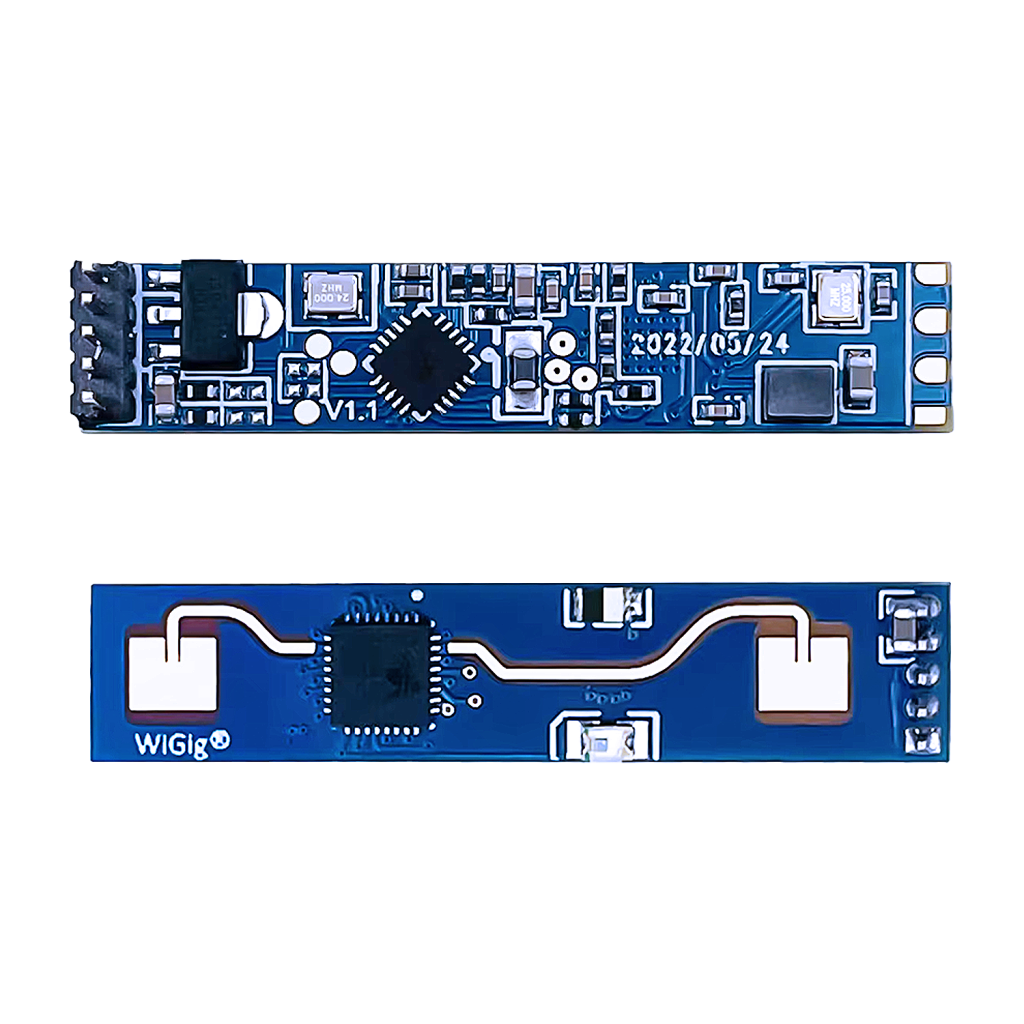
The Complete Guide to the HLK-LD2410 24GHz Human Presence Radar Module
A 24 GHz FMCW radar that detects stationary presence, breathing and micro-motion, not just movement, which is exactly where a standard PIR sensor fails. This guide covers the UART/OUT-pin pinout, ESP32 wiring, configurable distance gates, and ESPHome integration.
Read more
Reference
The Complete Guide to the HLK-LD2410 24GHz Human Presence Radar Module
A 24 GHz FMCW radar that detects stationary presence, breathing and micro-motion, not just movement, which is exactly where a standard PIR sensor fails. This guide covers the UART/OUT-pin pinout, ESP32 wiring, configurable distance gates, and ESPHome integration.
Read more
More guides
Keep building.
From ESP32 HomeKit accessories to Arduino and ATtiny reference guides, there’s more where this came from.
All guides