
Reference
MG996R Servo
The standard-size, high-torque metal gear servo: specifications, the position versus 360 degree confusion, wiring and the control signal, how to power it without brownouts, and how to drive it from an ESP32-S3.
- ESP32
- Safety notes
- 6 min read
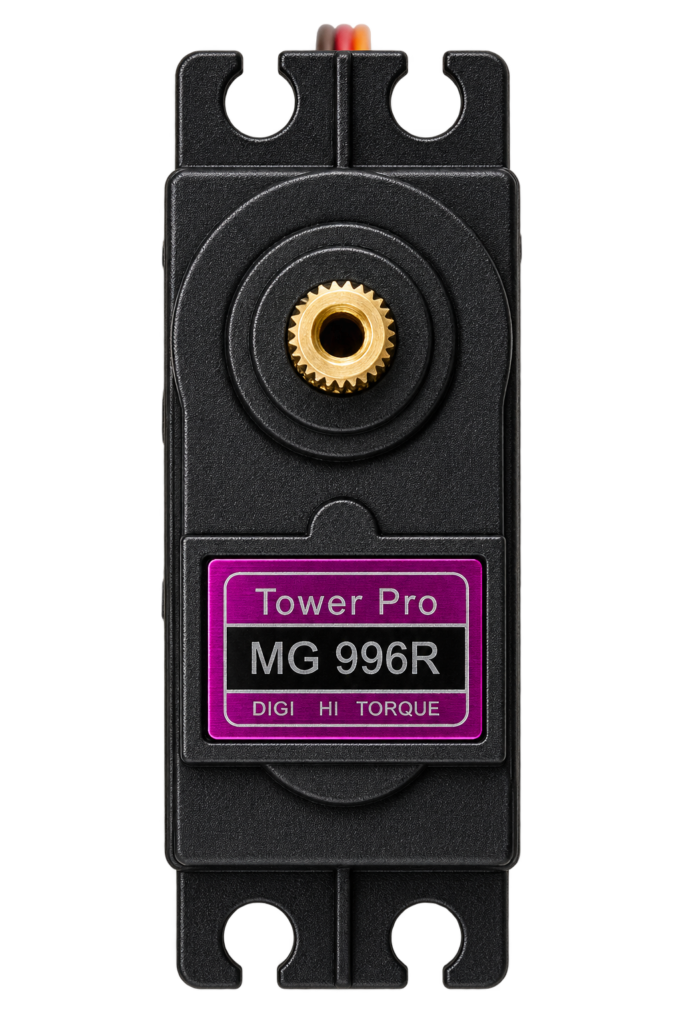
The MG996R is the standard-size, high-torque hobby servo with metal gears. It is cheap, strong enough to lift a robot arm or turn a heavy head, and it shows up in countless robot, animatronic and RC projects. It is the servo I use in my animatronic Pit Droid: two for the head, one for each arm and one for the waist.
In this guide we cover:
- What the MG996R is, and the versions you should not confuse it with
- Technical specifications
- Wiring and the control signal
- Powering it the right way
- Connecting it to an ESP32-S3 with example code
- MG996R compared with the SG90 and MG90S
- Practical tips for a project that moves
What is the MG996R?
The MG996R is an upgrade of the older MG995 from TowerPro. It is a standard size servo with metal gears and a dual ball bearing output shaft, in a plastic case. You tell it an angle with a pulse width, and it turns to that position and holds it.
Three things to know before you buy:
- It is a position servo, not a continuous rotation servo. Listings for “MG996R 360°” are continuous rotation versions: they spin like a motor and don’t know where they are, so they cannot hold a head or an arm at a set angle. For anything that has to stay put, buy the normal position version.
- The travel is about 120 degrees (60 degrees each way from the centre) on the datasheet. Many shops write 180 degrees. Some servos reach more with a wider pulse range, so check yours with a servo tester. A 180 degree “robot” version of the MG996R exists as well, the Pit Droid designer has not tested it.
- Clones are common. The Pit Droid designer advises genuine TowerPro servos, because clones can have plastic gears inside. A metal-gear servo should be heavy for its size (about 55 g).
Disclosure: links marked * are affiliate links. If you buy through them I may earn a small commission at no extra cost to you. It doesn’t change what I recommend.
This is the one I order for the droid: MG996R servo*.
Technical Specifications
| Parameter | Value |
|---|---|
| Operating voltage | 4.8 V to 7.2 V |
| Stall torque | 9.4 kgf·cm at 4.8 V, 11 kgf·cm at 6 V |
| Speed (no load) | 0.17 s per 60° at 4.8 V, 0.14 s per 60° at 6 V |
| Travel | About 120° (60° each way), position servo |
| Stall current | About 2.5 A at 6 V |
| Gears | Metal |
| Output shaft | Dual ball bearing, 25 tooth spline |
| Dead band | 5 µs |
| Weight | About 55 g |
| Size | About 40.7 x 19.7 x 42.9 mm |
| Control signal | PWM, 50 Hz, pulse width about 1 to 2 ms (see below) |
The values come from the TowerPro datasheet as mirrored by several shops. Different sellers list slightly different voltage and rotation figures, so treat the table as a guide and check your own servo.
Wiring
The servo has a flat 3-wire lead with a standard 2.54 mm connector:
| Wire | Colour (TowerPro) | Function |
|---|---|---|
| Brown | Brown | Ground (GND) |
| Red | Red | Power (V+), 4.8 V to 7.2 V |
| Signal | Orange | Control signal, 3.3 V logic is enough |
Clones sometimes use another colour for the signal wire, such as yellow or white. The power wire is always the middle one.
The Control Signal
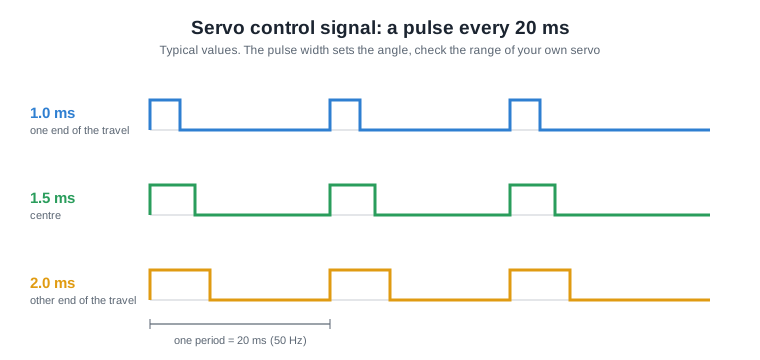
A servo needs a pulse about every 20 ms (50 Hz). The width of that pulse sets the angle: about 1.5 ms for the centre, and roughly 1.0 ms and 2.0 ms for the two ends. Many servos accept a wider range, up to about 0.5 ms to 2.5 ms, but at the extremes the gears can hit their mechanical stops and the servo buzzes and heats up.
Start with 1.0 to 2.0 ms and widen it a little at a time while you listen for buzzing. In your code, set limits so a linkage can never push the servo past the point where the printed part or the arm binds.
Powering the MG996R
Never power the servo from the ESP32
A small servo already draws more than a board’s 3.3 V regulator can give. An MG996R can pull about 2.5 A when it stalls at 6 V, and hundreds of milliamps just moving. A USB port is not enough either. Powering servos from the board gives brownouts, resets and jitter.
Do this instead:
- Use a separate 5 to 6 V supply for the servos that can deliver several amps. With five servos, size it for the worst moment, not the average. (My own advice, I will test it in the Pit Droid build.)
- Connect the ground of the supply to the ground of the microcontroller. Without a common ground the signal has no reference and the servo twitches or does nothing.
- Add a 470 to 1000 µF capacitor across the supply close to the servos to absorb current spikes.
- Don’t hold a powered servo by hand. A strong servo can hurt fingers and break glued joints or printed parts.
Connecting It to an ESP32-S3
The ESP32-S3-DevKitC-1 can drive a servo directly from a GPIO. For one or two servos that is fine. For more, use a PCA9685 servo driver.
| MG996R | Connect to |
|---|---|
| Signal (orange) | GPIO4 (any free GPIO that can output PWM) |
| V+ (red) | + of the 5 to 6 V supply |
| GND (brown) | − of the supply, and the G pin of the ESP32-S3 |
Example with the ESP32Servo library:
#include <ESP32Servo.h>

Servo myServo;

void setup() {
  myServo.setPeriodHertz(50);        // standard servo, 50 Hz
  myServo.attach(4, 1000, 2000);     // pin, min and max pulse in microseconds
}

void loop() {
  myServo.write(0);     // one end
  delay(1500);
  myServo.write(90);    // centre
  delay(1500);
  myServo.write(180);   // other end of the 1.0 to 2.0 ms range
  delay(1500);
}
The write() angle is mapped to the pulse range you pass to attach(). The servo itself only travels about 120 degrees, so test the real endpoints with a servo tester or very small steps first.
MG996R vs SG90 vs MG90S
| SG90 | MG90S | MG996R | |
|---|---|---|---|
| Size | Micro | Micro | Standard |
| Gears | Plastic | Metal | Metal |
| Weight | About 9 g | About 13 g | About 55 g |
| Torque at 4.8 V | About 1.8 kgf·cm | About 2.2 kgf·cm | 9.4 kgf·cm |
| Typical use | Small hobby builds | Small builds that need more durability | Arms, heads, robots, animatronics |
See the SG90 guide for the small one. The MG996R is the first step up when a micro servo is too weak.
Practical Engineering Tips
- Centre it before you fit the arm. Put the servo at its centre pulse with a servo tester, then fit the horn or lever at 90 degrees to the body. The Pit Droid sheets say the same.
- Mind the horn. The MG996R comes with a set of plastic 25 tooth horns, including a double-ended bar. You don’t need to buy one separately.
- Test on a tester first. If a servo grinds, twitches or doesn’t hold a position, find out on the bench, not after you have glued it in.
- Expect heat. A servo that is holding a load against its stall point gets hot. Redesign the linkage or use a stronger servo.
- For the arms, the Pit Droid designer suggests a stronger 25 or 35 kgf·cm servo, which lifts more than the MG996R.
Conclusion
The MG996R is a cheap, strong and easy servo, as long as you buy a position version, give it its own 5 to 6 V power and a common ground, and test it before you build it into something. For the next steps see the servo tester guide, the PCA9685 servo driver and the Pit Droid hardware list.
Related
 Reference
ESP32-S3-DevKitC-1 Pinout (N8R2 and N16R8)
The real pin reference for the ESP32-S3-DevKitC-1 with 44 pins and two USB ports: what N8R2 and N16R8 mean, which pins you can't use, the strapping pins and how to program it.
Read more
 Reference
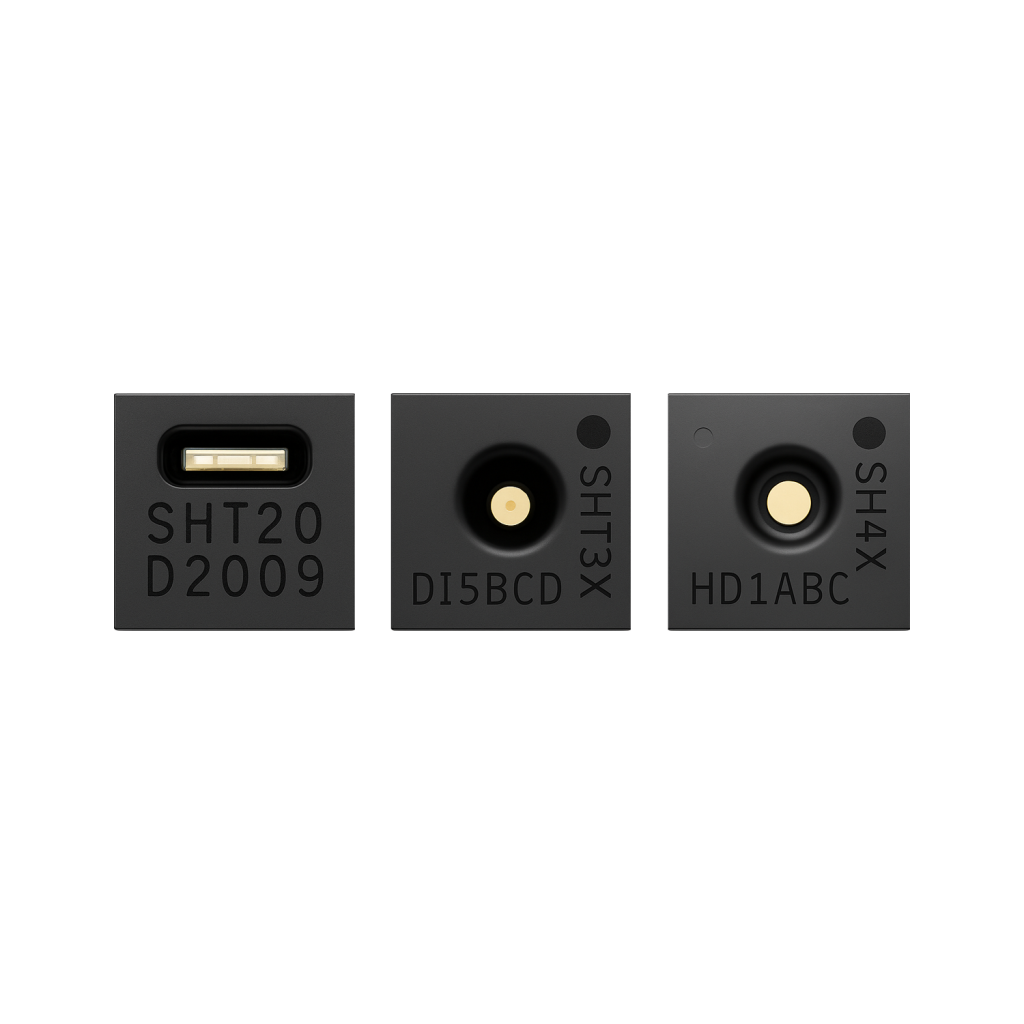
The Ultimate Guide to the SHT Sensor Series
Sensirion's SHT2x/3x/4x family are factory-calibrated I2C temperature and humidity sensors with low drift and fast response. This guide compares the three series, covers wiring an SHT31 to an ESP32, and helps pick the right model for accuracy, power budget or outdoor use.
Read more
 Reference
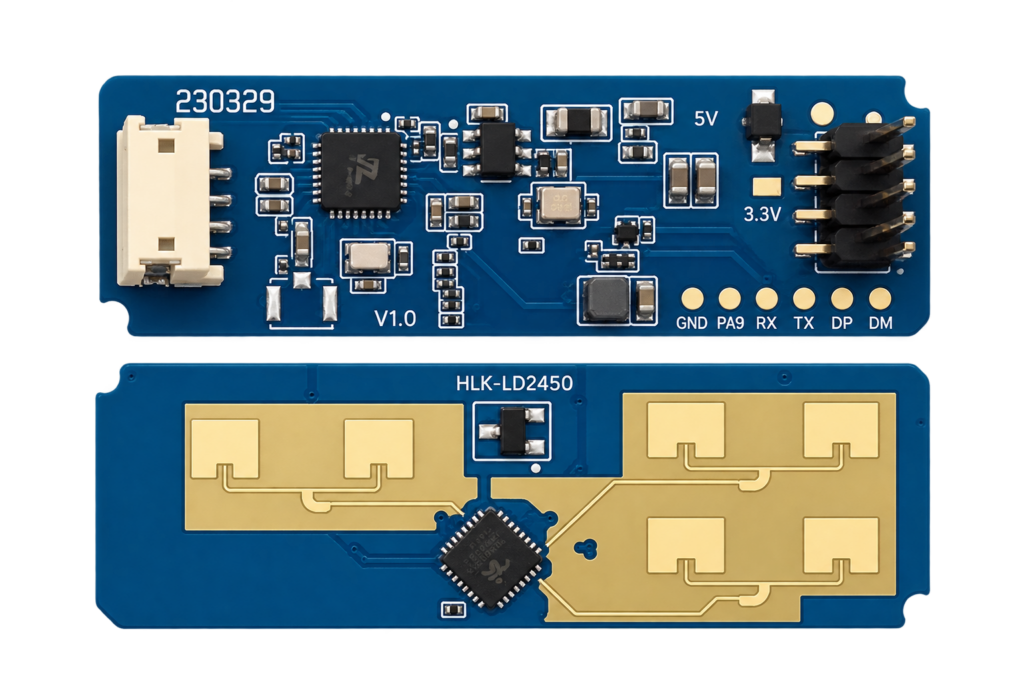
The Complete Guide to the HLK-LD2450 24GHz Multi-Target Tracking Radar Module
The LD2450 is Hi-Link's multi-target mmWave radar: where the already-published LD2410 only tells you someone is present, the LD2450 tracks up to three people at once with real X/Y position and speed. This guide covers its real UART protocol, wiring, and when you actually need position tracking over simple presence.
Read more
More guides
Keep building.
From ESP32 HomeKit accessories to Arduino and ATtiny reference guides, there’s more where this came from.
All guides