
HomeKit
Two-Motor Window Covering Study for HomeKit
A study of a two-motor system for heavy roller blinds with 28BYJ-48 motors and DRV8825 drivers, which was tested and not used in practice.
- HomeKit
- 3 min read
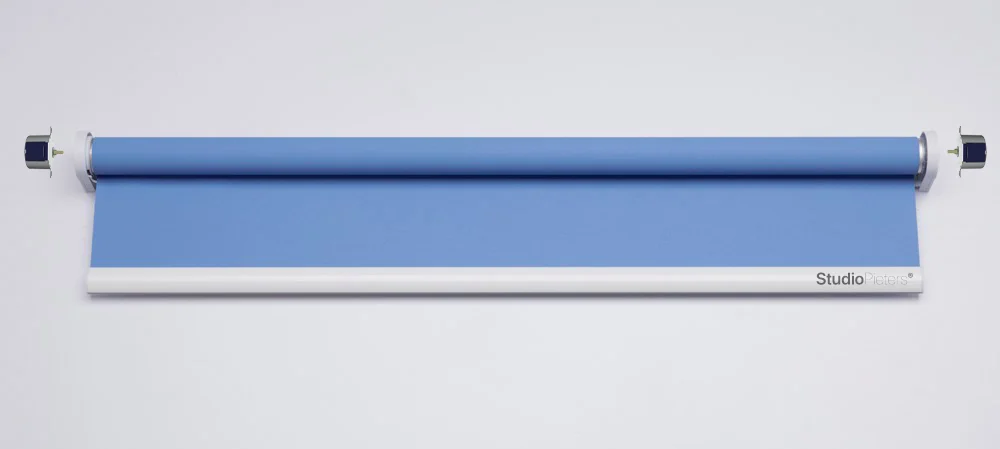
Not finished
This project was a study and it was not finished. The two-motor system was tested but proved not to be practical, so there is no firmware. The working approach, with one motor, is in ESP8266 HomeKit Blinds.
One motor is enough for a small roller blind, but a heavier or longer blind needs more. This project looked into a system with two motors, one at each end of the tube, to move a roller blind for Apple Home.
Choosing a motor
The aim was the smallest motor and the simplest solution, one that a hobbyist at home can use. Three motors were looked at:
| Motor | Result |
|---|---|
| 28BYJ-48 stepper motor, 12 V | The choice: small, and it needs a simple driver |
| NEMA 23 stepper motor | Too large, and it needs a heavy power supply and a separate driver |
| DC motor with gearbox, 12 V, 28 RPM | Too large, and it needs a heavy power supply and a separate way of driving it |
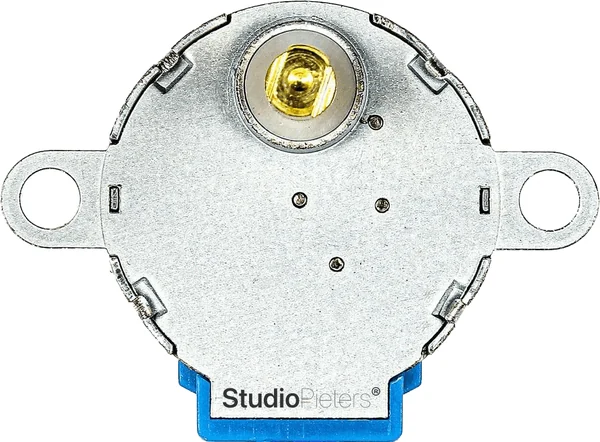
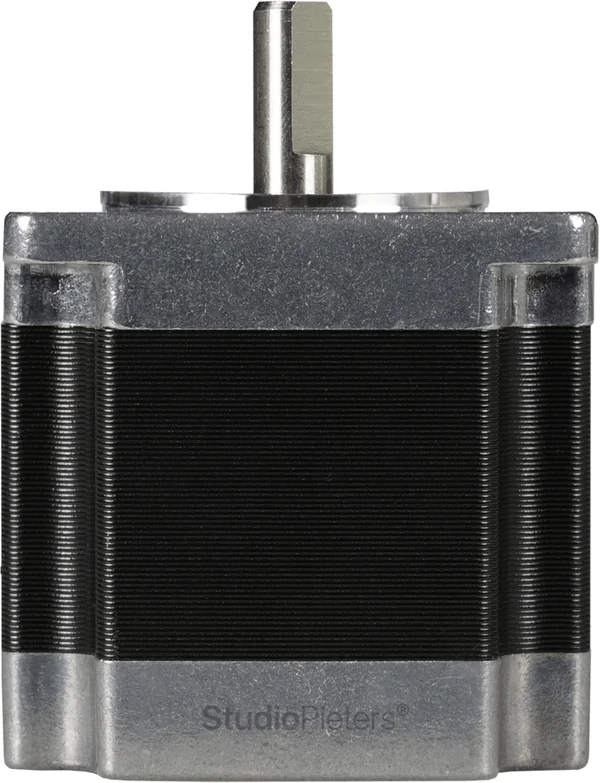
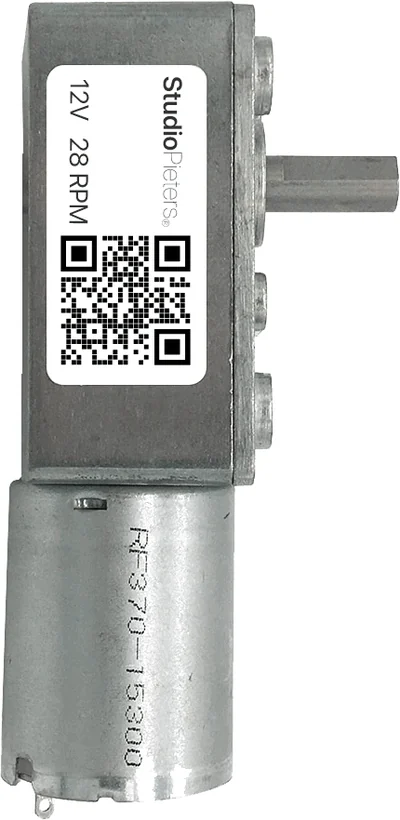
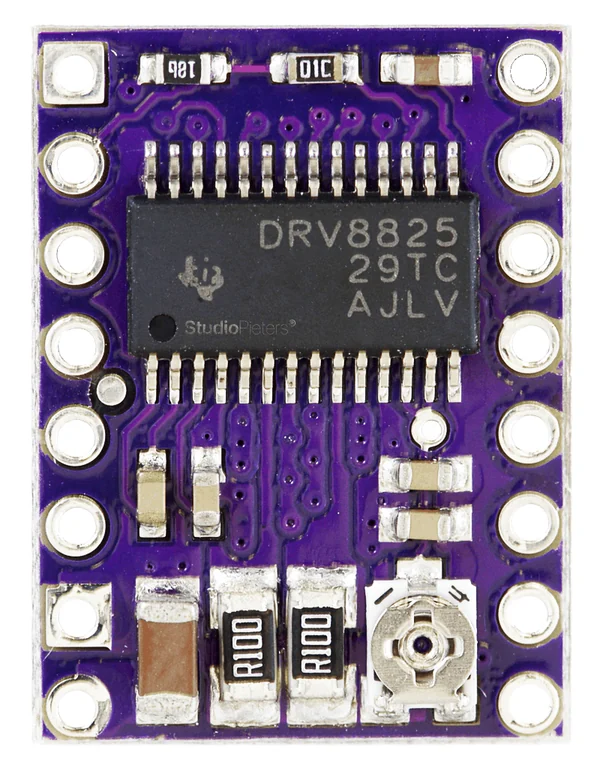
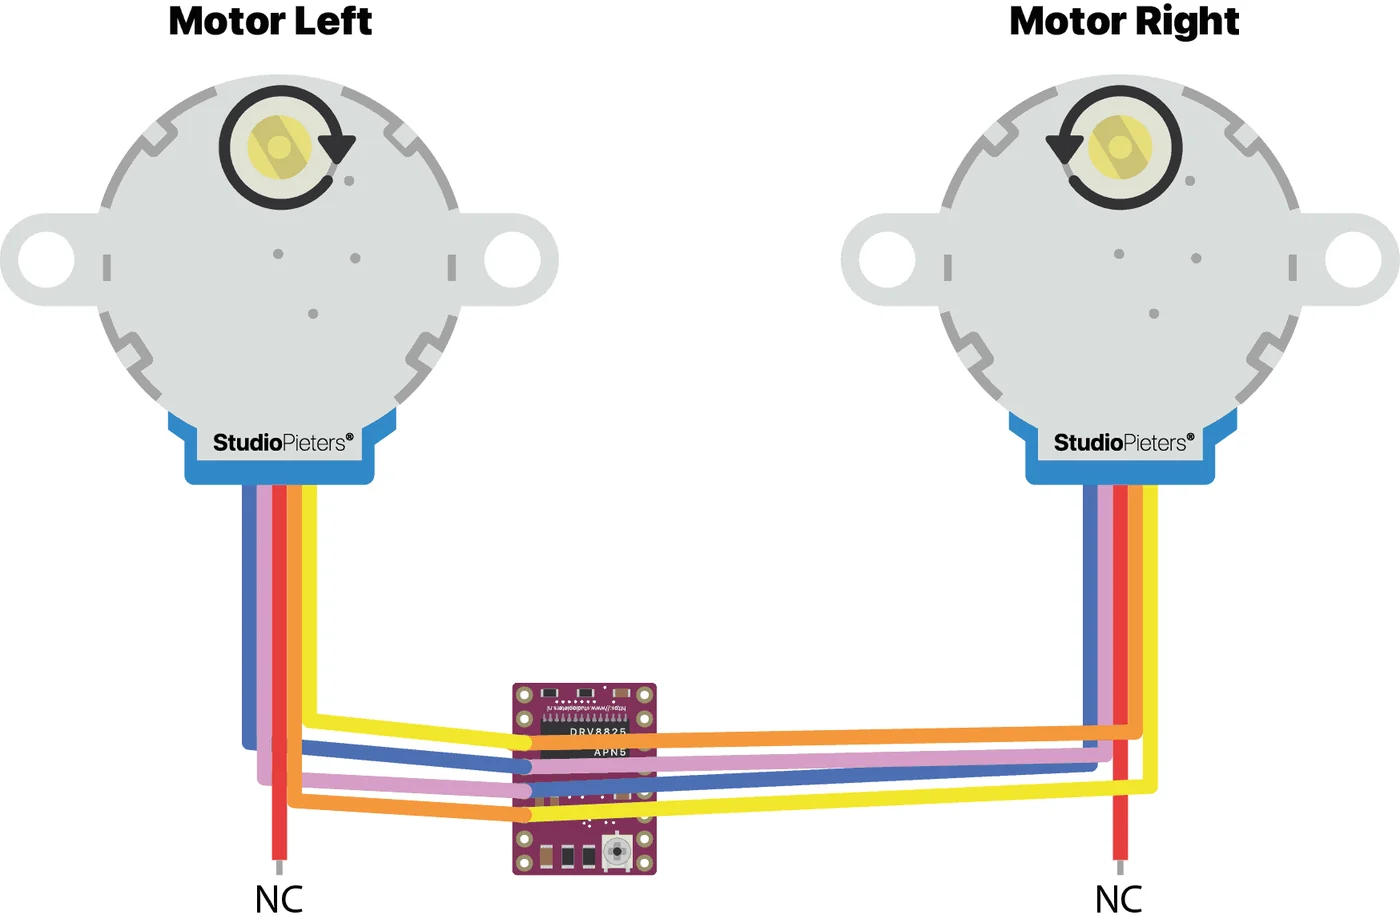
The 28BYJ-48 is driven by a DRV8825 stepper driver. See the DRV8825 guide for the module.
Two motors
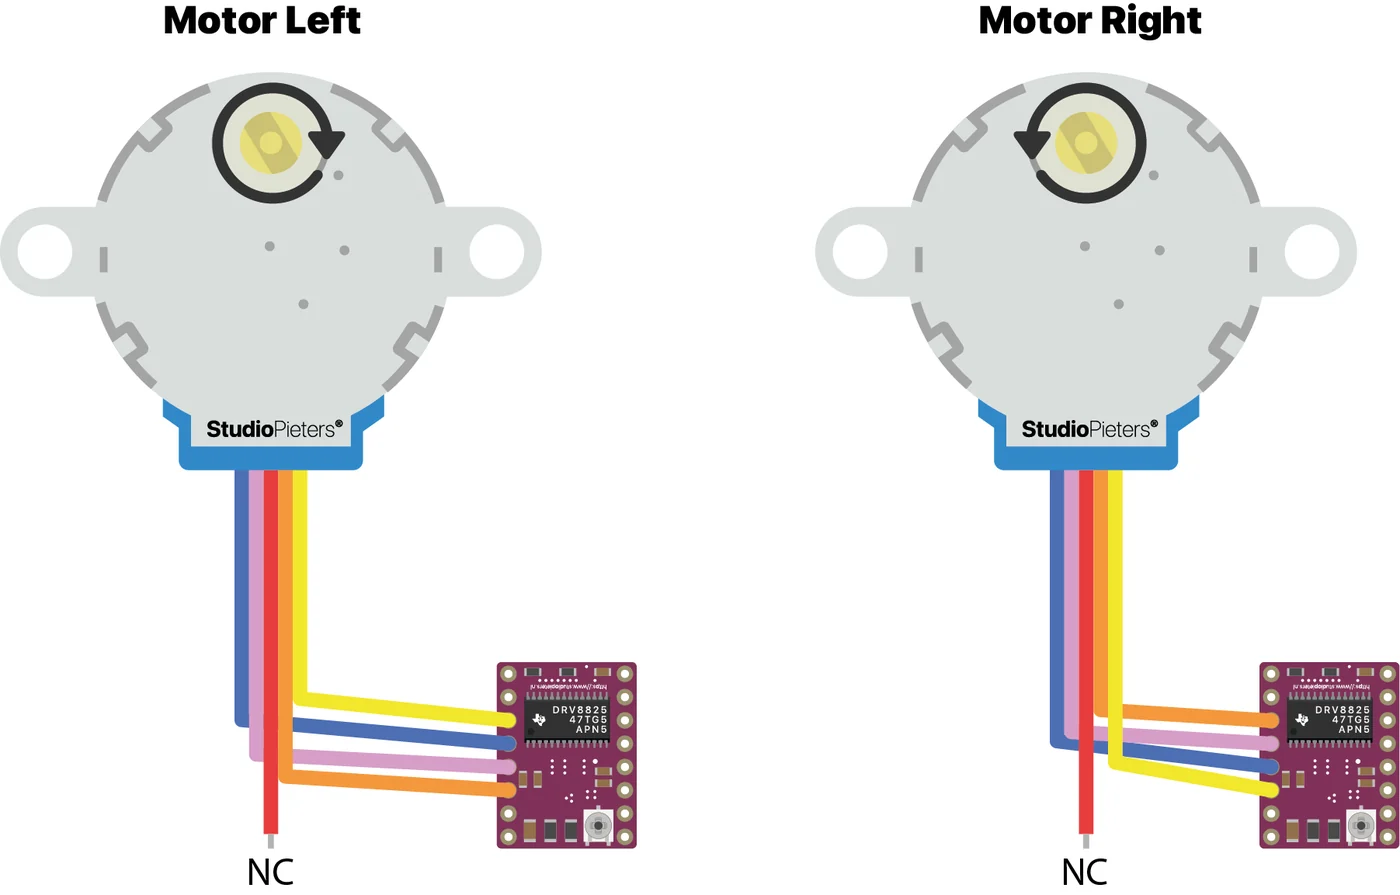
With a motor at each end, both motors have to turn the tube the same way. Since they are mounted mirrored, one turns clockwise and the other counter-clockwise to roll the blind up or down. The diagrams show it: Motor Left and Motor Right have opposite arrows.
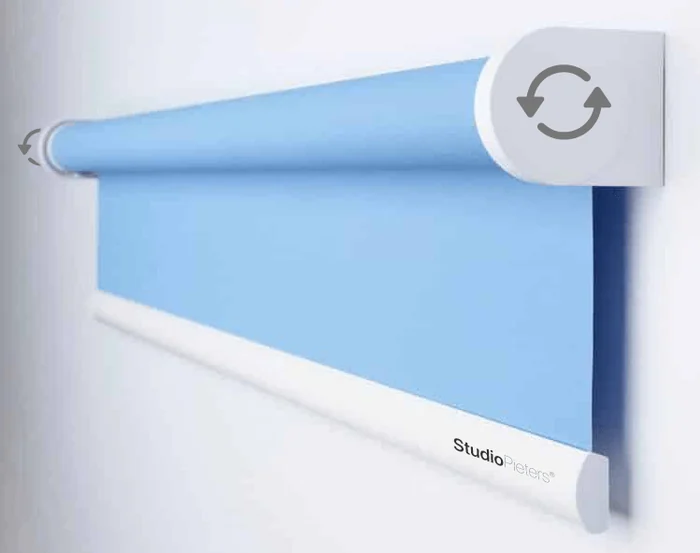
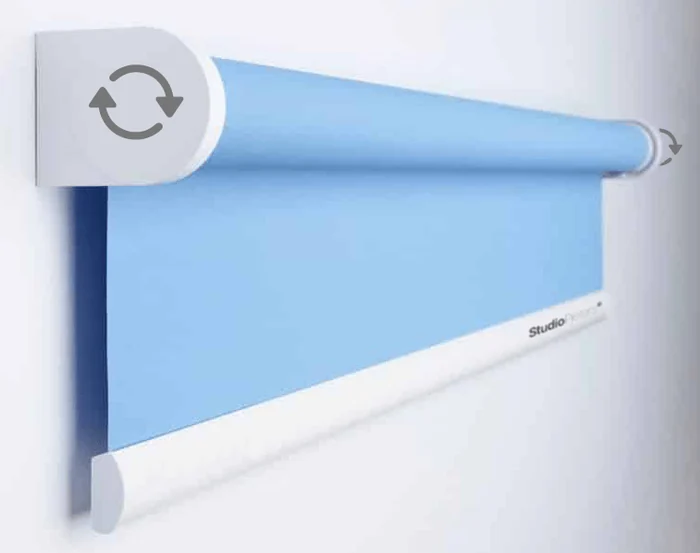
Two ways to connect the motors are drawn:
- A driver for each motor. Each 28BYJ-48 has its own DRV8825.
- One driver for both motors. Both motors are connected to a single DRV8825.
The firmware
A gist of the author holds firmware for this project, written for ESP-Open-RTOS. It drives one DRV8825 and makes a HomeKit window covering with a current position, a target position and a position state. It is a work in progress, like the repository.
| Pin | Use |
|---|---|
| GPIO14 | Direction (DIR) of the DRV8825 |
| GPIO4 | Step (STEP) |
| GPIO5 | Enable (ENABLE) |
| GPIO12 | Button up |
| GPIO13 | Button down |
| GPIO2 | The on-board led |
The position is a number from 0, closed, to 100, open. While the covering moves, the firmware gives one step pulse per update and moves the position by 1. When it reaches the target, it stops and disables the driver.
| Button | Press | What it does |
|---|---|---|
| Up | Single press | Stops when the covering moves, and otherwise opens it |
| Down | Single press | Stops when the covering moves, and otherwise closes it |
| Down | Long press, 4 seconds | Resets the WiFi and HomeKit settings and restarts the module |
The identify request flashes the led in three groups of two. The gist also has a constant for the number of seconds from closed to open, which is 15, but the timing that would use it is commented out, so the firmware is not finished.
What came out of it
The setup was tested, and in the end it could not be used in practice. A single motor per blind, as in ESP8266 HomeKit Blinds, is the way that works.
Good to know
- The repository has no firmware, no release and no source code. It holds the README and the images.
- The repository is under the MIT licence.
The project is in the ESP8266-HomeKit-Window-Covering-System repository on GitHub.
Related
 HomeKit
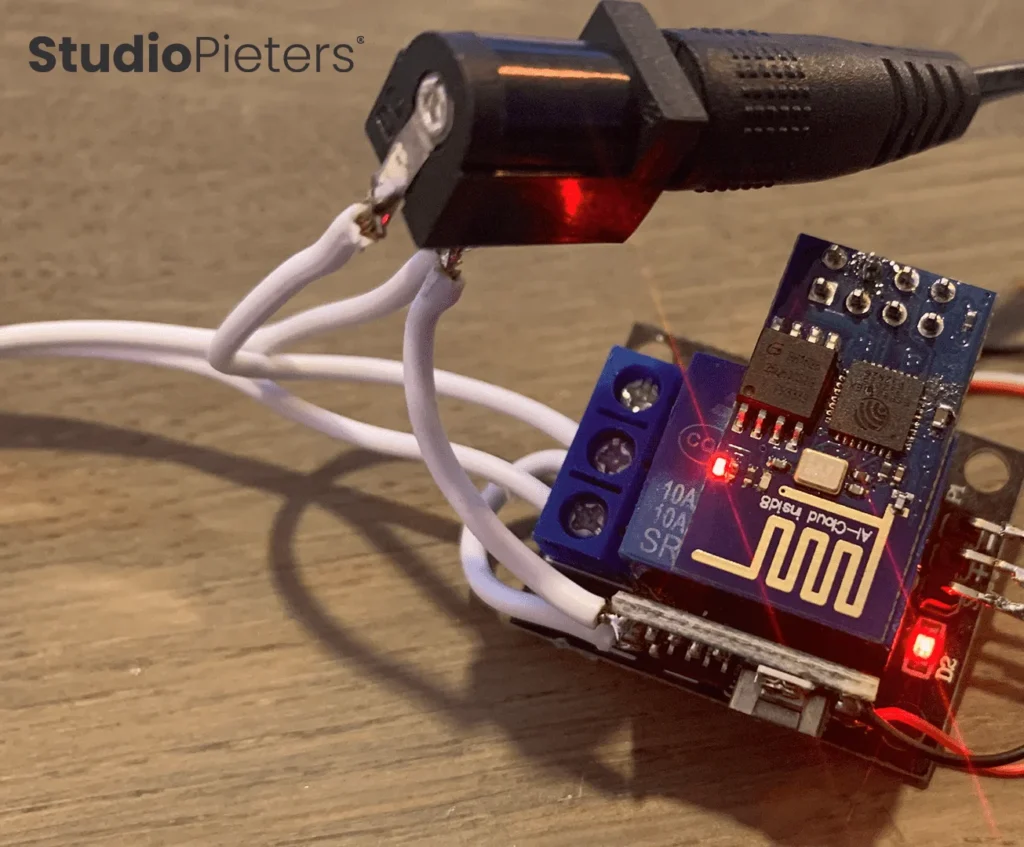
 LED Strip Using 3 Standard Modules
* This project is featured on Instructables
Read more
HomeKit
HomeKit LED Strip Using 3 Standard Modules
* This project is featured on Instructables
Read more
 HomeKit
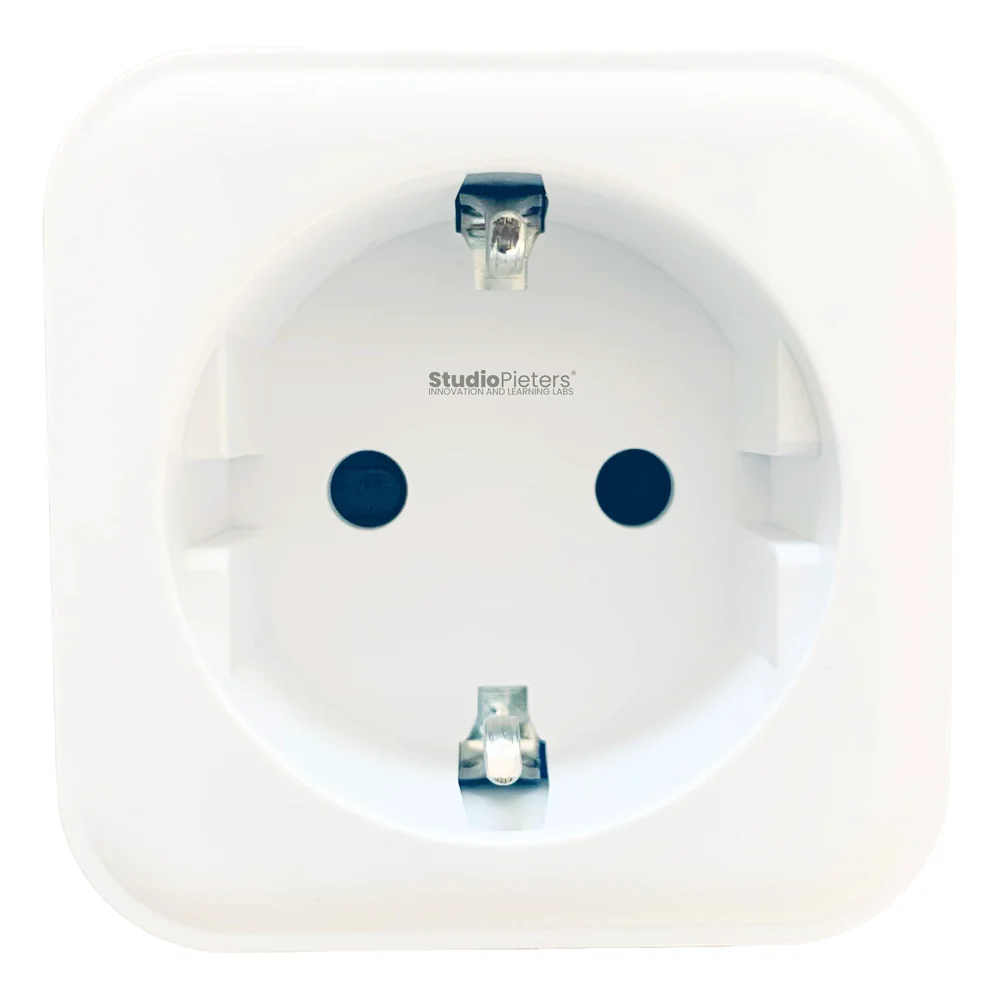
LSC Smart Plug Versions 1 and 2 with an ESP8266
The LSC Smart Connect power plug as a HomeKit outlet: version 1 runs the firmware as it is, version 2 needs its module replaced with an ESP-02S.
Read more
HomeKit
LSC Smart Plug Versions 1 and 2 with an ESP8266
The LSC Smart Connect power plug as a HomeKit outlet: version 1 runs the firmware as it is, version 2 needs its module replaced with an ESP-02S.
Read more
 HomeKit
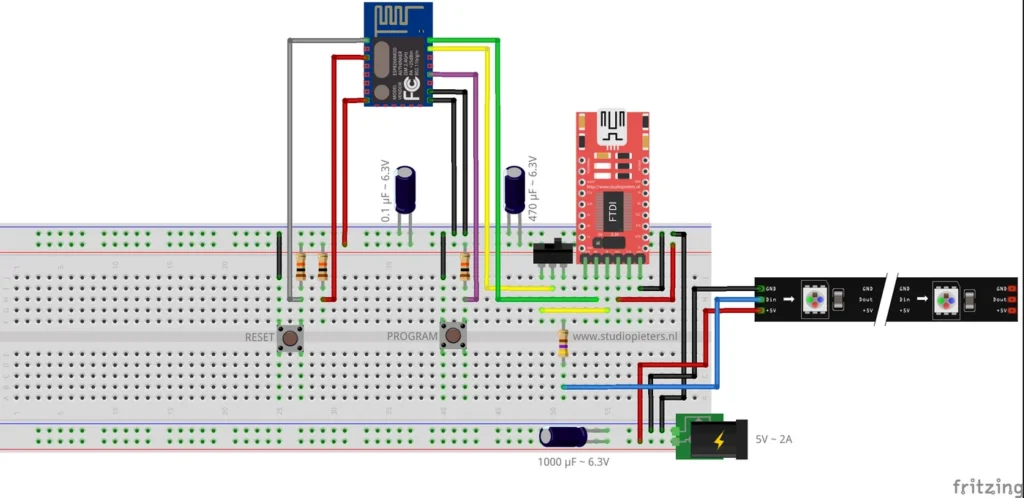
ESP8266 HomeKit NeoPixel Light Strip
A WS2812 LED strip in the Home app on an ESP8266, with a ready-made firmware for strips of 30, 60, 90, 120 or 144 LEDs.
Read more
HomeKit
ESP8266 HomeKit NeoPixel Light Strip
A WS2812 LED strip in the Home app on an ESP8266, with a ready-made firmware for strips of 30, 60, 90, 120 or 144 LEDs.
Read more
More HomeKit
Keep building.
Switches, sensors, plugs and blinds: more accessories that you build yourself and add to the Home app.
All HomeKit