In my previous blog I set up a Raspberry Pi with Screenly OSE a free Digital Signage / Narrowcasting package. Although the software package works out of the box. There are still a few things that can be a problem. So here some troubleshooting items.

Display rotation
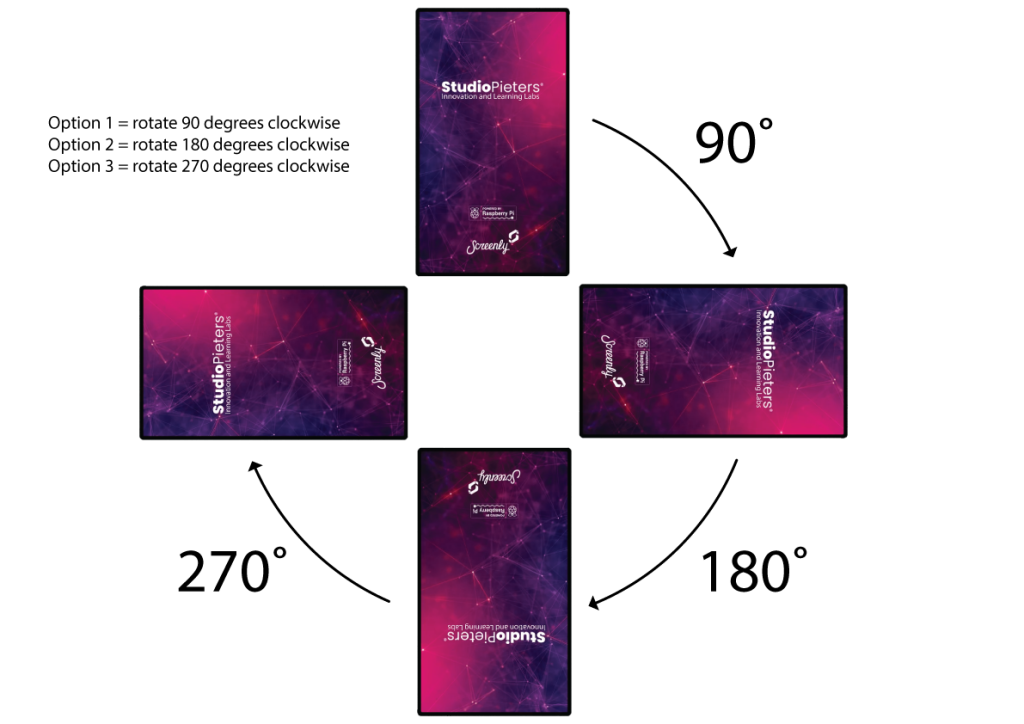
The first troubleshooting item is the display rotation. With Screenly, users can display their content in landscape or portrait mode easy, But I use the OSE version. By default, we configure each screen to landscape view. The landscape view setting is 0 degrees. To change the rotation in the paid version, take the following steps:
- Log in to your account.
- Go to ‘Screens’ and select the screen.
- Click on ‘Settings’.
- Locate ‘Rotate Display’ and change the display settings to the desired state. Use 0/180 for landscape view and 90/270 for portrait view.
- Press the ‘Save’ button.
- Wait for the device to automatically reboot by itself.

As said, we use the free Screenly OSE version. This option described above is not available in the free version, But we still can Change the Display rotation. Shutdown your Raspberry Pi and remove the SD card. Place your SD card in your SD-card reader and open the Boot partition.
In the Boot partition, find the file called config.txt. Open this file with a text editor, I use Atom.
If there is a line called # display_hdmi_rotate=0 then remove the #. If this line does not exist, add this line display_hdmi_rotate=0. Your file should look like this:
# uncomment this if your display has a black border of unused pixels visible
# and your display can output without overscan
# disable_overscan=1

# uncomment the following to adjust overscan. Use positive numbers if console
# goes off-screen, and negative if there is too much border
overscan_left=-31
overscan_right=-31
overscan_top=-31
overscan_bottom=-31

# rotate display
display_hdmi_rotate=0
You can change the position by changing the number behind display_hdmi_rotate=. The number below correspond with the orientation.
Firewall
The second troubleshooting item is the firewall. Screenly OSE does not include any type of firewall. While the Raspberry Pi OS distribution comes with iptables by default, it can be complicated to set up and use. To get around this, we will install a simpler firewall interface to our Raspberry Pi called UFW. UFW stands for uncomplicated firewall and is designed to be incredibly simple to use. It is the same firewall that is made available in all Ubuntu distributions. Firewalls like UFW are a crucial way of protecting devices such as your Raspberry Pi from port-based network attacks.
To make the installation a little easier, I made a little script. Click the Launchpad icon in the Dock, then Other, then click Terminal.
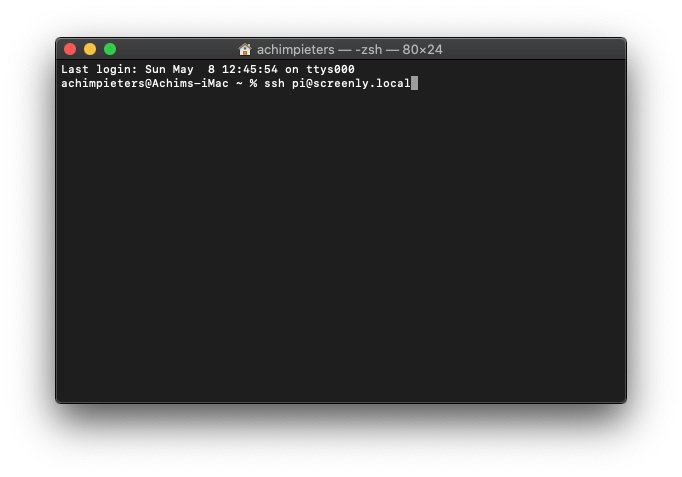
Now make a connection to your Raspberry Pi. By typing ssh pi@screenly.local and pressing Enter.
ssh pi@screenly.local
Once you are logged in, type:
sudo nano firewall.sh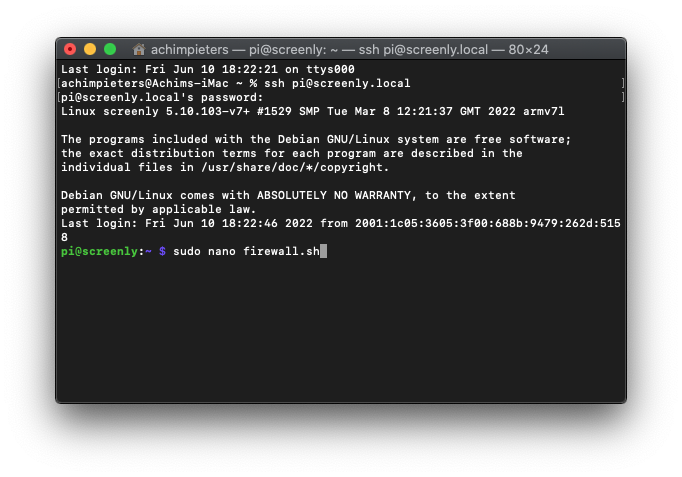
When working on the command line, quite often you will need to create or edit text files. Two of the most powerful and popular command-line editors are Vim and Emacs. Both of them have a steep learning curve that can be intimidating to new users. For those who need a simple editor, there is nano.
GNU nano is an easy-to-use command line text editor for Unix and Linux operating systems. It includes all the basic functionality you’d expect from a regular text editor, like syntax highlighting, multiple buffers, search and replace with regular expression support, spellchecking, UTF-8 encoding, and more.
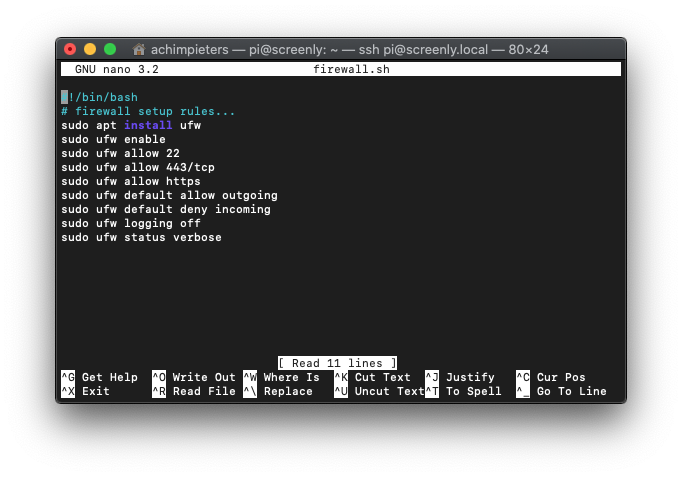
Once the nano text editor is open copy and past this text:
#!/bin/bash
# firewall setup rules...
sudo apt install ufw
sudo ufw enable
sudo ufw allow 22
sudo ufw allow 443/tcp
sudo ufw allow https
sudo ufw default allow outgoing
sudo ufw default deny incoming
sudo ufw logging off
sudo ufw status verbose
Save the file and run the script by typing:
bash firewall.sh
ssl
After installing the Firewall, the troubleshooting is not yet finished. SSL certificates create a foundation of trust by establishing a secure connection. To assure visitors, their connection is secure. First, we change into the screenly directory:
cd ~/screenly
Then we run the script that comes with screenly to enable SSL by typing this command:
./bin/enable_ssl.shYou should be all set. You should be able to access Screenly’s management interface at https://
Borders on display screen
The last troubleshooting item is when you have borders around your screen. In most cases, Screenly will fill up the full screen for images, videos, and web pages. For some monitors, (older monitors in particular), you might see a black border around images and web pages. This is what is known as an overscan issue. To solve this issue, you need to modify settings of the screen. This can be done by taking the following steps:
- Login to your account.
- Go to ‘Screens’ and select the screen.
- Click on ‘Settings’.
- Navigate to ‘Overscan’ select ‘Off’.
- Press ‘Save’.
- Wait for the device to automatically reboot by itself.
When the device comes back online, the black border should now be gone. If that does not do the trick, try setting Overscan to ‘On’ and testing various combinations of the ‘Overscan Top/Bottom/Right/Left’ settings to offset the issue.
Also, please note that it is possible to have a black border only around images and web pages—but not around videos. The reason for this is that the video player uses a different method when communicating with the screen.
As said, we use the free Screenly OSE version. This option described above is not available in the free version, But we still can Change the Display rotation. Shutdown your Raspberry Pi and remove the SD card. Place your SD card in your SD-card reader and open the Boot partition.
In the Boot partition, find the file called config.txt. Open this file with a text editor, Atom.
If there is a line called # disable_overscan=1 then remove the #. If this line does not exist, add this line disable_overscan=1. Your file should look like this:
# uncomment this if your display has a black border of unused pixels visible
# and your display can output without overscan
disable_overscan=1

# uncomment the following to adjust overscan. Use positive numbers if console
# goes off-screen, and negative if there is too much border
overscan_left=-31
overscan_right=-31
overscan_top=-31
overscan_bottom=-31
...
# rotate display
# display_hdmi_rotate=3
Now it’s working like a charm