If you’re building smart home systems, motion detection, lighting automation, or occupancy sensors, a radar module like the HLK-LD2410 offers a lot more than a standard PIR sensor. It can detect both moving and micro-movements (breathing, sitting still, slight motion), output distance estimates, provide configurable sensitivity, etc. In this guide we’ll go through what it is, how it works, its specs, wiring, code, practical tips & pitfalls — everything you need to get it working in real world.
What is the LD2410?
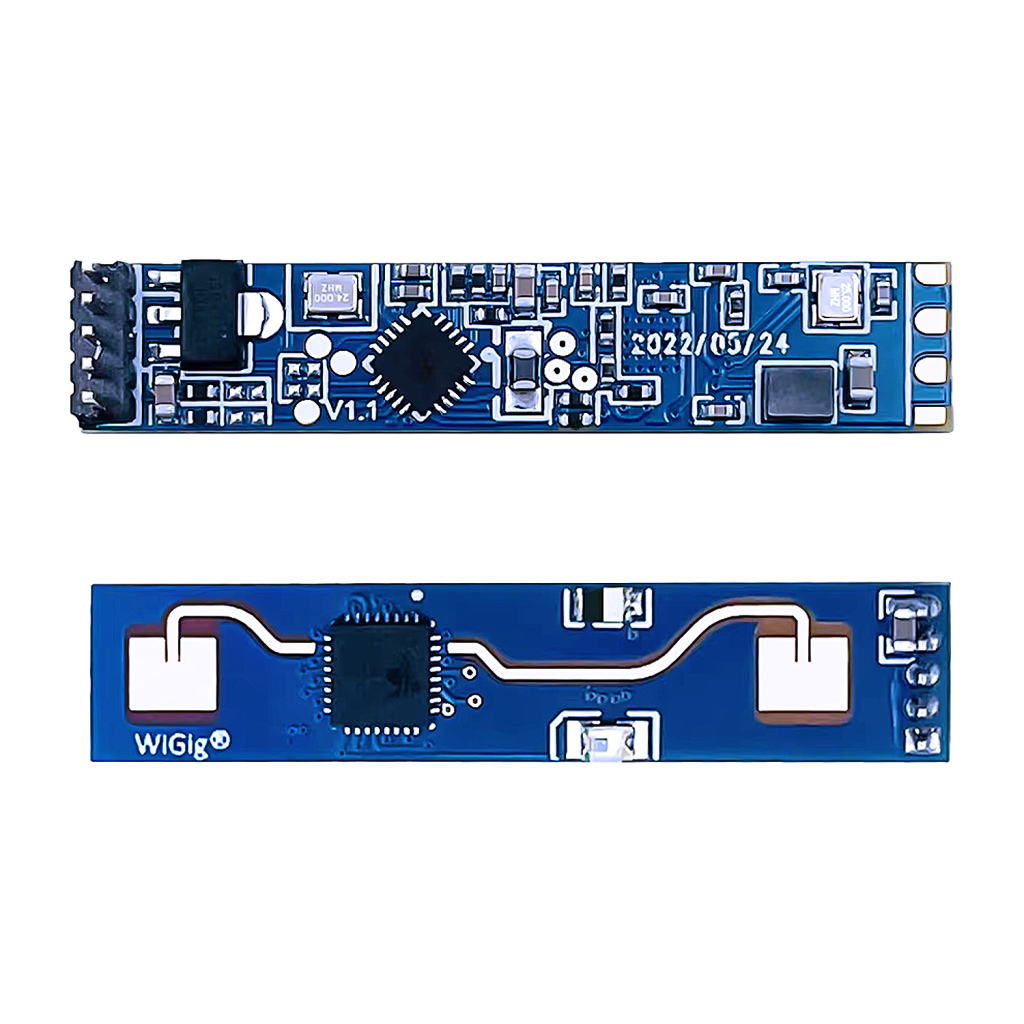
The HLK-LD2410 is a 24 GHz FMCW (Frequency Modulated Continuous Wave) radar module made by Hi-Link. The goal: detect human presence with high sensitivity, both moving and stationary, over a configurable range. It outputs via serial (UART) and via a digital output pin for simple presence detection.
Key differentiators:
- Can detect still or micro-motion (breathing, tiny shifts). Traditional PIR sensors often miss stationary presence.
- Provides distance information (in “gates”) for both moving and still targets.
- Has configurable detection distance, sensitivity per distance “gate”, delay times, etc.
Key Specifications & Performance
Here are the electrical & performance parameters you should know. Think of these as the things that decide whether the LD2410 is suitable for your use case.
| Parameter | Value / Range |
|---|---|
| Operating frequency | approx. 24.00-24.25 GHz (ISM band) |
| Modulation type | FMCW |
| Detection distance | ~ 0.75 m up to 5-6 m, configurable by “distance gates” |
| Distance resolution | 0.75 m per gate |
| Detection angle / field of view | ±60° approximately |
| Power supply / voltage | 5V input. Power source should supply >200 mA |
| IO / communication | UART (default baud 256000, 1 stop bit, no parity) + OUT pin (digital high when presence detected) |
| IO level | Outputs are 3.3V logic level even though module powered from 5V. |
| Ambient / working temperature | −40 °C to +85 °C |
| Size | 7 mm × 35 mm; small form factor. |
Pinout and Wiring
To get started, you’ll need to connect it properly. Here’s the pinout and suggested connections (e.g. with ESP32 or Arduino):
| Pin | Name | Function |
|---|---|---|
| Pin 1 | OUT | Digital status output: High = presence, Low = no presence. |
| Pin 2 | UART_Tx | Serial transmit from module → connect to RX of your MCU/serial interface. |
| Pin 3 | UART_Rx | Serial receive by module ← MCU (if needing to configure module). |
| Pin 4 | GND | Ground. |
| Pin 5 | VCC | Power input 5V. |
Example wiring with ESP32
- VCC → 5V (make sure the 5V rail can handle >200 mA)
- GND → GND
- UART_Tx → ESP32 RX pin (UART)
- UART_Rx → ESP32 TX pin (if you’ll configure module; optional if only using OUT pin + defaults)
- OUT → some GPIO on ESP32 (for a simple interrupt or digital read)
Important: Since the module’s outputs are 3.3V logic, they are safe to feed into 3.3V logic MCU pins. But power is 5V. Also, the default UART baud rate is 256000 which is high; you’ll want to use a hardware UART, not bit-banged, to reliably receive data.

Using the Module: Configuration, Data & Modes
The LD2410 is not just “motion yes/no” — there’s a lot you can tweak. Here’s what you can do, and how people typically use it.
What you can configure
- Max detection distance: Set how many “distance gates” are used (each gate ≈ 0.75m). E.g. only detect up to 2 gates (~1.5 m), or full range (5-6 m).
- Sensitivity per gate: For both moving and stationary targets. You can tune this so only strong targets at certain distances trigger.
- No-one delay (idle timeout): When someone leaves the detection area, how long the module still reports “presence” before switching to “no presence.”
- Behavior of OUT pin vs serial output: OUT is simple, but serial gives richer data (distance, energy / confidence, etc.). Some applications use OUT alone; others parse serial frames.
Data you can get
From the UART you can get:
- Whether a target is detected (moving / stationary / present)
- Distance estimate (in cm or in “gate number multiplied by 0.75 m”)
- “Energy” or confidence for the detection (how strong is the reflection)
OUT pin gives a simpler digital signal: high/low presence. Good for triggering alarms, lights, etc., without parsing data.
Example Code / Integration
Here’s a minimal example of how to integrate the LD2410 with an ESP32 using Arduino code. You’ll use the serial output, read the presence via OUT, etc.
// Basic example for ESP32 with LD2410

#include <HardwareSerial.h>

#define LD2410_RX_PIN 16  // ESP32 RX pin (to module TX)
#define LD2410_TX_PIN 17  // ESP32 TX pin (to module RX) — used for configuration if needed
#define LD2410_OUT_PIN 18 // Digital OUT for presence flag

HardwareSerial ldSerial(1); // Use UART1

void setup() {
  Serial.begin(115200);

  // Setup LD2410 serial
  ldSerial.begin(256000, SERIAL_8N1, LD2410_RX_PIN, LD2410_TX_PIN);

  pinMode(LD2410_OUT_PIN, INPUT);

  // Optional: send configuration commands via ldSerial here if needed
}

void loop() {
  // Check OUT pin
  if (digitalRead(LD2410_OUT_PIN) == HIGH) {
    Serial.println("Presence detected (via OUT pin)");
  } else {
    Serial.println("No presence");
  }

  // Read serial frames
  while (ldSerial.available()) {
    String frame = ldSerial.readStringUntil('\n');
    frame.trim();
    // very basic parsing; in real code you'd parse binary/hex frames
    Serial.print("LD2410 says: ");
    Serial.println(frame);
  }

  delay(500);
}
If you use ESPHome, there’s built-in support: you can define the LD2410 in ld2410: component in your YAML, read moving / stationary / distance / “OUT pin presence” sensors etc.
Practical Tips & Best Practices
From tutorials, datasheets and maker experiences, here are things often overlooked, and tips to get reliable results:
- Make sure the module is firmly mounted, with no vibrations. Movement of the sensor itself can create false positives.
- Avoid environments with constantly moving background (e.g. curtains in breeze, fans, pets) for static presence detection—they introduce noise.
- Use the configuration tool / desktop GUI to adjust gates & sensitivities for your specific space. What works in a lab may not work in a crowded living room.
- Be aware that obstacles (walls, materials, furniture) affect detection distance & reliability. The module can “see” through some non-metal materials, but performance degrades.
- If using in an enclosure (radome etc.), ensure the material is radar-transparent (non-metal, low loss at 24GHz) and seal carefully.
- Keep supply rails clean (good 5V regulation) to avoid noisy signals. With UART at high baud rate, any voltage sag or noise can affect communication.
Use Case Ideas & Projects
Here are some ways you can use the LD2410 in projects:
- Smart lighting / occupancy: detect if someone is very still (reading, sitting), then dim instead of off.
- HVAC / ventilation control: only run fans / ventilation when there is presence, reducing energy consumption.
- Security / alerting: detect movement (intrusion) or even micro-motion (breathing behind a barrier) in safety systems.
- “Wake up” screens / displays: turn on when someone approaches, sleep when they leave. Similar to people walking by a kiosk or store display.
- Integrate with Home Assistant / ESPHome: combining LD2410 with other sensors (temperature, light) to build more context-aware automations.
When LD2410 isn’t ideal
To be fair, there are scenarios where LD2410 might not be the best:
- If you only need very cheap motion detection and don’t care about micro-motions, a PIR might suffice.
- If you need detection through thick metal, glass with metal layers, etc., performance may degrade.
- Outdoors in heavy rain/snow or in very humid conditions might introduce issues. (Though it handles a wide temperature range.)
- If power is very constrained: 80 mA draw is not tiny, especially if always on.
Summary & Recommendation
The HLK-LD2410 is a powerful module for human presence detection beyond what simple PIR or IR sensors offer. Its ability to detect stationary or micro-motion, adjustable range, and dual output (digital + serial) make it flexible. If you need more than on/off presence, or want distance info, or are building something that needs reliability even when people aren’t moving much — this is a great choice.