
Reference
Start Here: Your First ESP32 HomeKit Accessory
A step-by-step path through this site, from choosing HomeKit or Matter to a working ESP32 accessory you can update over the air.
- ESP32
- HomeKit
- Safety notes
- 3 min read
ESP32 HomeKit projects look easy until the first hour, when Docker, ESP-IDF, flashing and pairing all arrive at once. This page puts the guides and projects on this site in the order that works for a first build, so each step prepares you for the next.
The path ends with a working HomeKit accessory that you can update over the air, and points to what to build after that.
What you need before you start
- A computer where you can install Docker Desktop, Git and Python 3 (Windows, macOS or Linux).
- An ESP32 development board. The beginner guide recommends an ESP32-WROOM-32D board because it has USB built in and buttons.
- A USB cable, an LED and the wiring parts listed in the LED project.
- An iPhone or iPad with the Home app.
1. Decide: HomeKit or Matter
Both keep control on your local network, but they work in different places and are certified differently. A few minutes here saves you from starting on the wrong path. If you only use Apple Home, HomeKit is the route the rest of this page follows.
2. Know your board
The beginner guides use the ESP32-WROOM-32D. Its pinout guide lists every GPIO with its boot behaviour, so you know which pins are safe before you wire anything. Keep it open while you build.
3. Set up your tools, the easy way
You do not install ESP-IDF on your computer. The guide has you run it in Docker, using Espressif’s official image, and explains each tool in plain words: Docker, ESP-IDF, Git, Python and esptool. It goes on to configuring Wi-Fi, compiling, flashing and adding the accessory to Apple Home, so this is the longest step and the most important one.
ESP32 HomeKit for total beginners 17 min read
4. Build your first accessory
A single LED you can switch from the Home app or with Siri, with no extra hub. It is small enough to finish in one sitting and proves that your toolchain, flashing and pairing all work.
HomeKit LED 4 min read
5. Stop hard-coding Wi-Fi
Typing your Wi-Fi name and password into the firmware works for one device on your own desk. WiFi Bootstrap adds a captive portal for onboarding, stores the credentials in flash and has a SoftAP fallback. It is demonstrated with the same HomeKit LED you just built.
ESP32 WiFi Bootstrap 5 min read
6. Update over the air
Once a device is installed somewhere awkward, you do not want to reach for a USB cable. Lifecycle Manager handles network setup and updates before your own application starts. This is a slow, friendly walk-through for OTA updates, written for people who get stuck early.
ESP32 Lifecycle Manager V2 21 min read
7. Label it like a real product
A small tool generates a HomeKit pairing label with a scannable QR code, the setup code, the MAC address and barcoded serials. Optional, but it makes sharing or giving away a device much easier than a code on a scrap of paper.
HomeKit QR code guide 8 min read
Where to go next
- A colourful next build: HomeKit NeoPixel controller, an LED strip you control from the Home app, on a small ESP32-C3 board.
- Matter: esp32-matter is a toolkit for Matter devices on the ESP32, and it is under active development.
- Everything on one board or sensor: browse the guides for pinouts and component references.
Not your second project
The smart-plug projects, such as the ESP32 power plug, involve mains voltage and carry a high-voltage warning. Build several low-voltage projects first, and read that warning in full before you open any plug.
Stuck?
Check the FAQ first. If your question is not there, use the contact form and say which step you are on, which board you have and what you already tried.
Related
 Guide
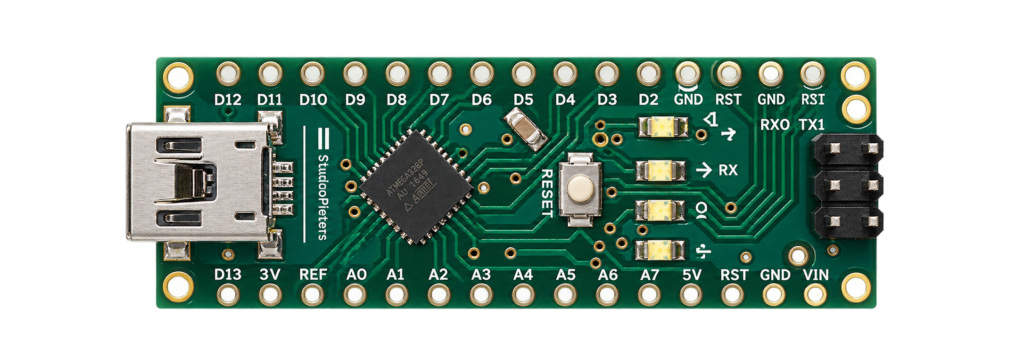
Arduino Nano Pinout
The complete pin reference for the classic ATmega328P-based Arduino Nano: 14 digital pins, 8 analog inputs, and the exact pins you can safely reuse.
Read more
Guide
Arduino Nano Pinout
The complete pin reference for the classic ATmega328P-based Arduino Nano: 14 digital pins, 8 analog inputs, and the exact pins you can safely reuse.
Read more
 Reference
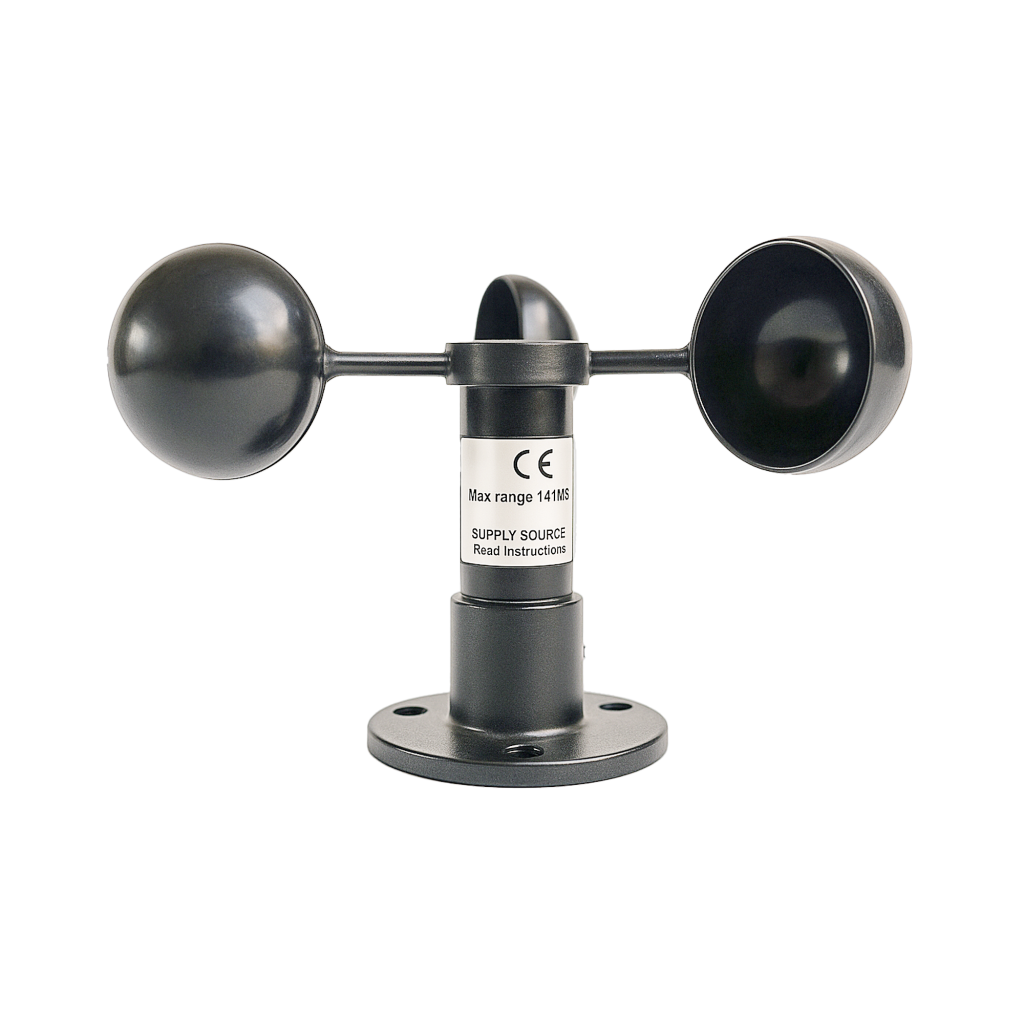
Guide to the HWFS-1 Anemometer
A passive, cup-style wind speed sensor with a built-in voltage generator, no external power needed. This guide covers the analog output, wiring to an ESP32 ADC pin, and the calibration formula to convert voltage into km/h or m/s.
Read more
Reference
Guide to the HWFS-1 Anemometer
A passive, cup-style wind speed sensor with a built-in voltage generator, no external power needed. This guide covers the analog output, wiring to an ESP32 ADC pin, and the calibration formula to convert voltage into km/h or m/s.
Read more
 Guide
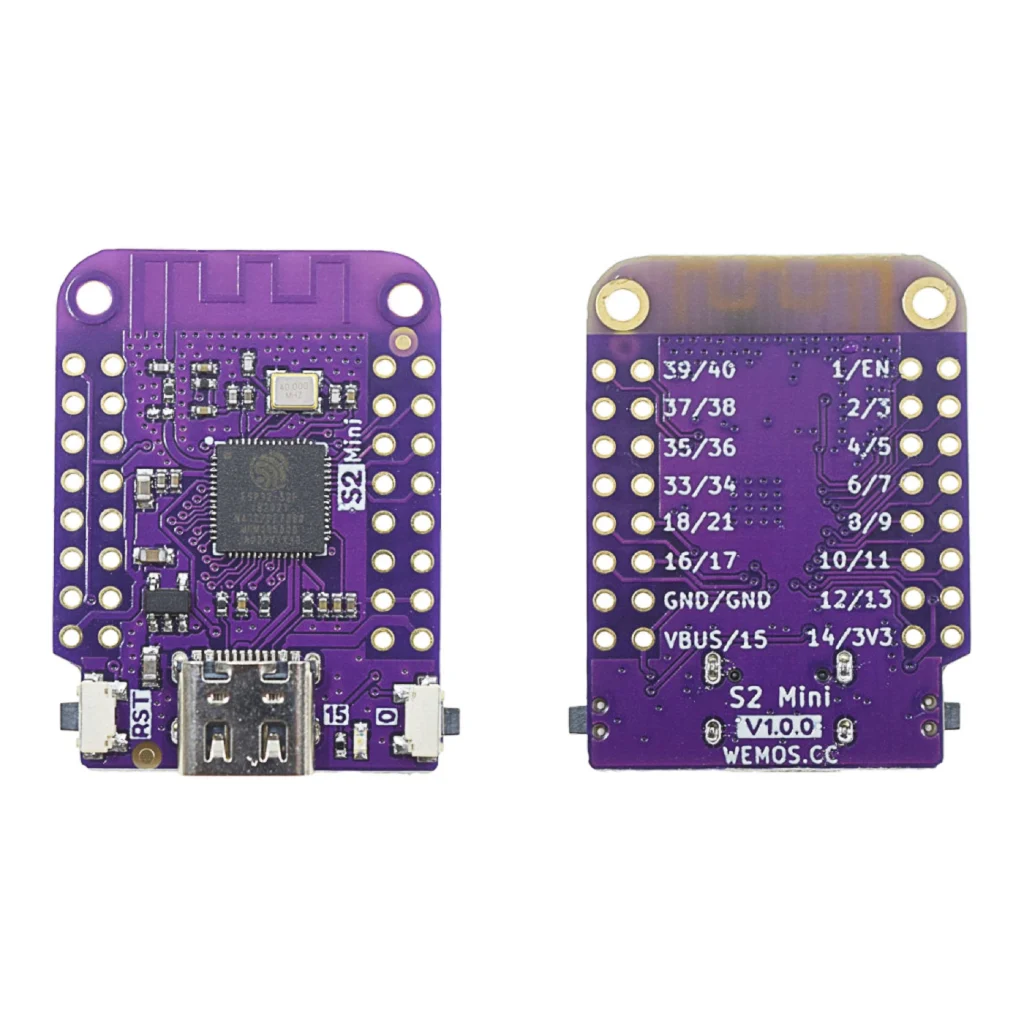
ESP32-S2 Mini Pinout
The complete pin reference for the WEMOS/Lolin S2 Mini: native USB, 14 capacitive touch pins, and no Bluetooth at all.
Read more
Guide
ESP32-S2 Mini Pinout
The complete pin reference for the WEMOS/Lolin S2 Mini: native USB, 14 capacitive touch pins, and no Bluetooth at all.
Read more
More guides
Keep building.
From ESP32 HomeKit accessories to Arduino and ATtiny reference guides, there’s more where this came from.
All guides