
Electronics
Raspberry Pi Zero W HAT Template for KiCad
A ready-made KiCad starting point for a Raspberry Pi Zero W HAT: the exact board outline, mounting holes and 40-pin header, plus a 3D model, MIT licensed. Includes a walkthrough for creating your own KiCad symbol.
- Raspberry Pi
- KiCad
- 3 min read
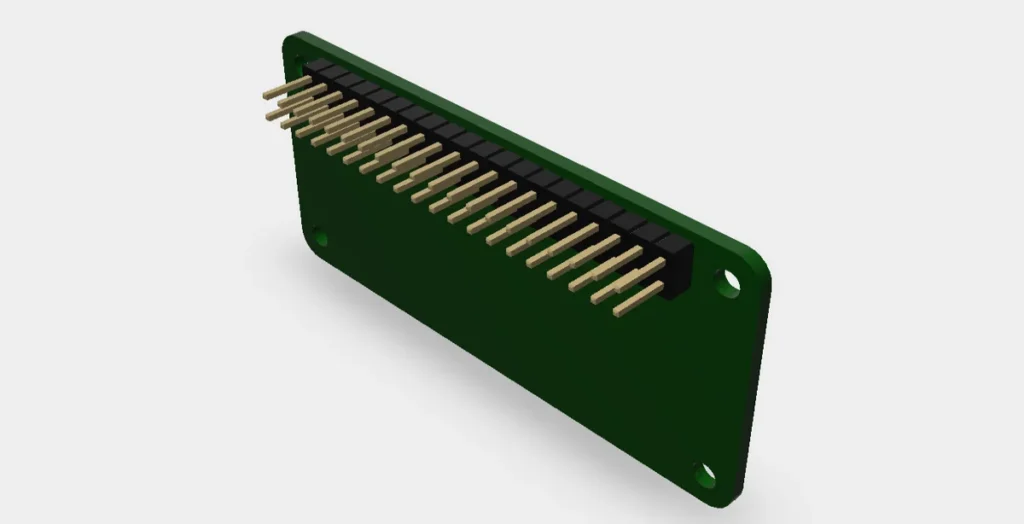
When you design an add-on board for a Raspberry Pi Zero W, the fiddly part is getting the outline, the mounting holes and the header exactly right, before you have placed a single component. This KiCad template gives you that starting point, so you can begin with your own circuit instead.
The same repository also holds a step-by-step walkthrough for creating your own KiCad symbol, which is included further down.
What is in the template
The template is the basis for an expansion board (a HAT) for the Raspberry Pi Zero W. The board edge has the same size as the Raspberry Pi Zero W, with the connectors placed so the two boards line up. Every IO pin present on the Raspberry Pi board is connected to your project through 0.1 inch expansion headers.
- KiCad project: schematic, PCB layout, netlist and project file.
- 3D model: a STEP file of the board with its header.
- Preview images: the board drawing and a 3D view.
- Two extra power pads, marked PP1 and PP6 on the board drawing.
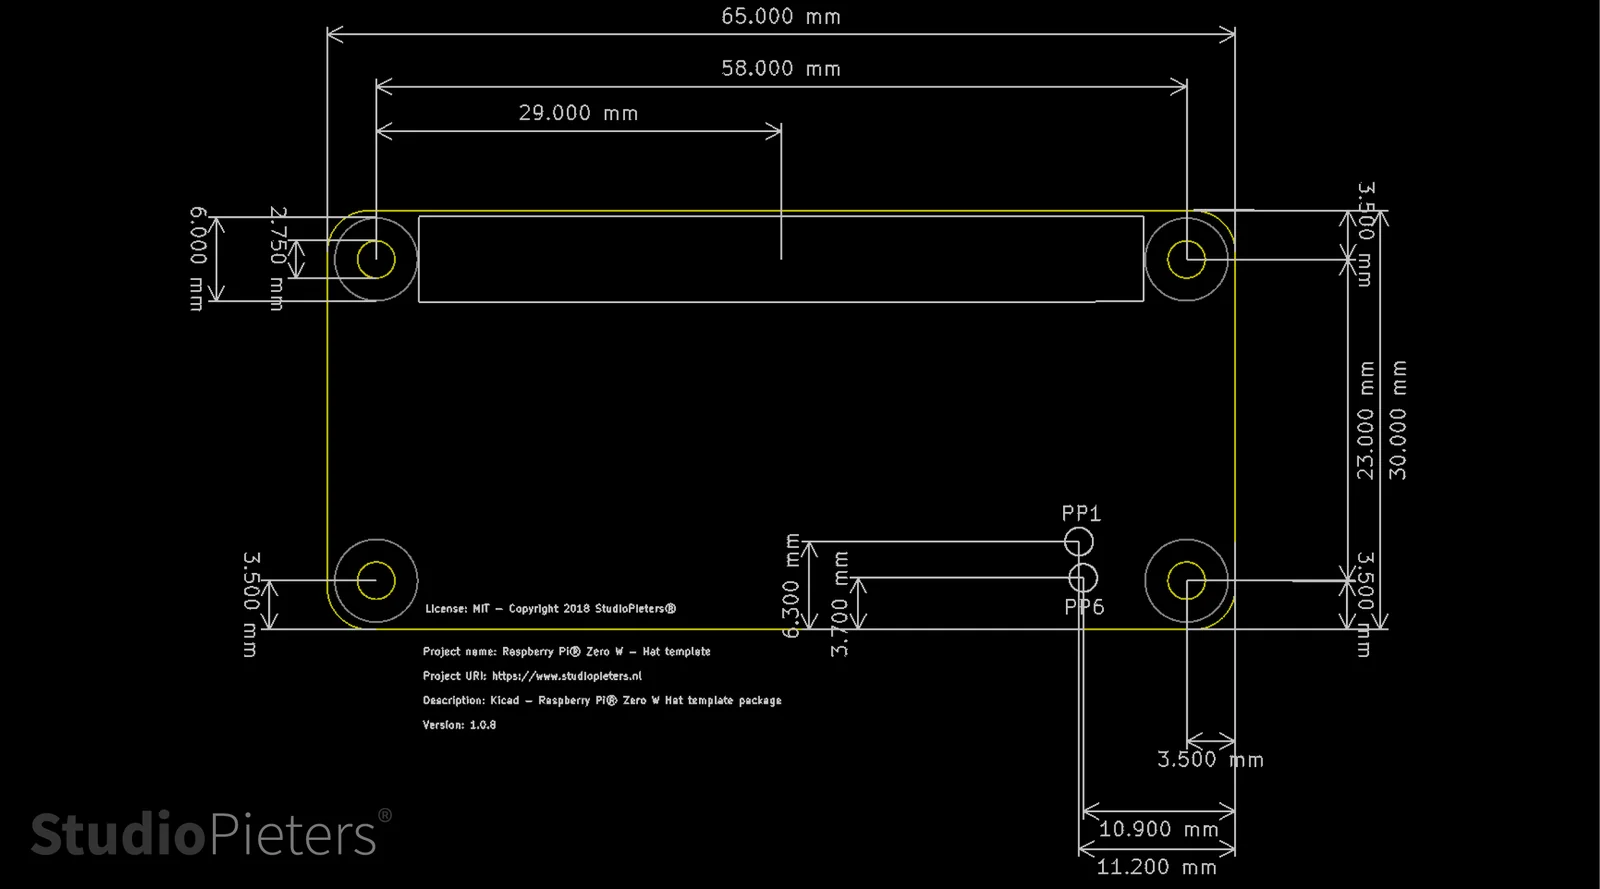
Board outline and dimensions
The board drawing shows every dimension you need. The outline is 65 mm by 30 mm. The four mounting holes sit 3.5 mm from the edges, 58 mm apart along the long side and 23 mm apart along the short side. The 2 x 20 pin header (Conn_02x20 in the schematic) runs along the top edge.
3D model
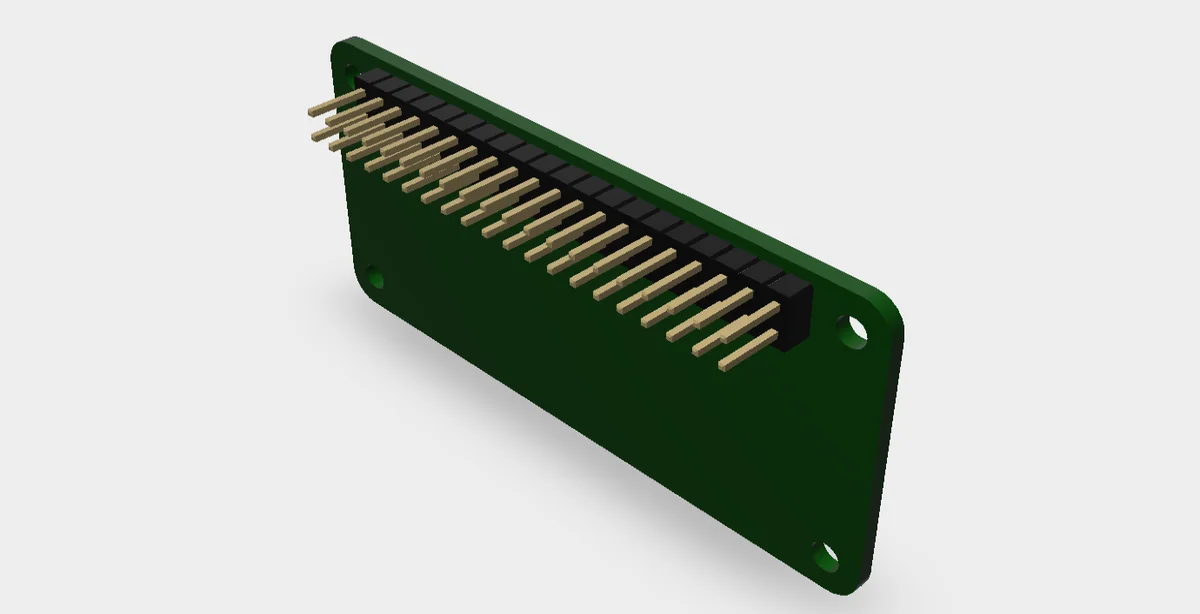
The repository includes a STEP model of the board with its header. Use it to check how the finished HAT sits on the Pi, or how it fits an enclosure you are designing.
Get the files
The files are in the KiCad-Templates repository on GitHub, in the folder Kicad Templates/Raspberry Pi Zero W. The README mentions a Releases page, but no release has been published, so download the repository as a ZIP or clone it.
The folder has the layout of a KiCad project template: a meta folder with the description, a board preview and an icon. To start new projects from it, place it in your KiCad templates location and use File, New Project from Template. The exact location depends on your KiCad version, so check the KiCad documentation.
It is released under the MIT licence, copyright 2018 StudioPieters: free to use, copy and modify, as long as the copyright notice stays with it.
Also in the repository: create your own KiCad symbol
The repository also contains 20 screenshots that walk through creating a new symbol library and a first symbol, using an NE555 timer as the example. They come from KiCad 5.1.5, so menus and dialogs can look different in newer versions, but the order of the steps stays the same.
1. Create a library
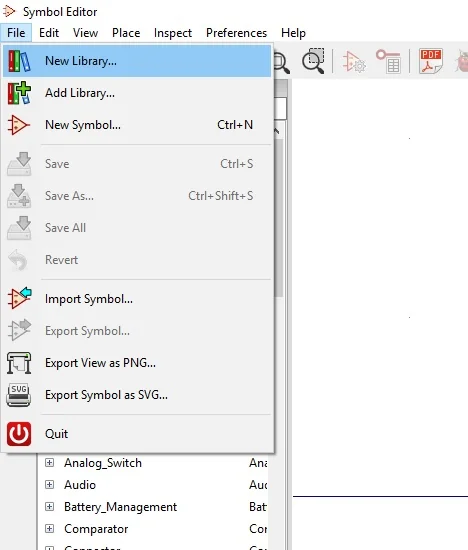
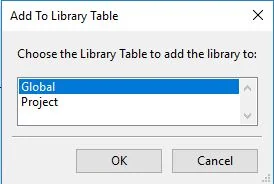
Open your project in KiCad and start the Symbol Editor. From the File menu choose New Library, and give the library a name. Here it is StudioPieters_Library, saved as a KiCad symbol library file. KiCad then asks whether to add it to the Global or the Project library table.

2. Start a new symbol
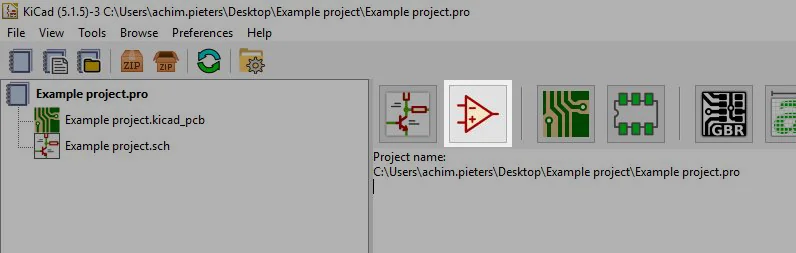
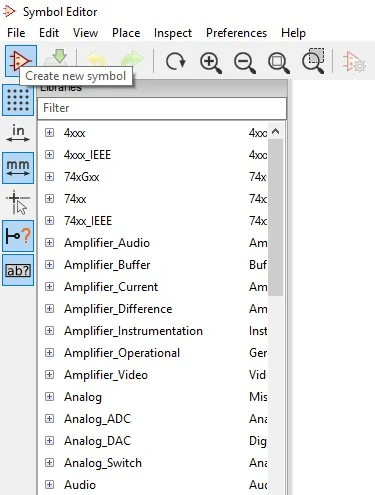
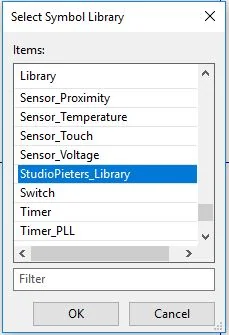
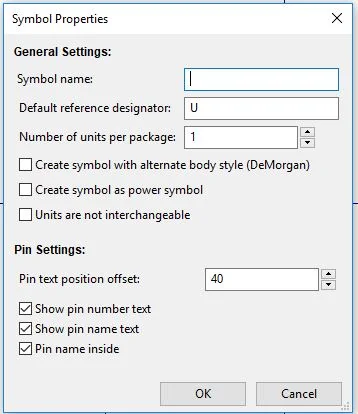
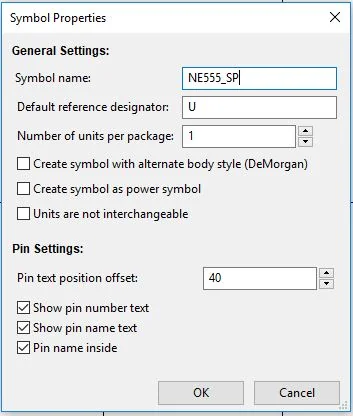
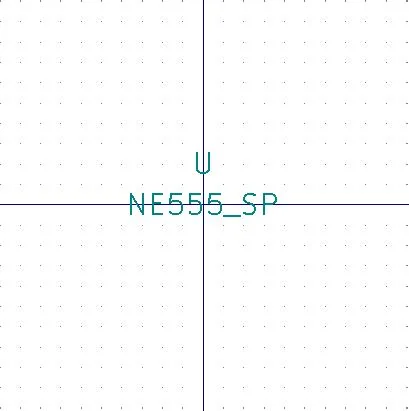
Click the Create new symbol button, and select your new library from the list. In Symbol Properties, give the symbol a name and a reference designator. Here the name is NE555_SP and the reference is U. The name and reference then appear on the empty canvas.
3. Draw the body
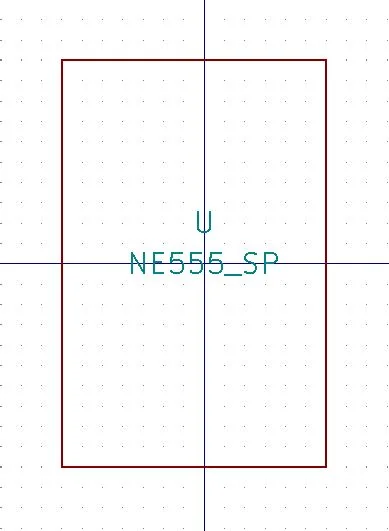
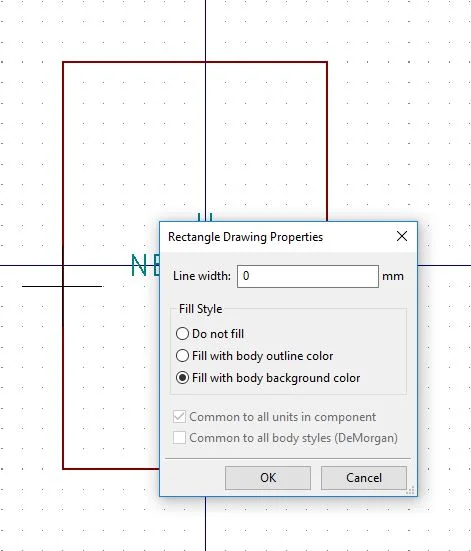
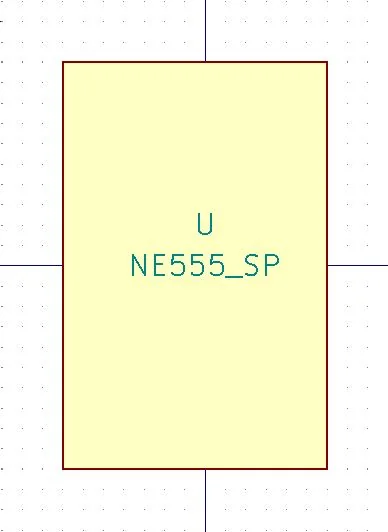
The tools for drawing are in the toolbar on the left, including select, add pin, text, rectangle, circle, arc and polyline. Draw a rectangle for the body, then open its properties and choose Fill with body background color so the body is filled.

4. Add the pins
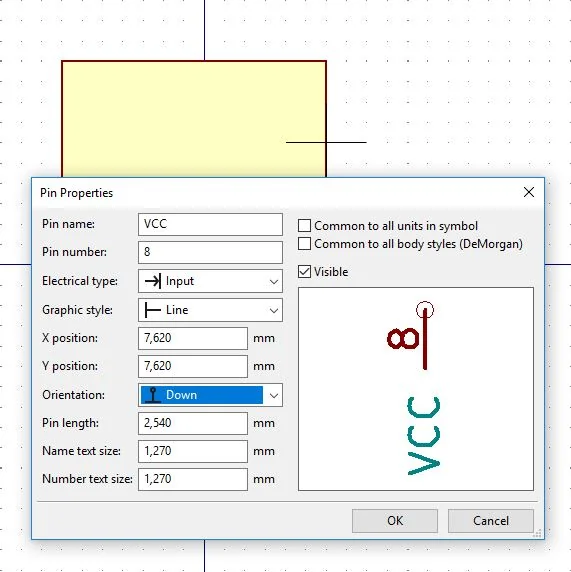
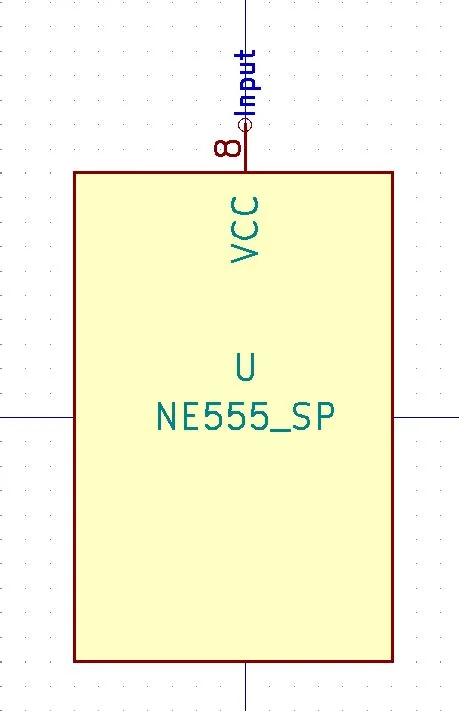
Place a pin, then edit its properties: a name, a number, an electrical type and an orientation. The first example is VCC, pin 8, with the orientation set to point down. Repeat this for each pin. The finished example has RESET (4), THRES (6), TRIG (2), CONT (5), VCC (8) and GND (1).
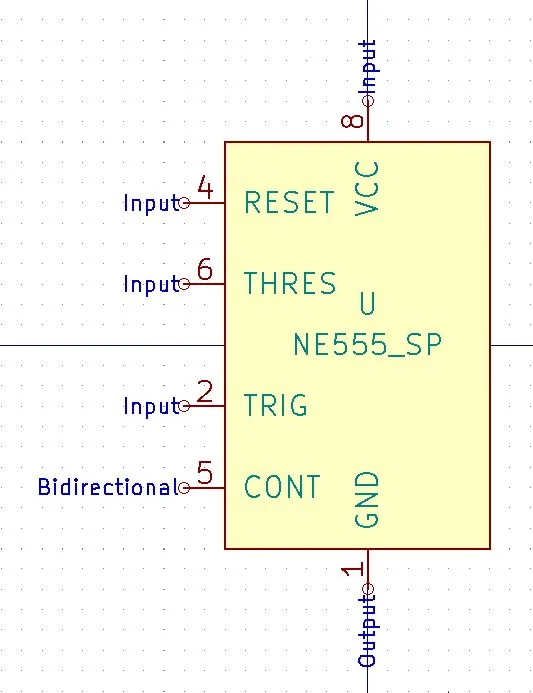
5. Save it and use it
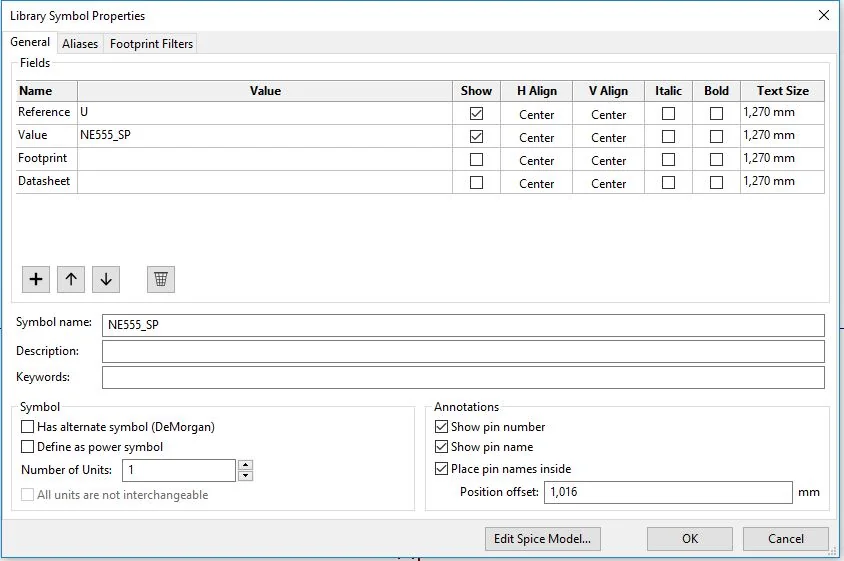
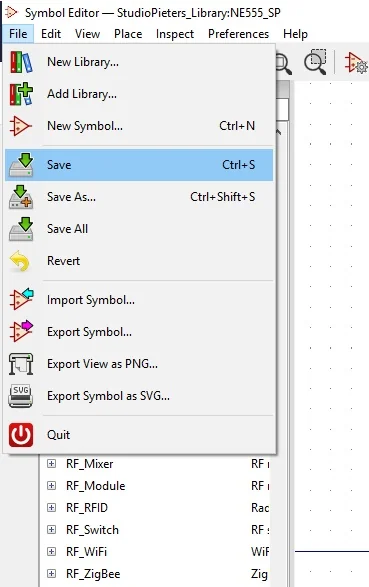
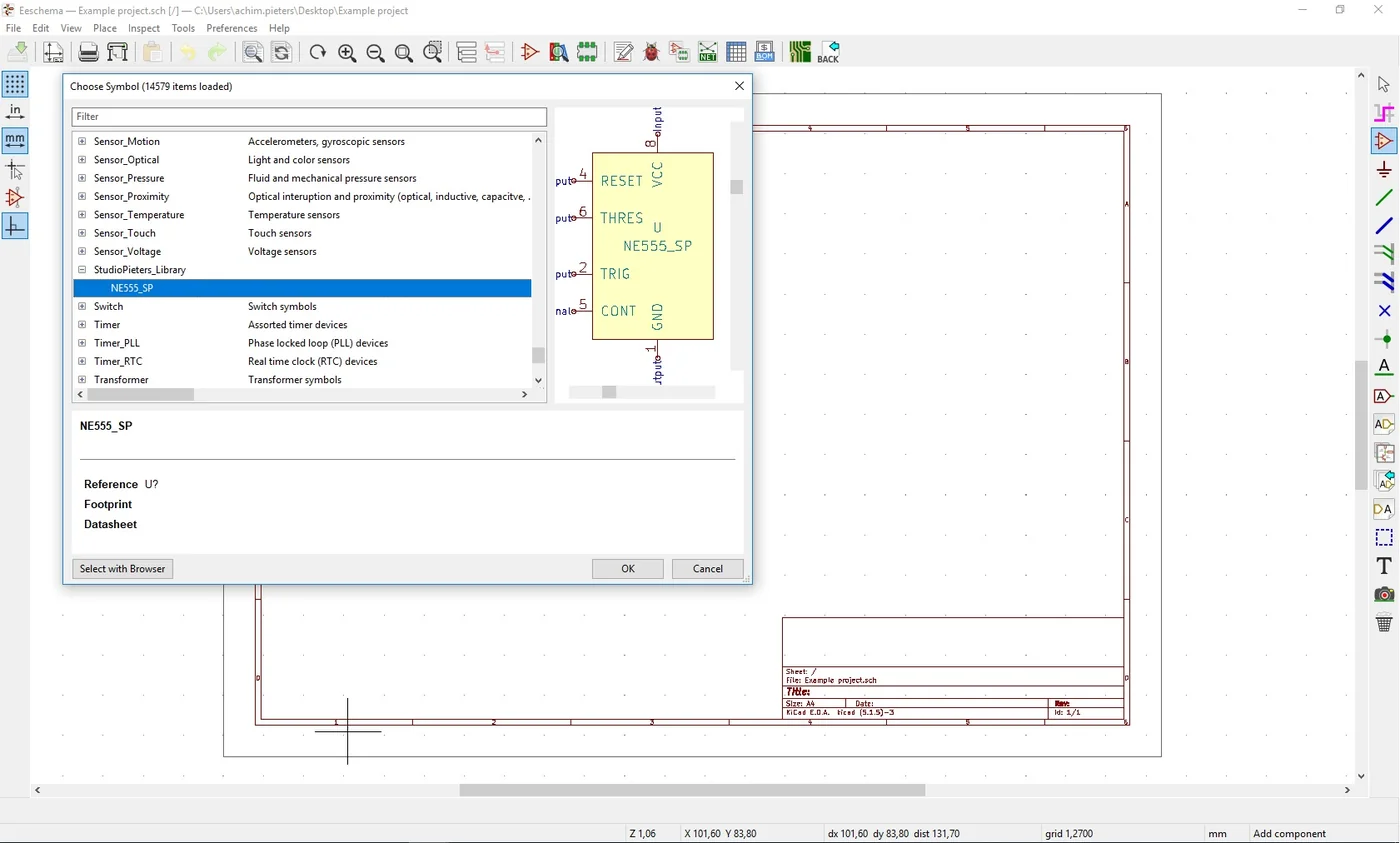
Check the Library Symbol Properties: the reference should be U and the value NE555_SP. Then save from the File menu. Back in the schematic editor, the symbol is in the symbol chooser, under your own library, with a preview.

Related
 Opinion
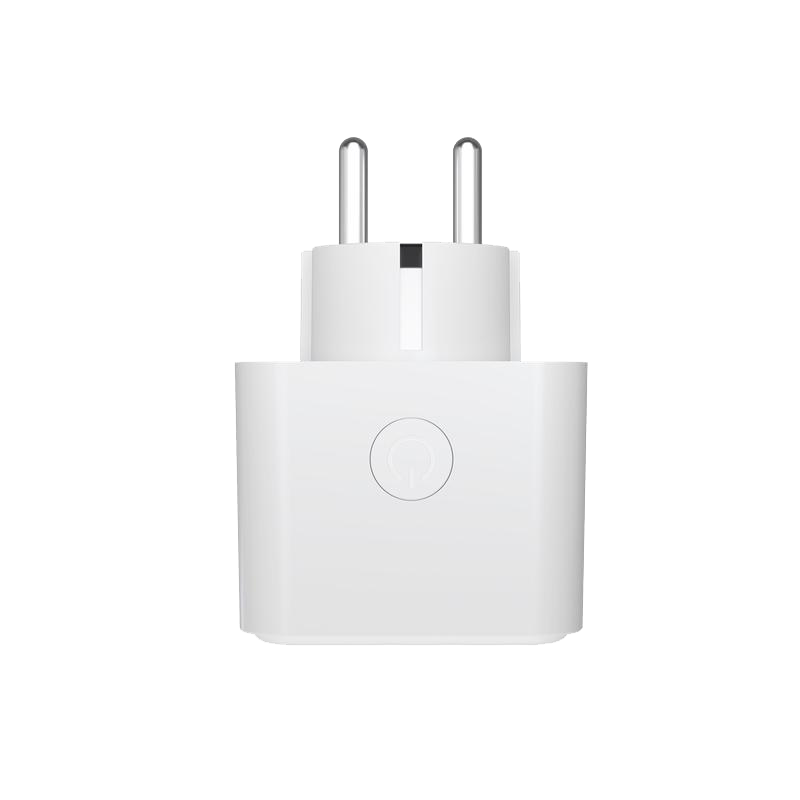
Why You (Should or Shouldn’t) Buy a Smart Plug from Action
Budget smart plugs from Action and HEMA are cheap because they're all the same Tuya white-label hardware behind the scenes, and that convenience comes with your data routing through Tuya's servers. Here's what's actually inside one, and why reflashing it with your own firmware is the better deal.
Read more
Opinion
Why You (Should or Shouldn’t) Buy a Smart Plug from Action
Budget smart plugs from Action and HEMA are cheap because they're all the same Tuya white-label hardware behind the scenes, and that convenience comes with your data routing through Tuya's servers. Here's what's actually inside one, and why reflashing it with your own firmware is the better deal.
Read more
 Electronics
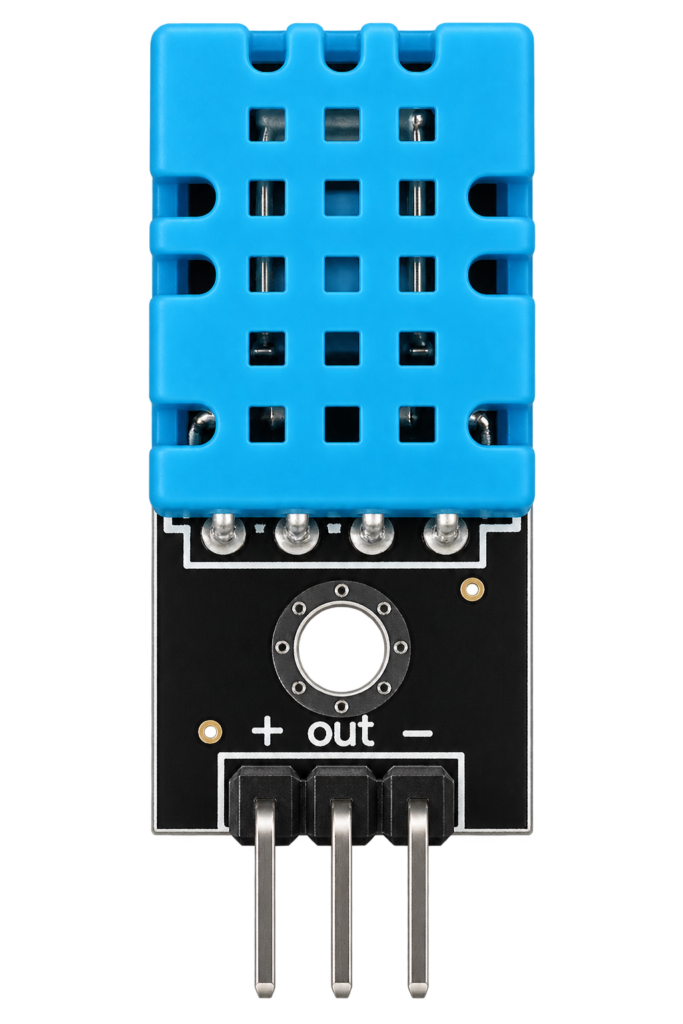
Temperature and Humidity for Homebridge with an ESP-01
An ESP-01 with a DHT11 that answers a web request with the temperature and humidity as JSON, for Homebridge.
Read more
Software
ESP32 DHT Driver for ESP-IDF
A driver for DHT11, DHT22 (AM2301) and Si7021 temperature and humidity sensors on the ESP32, packaged as an ESP-IDF component with an example.
Read more
Electronics
Temperature and Humidity for Homebridge with an ESP-01
An ESP-01 with a DHT11 that answers a web request with the temperature and humidity as JSON, for Homebridge.
Read more
Software
ESP32 DHT Driver for ESP-IDF
A driver for DHT11, DHT22 (AM2301) and Si7021 temperature and humidity sensors on the ESP32, packaged as an ESP-IDF component with an example.
Read more
More projects
Keep building.
Electronics, 3D printing and CNC builds, documented from the first idea to the last screw.
All projects