If you read my HomeKit articles, you will have seen that I use Docker to compile my code. Docker is operating-system-level virtualisation mainly intended for developers and sysadmins. Docker makes it easier to create and deploy applications in an isolated environment.
Dockerfile
A Dockerfile is a script that contains collections of commands and instructions that will be automatically executed in sequence in the docker environment for building a new docker image. In this blog, I will show you how to create your own Docker image with a Dockerfile. We will explain detail related to the Dockerfile to enable you to build your own Docker image.

Installing Prerequisites
Before we can install the software we need to install some software. Because I using a MacBook Pro with macOS 10.15.6 (Catalina) at this time of writing. I’m using Docker to install some docker files. You can also use Oracle Virtual Box and install Ubuntu, but this is a little more complicated, because you need to switch between the two OSes. For this guide, we will use the Ubuntu 20.04 with 1 GB of RAM, 25 GB free disk space, and 2 CPU’s. Also, we will use Ubuntu 20.04 as the base image to build the custom Docker image.

Download Docker
Okay let’s get started go to https://www.docker.com and press “Get Started” and press on “Download for Mac“. before you can download your free version you need to make an account. be sure to write it down because you will need it later. When you made your account you can login on the site and download your free version.
![]()
Docker Desktop for Mac
Docker Desktop for Mac is an easy-to-install desktop app for building, debugging, and testing Dockerized apps on a Mac. Docker Desktop for Mac is a complete development environment deeply integrated with the Mac OS Hypervisor framework, networking, and filesystem. Docker Desktop – Mac is the fastest and most reliable way to run Docker on a Mac.

System requirements
Your Mac must meet the following requirements to successfully install Docker Desktop:
- Mac hardware must be a 2010 or a newer model, with Intel’s hardware support for memory management unit (MMU) virtualization, including Extended Page Tables (EPT) and Unrestricted Mode. You can check to see if your machine has this support by running the following command in a terminal:
sysctl kern.hv_supportIf your Mac supports the Hypervisor framework, the command printskern.hv_support: 1. - macOS must be version 10.13 or newer. That is, Catalina, Mojave, or High Sierra. We recommend upgrading to the latest version of macOS.If you experience any issues after upgrading your macOS to version 10.15, you must install the latest version of Docker Desktop to be compatible with this version of macOS.Note: Docker supports Docker Desktop on the most recent versions of macOS. That is, the current release of macOS and the previous two releases. Docker Desktop currently supports macOS Catalina, macOS Mojave, and macOS High Sierra.As new major versions of macOS are made generally available, Docker stops supporting the oldest version and support the newest version of macOS (in addition to the previous two releases).
- At least 4 GB of RAM.
- VirtualBox prior to version 4.3.30 must not be installed as it is not compatible with Docker Desktop.
Install and run Docker Desktop on Mac
- Double-click
Docker.dmgto open the installer, then drag the Docker icon to the Applications folder.
- Double-click
Docker.appin the Applications folder to start Docker. (In the example below, the Applications folder is in “grid” view mode.) The Docker menu in the top status bar indicates that Docker Desktop is running, and accessible from a terminal.
 If you’ve just installed the app, Docker Desktop launches the onboarding tutorial. The tutorial includes a simple exercise to build an example Docker image, run it as a container, push and save the image to Docker Hub.
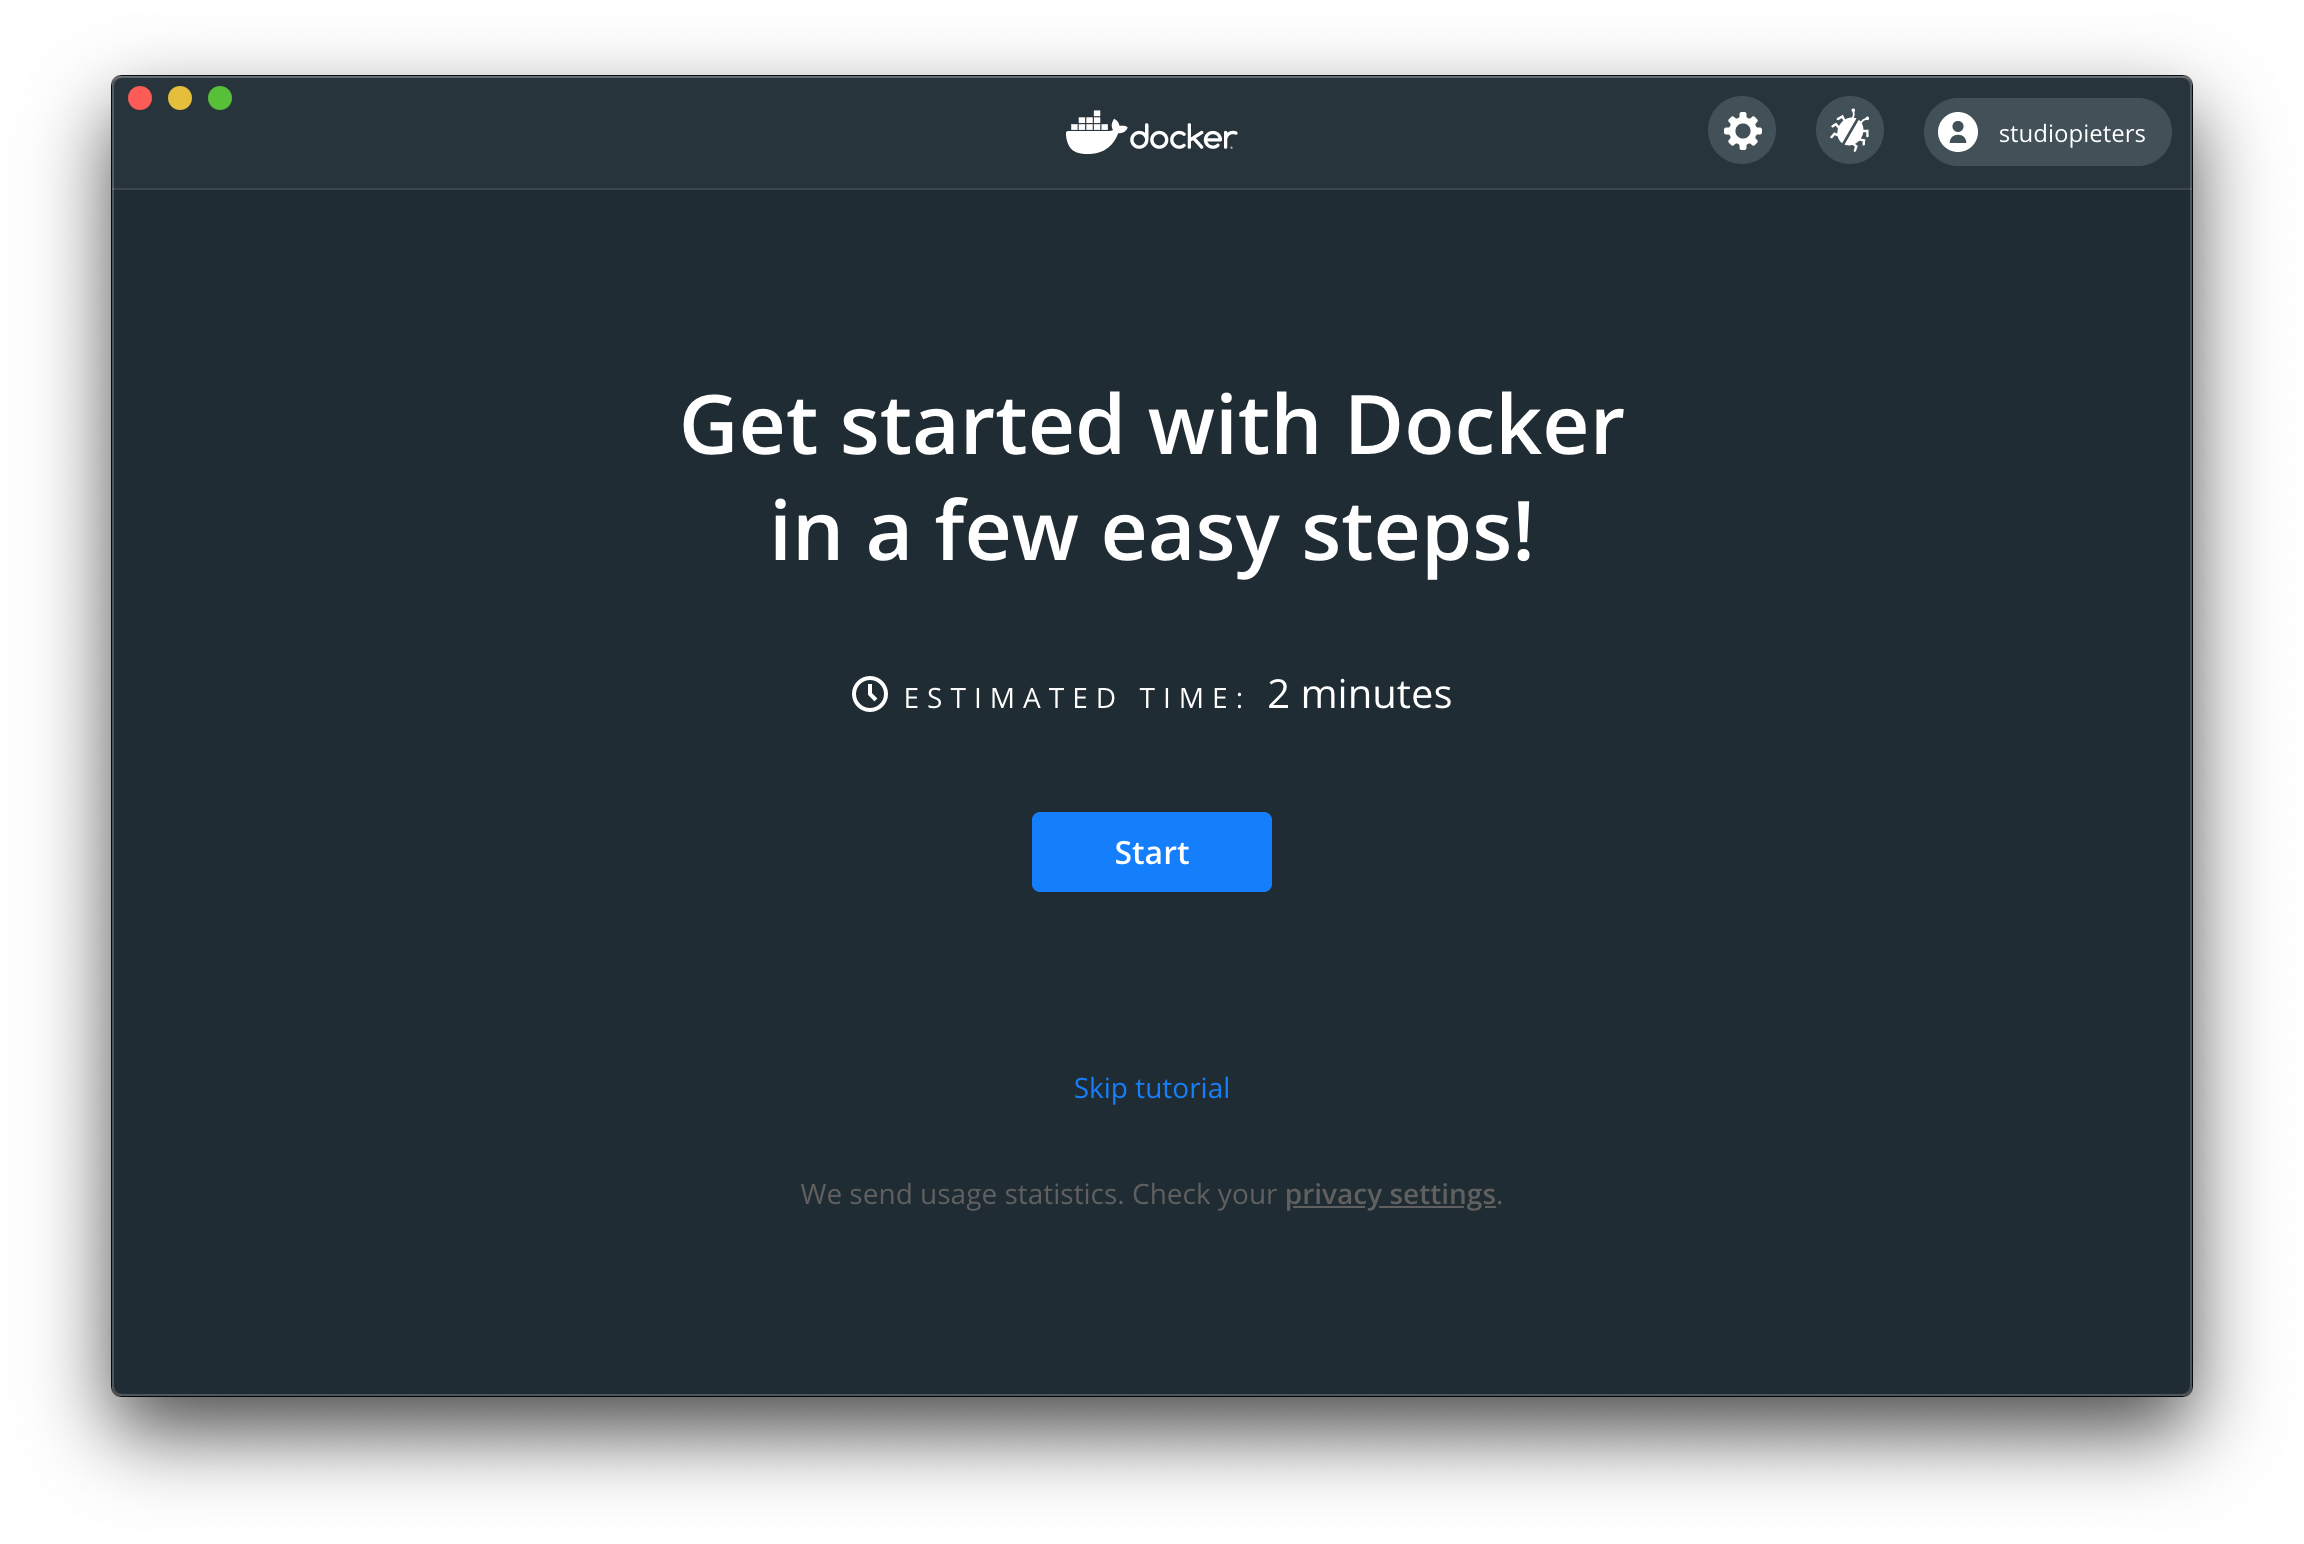
- Click the Docker menu (
 ) to see Preferences and other options.
 - Select About Docker to verify that you have the latest version.
Congratulations! You are now successfully running Docker Desktop.

ATOM
Atom is a free and open-source text and source code editor for macOS, Linux, and Microsoft Windows with support for plug-ins written in Node.js, and embedded Git Control, developed by GitHub. Atom is a desktop application built using web technologies. Most of the extending packages have free software licenses and are community-built and maintained. You can download your free copy here.
Introduction to the Dockerfile Command
A Dockerfile is a script that contains all commands for building a Docker image. The Dockerfile contains all instructions that will be used to create the Docker image with the ‘docker build‘ command.
Before creating your first Dockerfile, you should familiar with the Dockerfile instruction. Below some Dockerfile instruction that you must know.
FROM
Set the base-image for the new image that you want to create. The FROM instruction will initialise the new build-stage and must be located at the top of the Dockerfile. With this instruction, you can add additional information about your Docker image, such as the version, description, maintainer, etc. The LABEL instruction is a key-value pair that allows you to add multiple labels and multi-line values.
RUN
This instruction used to execute command during the build process of the docker image. You can install additional packages needed for your Docker images.
ADD
The ADD instruction is used to copy files, directories, or remote files from URL to your Docker images, from the ‘src‘ to the absolute path ‘dest‘. Also, you can set up the default ownership of your file.
ENV
The ENV instruction is used to define an environment variable that can be used during the build stage and can be replaced inline in many as well.
CMD
The CMD instruction is used to define the default command to execute when running the container. And the Dockerfile must only contain one CMD instruction, and if there is multiple CMD, the last CMD instruction will be run.
EXPOSE
This instruction is used to expose the container port on the specific network ports at runtime. The default protocol exposed is TCP, but you can specify whether the TCP or UDP.
ARG
The ARG instruction is used to define a variable that the user can pass at the built-time. You can use this instruction in the docker ‘build command’ during the build time using the ‘–build-arg variable=value’ option and can be pass through the Dockerfile. Also, you can use multiple ARG at the Dockerfile.
ENTRYPOINT
The ENTRYPOINT instruction is used to define the first and default command that will be executed when the container is running. Define the command to start your application with the ENTRYPOINT instruction.Advertisement
WORKDIR
The WORKDIR instruction is used to define the default working directory of your Docker image. The RUN, CMD, ENTRYPOINT, and ADD instructions follow the WORKDIR instruction. You can add multiple WORKDIR instruction on your Dockerfile, and if there is doesn’t exist, it will be created automatically.
USER
The USER instruction is used to define the default user or gid when running the image. The RUN, CMD, and ENTRYPOINT follow the USER instruction in the Dockerfile.
VOLUME
The VOLUME instruction ad used to enable access/linked directory between the container and the host machine.
Now, let’s start to create the first Dockerfile.
Create Dockerfile and Other Configurations
In this step, we will show you how to build a custom Docker image for your application using the Dockerfile. We will create a new custom Docker image based on Ubuntu 20.04 image, for the PHP-FPM and Nginx services, then run the new container with a simple phpinfo script.

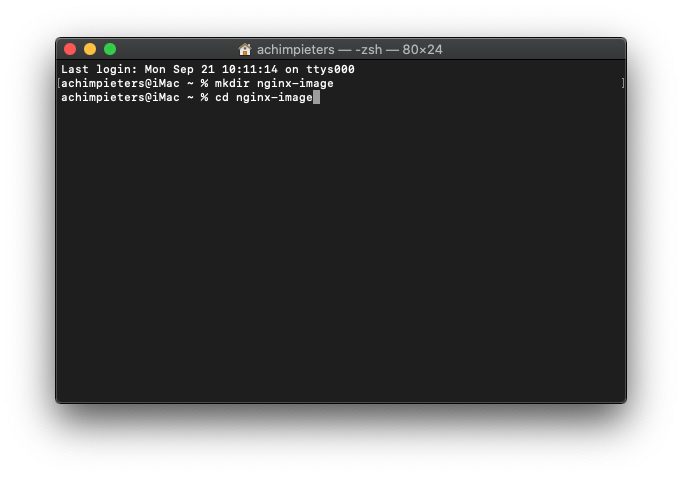
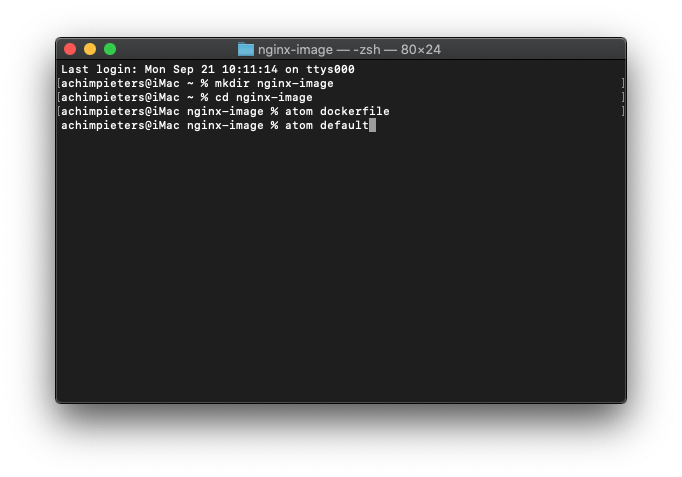
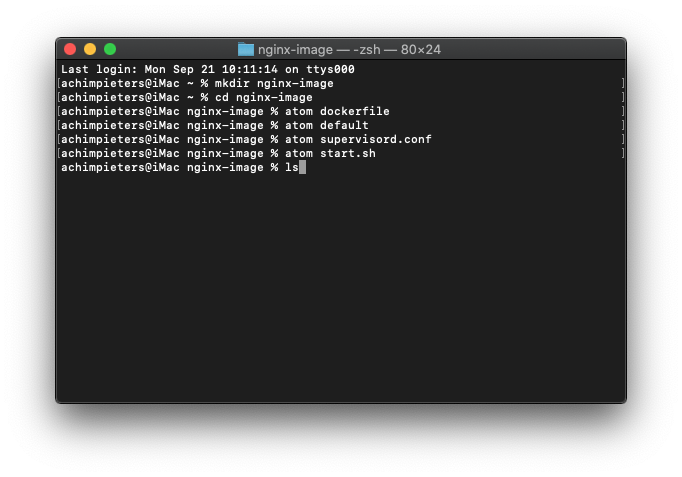
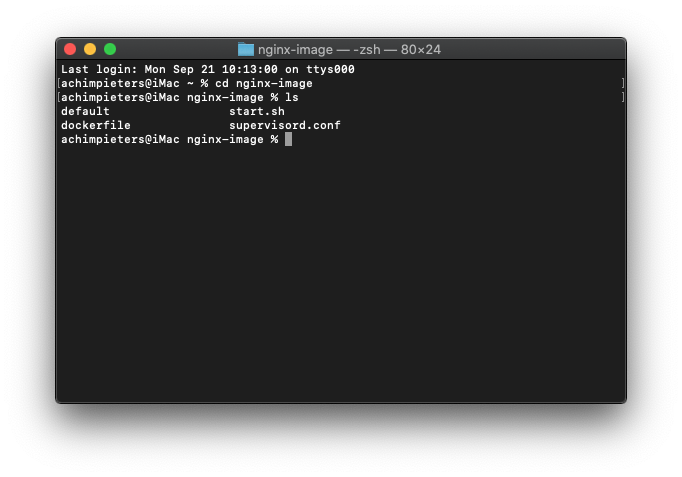
First, create a new project directory and create an empty Dockerfile. Open the Terminal app. Click the Finder icon in your dock. Click Go. Click Utilities. Double-click Terminal. Type mkdir Nginx-image and press Enter.
mkdir nginx-image

Change into the directory by typing cd nginx-image and press Enter.
cd nginx-image
Make a new file in atom called Dockerfile by typing atom dockerfile and press Enter. Now Atom will automatically make the file and open the Atom application.
atom dockerfile

Now edit the ‘Dockerfile‘ script using the Atom editor.
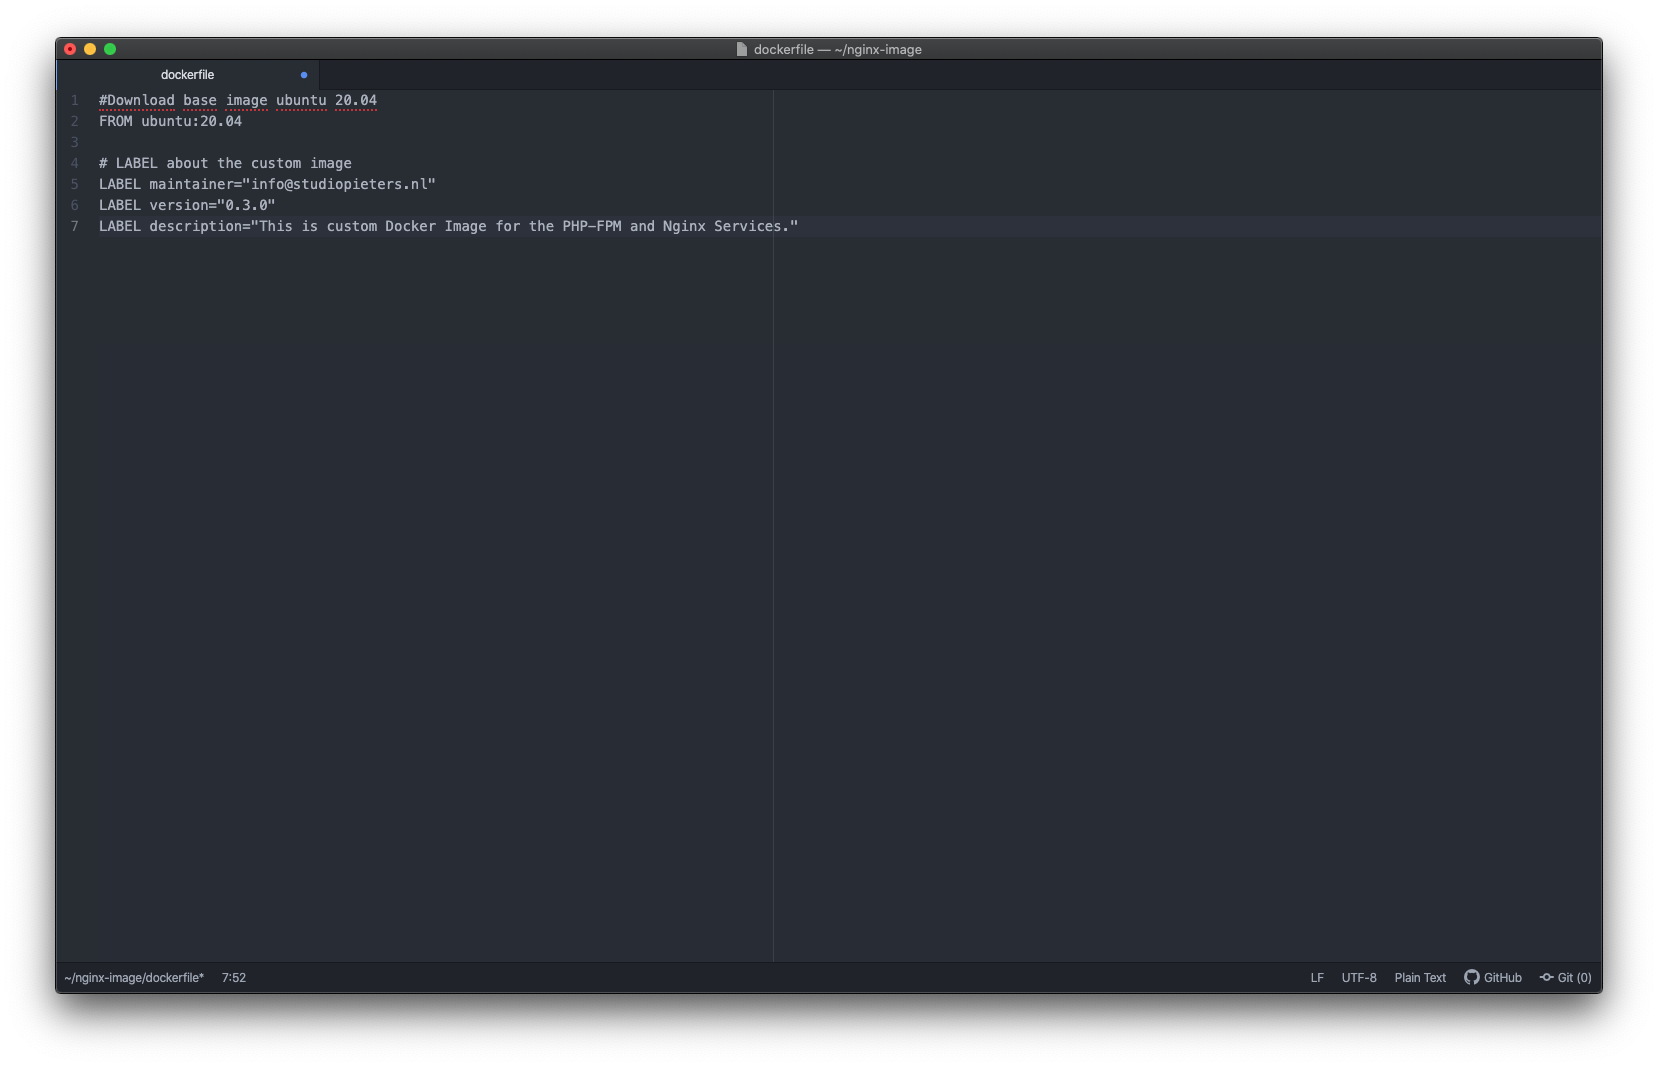
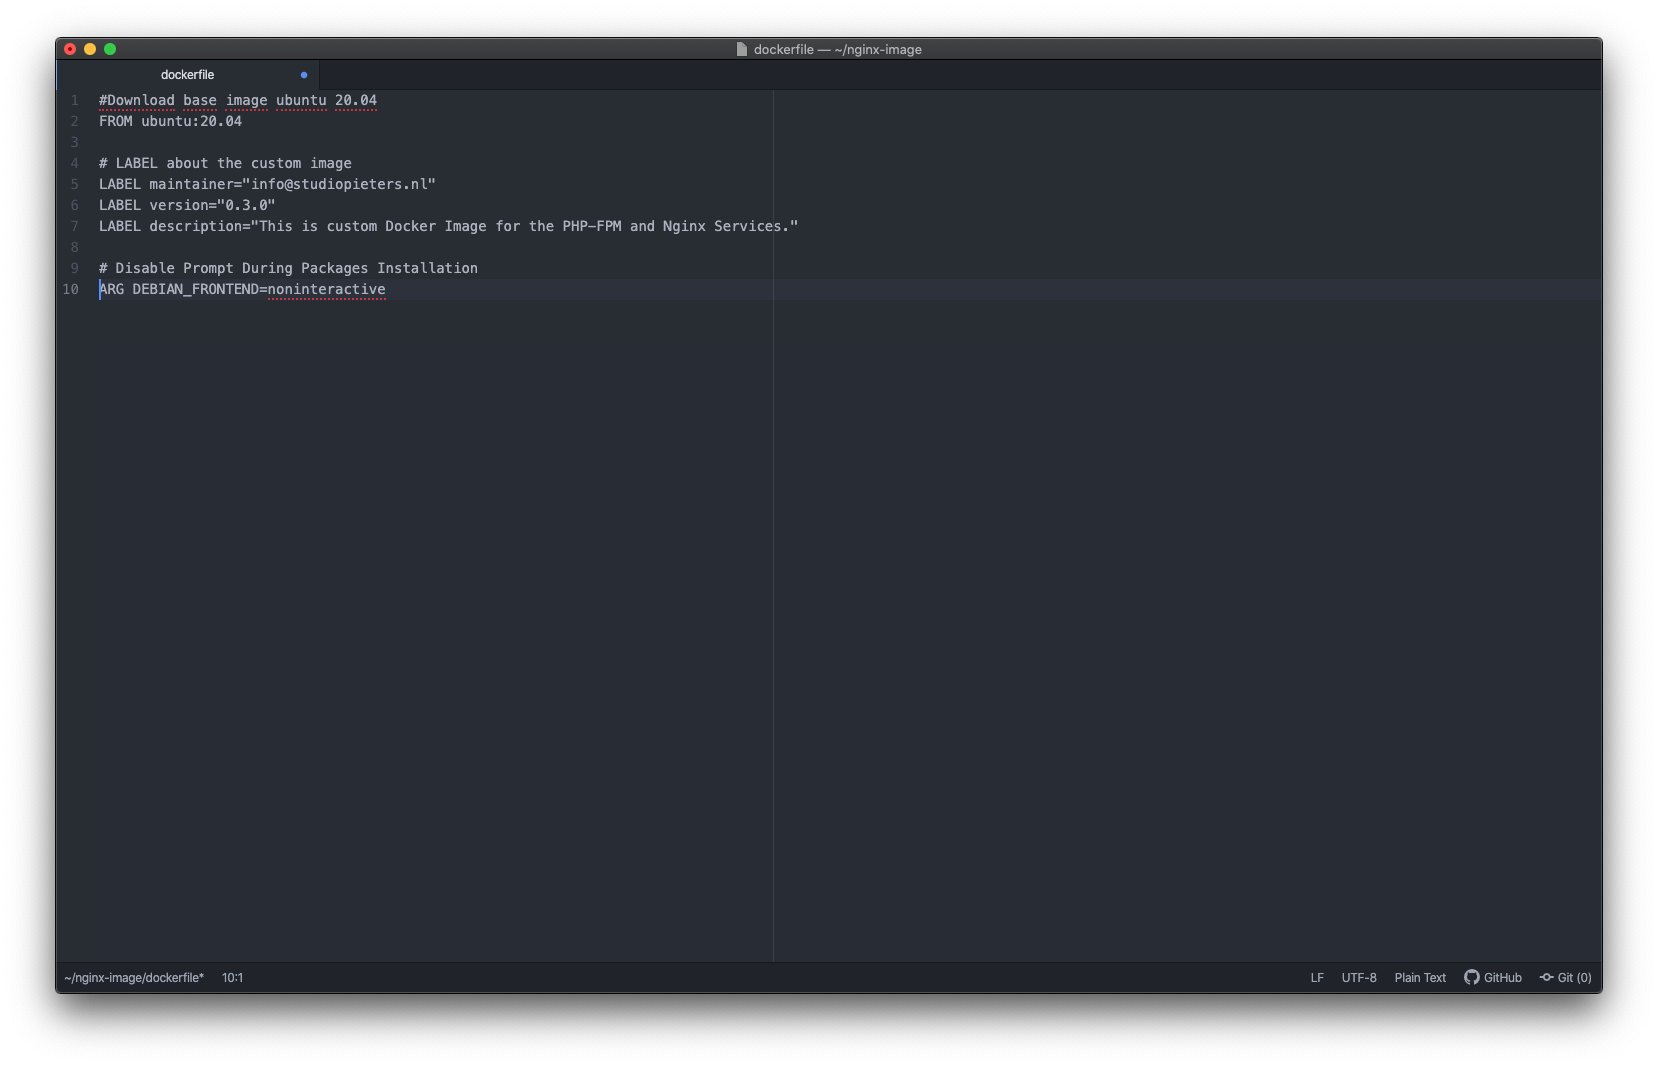
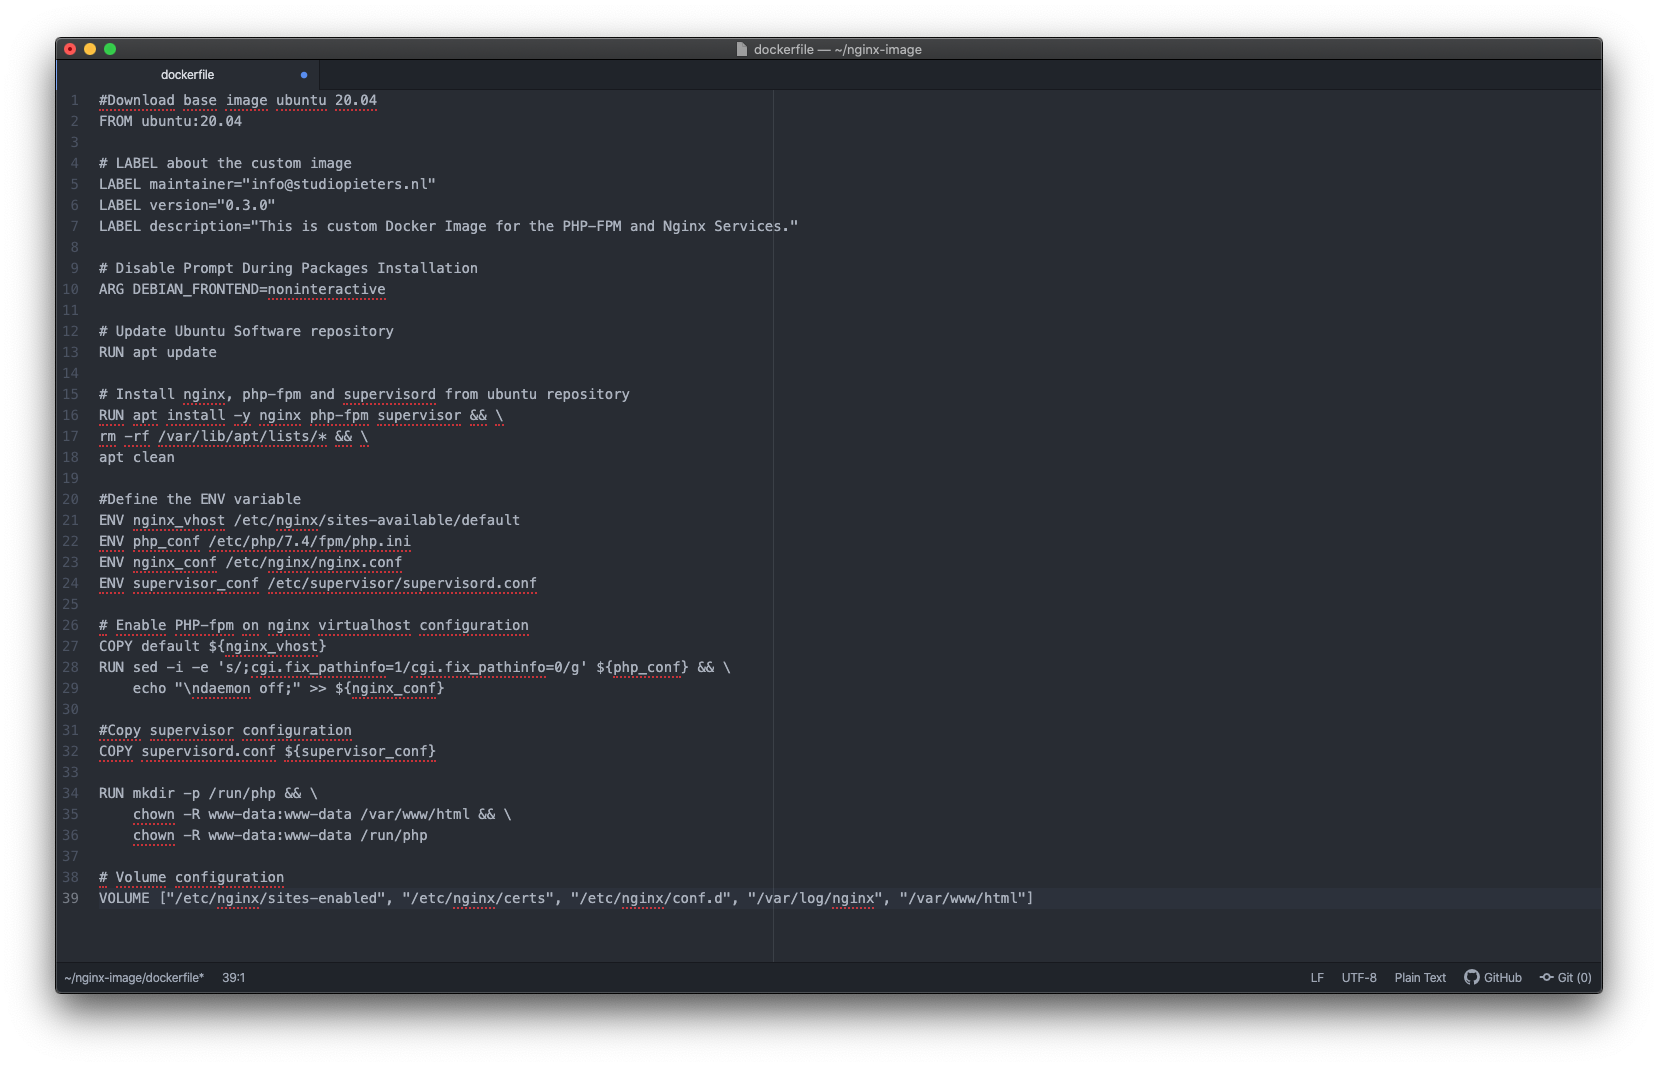
On the top of the line, add the base-image Ubuntu 20.04 image using the FROM instruction as below.
#Download base image ubuntu 20.04
FROM ubuntu:20.04

Now add detailed information about the custom image using the LABEL instruction.
# LABEL about the custom image
LABEL maintainer="info@studiopieters.nl"
LABEL version="0.3.0"
LABEL description="This is custom Docker Image for \
the PHP-FPM and Nginx Services."
For the apt packages installation, we will skip any interactive post-install step using the environment variable ‘DEBIAN_FRONTEND=noninteractive‘.
# Disable Prompt During Packages Installation
ARG DEBIAN_FRONTEND=noninteractive
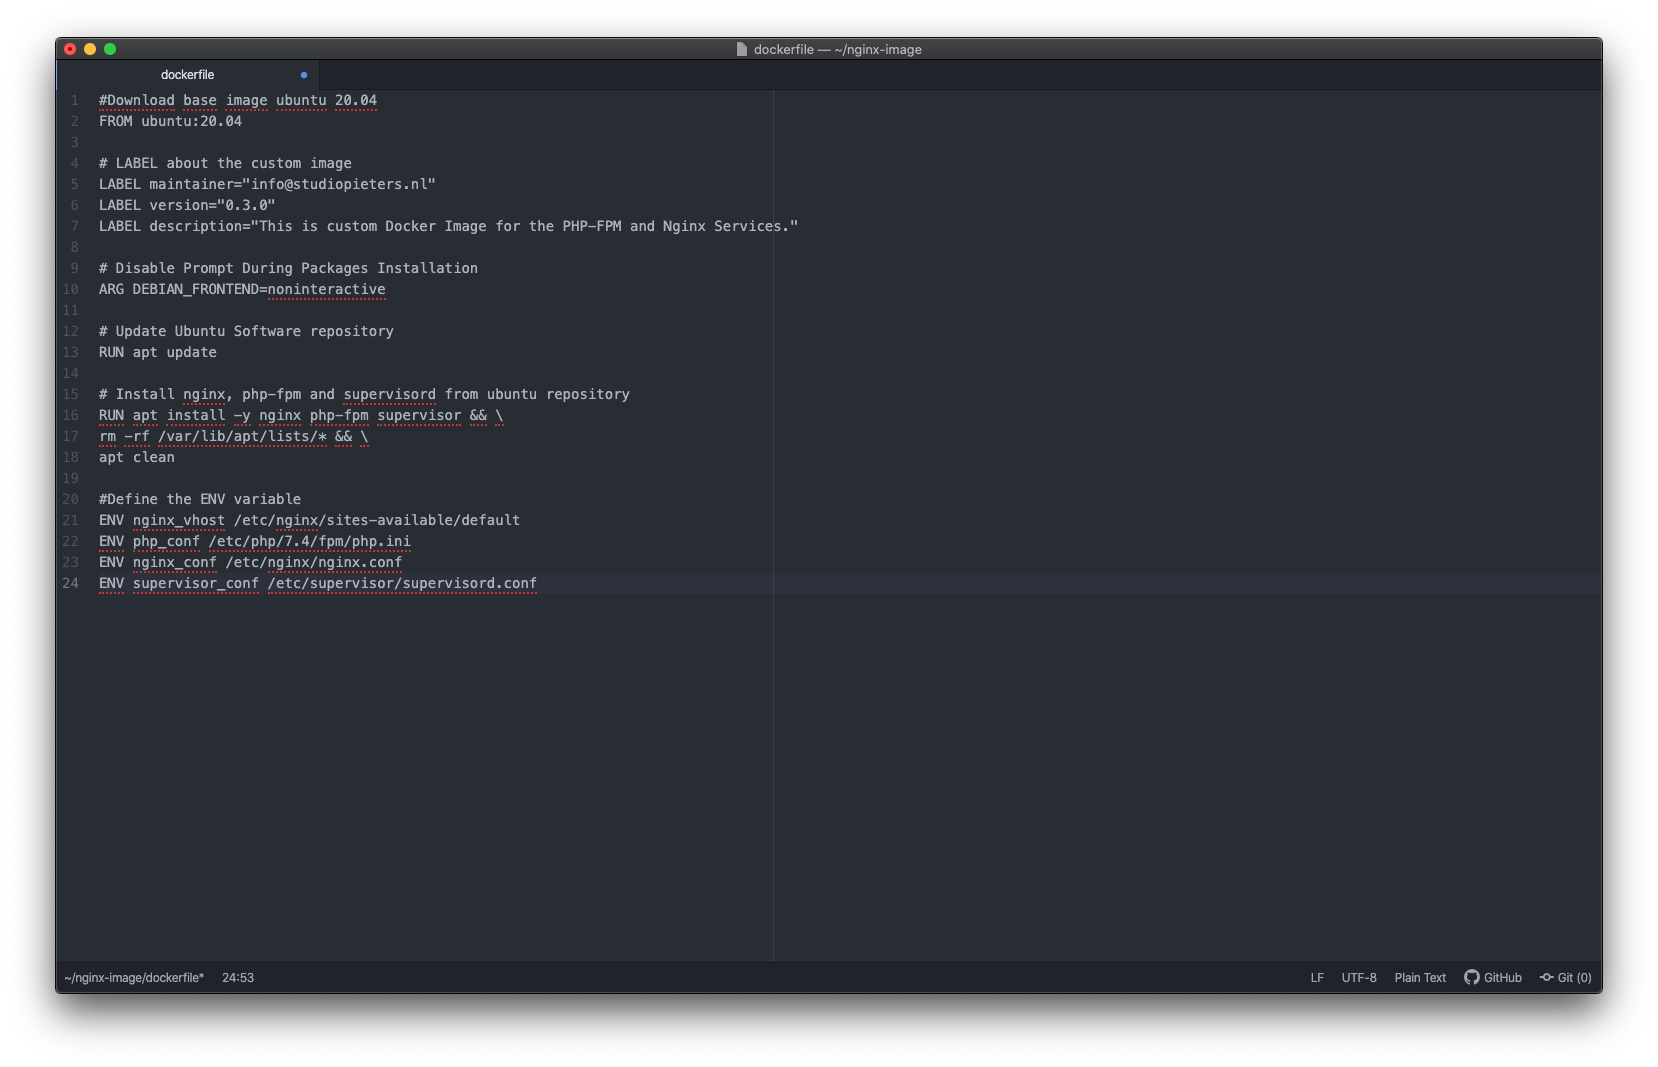
Next, run the ‘apt update‘ command before installing any packages.
# Update Ubuntu Software repository
RUN apt update

Now install the Nginx, PHP-FPM, and supervisor packages. Once all installation is completed, remove all packages cache to reduce the size of the custom image.
# Install nginx, php-fpm and supervisord from ubuntu repository
RUN apt install -y nginx php-fpm supervisor && \
    rm -rf /var/lib/apt/lists/* && \
    apt clean

Define a new environment variable that can be passed on the custom image.
#Define the ENV variable
ENV nginx_vhost /etc/nginx/sites-available/default
ENV php_conf /etc/php/7.4/fpm/php.ini
ENV nginx_conf /etc/nginx/nginx.conf
ENV supervisor_conf /etc/supervisor/supervisord.conf
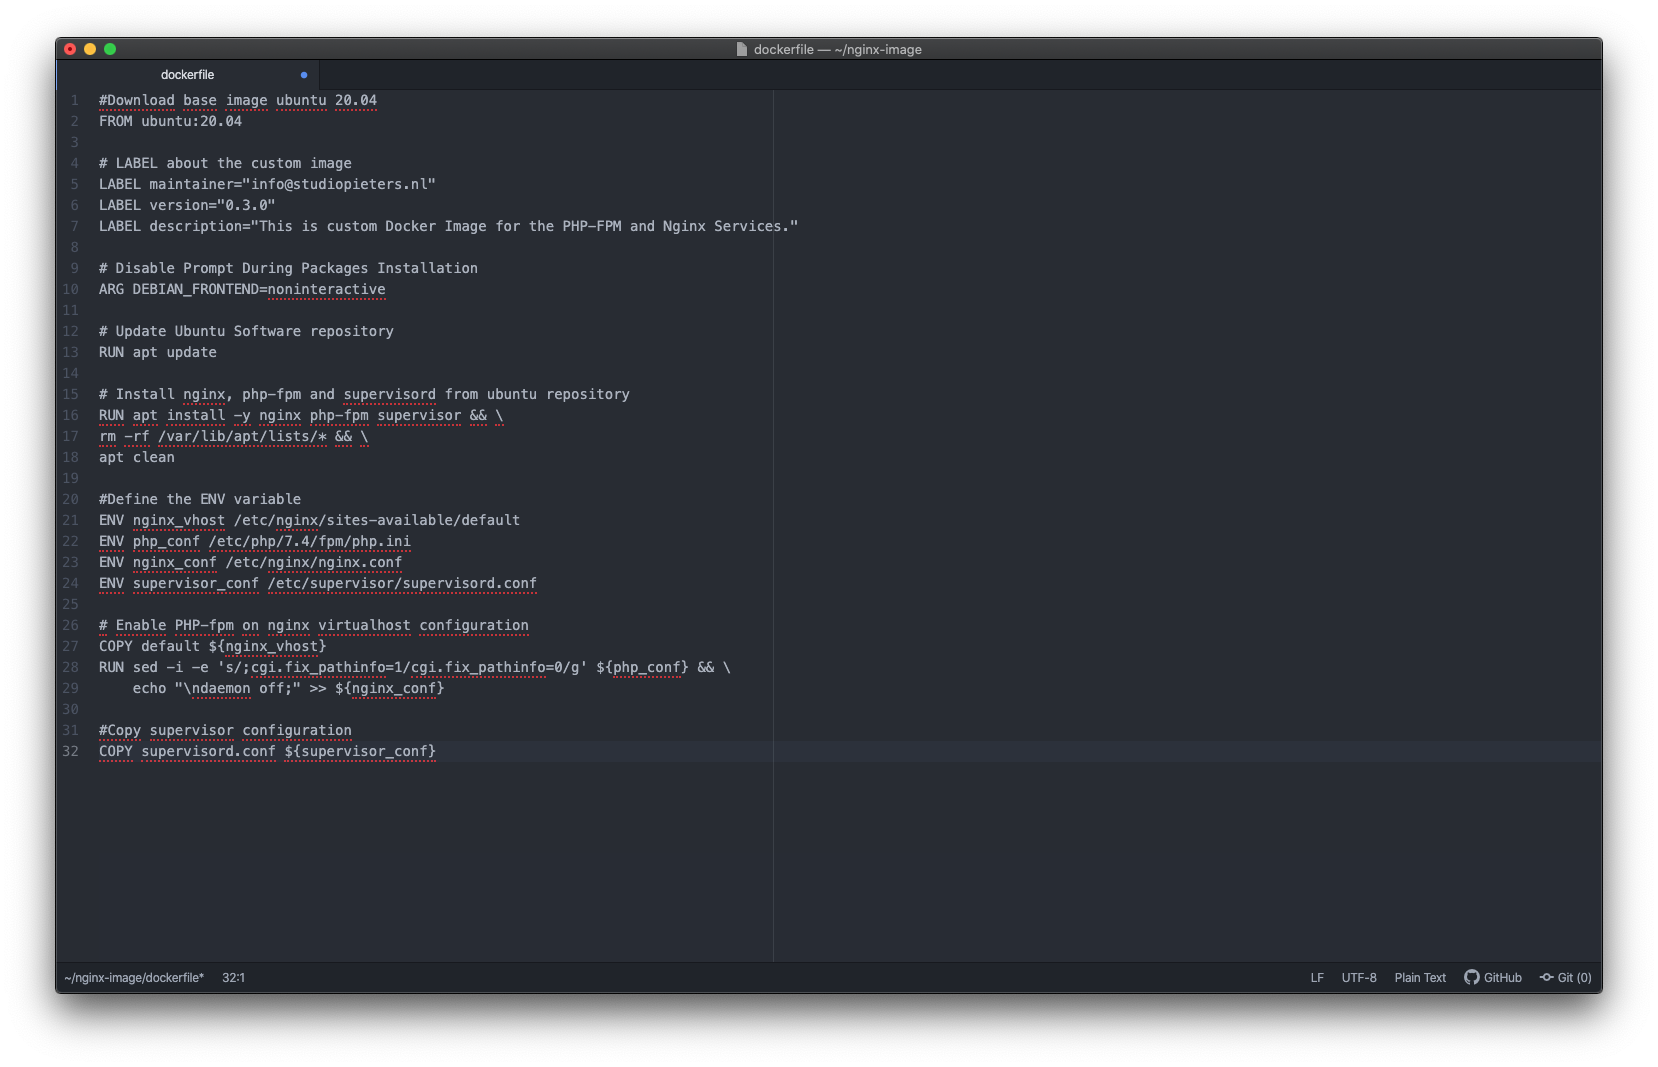
Now copy the Nginx default configuration to the ‘nginx_vhost‘ variable, replace the PHP configuration ‘cgi.fix_pathinfo=1‘ with ‘cgi.fix_pathinfo=0‘ on the php.ini config file, then add the ‘daemon off‘ option to the default ‘nginx_conf‘ variable.
# Enable PHP-fpm on nginx virtualhost configuration
COPY default ${nginx_vhost}
RUN sed -i -e 's/;cgi.fix_pathinfo=1/cgi.fix_pathinfo=0/g' ${php_conf} && \
    echo "\ndaemon off;" >> ${nginx_conf}

Copy the custom supervisor configuration to the ‘supervisor_conf‘ variable.
#Copy supervisor configuration
COPY supervisord.conf ${supervisor_conf}

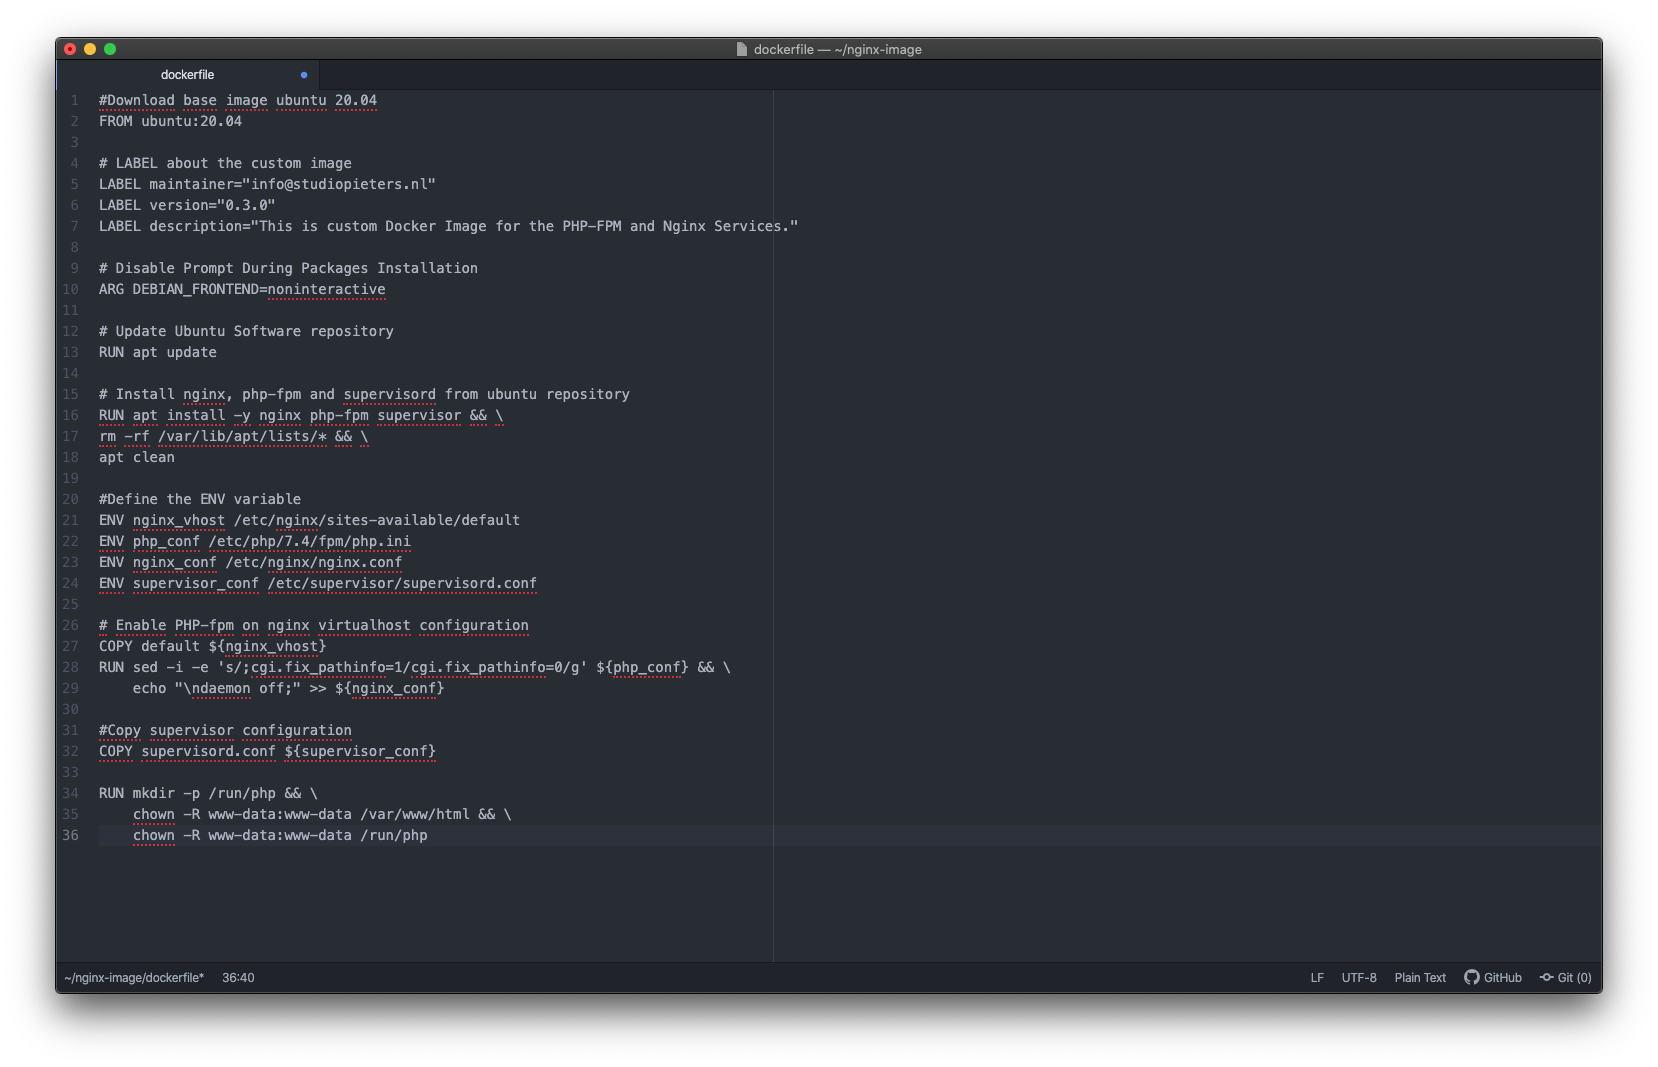
Create a new directory for PHP-FPM sock file, change the ownership of the web-root directory ‘/var/www/html‘ and PHP-FPM directory ‘/run/php‘ to the default user ‘www-data‘.
RUN mkdir -p /run/php && \
    chown -R www-data:www-data /var/www/html && \
    chown -R www-data:www-data /run/php
Define the volume for the custom image so we can mount all of those directories to the host machine.
# Volume configuration
VOLUME ["/etc/nginx/sites-enabled", "/etc/nginx/certs", "/etc/nginx/conf.d", "/var/log/nginx", "/var/www/html"]
Now add the ‘start.sh‘ script and define the default container command using the CMD instruction as below.
# Copy start.sh script and define default command for the container
COPY start.sh /start.sh
CMD ["./start.sh"]
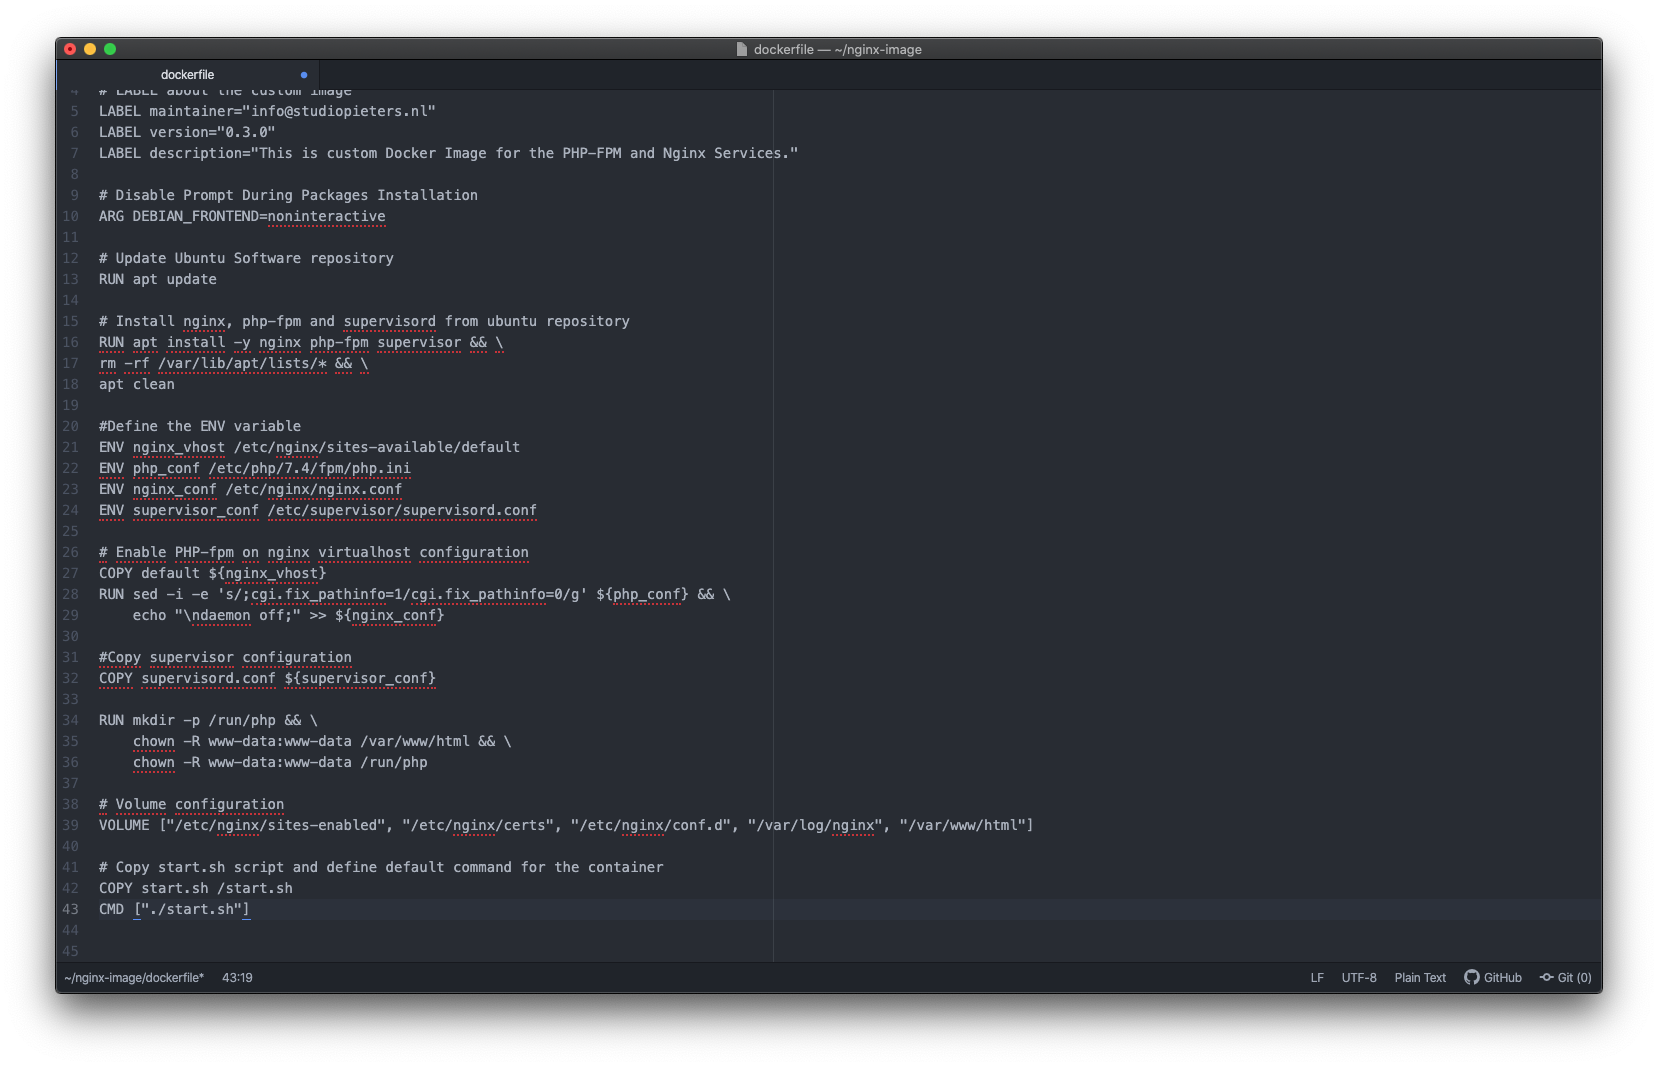
And the last, open the default HTTP and HTTPS ports on the container using the EXPOSE instruction.
# Expose Port for the Application
EXPOSE 80 443
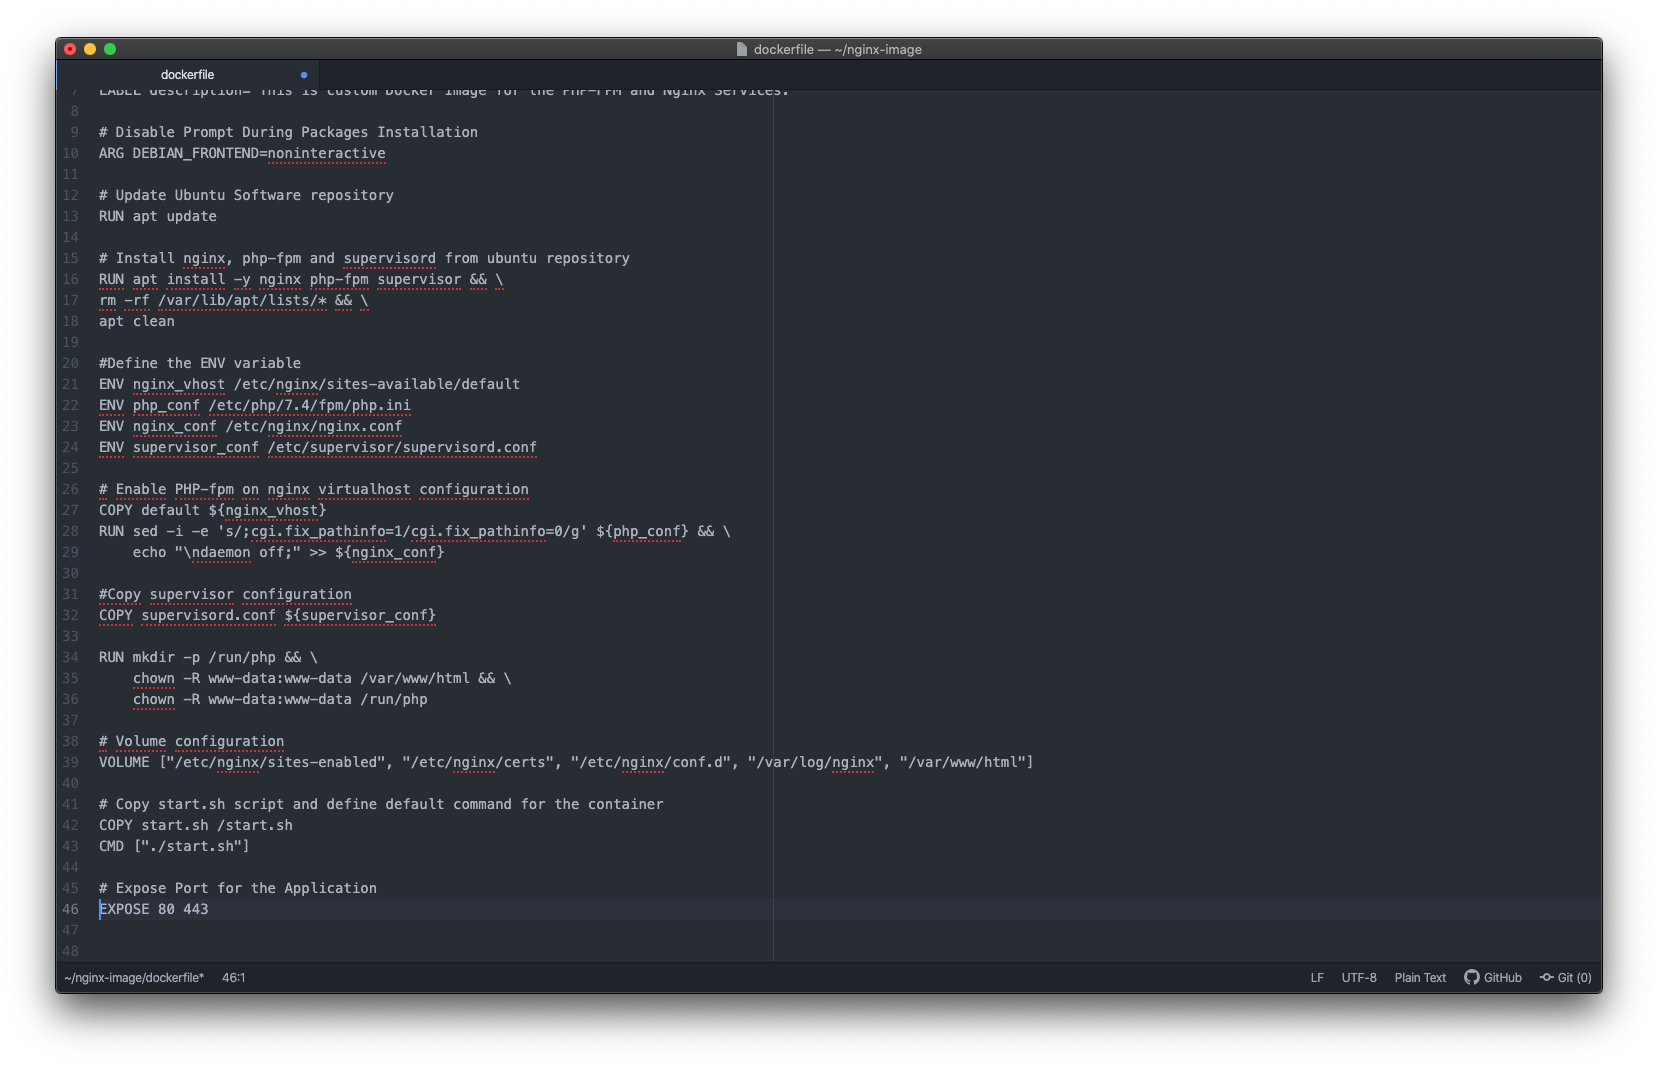
Save and leave Atom open.
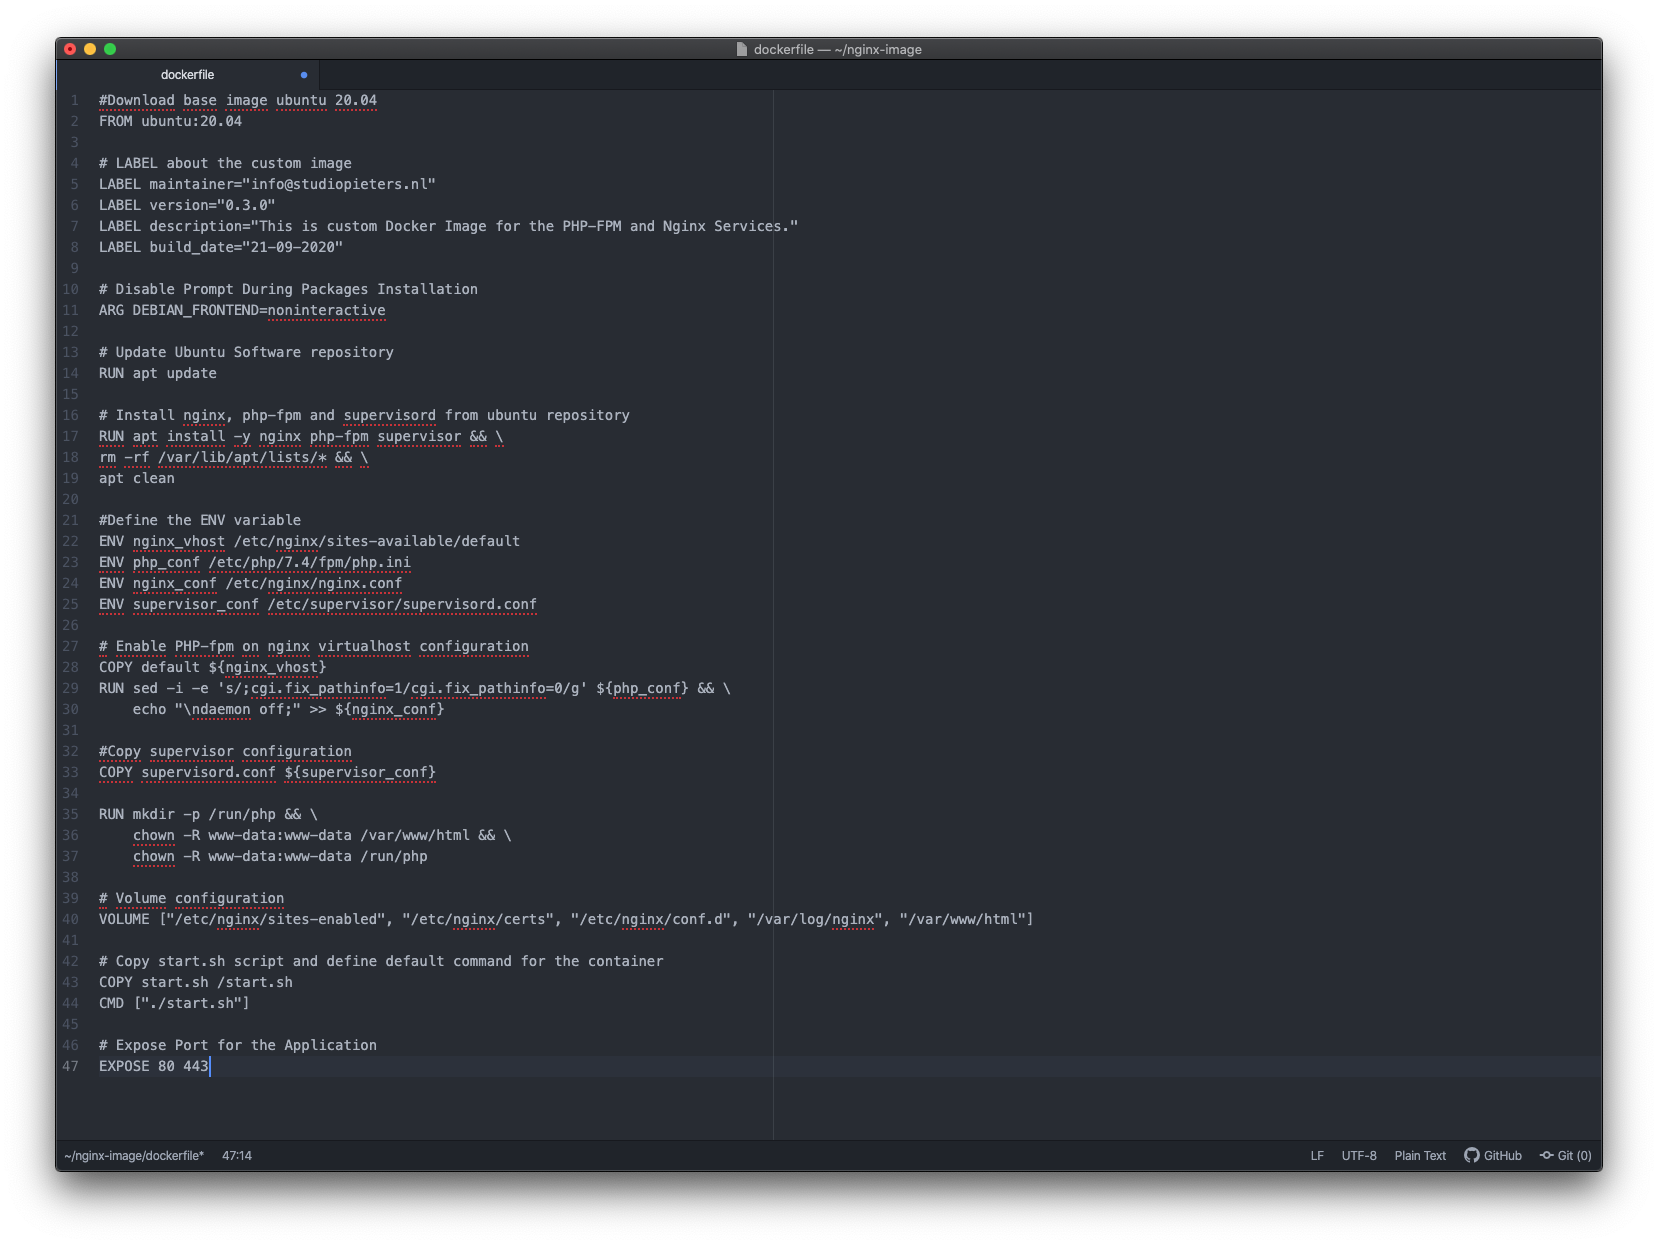
Below is the complete Dockerfile script that we just created.
# Download base image ubuntu 20.04
FROM ubuntu:20.04

# LABEL about the custom image
LABEL maintainer="info@studiopieters.nl"
LABEL version="0.3.0"
LABEL description="This is custom Docker Image for \
the PHP-FPM and Nginx Services."

# Disable Prompt During Packages Installation
ARG DEBIAN_FRONTEND=noninteractive

# Update Ubuntu Software repository
RUN apt update

# Install nginx, php-fpm and supervisord from ubuntu repository
RUN apt install -y nginx php-fpm supervisor && \
    rm -rf /var/lib/apt/lists/* && \
    apt clean

# Define the ENV variable
ENV nginx_vhost /etc/nginx/sites-available/default
ENV php_conf /etc/php/7.4/fpm/php.ini
ENV nginx_conf /etc/nginx/nginx.conf
ENV supervisor_conf /etc/supervisor/supervisord.conf

# Enable PHP-fpm on nginx virtualhost configuration
COPY default ${nginx_vhost}
RUN sed -i -e 's/;cgi.fix_pathinfo=1/cgi.fix_pathinfo=0/g' ${php_conf} && \
    echo "\ndaemon off;" >> ${nginx_conf}

# Copy supervisor configuration
COPY supervisord.conf ${supervisor_conf}

RUN mkdir -p /run/php && \
    chown -R www-data:www-data /var/www/html && \
    chown -R www-data:www-data /run/php

# Volume configuration
VOLUME ["/etc/nginx/sites-enabled", "/etc/nginx/certs", "/etc/nginx/conf.d", "/var/log/nginx", "/var/www/html"]

# Copy start.sh script and define default command for the container
COPY start.sh /start.sh
CMD ["./start.sh"]

# Expose Port for the Application
EXPOSE 80 443
Next, we will create a new additional configuration for Nginx, supervisor, and the start.sh script.
Nginx virtual host configuration file
The ‘default‘ Nginx virtual host configuration will contain the section for the PHP-FPM. In effect, you can run the PHP script using the Custom image without any changes.

Create a new Nginx file in atom called ‘default‘. This is a virtual host configuration file. Type atom default and press Enter. Now Atom will automatically make the file and open the Atom application.
atom default
 Now edit the ‘Default‘ file using the Atom editor.

Paste the following configuration into it.
server {
    listen 80 default_server;

    root /var/www/html;
    index index.html index.htm index.nginx-debian.html;

    server_name _;

    location / {
        try_files $uri $uri/ =404;
    }

    location ~ \.php$ {
        include snippets/fastcgi-php.conf;
        fastcgi_pass unix:/run/php/php7.4-fpm.sock;
    }
}

Save and leave Atom open.
Supervisord.conf configuration file
Next, we will create the 'supervisord.conf' configuration which contains both Nginx and PHP-FPM program that will be running automatically.
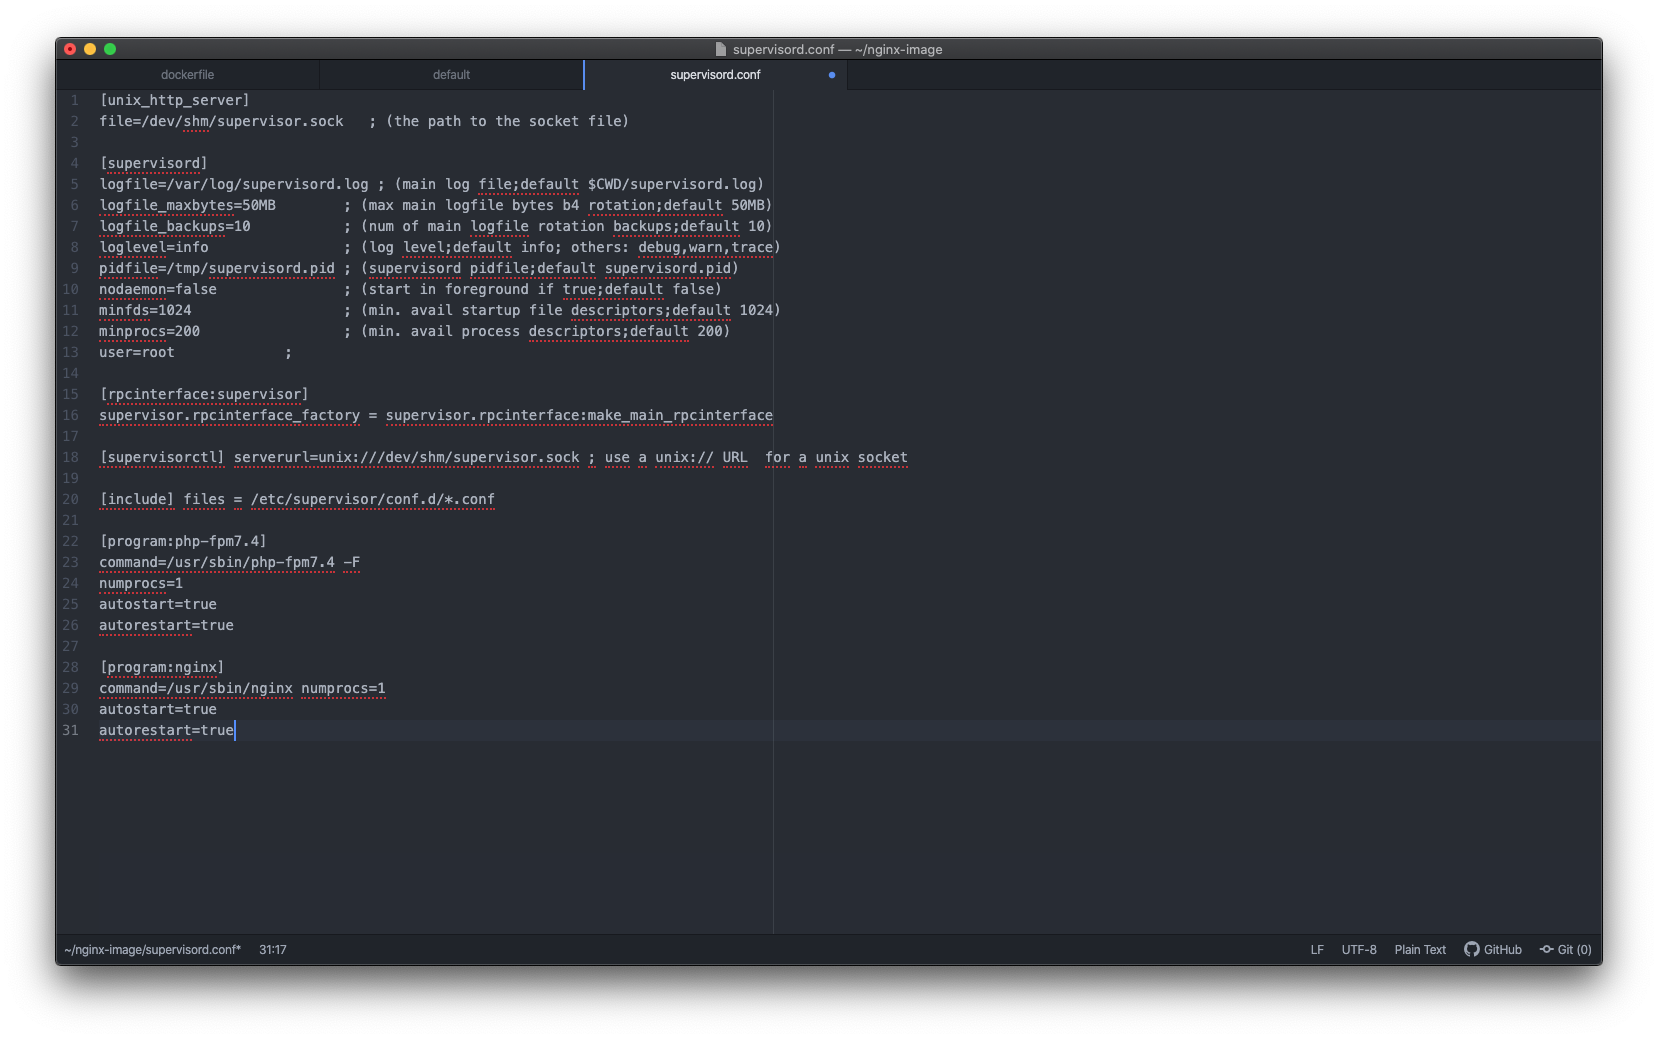
Create a new file in atom called ‘supervisord.conf‘. This is a configuration file. Type atom supervisord.conf and press Enter. Now Atom will automatically make the file and open the Atom application.
atom supervisord.conf

Now edit the ‘supervisord.conf‘ file using the Atom editor.

Paste the following configuration into it.
[unix_http_server]
file=/dev/shm/supervisor.sock   ; (the path to the socket file)

[supervisord]
logfile=/var/log/supervisord.log ; (main log file;default $CWD/supervisord.log)
logfile_maxbytes=50MB        ; (max main logfile bytes b4 rotation;default 50MB)
logfile_backups=10           ; (num of main logfile rotation backups;default 10)
loglevel=info                ; (log level;default info; others: debug,warn,trace)
pidfile=/tmp/supervisord.pid ; (supervisord pidfile;default supervisord.pid)
nodaemon=false               ; (start in foreground if true;default false)
minfds=1024                  ; (min. avail startup file descriptors;default 1024)
minprocs=200                 ; (min. avail process descriptors;default 200)
user=root             ;

[rpcinterface:supervisor]
supervisor.rpcinterface_factory = supervisor.rpcinterface:make_main_rpcinterface

[supervisorctl]
serverurl=unix:///dev/shm/supervisor.sock ; use a unix:// URL  for a unix socket

[include]
files = /etc/supervisor/conf.d/*.conf

[program:php-fpm7.4]
command=/usr/sbin/php-fpm7.4 -F
numprocs=1
autostart=true
autorestart=true

[program:nginx]
command=/usr/sbin/nginx
numprocs=1
autostart=true
autorestart=true
Save and leave Atom open.
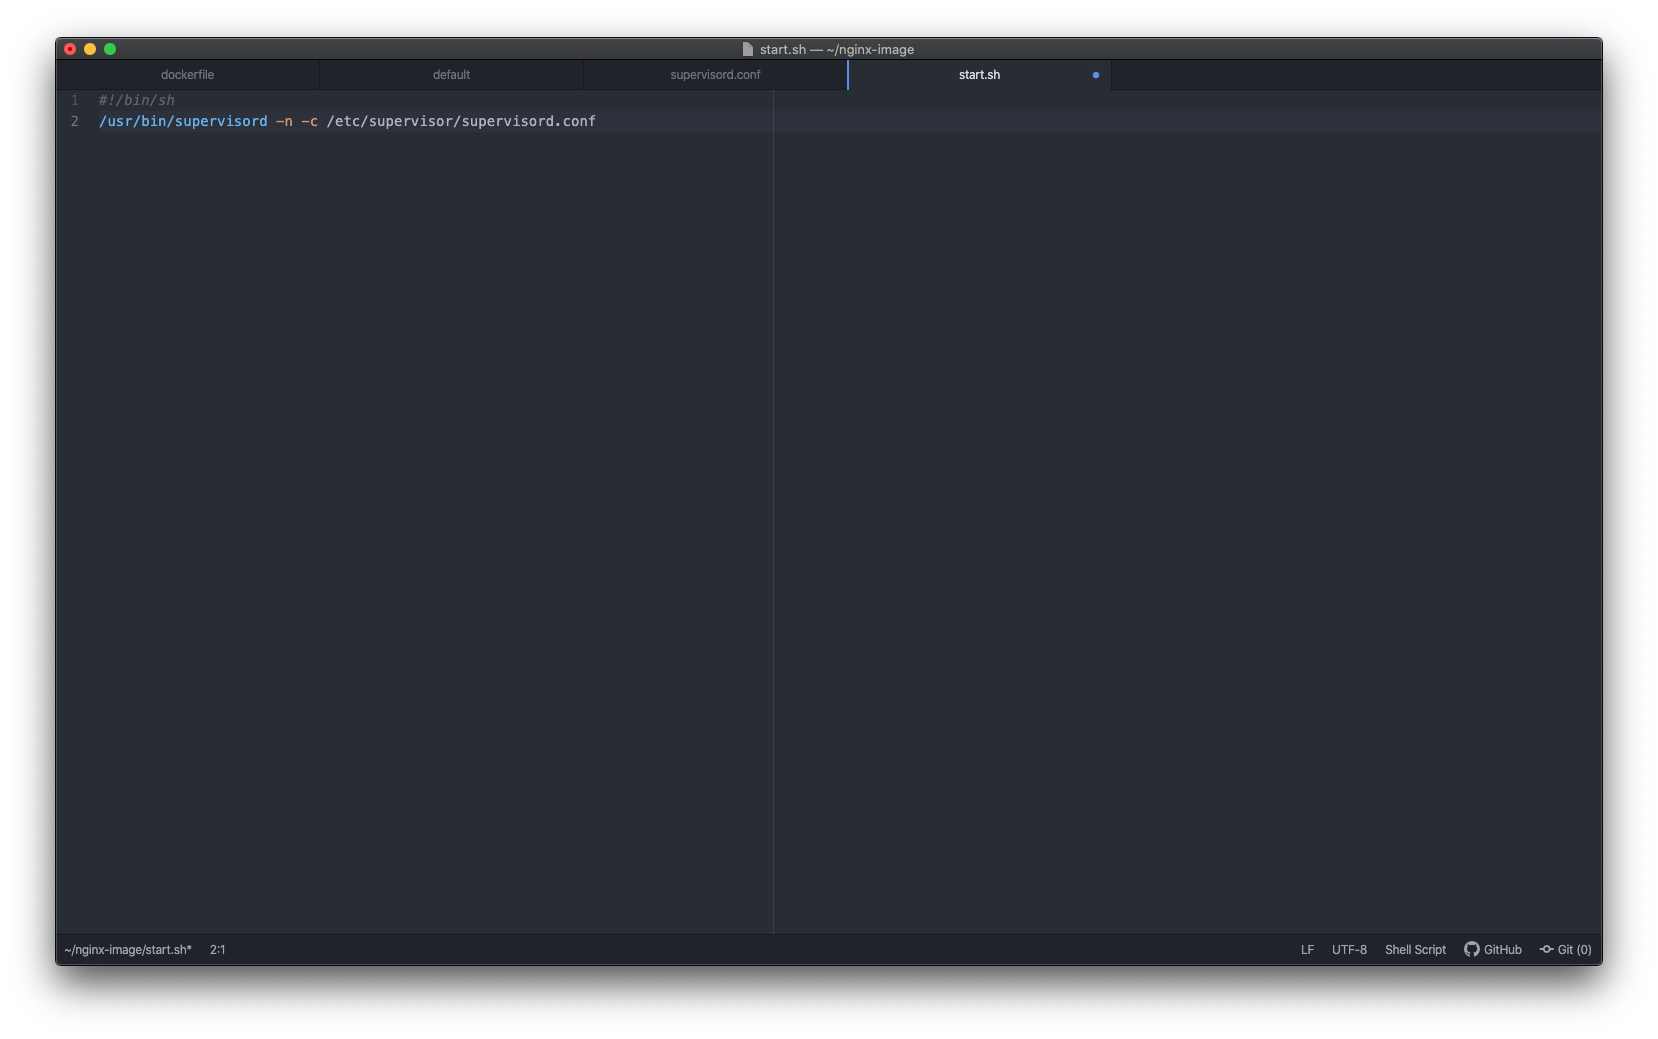
Start.sh configuration file
Create a new file in atom called ‘start.sh‘. This is a configuration file. Type atom start.sh and press Enter. Now Atom will automatically make the file and open the Atom application.
atom start.sh
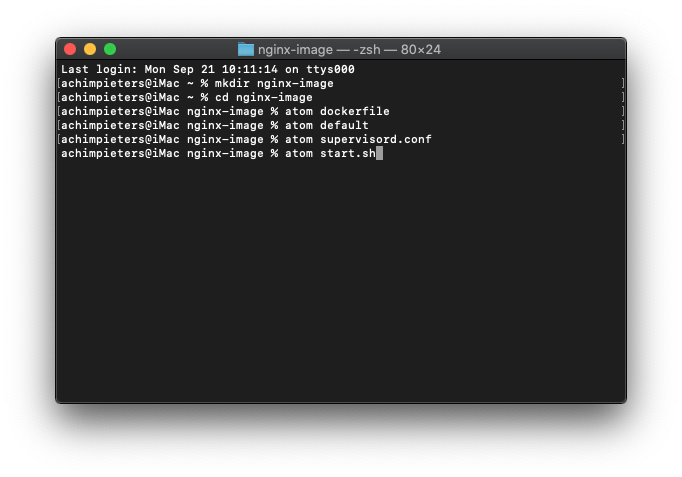
Now edit the ‘start.sh‘ file using the Atom editor.
Paste the following configuration into it.
#!/bin/sh
/usr/bin/supervisord -n -c /etc/supervisor/supervisord.conf
Save and closeAtom.

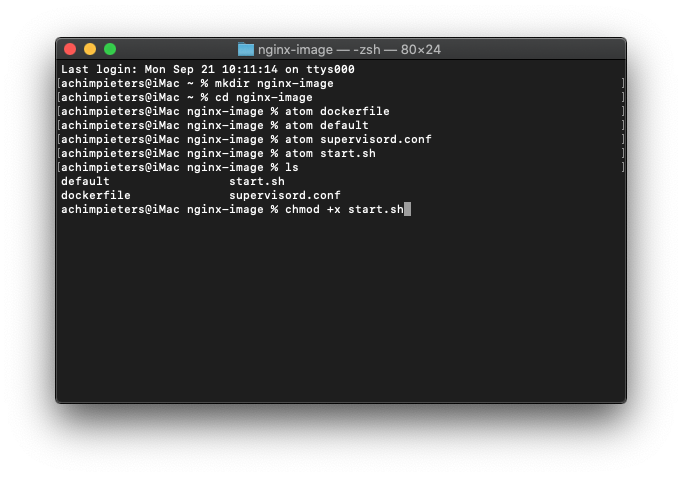
Set file permission
Now we have to set some file permissions to make the 'start.sh' script executable. First we have a look into our directory by typing ls.
ls
TIP: We can use the -l (long format) option to have ls list the file permissions for files and directories.
Here we see all the file we created. Now we can set the right permissions by typing chmod +x start.sh and press enter.
chmod +x start.sh
As a result, all configuration for our custom Docker image has been created, below are all configurations that we’ve created.
Now we’re ready to create a new custom image-based of these configurations.
Build and Run New Container
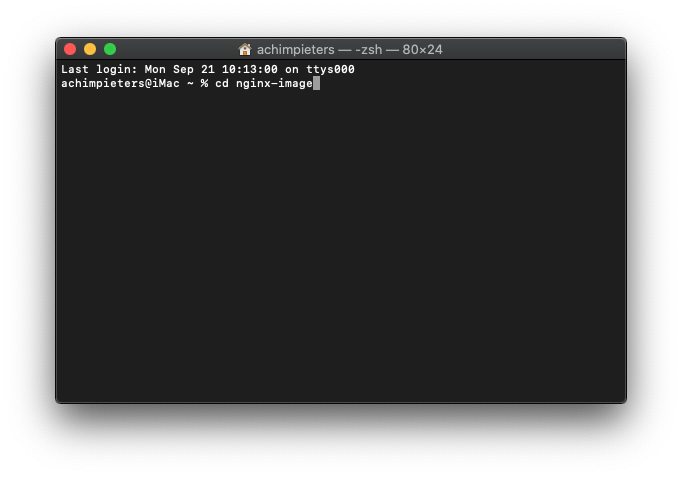
To create the Docker custom image, go to the project directory 'nginx-image' and run the 'docker build' command as below.
Change into the directory by typing cd nginx-image and press Enter.
cd nginx-image
First we have a look into our directory by typing ls.
ls
Here we see all the file we created.
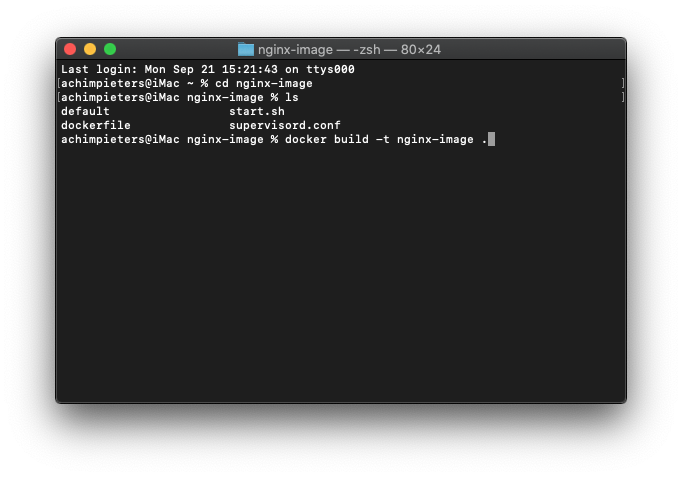
The next command will download the base-image Ubuntu 20.04 and create a new custom image with the name 'nginx-image'
docker build -t nginx-image .
The building of your docker container will start.
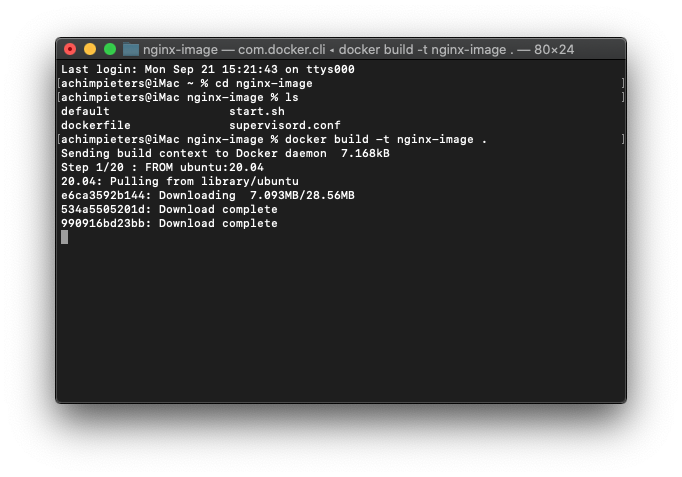
The total building time will only take a few minutes.
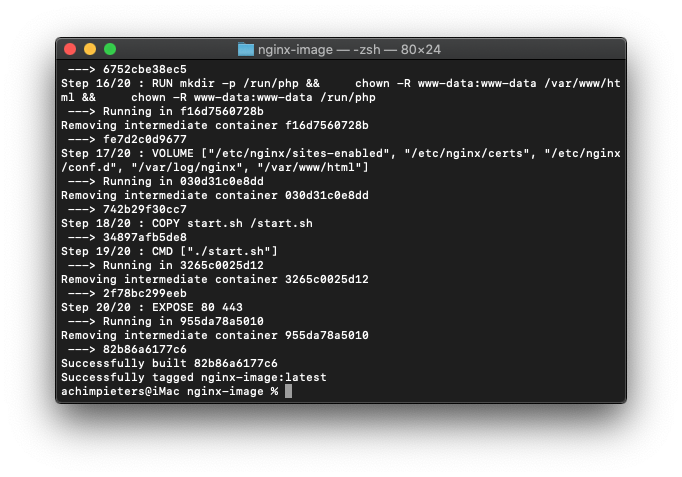
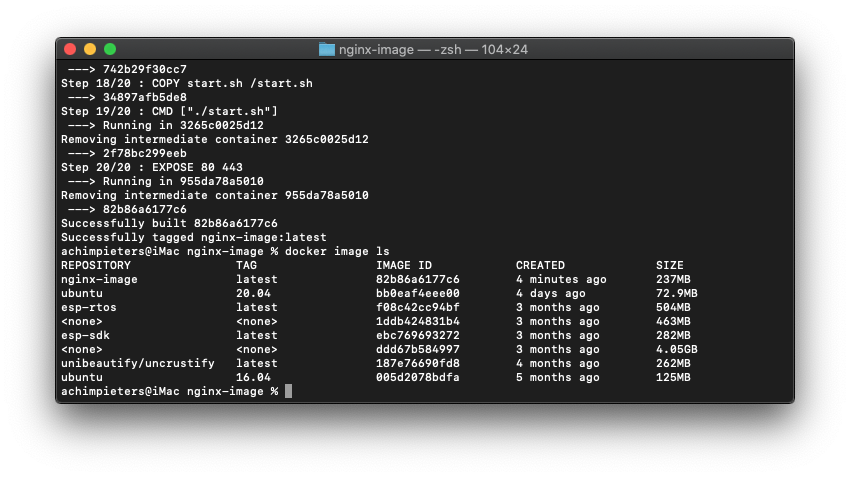
Once all process is completed, check the list of available Docker image on your system using the following command.
docker image ls
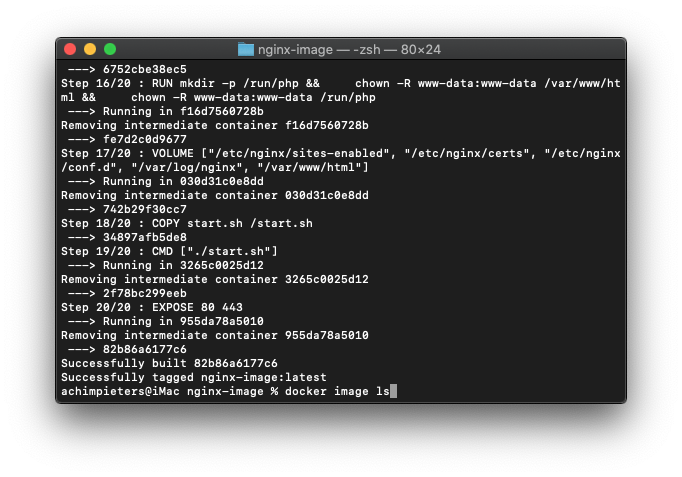
As can be seen, the new custom Docker image 'nginx-image' has been created.
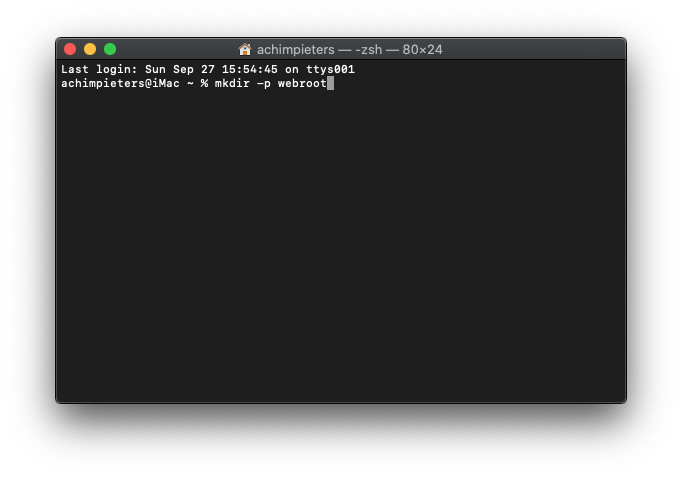
Next, we will run the new Docker container based on the 'nginx-image'. Open anew terminal window. On your local machine, create a new directory named 'webroot' that will be used to store all web files. Make a new directory.
mkdir -p webroot
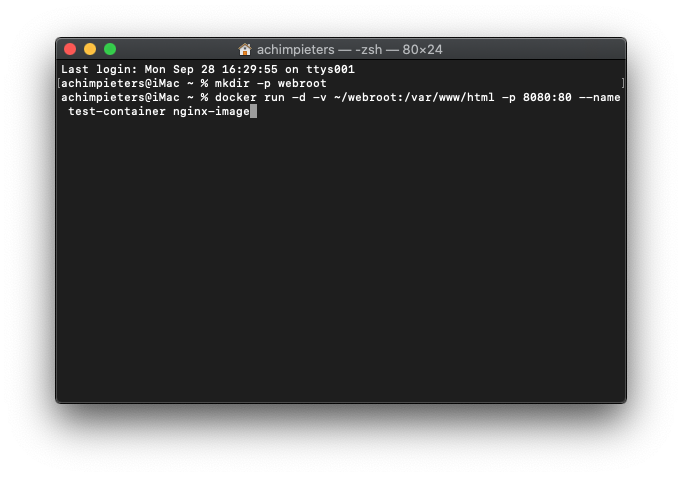
Now create a new container named test-container using the docker run command below.
docker run -d -v ~/webroot:/var/www/html -p 8080:80 --name test-container nginx-image
Note:
- –name test-container nginx-image = We create a new container with the name ‘test-container‘, based on docker image ‘nginx-image‘.
- -p 8080:80 = test-container container running on port 8080 on the host machine.
- -v /webroot:/var/www/html = /webroot directory on the host machine rewrite the /var/www/html directory on the container.
Docker Desktop Dashboard
After that all is done,we are going to check all running containers on your system using the Docker dashboard. The Docker Desktop Dashboard provides a simple interface that enables you to interact with containers and applications, and manage the lifecycle of your applications directly from your machine. The Dashboard UI shows all running, stopped, and started containers with their status. It provides an intuitive interface to perform common actions to inspect, interact with, and manage your Docker objects including containers and Docker Compose-based applications.

To access the Docker Dashboard, go to the Docker menu () , then select Dashboard. The Dashboard provides a runtime view of all your containers and applications.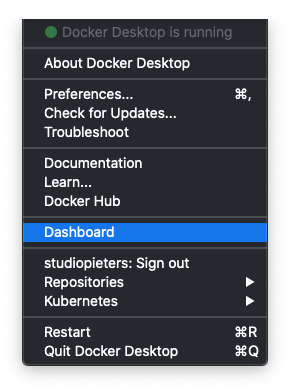
As a result, the new container named ‘test-container‘ based on the ‘nginx-image’ and expose the port 8080 is up and running..

Examination
To make sure that the container is running correctly, we will create a new index.html and phpinfo file on the ‘webroot‘ root directory on the host machine. Because the ‘webroot‘ directory is mounted into the container directory ‘/var/www/html‘.
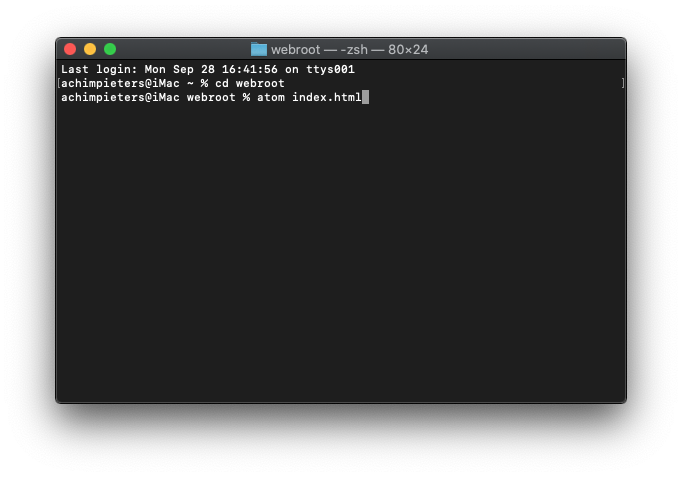
Go into the directory by tying cd webroot
cd webroot

Create the index.html file on the ‘webroot‘ directory using the following command.
atom index.html

type the line below and save it.
<h1>Nginx and PHP-FPM 7.4 inside Docker Container with Ubuntu 20.04 Base Image</h1>

Now test access your container with the safari command on the port 8080.
127.0.0.1:8080
As a result, you will get the default index.html page that we just created.

Next, create a new PHP file called ‘info.php‘ in the ‘webroot‘ directory to make sure that the PHP-FPM service is running.
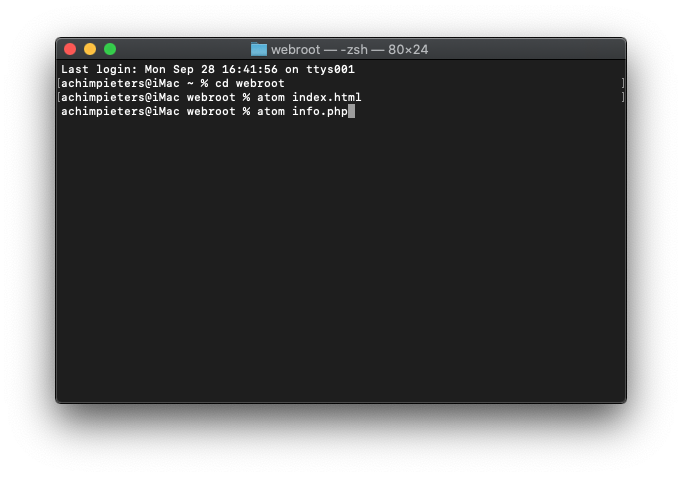

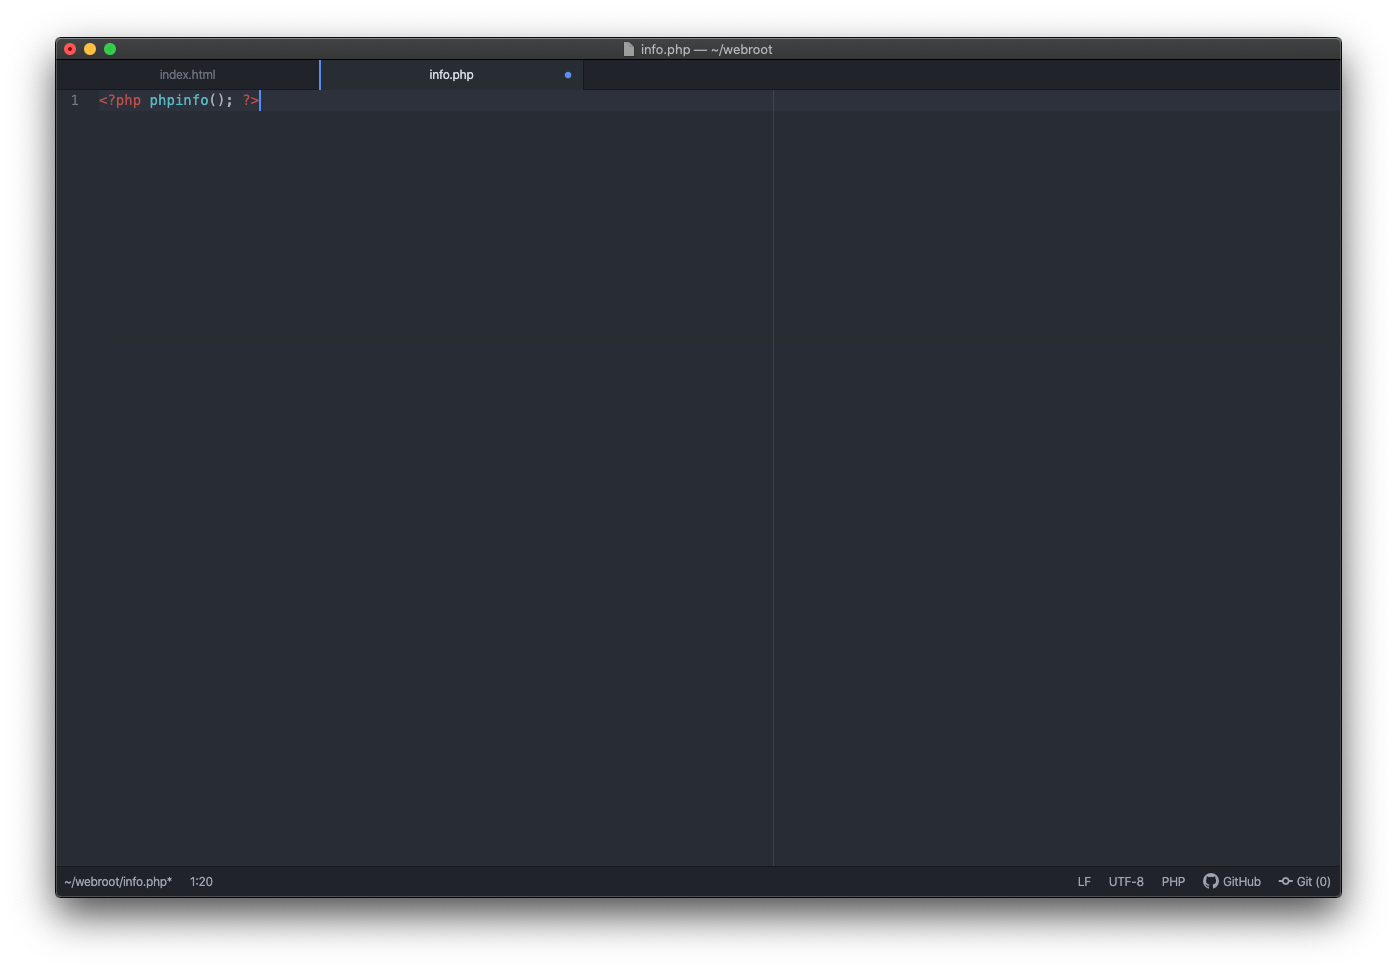
type the following line into your ‘info.php‘ file.
<?php phpinfo(); ?>
Next, open your web browser and type your server IP address with port ‘8080‘ following by the path of ‘info.php‘ file.
http://127.0.0.1:8080/info.php
Now you will get the phpinfo page as below.
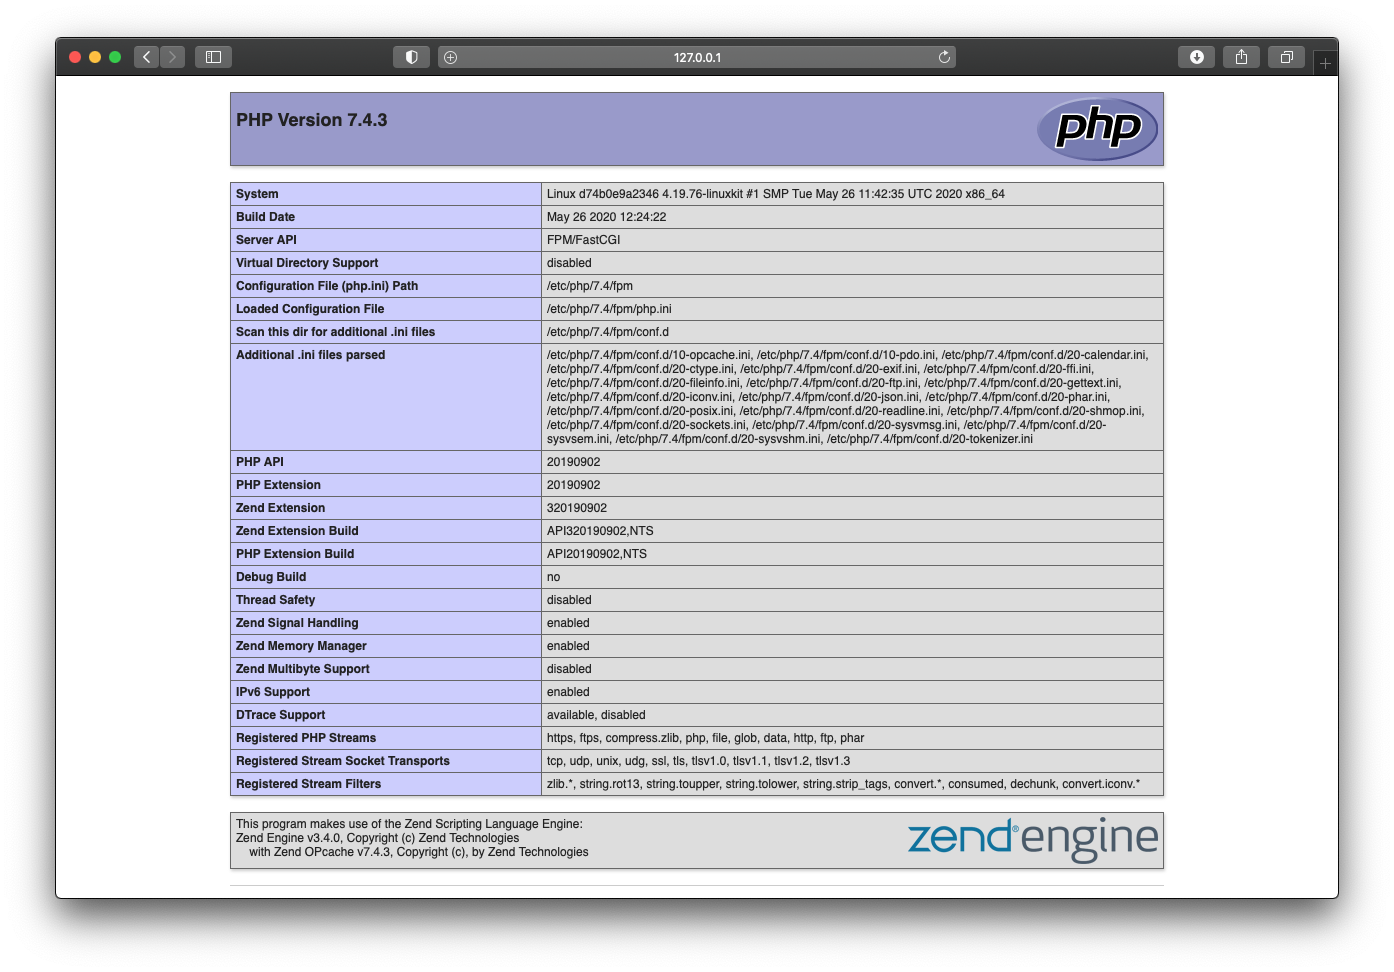
As can be seen, the ‘test-container‘ is successfully loaded the PHP script. And as a result, we’ve successfully created a new custom Docker image and running the new container based-on it with any error.

REFERENCE
Docker, Get started with docker (2020), Docker Desktop is a tool for MacOS and Windows machines for the building and sharing of containerized applications and microservices. , https://docker.com Muhammad Arul, How to forge (2020), How to create Docker Images with a Dockerfile on Ubuntu 20.04 LTS, https://www.howtoforge.com/tutorial/how-to-create-docker-images-with-dockerfile/ ubuntu, Ubuntu 20.04.1 LTS (2020), More ways to use Ubuntu everywhere , https://ubuntu.com/download/desktop Atom, A hackable text editor for the 21st Century (2020), IA text editor is at the core of a developer’s toolbox, but it doesn’t usually work alone. Work with Git and GitHub directly from Atom with the GitHub package., https://atom.io