
Reference
DS18B20 1-Wire Temperature Sensor
A rugged, waterproof-capable temperature sensor that can put dozens of measurement points on a single ESP32 GPIO. Covers how the 1-Wire bus and 64-bit ROM addressing work, the mandatory pull-up resistor, and parasite power mode.
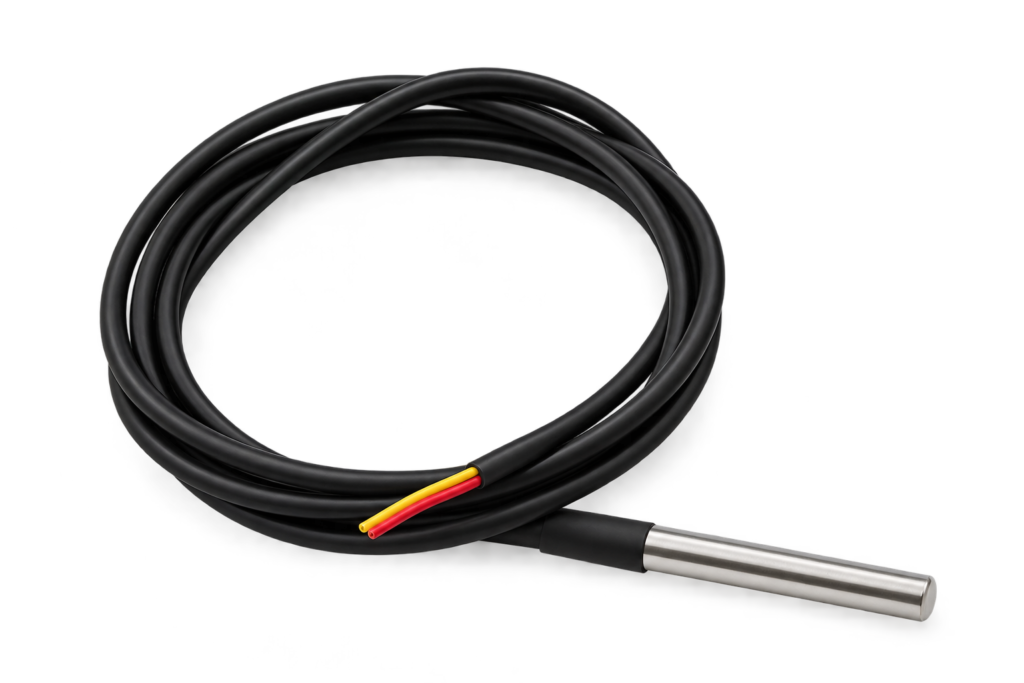
The DS18B20 temperature sensor is one of the easiest ways to add rugged, accurate temperature sensing to your ESP32 project. The sensor is made by Analog Devices (Maxim) and talks over the 1-Wire bus — a single data pin that can carry many sensors at once, each with its own unique address. Need to measure water, soil or outdoor temperature reliably? This is the classic choice.
Unlike the I²C sensors we’ve covered recently, the DS18B20 uses a completely different bus, so this guide spends a little extra time on how 1-Wire actually works.
In this complete guide we cover:
- What the DS18B20 is
- Technical specifications
- Pinout (TO-92 and waterproof probe)
- How the 1-Wire bus works
- The 64-bit ROM address
- ESP32-C6 SUPER MINI wiring (and the mandatory pull-up)
- Resolution and conversion time
- The scratchpad explained
- ESP-IDF example code (RMT-based 1-Wire)
- Arduino example code
- Multiple sensors on one wire
- Parasite power mode
- DS18B20 vs DHT22 comparison
- Practical engineering tips
What is the DS18B20?
The DS18B20 is a digital temperature sensor that communicates over the 1-Wire protocol. That means a single GPIO — plus one pull-up resistor — can read temperature, and because every DS18B20 carries a unique 64-bit serial number, you can hang dozens of them on that same wire.
Key features:
- Digital output — no ADC, no calibration maths
- Wide range: -55°C to +125°C
- Accuracy: ±0.5°C from -10°C to +85°C
- Configurable resolution: 9 to 12-bit
- Unique 64-bit ROM address per sensor
- Many sensors on a single data pin
- Optional parasite power (2 wires instead of 3)
- Available as a waterproof stainless-steel probe — ideal for liquids and soil
That waterproof probe version is what makes the DS18B20 so popular: it’s the go-to sensor for pool and aquarium monitoring, home brewing, sous-vide, soil temperature and outdoor weather stations.
Technical Specifications
| Parameter | Value |
|---|---|
| Sensor type | Digital, 1-Wire |
| Temperature range | -55°C to +125°C |
| Accuracy | ±0.5°C (-10°C to +85°C) |
| Resolution | 9 – 12-bit (0.5°C – 0.0625°C) |
| Conversion time | ≤ 94 ms (9-bit) to ≤ 750 ms (12-bit) |
| Supply voltage | 3.0V – 5.5V |
| Bus | 1-Wire (one data pin) |
| Address | Unique 64-bit ROM per device |
| Package | TO-92 or waterproof probe |
⚠️ The DS18B20 tolerates 3.0–5.5V, but on an ESP32 always power it from 3.3V so the data-line logic levels match the ESP32’s GPIO. Mixing a 5V-powered sensor with a 3.3V GPIO can damage the pin.
Pinout
The TO-92 package has three pins. Looking at the flat side with the pins pointing down:
| Pin | Name | Description |
|---|---|---|
| 1 | GND | Ground |
| 2 | DQ | Data (1-Wire) |
| 3 | VDD | 3.3V supply |
The waterproof probe version uses three wires, but the colours vary between manufacturers:
| Wire (typical) | Function |
|---|---|
| Red | VDD |
| Black | GND |
| Yellow / White | DQ (data) |
⚠️ Probe wire colours are not standardised. Always verify with a multimeter before connecting — a swapped VDD and DQ is the most common way to cook a sensor.
How the 1-Wire Bus Works
1-Wire is a clever protocol that carries both power timing and data on a single line. Communication always follows the same pattern:
- The master (ESP32) sends a reset pulse by pulling the line low.
- Each sensor answers with a presence pulse — proof it’s alive.
- The master sends a ROM command to address one or all sensors.
- The master sends a function command (e.g. “measure temperature” or “read the result”).
Because the line idles high through the pull-up resistor, and devices only ever pull it low, many sensors can share it without conflict. Timing is strict — which is why on the ESP32 we let the RMT peripheral generate the precise pulses instead of bit-banging them in software.
The 64-bit ROM Address
Every DS18B20 leaves the factory with a unique, laser-etched 64-bit ROM code: an 8-bit family code (0x28), a 48-bit serial number, and an 8-bit CRC. This address is what lets multiple sensors coexist:
- Skip ROM — address every sensor at once (fine when there’s only one)
- Match ROM — talk to one specific sensor by its address
- Search ROM — discover every address on the bus
So the workflow for a multi-sensor setup is: search the bus once to learn all the addresses, then use Match ROM to read each sensor individually.
Connecting to the ESP32-C6 SUPER MINI
The DS18B20 needs a data pin and — crucially — a 4.7 kΩ pull-up resistor between DQ and 3.3V:
| DS18B20 | ESP32-C6 SUPER MINI | Wire |
|---|---|---|
| VDD | 3V3 | Red |
| GND | GND | Black |
| DQ | GPIO4 | Yellow |
| DQ ↔ VDD | 4.7 kΩ resistor | — |
Notes:
- GPIO4 is just an example — any free GPIO works. Check the ESP32-C6 SUPER MINI pinout guide to pick a safe pin, and avoid GPIO8 (onboard RGB LED).
- The 4.7 kΩ pull-up is mandatory — without it the bus never idles high and no sensor is ever found. This is the number-one DS18B20 mistake.
- For several sensors, connect them all to the same three lines (a shared pull-up is enough).
- For long cable runs, keep the pull-up at the ESP32 end and prefer a daisy-chain (linear) topology over a star.
Resolution and Conversion Time
The DS18B20 lets you trade resolution against speed:
| Resolution | Step size | Max conversion time |
|---|---|---|
| 9-bit | 0.5°C | ≤ 94 ms |
| 10-bit | 0.25°C | ≤ 188 ms |
| 11-bit | 0.125°C | ≤ 375 ms |
| 12-bit | 0.0625°C | ≤ 750 ms |
⚠️ At 12-bit you must wait up to 750 ms after triggering a conversion before reading, or you’ll get a stale value. For fast polling of many sensors, drop to 9 or 10-bit.
The Scratchpad
Each sensor stores its data in a 9-byte scratchpad:
| Byte | Contents |
|---|---|
| 0 | Temperature LSB |
| 1 | Temperature MSB |
| 2 | TH / user byte 1 |
| 3 | TL / user byte 2 |
| 4 | Configuration (resolution) |
| 5–7 | Reserved |
| 8 | CRC |
The temperature is a 16-bit signed value in units of 1/16°C, so the real temperature is simply raw × 0.0625. Byte 8 is a CRC you can check to reject corrupted reads on noisy or long cables.
ESP-IDF Example Code
On ESP-IDF the clean, modern approach uses Espressif’s RMT-based 1-Wire components — espressif/onewire_bus and espressif/ds18b20 — which you add via the component manager:
idf.py add-dependency "espressif/onewire_bus"
idf.py add-dependency "espressif/ds18b20"
The example searches the bus for all DS18B20 sensors and prints each temperature:
#include <stdio.h>
#include "freertos/FreeRTOS.h"
#include "freertos/task.h"
#include "esp_log.h"
#include "onewire_bus.h"
#include "ds18b20.h"

#define ONEWIRE_GPIO 4
#define MAX_SENSORS  8

static const char *TAG = "DS18B20";

void app_main(void)
{
    /* Create the 1-Wire bus on the RMT peripheral */
    onewire_bus_handle_t bus;
    onewire_bus_config_t bus_config = { .bus_gpio_num = ONEWIRE_GPIO };
    onewire_bus_rmt_config_t rmt_config = { .max_rx_bytes = 10 };
    ESP_ERROR_CHECK(onewire_new_bus_rmt(&bus_config, &rmt_config, &bus));

    /* Discover every DS18B20 on the wire */
    ds18b20_device_handle_t sensors[MAX_SENSORS];
    int found = 0;

    onewire_device_iter_handle_t iter;
    onewire_device_t device;
    ESP_ERROR_CHECK(onewire_new_device_iter(bus, &iter));

    while (onewire_device_iter_get_next(iter, &device) == ESP_OK) {
        ds18b20_config_t cfg = {};
        if (ds18b20_new_device(&device, &cfg, &sensors[found]) == ESP_OK) {
            ESP_LOGI(TAG, "Found sensor %d, address: %016llX",
                     found, device.address);
            ds18b20_set_resolution(sensors[found], DS18B20_RESOLUTION_12B);
            found++;
            if (found >= MAX_SENSORS) break;
        }
    }
    onewire_del_device_iter(iter);
    ESP_LOGI(TAG, "%d DS18B20 sensor(s) on the bus", found);

    while (1) {
        for (int i = 0; i < found; i++) {
            float temp;
            ds18b20_trigger_temperature_conversion(sensors[i]);
            /* 12-bit conversion needs up to 750 ms */
            vTaskDelay(pdMS_TO_TICKS(800));
            if (ds18b20_get_temperature(sensors[i], &temp) == ESP_OK) {
                ESP_LOGI(TAG, "Sensor %d: %.2f °C", i, temp);
            }
        }
        vTaskDelay(pdMS_TO_TICKS(1000));
    }
}
The component handles the 1-Wire timing, ROM search and CRC checking for you.
Prefer Arduino?
The classic OneWire + DallasTemperature libraries make it a few lines:
#include <OneWire.h>
#include <DallasTemperature.h>

OneWire oneWire(4);            // data on GPIO4
DallasTemperature sensors(&oneWire);

void setup() {
  Serial.begin(115200);
  sensors.begin();
}

void loop() {
  sensors.requestTemperatures();
  Serial.printf("%.2f Cn", sensors.getTempCByIndex(0));
  delay(1000);
}
Multiple Sensors on One Wire
This is the DS18B20’s headline feature. Because each sensor has a unique address, you can wire many of them to the same GPIO and read them individually — no multiplexer, no extra pins.
The pattern:
- Run a ROM search once at startup to collect every address.
- Store the addresses.
- To read a specific sensor, use Match ROM with its address, then trigger and read.
A single ESP32 GPIO can comfortably run a whole string of sensors down a corridor, through a greenhouse, or along a heating pipe.
Parasite Power Mode
The DS18B20 can run on just two wires by drawing its power from the data line and storing it in an internal capacitor — this is parasite power.
| Mode | Wires | Notes |
|---|---|---|
| Normal | 3 | VDD, GND, DQ — recommended, most reliable |
| Parasite | 2 | DQ + GND, VDD tied to GND — fewer wires |
⚠️ Parasite power needs a strong pull-up during the temperature conversion (often a MOSFET actively pulling the line high). It’s finicky, especially with several sensors. Unless you truly can’t run a third wire, stick with normal power.
DS18B20 vs DHT22
Both are popular hobby temperature sensors, but they solve different problems:
| Feature | DS18B20 | DHT22 |
|---|---|---|
| Temperature | ✅ ±0.5°C | ✅ ±0.5°C |
| Humidity | ❌ | ✅ |
| Range | -55°C to +125°C | -40°C to +80°C |
| Waterproof option | ✅ (probe) | ❌ |
| Multiple per pin | ✅ (unique address) | ❌ (one per pin) |
| Bus | 1-Wire | Single-wire (custom) |
| Sampling speed | Fast (9-bit) – slow (12-bit) | Slow (~2 s) |
When to Choose the DS18B20
- You need to measure liquids, soil or outdoor temperature (waterproof probe)
- You want many temperature points on one pin
- You need a wide range or sub-degree resolution
When to Choose the DHT22
- You also need humidity
- You want the simplest single-sensor wiring
- You don’t need a waterproof or multi-sensor setup
Practical Engineering Tips
1. Never Forget the Pull-Up
The number-one reason a DS18B20 is “not found”: no 4.7 kΩ resistor between DQ and 3.3V. The bus can’t idle high without it.
2. Verify Probe Wire Colours
Waterproof-probe colours are not standard. Meter them out before powering up — a reversed VDD/DQ can destroy the sensor instantly.
3. Wait for the Conversion
At 12-bit, give the sensor up to 750 ms after Convert T before reading, or you’ll read the previous value. Drop the resolution if you need faster updates.
4. Check the CRC on Long Cables
Byte 8 of the scratchpad is a CRC. On long runs or in electrically noisy environments, validate it and discard bad reads instead of logging garbage.
5. Mind the Cable Topology
For long multi-sensor runs, a linear daisy-chain behaves far better than a star. Keep the pull-up at the controller end, and consider a lower value (e.g. 2.2 kΩ) for very long buses.
Conclusion
The DS18B20 is a small sensor that solves temperature measurement beautifully: digital, accurate, rugged, and able to put dozens of measurement points on a single wire. Combined with the ESP32-C6 SUPER MINI it’s the backbone of any temperature-logging, brewing, or climate-monitoring project.
It offers:
- Digital °C output — no ADC or calibration needed
- A waterproof probe version for liquids and soil
- Many sensors on one GPIO, each uniquely addressed
- Wide -55°C to +125°C range with selectable resolution
- Simple wiring — one data pin and a pull-up resistor
Where the BME280 gives you temperature, humidity and pressure over I²C, the DS18B20 is the specialist you reach for when you need rugged, waterproof temperature — possibly at many points at once. For any project that has to survive water or spread across a building, it’s one of the best-value building blocks you can add to your parts drawer.
Related
 Reference
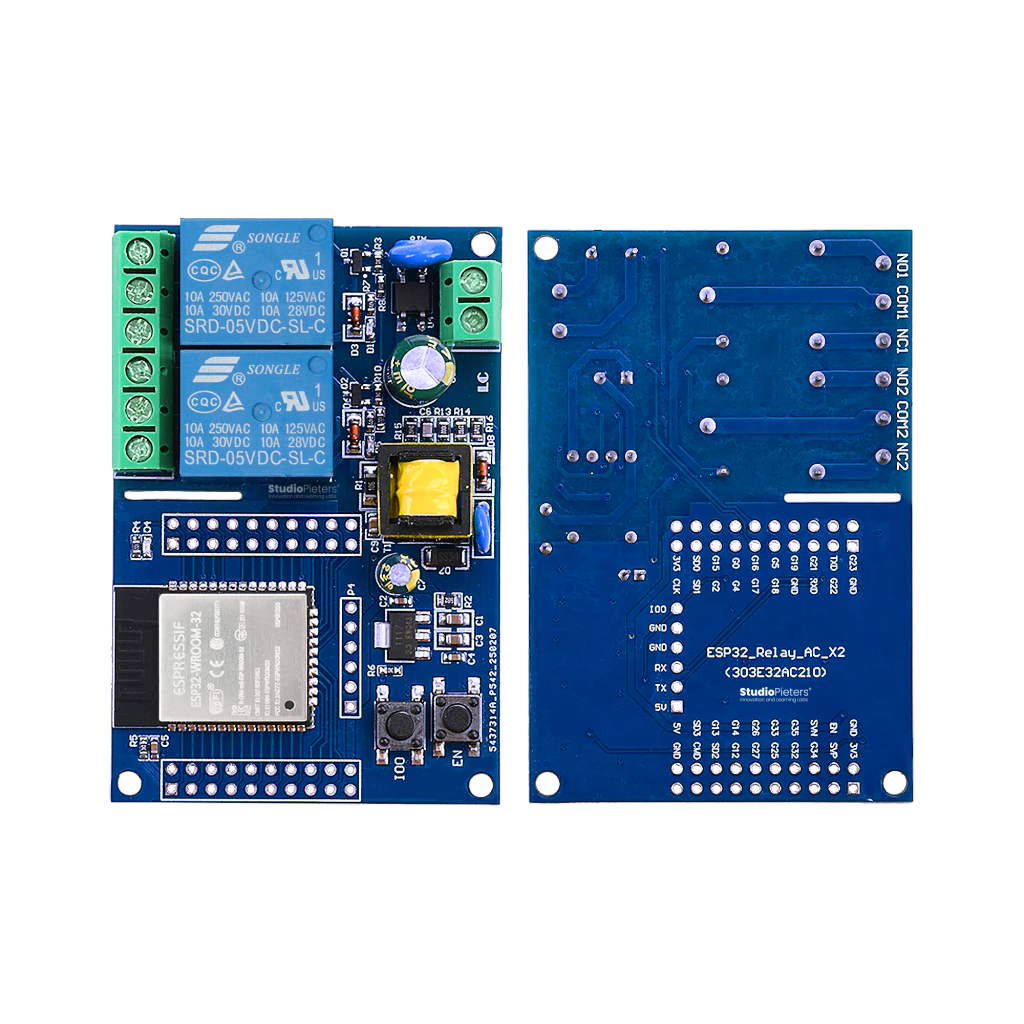
ESP32 Dual Channel Relay Module
An ESP32-WROOM-32E module built onto a mains-powered dual-relay board, complete with galvanic isolation and an onboard 220V-to-3.3V power supply. This guide covers the pinout, both relay-control GPIOs, and how to flash it for Apple HomeKit.
Read more
Reference
ESP32 Dual Channel Relay Module
An ESP32-WROOM-32E module built onto a mains-powered dual-relay board, complete with galvanic isolation and an onboard 220V-to-3.3V power supply. This guide covers the pinout, both relay-control GPIOs, and how to flash it for Apple HomeKit.
Read more
 Reference
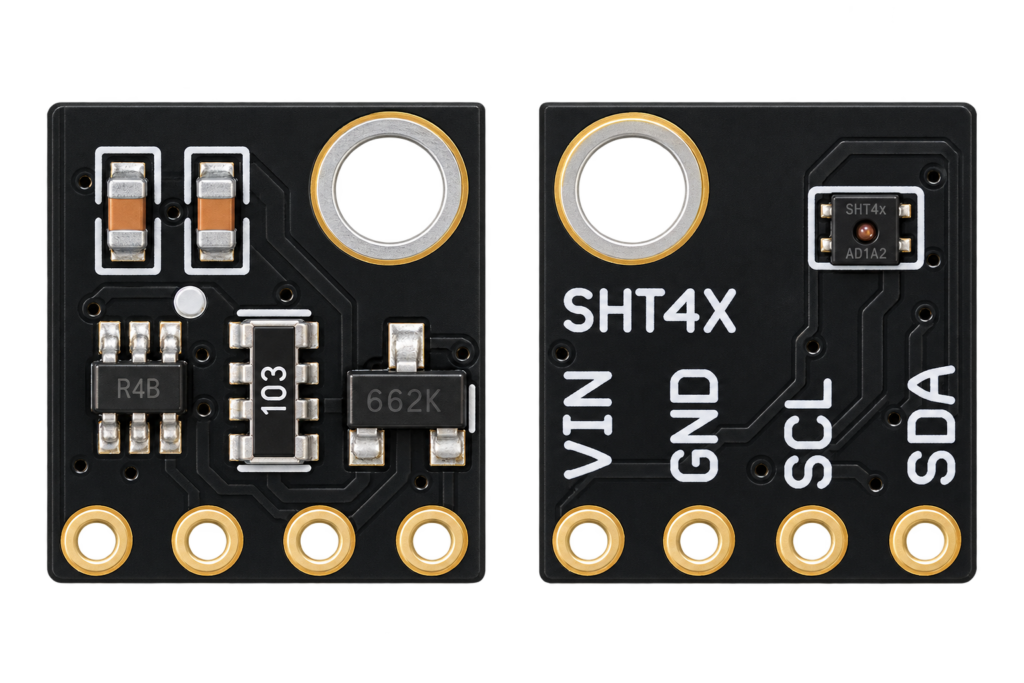
SHT40 / SHT41 Temperature and Humidity Sensor Complete Guide
Sensirion's fourth-generation SHT4x sensors trade the SHT3x series' heater-based self-test for an ultra-low idle power budget and a slightly tighter accuracy spec. This guide covers wiring an SHT40 or SHT41 to an ESP32, real I2C addressing, and which SHT generation actually makes sense for a new project.
Read more
Reference
SHT40 / SHT41 Temperature and Humidity Sensor Complete Guide
Sensirion's fourth-generation SHT4x sensors trade the SHT3x series' heater-based self-test for an ultra-low idle power budget and a slightly tighter accuracy spec. This guide covers wiring an SHT40 or SHT41 to an ESP32, real I2C addressing, and which SHT generation actually makes sense for a new project.
Read more
 Reference
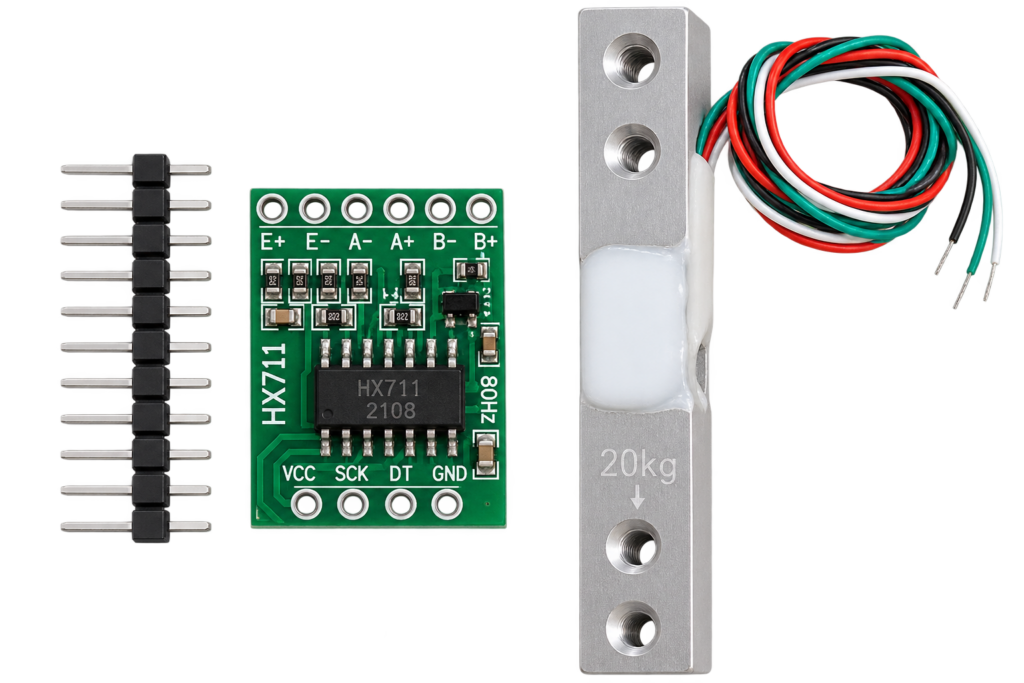
HX711 + Load Cell Weight Sensor Complete Guide
The HX711 is a 24-bit ADC purpose-built to amplify the tiny signal from a 4-wire load cell into something a microcontroller can read reliably. This guide covers the real wiring convention, which varies by manufacturer, and the calibration process every load cell genuinely needs, regardless of which specific one you bought.
Read more
Reference
HX711 + Load Cell Weight Sensor Complete Guide
The HX711 is a 24-bit ADC purpose-built to amplify the tiny signal from a 4-wire load cell into something a microcontroller can read reliably. This guide covers the real wiring convention, which varies by manufacturer, and the calibration process every load cell genuinely needs, regardless of which specific one you bought.
Read more
More guides
Keep building.
From ESP32 HomeKit accessories to Arduino and ATtiny reference guides, there’s more where this came from.
All guides