I have been fascinated by Domotica all my life. As a small child I visited all the house of the future (The House of the Future, a project by Chriet Titulaer, was opened in the summer of 1989 in the Netherlands ), an experience that stayed with me all my life. Now with Homekit on my iPhone, the future is here now. Somebody has the same fascination as me for Domotica and made HomeBridge.

What is HomeBridge and why should you use it?
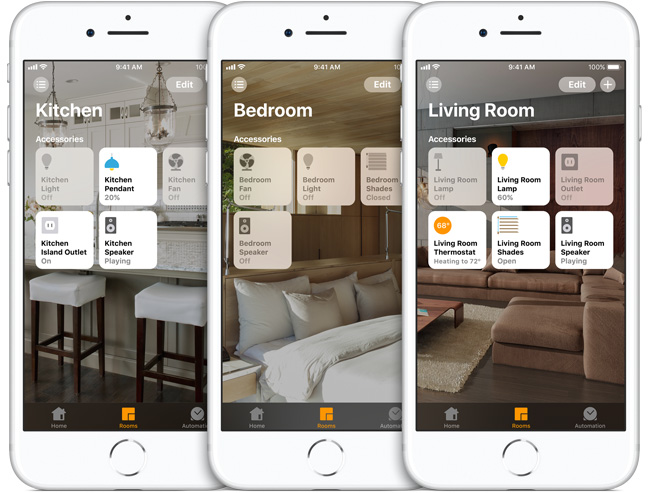
HomeBridge is a utility that some wonderful geniuses wrote to allow you to tie together all of the various “almost smart” home devices into Apples new HomeKit framework for Siri to control. If you want to learn more about Siri and HomeKit then I would suggest you start reading Apple’s website for some examples and details. Now that you are familiar with Siri and HomeKit we can move onto using HomeBridge. HomeBridge is a utility that needs to be run on a device that can stay powered on all the time in the background. Ideally you will want something that doesn’t consume lots of power or resources. That’s where the Raspberry Pi comes in.
Ok I’m convinced. Now what?
Now you will need to get everything together and assembled. Some of the things I’ll be covering will be optional. Such as you can optionally connect your server via Ethernet or WiFi. In that case, I would suggest Ethernet for quicker response time. You may also want to protect your Raspberry Pi by installing it into a case, and there are hundreds of options out there for you to choose between.Here’s what you will need:
- Raspberry Pi 2 Model B
- SanDisk Ultra 32GB microSDHC
- USB 3.0 Card Reader
- Official Raspberry Pi Case (optional)
- RJ45 Ethernet Patch Cable (recommended)
Once you have acquired all the necessary and desired pieced you will need to download the operating system to install on your Raspberry Pi.

Installing the prerequisite
To install Homebridge we use the Terminal to connect to Raspbian. In contrast to visual installers this installation will be carried out by entering commands. While this does not always look that easy , it is almost always a matter of copying and pasting codes.
Open Terminal by clicking upper left of the screen, click the Terminal icon. We start with updating the system. Enter the following commands one at a time followed by Enter:
sudo apt-get update
sudo apt-get upgrade
Now we install Node required for Homebridge .
Note: If you use a Raspberry Pi 2 Model A? Enter the following commands:
Sudo wget https://nodejs.org/dist/v8.9.4/node-v8.9.4-linux-armv6l.tar.gz
sudo tar -xvf node-v8.9.4-linux-armv6l.tar.gz
cd node-v8.9.4-linux-armv6l
Note: If you use a Raspberry Pi 2 Model B? Enter the following commands:
sudo wget https://nodejs.org/dist/v8.9.4/node-v8.9.4-linux-armv7l.tar.gz
sudo tar -xvf node-v8.9.4-linux-armv7l.tar.gz
cd node-v8.9.4-linux-armv7l
Copy to / usr / local / using the following command to execute :
sudo cp -R * /usr/local/
Node.js is installed. You can check this by entering the following command . In response you will see the version number ; In this case, 6.9.2 .
node -v
Install Avahi with the following command :
sudo apt-get install libavahi-compat-libdnssd-dev
All preparations for the installation are now affected .

Installing Homebridge
It’s finally time for the real installation. This is mostly a matter of waiting and patience .
Homebridge to install by typing the following command:
sudo npm install -g homebridge --unsafe-perm
You may need to use the –unsafe-perm flag if you receive an error similar to this:
gyp WARN EACCES user “root” does not have permission to access the dev dir “/root/.node-gyp/5.5.0”
Installation can take quite some time . Do not worry if you have some errors pass by. Wait quietly until the completion of the installation.
When the installation is complete, we can start Homebridge for the first time . Enter the following command:
HomeBridge

Errors on startup
The following errors are experienced when starting Homebridge and can be safely ignored.
*** WARNING *** The program 'nodejs' uses the Apple Bonjour compatibility layer of Avahi
*** WARNING *** Please fix your application to use the native API of Avahi!
*** WARNING *** For more information see http://0pointerde/avahi-compat?s=libdns_sd&e=nodejs
*** WARNING *** The program 'nodejs' called 'DNSServiceRegister()' which is not supported (or only supported partially) in the Apple Bonjour compatibility layer of Avahi
*** WARNING *** Please fix your application to use the native API of Avahi!
*** WARNING *** For more information see http://0pointerde/avahi-compat?s=libdns_sd&e=nodejs&f=DNSServiceRegister
As I’m testing my new build homekit accesoires I need to manualy start my homebridge. So the question is: How can I automatically starts Homebridge after rebooting the Raspberry Pi.

Start Homebridge automatically
If you want to start Homebridge automatically after the Raspberry Pi has restarted follow the steps below:
1. Open Terminal.
2. Run this command:
sudo nano /etc/init.d/homebridge
3. Copy the text from this sample file.
4. Paste the text in the Terminal window. Replace the upper part of the text by this version:
#!/bin/sh
### BEGIN INIT INFO
# Provides: homebridge
# Required-Start: $network $remote_fs $syslog
# Required-Stop: $remote_fs $syslog
# Default-Start: 2 3 4 5
# Default-Stop: 0 1 6
# Short-Description: Start daemon at boot time
# Description: Enable service provided by daemon.
### END INIT INFOdir="/home/pi"
cmd="DEBUG=* /usr/local/bin/homebridge"
user="pi"
5. Save the file using Control + O, followed by Enter, then Control + X to exit the file.
6. Change the rights by running the following commands:
sudo chmod 755 /etc/init.d/homebridge
sudo update-rc.d homebridge defaults
The Raspberry Pi will automatically start Homebridge after a restart. It is hereby no longer necessary to have connected a mouse, keyboard or monitor. The Homebridge server can be placed anywhere in this way.

![]()
Download all Files for this project on github.

Do you have any questions? Leave a comment down below!
Reference
Nick Farina (Nov 14 2017), Homebridge, Homebridge is a lightweight NodeJS server you can run on your home network that emulates the iOS HomeKit API., https://github.com/nfarina/homebridge