
HomeKit
ESP8266 HomeKit Fountain Light
A HomeKit controller for a stone water feature: a ring of 16 colour LEDs cast in resin and a 230 V pond pump switch, on a custom KiCad board that was designed, produced and tested from scratch.
- ESP8266
- HomeKit
- Safety notes
- 4 min read
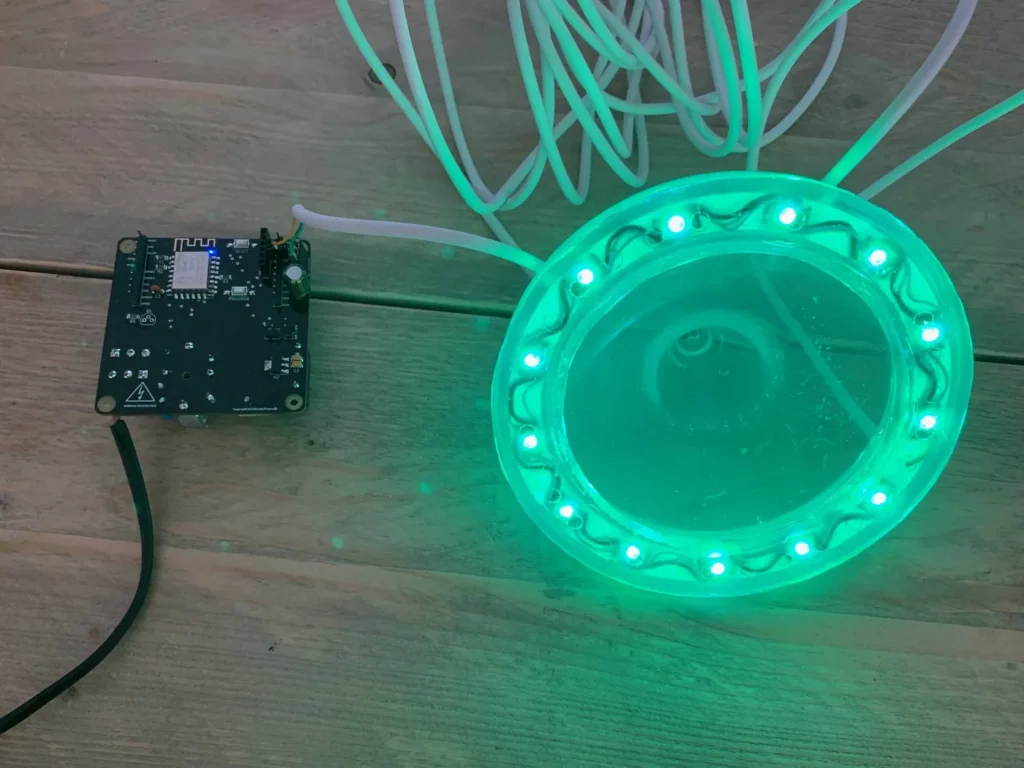
A HomeKit controller for a garden water feature: it lights the fountain with a ring of colour-changing LEDs and switches the pond pump, both from the Home app. It runs on a printed circuit board that was designed for the job.
The project started when an old stone water feature was given to the author. It looked like the chance to put everything learned into practice in one build: the software, the hardware design in KiCad, making a printed circuit board, having it produced, testing it, and then using it for real. It worked.
High voltage and water
The controller board is connected to 230 V, protected by a 1 A fuse, and it switches a 230 V pond pump. Mains voltage and water are a dangerous combination. Only build this if you know how to work safely on mains wiring, disconnect the power before you touch anything, and keep the electronics in a closed enclosure away from the water. The board itself carries a high voltage warning.
What it does
| Feature | Details |
|---|---|
| Lamp, “NEOPIXEL RING” | On and off, brightness, hue and saturation, from the Home app |
| Switch, “WATER PUMP” | Switches the pond pump through a relay |
| Button | A single press toggles the pump. A long press of 4 seconds is set up in the firmware but has no function |
| Identify | The ring flashes pink in three groups of three, together with the on-board LED |
| On-board LED | Follows the on and off state of the ring, handy for testing |
| Updates | Over the air, through Life Cycle Manager 2 |
| No cloud | Control stays on your own network |
The accessory shows up as WATER FOUNTAIN with the chip ID added to its name, and it has an OTA trigger characteristic for the updates.
Hardware
| Component | Notes |
|---|---|
| ESP8266 module | An ESP-12 type module on the custom board. See the ESP8266 pinout |
| NeoPixel ring | 16 WS2812B LEDs on a round board. See the NeoPixels WS2812B guide |
| Relay | Switches the pump. The KiCad project includes footprints for the G3MB-202P relay |
| Power module | A Hi-Link HLK-PM01, 100 to 240 V AC in and 5 V DC out at 3 W |
| Fuse | 1 A, in a fuse holder on the board |
| Screw terminals | Mains in and relay out |
| Enclosure | A grey plastic junction box, with the board fitted inside |
| Pond pump | 230 V |
The LED ring
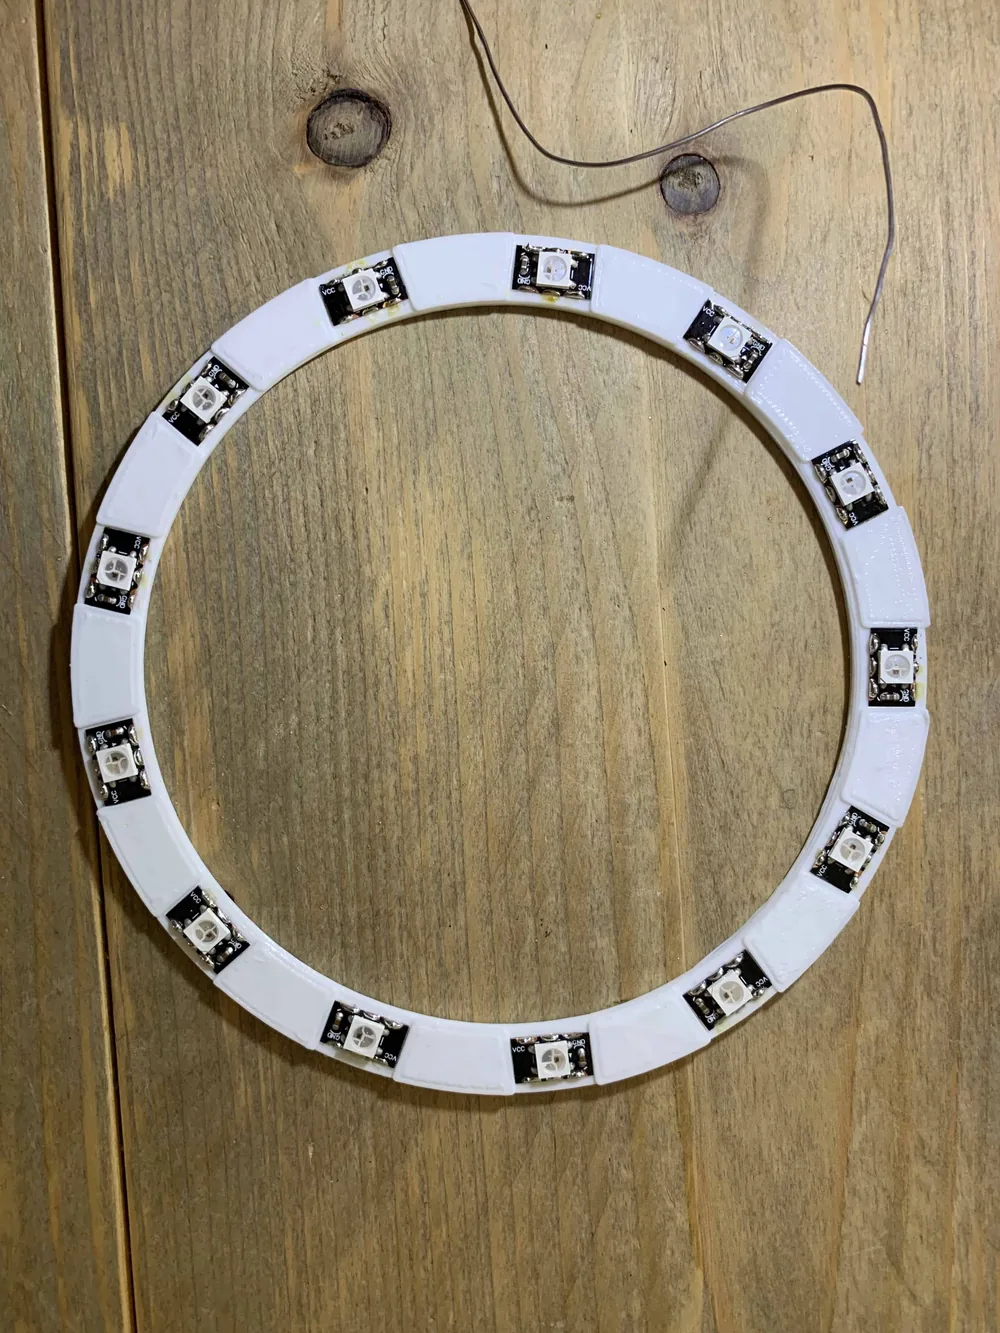
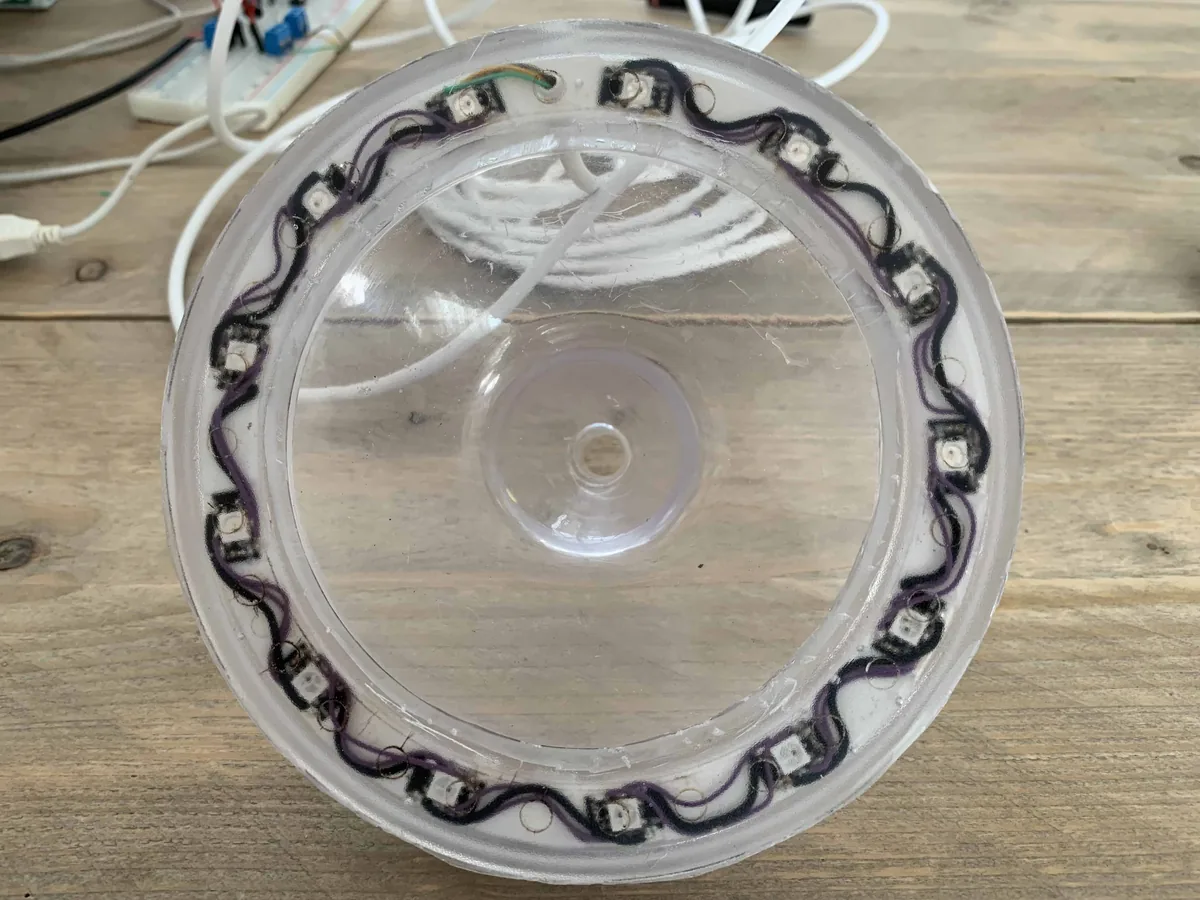
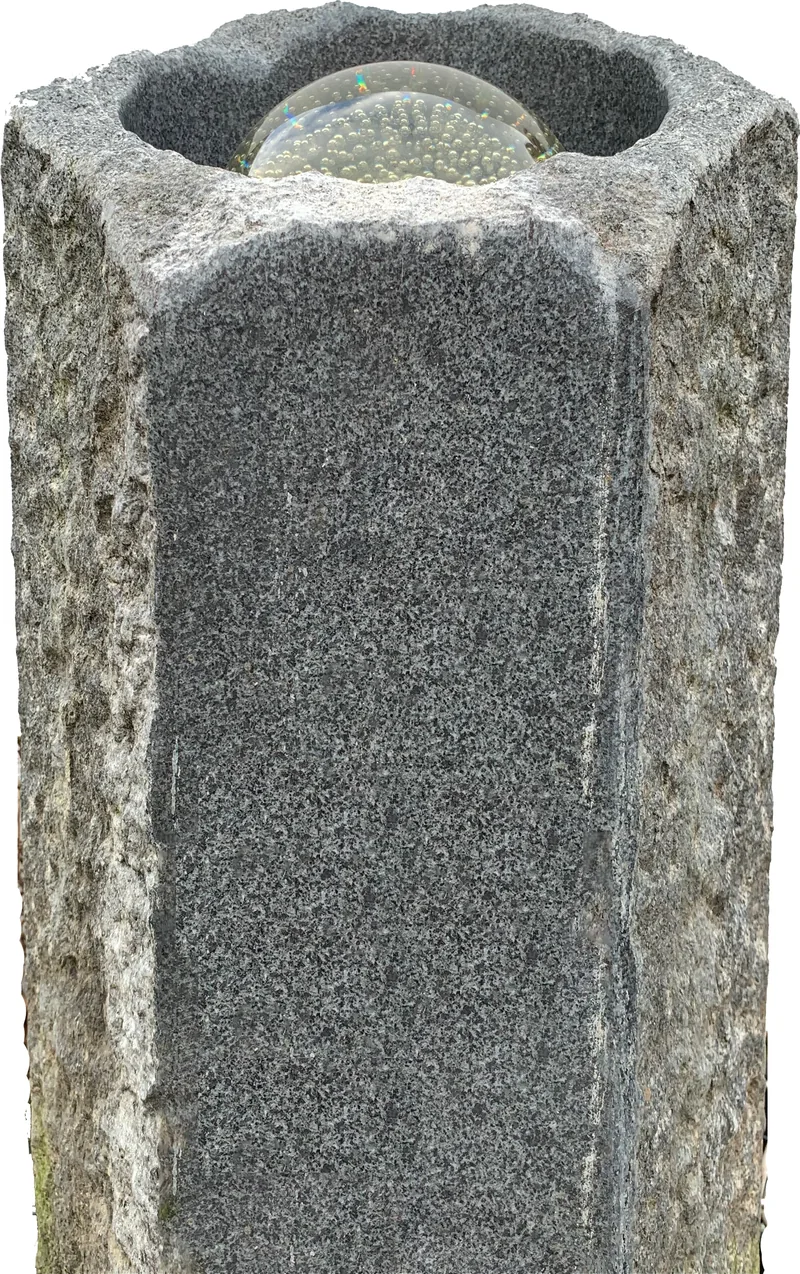
The light is a ring of 16 NeoPixel LEDs on a round white board. To make it survive outdoors, the ring is cast in a waterproof synthetic resin, and it is mounted in the stone water feature, in the clear dish on top, where it lights the water.
Designing the board in KiCad
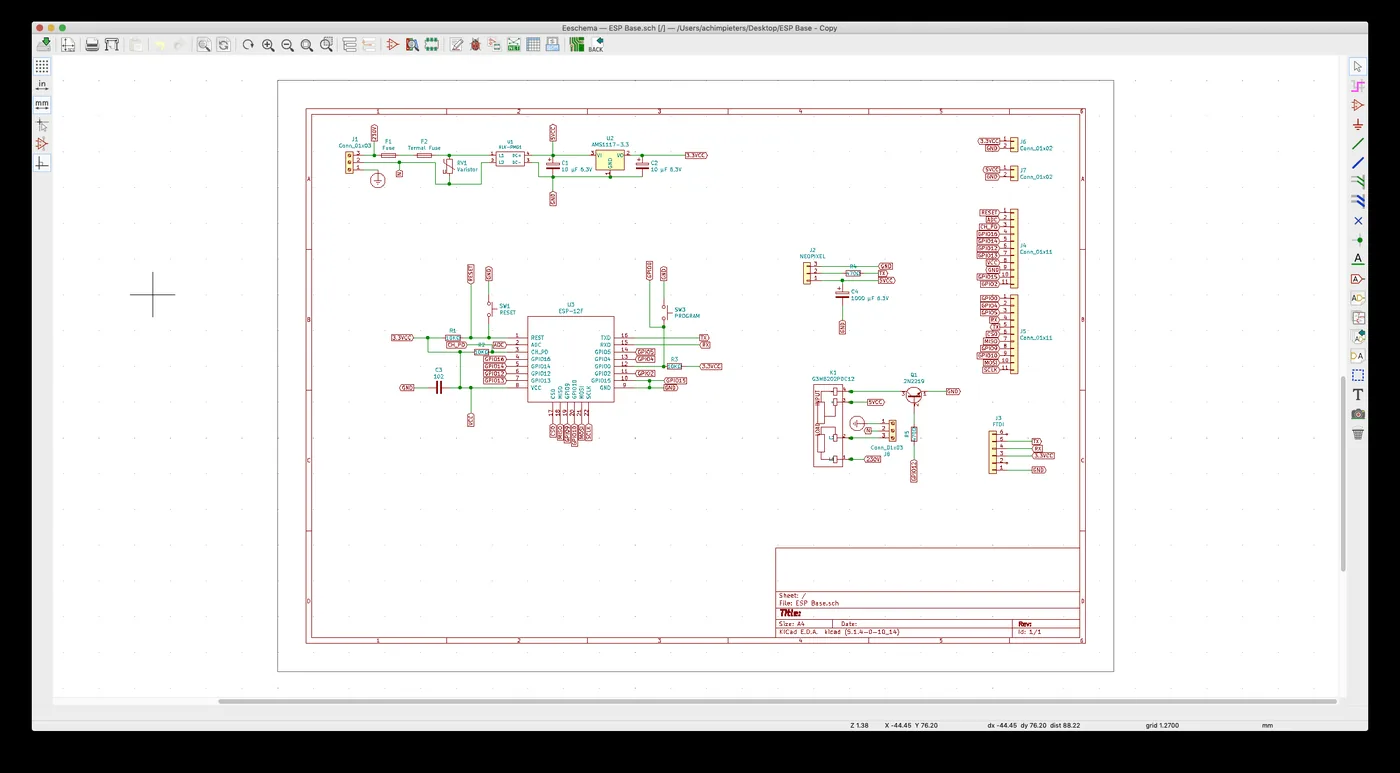
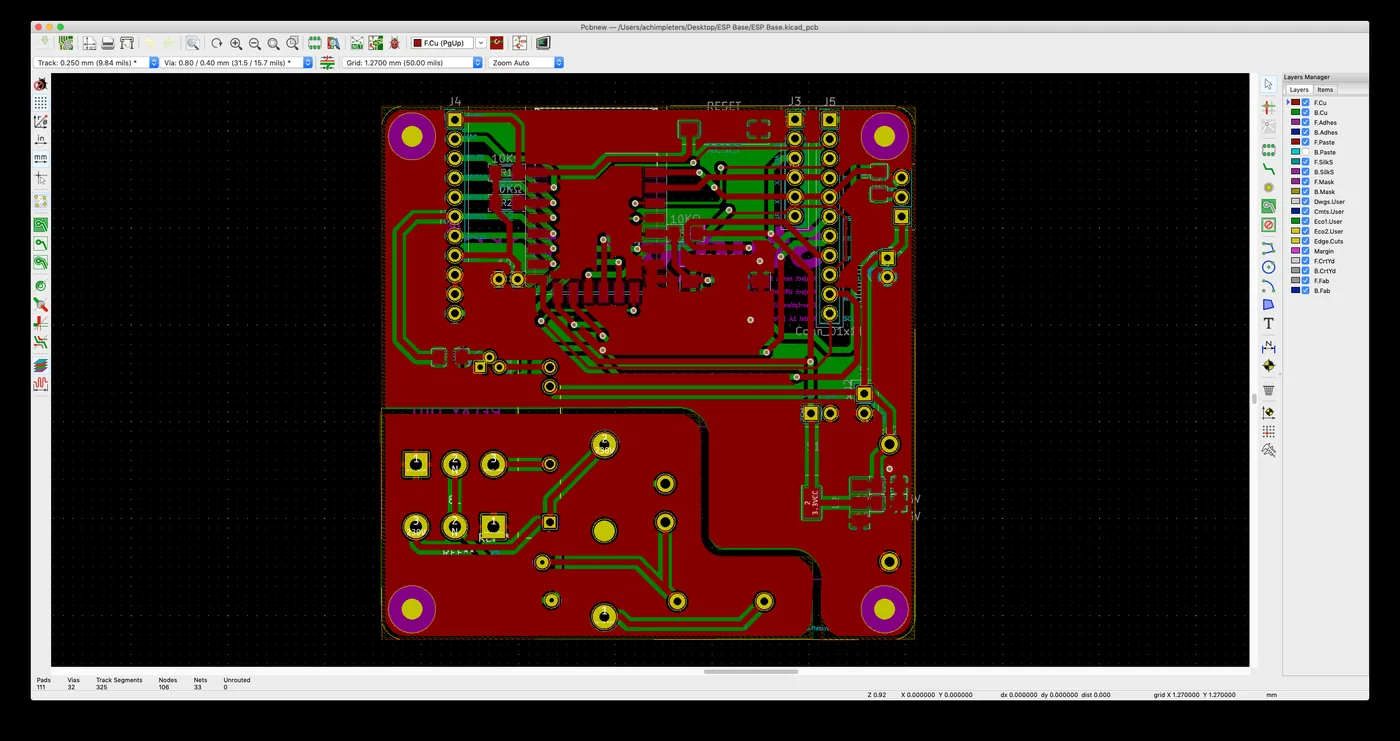
The controller is a custom board, drawn in KiCad. The repository has the whole KiCad project, called ESP Base, with the schematic, the board layout, and the parts it needed: a relay footprint and 3D models of the HLK-PM power modules. The gerber files, which is what a board maker needs, are in the repository too, in a folder and as a gerber.rar.
Building it
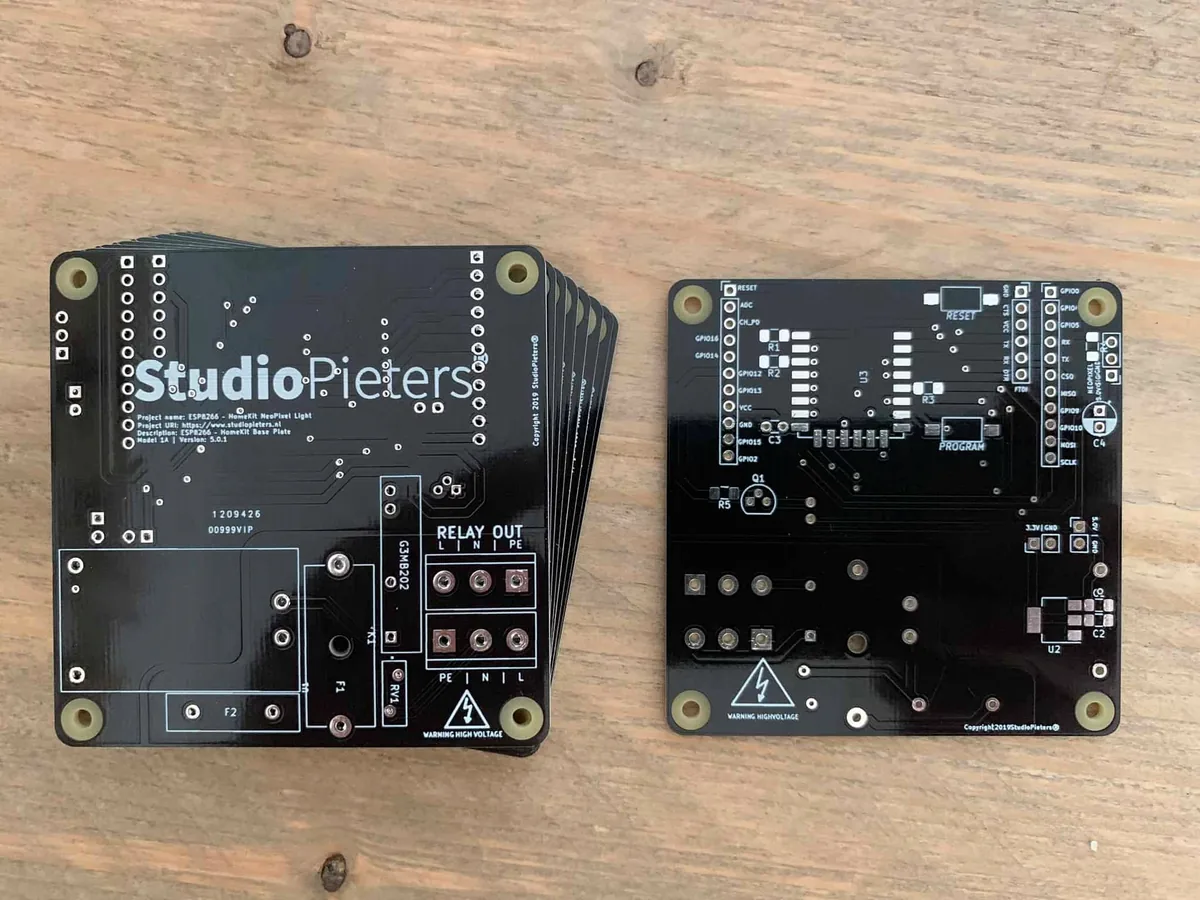
The boards were produced, and here is a stack of the bare boards. The board has a warning triangle at the high voltage part.
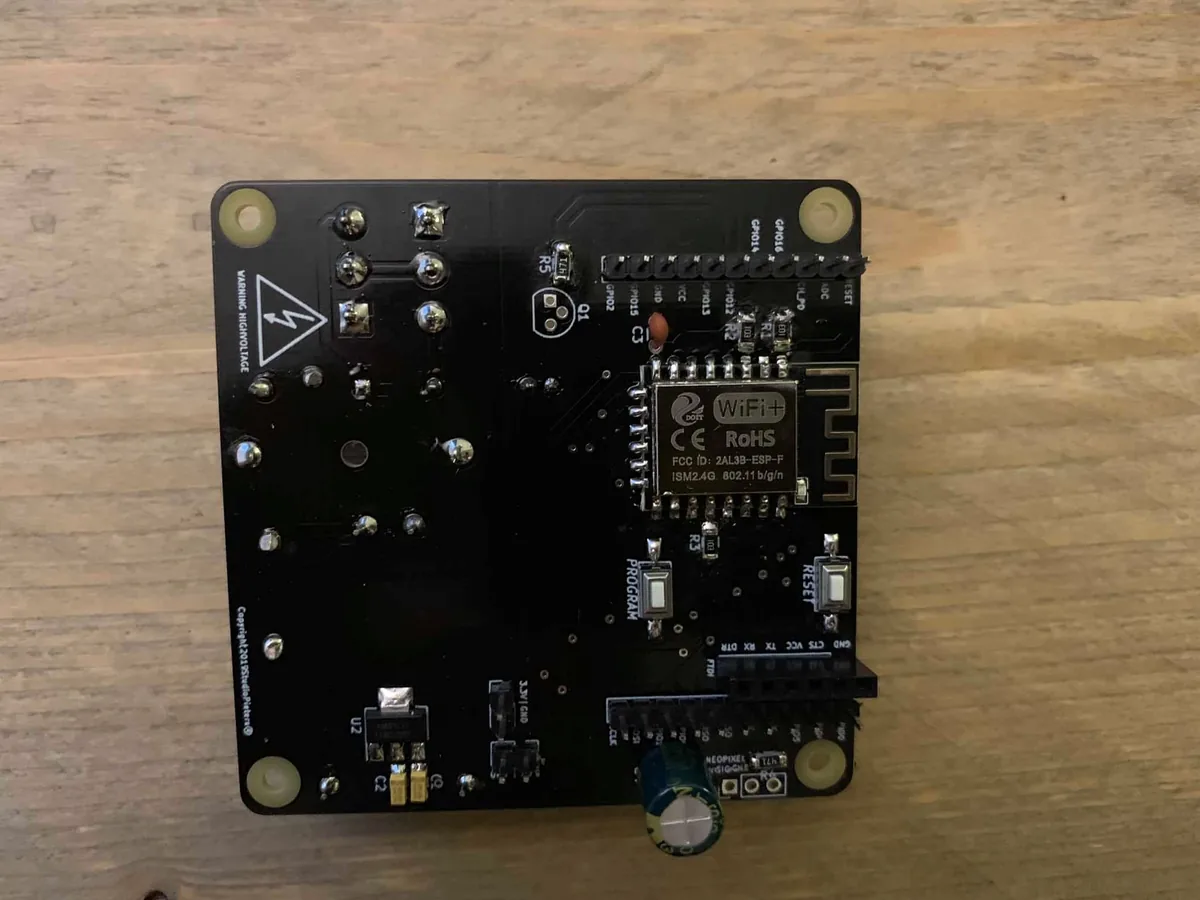
Assembly started with the ESP-12 module and its small parts.
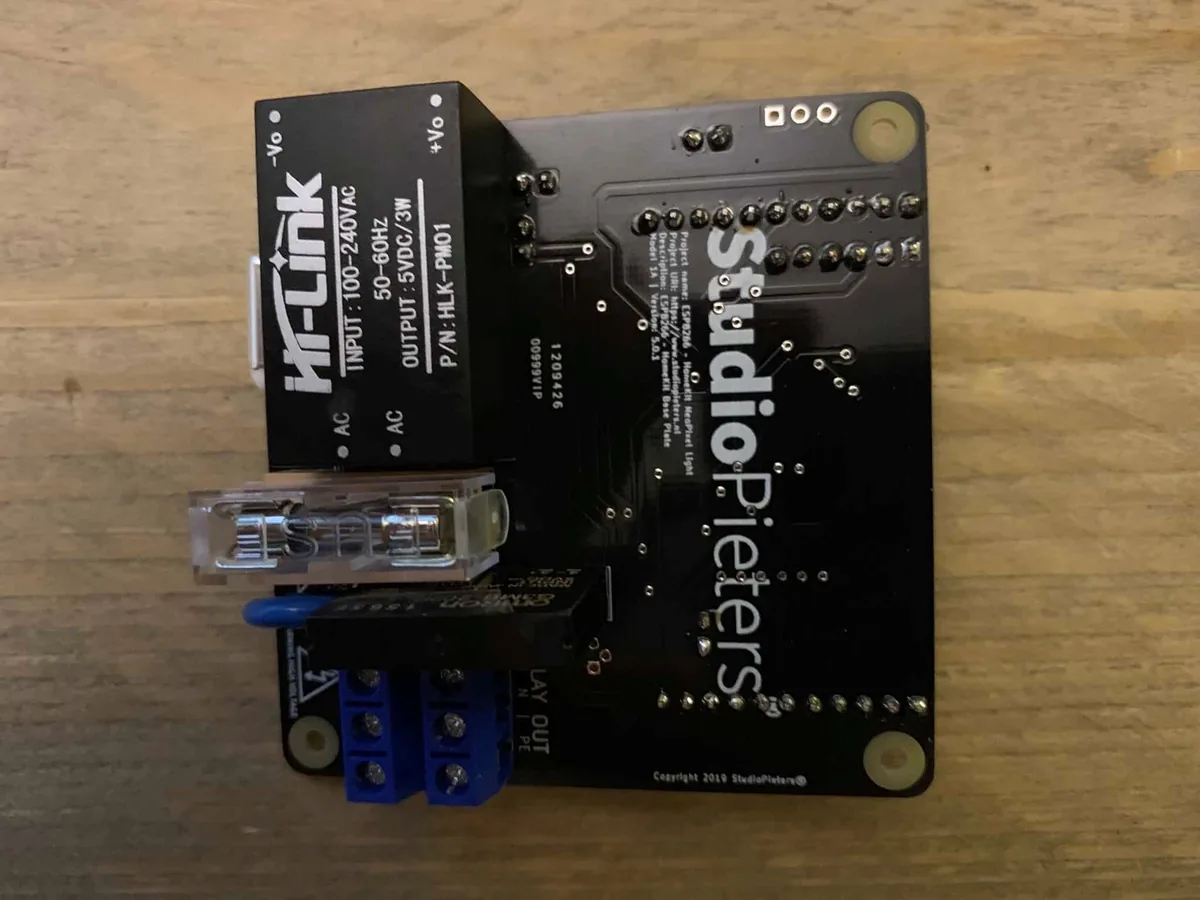
On the mains side sit the HLK-PM01 power module, the fuse holder with its fuse and the blue screw terminals.
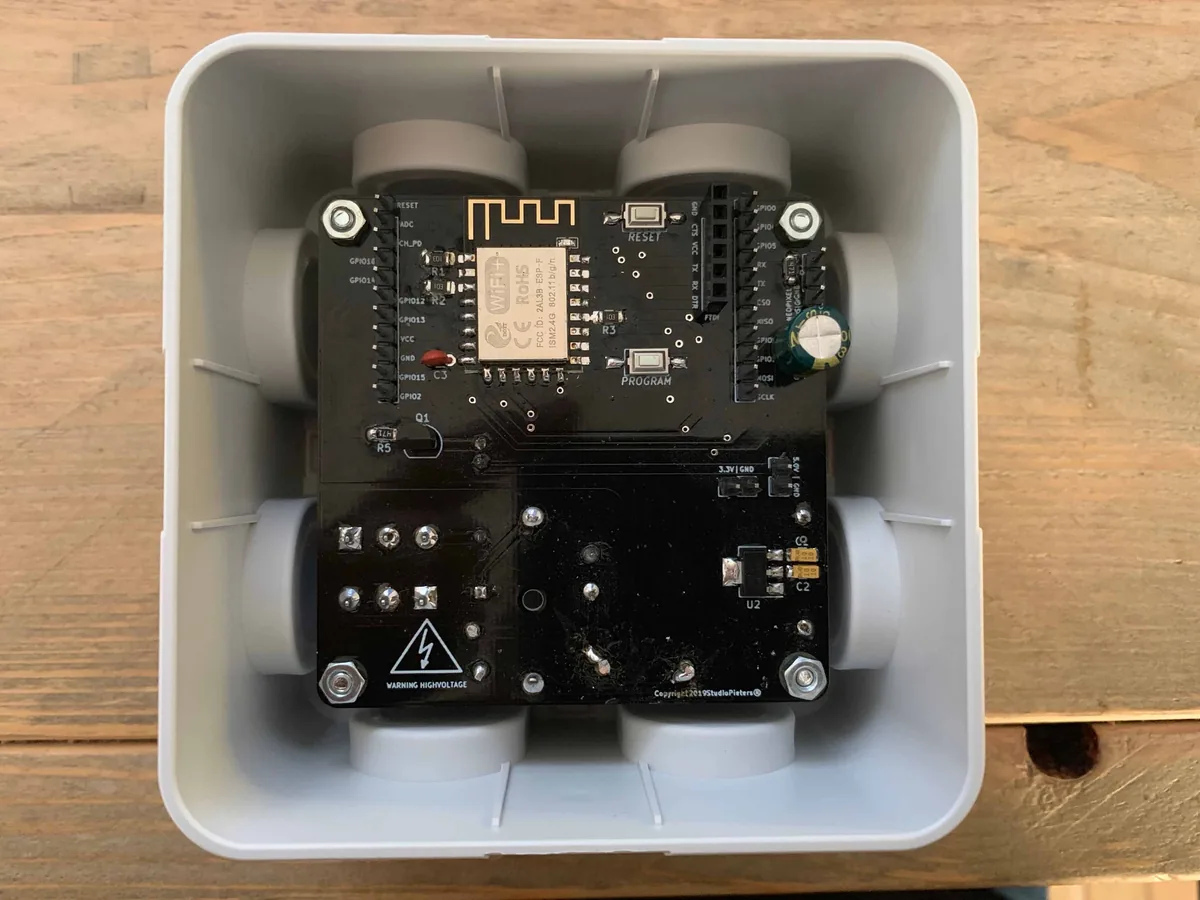
The finished board fits in a plastic junction box.
Testing and using it
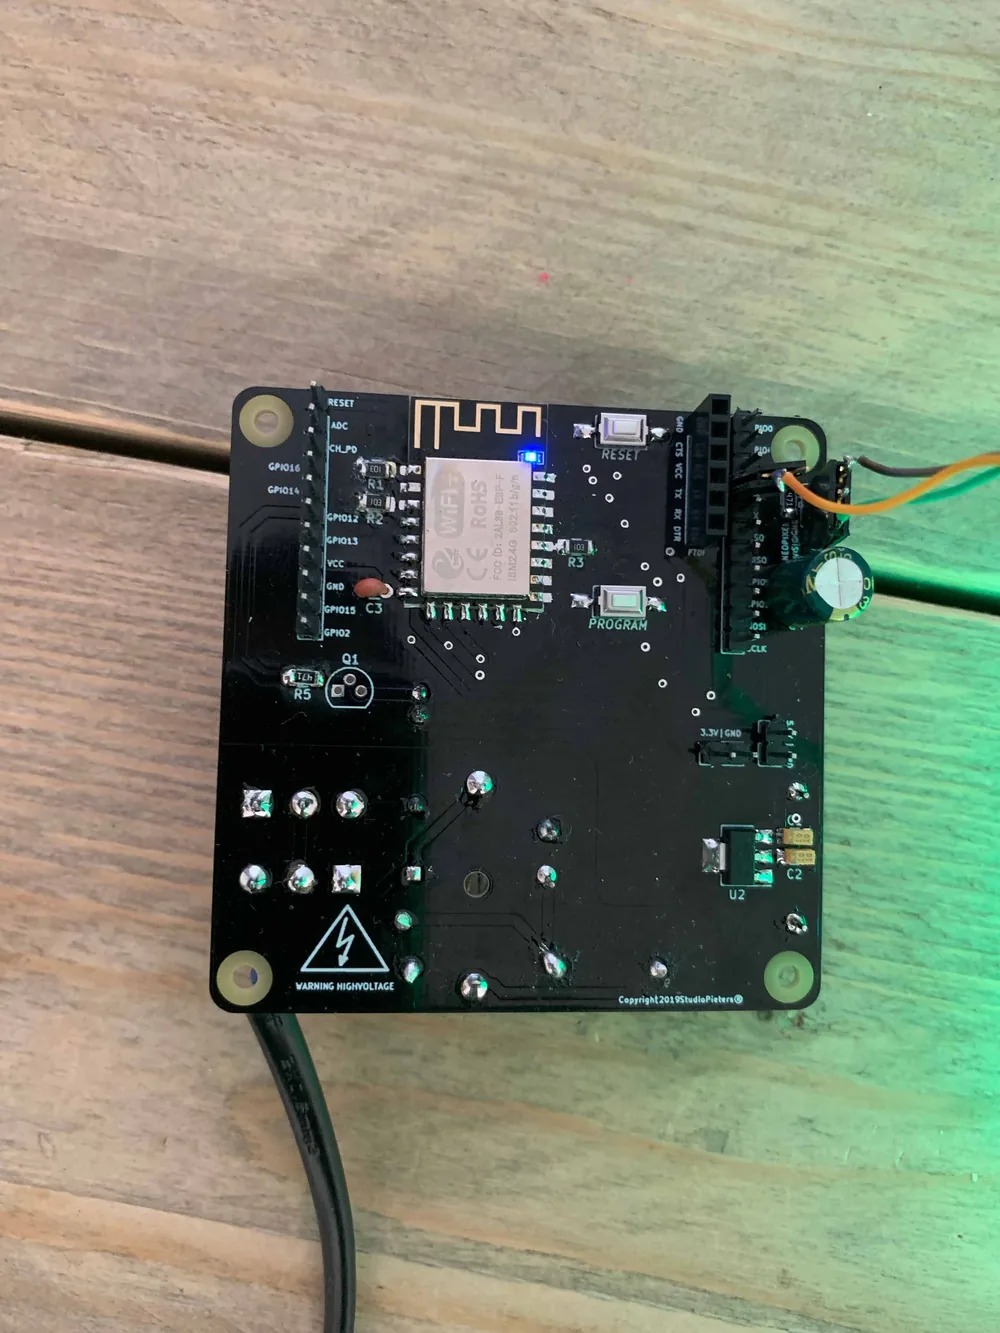
The board was tested on the bench with the ring connected. The project checklist in the repository shows every stage as done: a new NeoPixel ring, beta testing the software, making and ordering the printed circuit board, beta testing the board, hardware installation, a proof-of-concept film and an end result film, and releasing the KiCad and gerber files.
The films of this project, and of many others, are on the StudioPieters YouTube channel.
Pins
| Function | ESP8266 pin |
|---|---|
| Button | GPIO4, active low |
| Relay (pump) | GPIO12 |
| On-board LED | GPIO2 |
| NeoPixel ring | The I²S output, through the ws2812_i2s driver |
These come from the firmware source in the fountain folder of the repository. The relay is switched active-high.
Flash and install
The installation is the same as for the other ESP8266 HomeKit accessories on this site. The firmware runs on ESP-Open-RTOS with Life Cycle Manager 2, which sets up the WiFi and installs updates over the air. The full steps, from installing esptool to flashing, joining the LCM- WiFi network and pairing, are in ESP8266 HomeKit Blinds.
In the portal, use these values:
| Field | Value |
|---|---|
| OTA repository | AchimPieters/ESP8266-HomeKit-Fountain-light |
| OTA binary file | main.bin |
When the installation is done, scan the QR code the device generates in the Home app to add it.
Firmware releases
| Version | Date | Notes |
|---|---|---|
| 1.0.0 | 10 March 2022 | The current version, the one used in the finished water feature |
| 0.1.0 | 15 September 2019 | OTA update added |
| 0.0.2 | 28 August 2019 | |
| 0.0.1 | 27 August 2019 | Some bug fixes |
Each release has a main.bin and a signature file, main.bin.sig.
Good to know
- The HomeKit Accessory Protocol specification the firmware follows is the non-commercial version, for accessories you build yourself and do not distribute or sell.
- The repository is under the MIT licence. The HomeKit setup code is set in the firmware source, so change it to your own.
Everything is in the ESP8266-HomeKit-Fountain-light repository on GitHub.
Related
 HomeKit
ESP32 Smart Connect Plug
For years, the Dutch retailer Action has offered affordable smart-home devices under the brand LSC Smart Connect.
Read more
HomeKit
ESP32 Smart Connect Plug
For years, the Dutch retailer Action has offered affordable smart-home devices under the brand LSC Smart Connect.
Read more
 HomeKit
ESP8266 HomeKit Temperature and Humidity Sensor
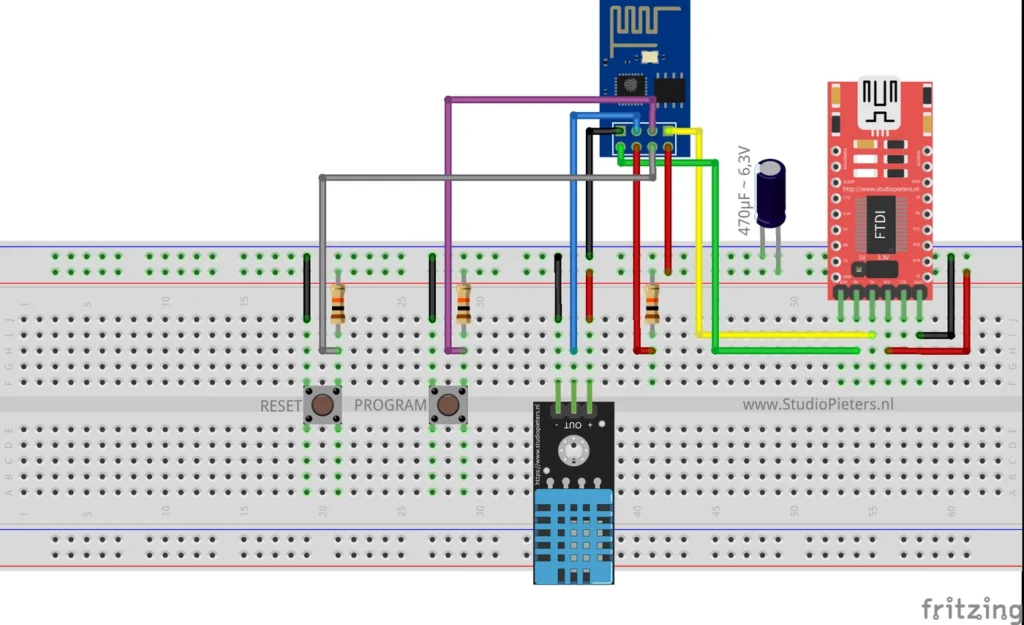
A DHT11 or DHT22 with an ESP8266 as a temperature and humidity sensor in Apple Home, with a firmware version for each sensor and pin.
Read more
HomeKit
ESP8266 HomeKit Temperature and Humidity Sensor
A DHT11 or DHT22 with an ESP8266 as a temperature and humidity sensor in Apple Home, with a firmware version for each sensor and pin.
Read more
 HomeKit
ESP8266 HomeKit Button Switch
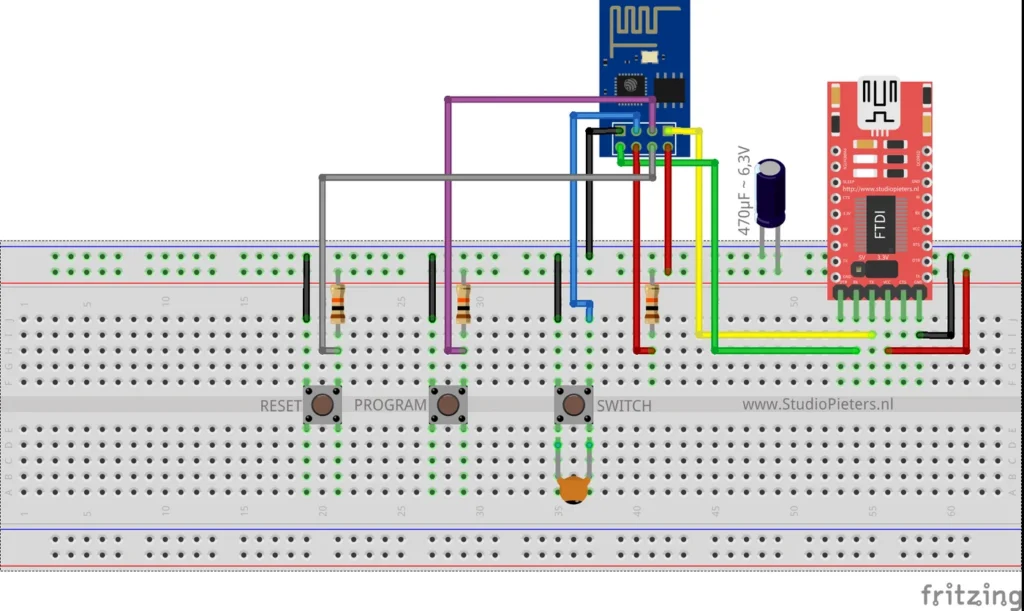
A small ESP8266 that appears in the Home app as a HomeKit switch, to turn another accessory on or off. A test setup with an ESP-01, three buttons and an FTDI adapter.
Read more
HomeKit
ESP8266 HomeKit Button Switch
A small ESP8266 that appears in the Home app as a HomeKit switch, to turn another accessory on or off. A test setup with an ESP-01, three buttons and an FTDI adapter.
Read more
More HomeKit
Keep building.
Switches, sensors, plugs and blinds: more accessories that you build yourself and add to the Home app.
All HomeKit