
HomeKit
ESP32-CAM as a HomeKit Camera
A proof of concept: the AI-Thinker ESP32-CAM as a camera accessory in the Apple Home app, with a still image and a stream that is not smooth.
- ESP32
- HomeKit
- Archived
- 3 min read
Archived project
The GitHub repository for this project is archived: it is read-only and no longer updated. What follows describes the project as it was, so check for a newer alternative before you build it.
A HomeKit camera on an ESP32-CAM: a small board with a camera that shows up as a camera accessory in the Apple Home app. It is a proof of concept. The picture works in the Home app, both as a still image and as a stream, but the stream is not smooth.
The project dates from May 2019. For current ESP32 HomeKit work, start with ESP32 HomeKit Development with ESP-IDF.
What you need
| Part | Details |
|---|---|
| Board | AI-Thinker ESP32-CAM |
| Flash | 4 MB, as selected in the build settings |
| Memory | External SPI RAM (PSRAM) enabled in the build settings |
| USB adapter | An FTDI adapter to flash the board |
| Build machine | A Mac, as the installation scripts in the repository are written for macOS |
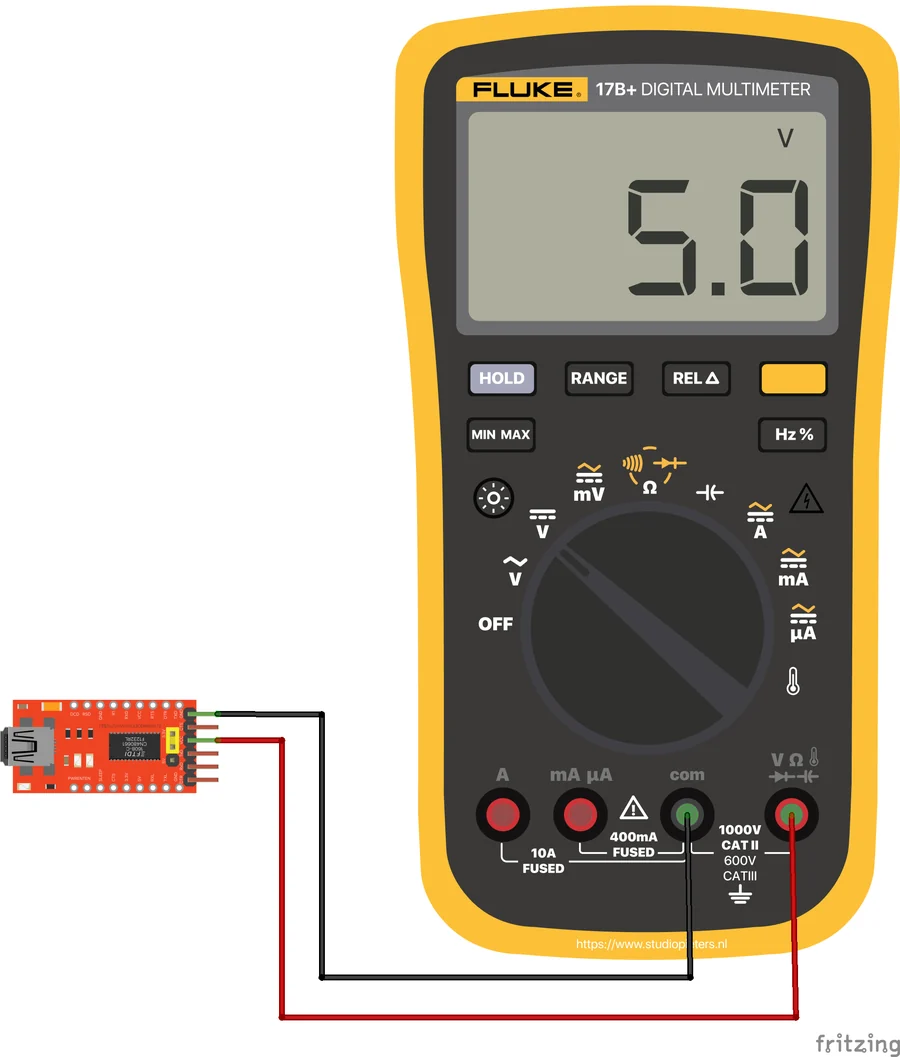
The repository shows a diagram of the adapter supply measured with a multimeter, which reads 5.0 V. Measure the supply before you connect a board to it.
Set up the build environment
The repository has two installation scripts. They install the tools for ESP-IDF version 3.2 on a Mac:
one.shinstalls pip, downloads the Xtensa ESP32 toolchain (xtensa-esp32-elf1.22.0-80), clones ESP-IDF v3.2 with its submodules and adds the toolchain to yourPATHandIDF_PATHin~/.zshrc.two.shinstalls the Python packages that ESP-IDF needs from itsrequirements.txt.
The HomeKit code comes from esp-homekit-demo by Maxim Kulkin, which you build yourself. The camera repository has no source code of its own, only the scripts, the images and one release.
Build settings
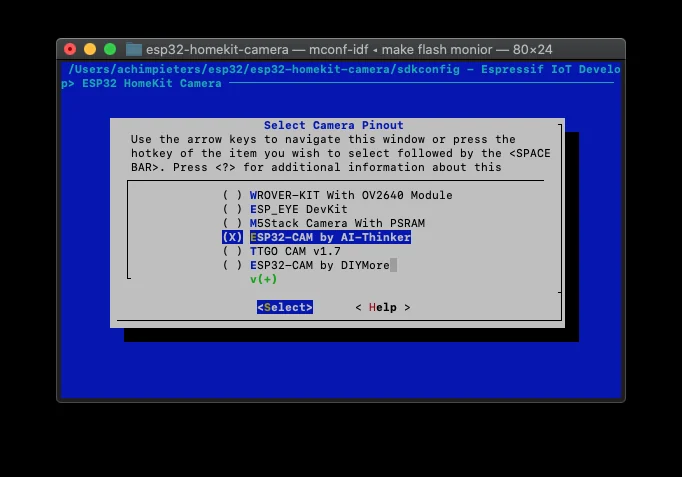
The build is set up with make menuconfig. The screenshots in the repository show these settings:
| Setting | Value |
|---|---|
| Partition table | Custom partition table CSV, partitions.csv |
| SPI RAM | Initialise SPI RAM when booting the ESP32, external RAM made available through malloc() |
| HomeKit flash address | SPI flash address for storing HomeKit data, set to 0x3A0000 |
| Camera pinout | ESP32-CAM by AI-Thinker |
| Camera clock | XCLK frequency 20000000 (20 MHz) |
| Flash size | 4 MB, DIO mode, 40 MHz |
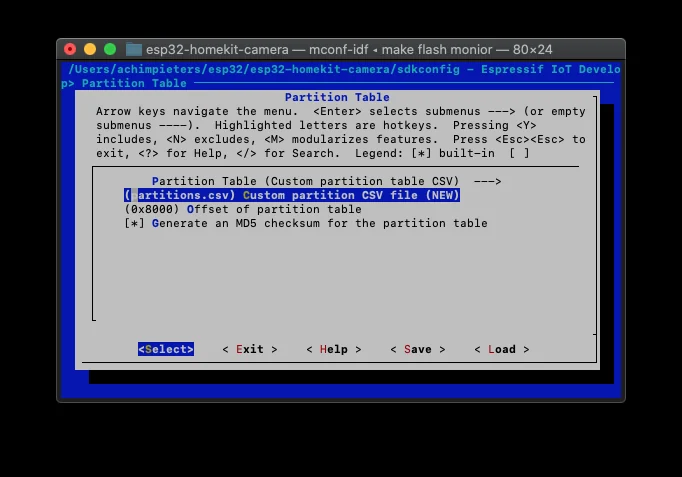
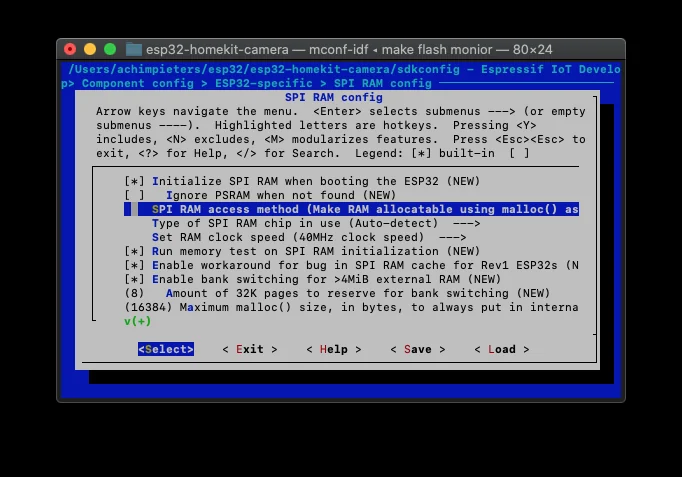
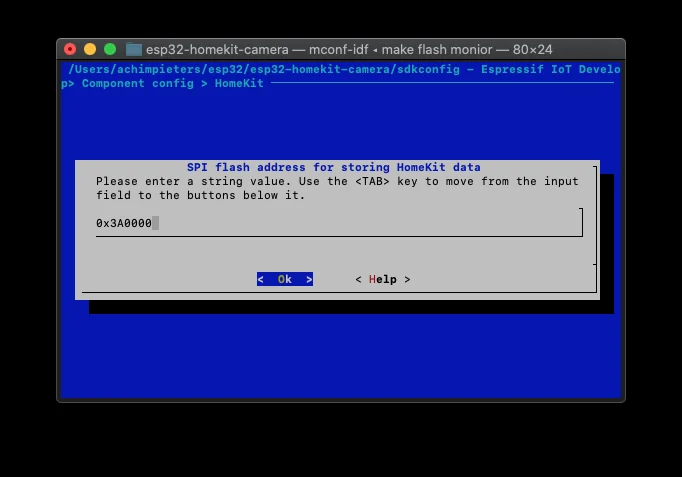
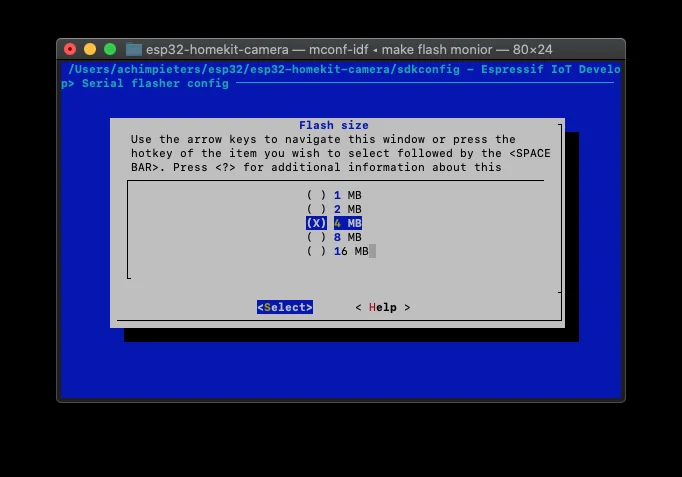
The ESP32 HomeKit Camera menu also holds the WiFi name and password and the LED pin, which is GPIO 1 in the screenshots with the LED active high. Fill in your own WiFi details there.
Build and flash
With the settings saved, build the firmware, flash the board and open the serial monitor in one go:
make flash monitorThe release on GitHub, version v0.0.1 of 21 May 2019, has a prebuilt main.bin and a signature file, main.bin.sig. The way to get the camera running is to build it yourself as described above.
When the board is running, add it in the Home app as a new accessory.
Good to know
- It is a proof of concept. Expect a stream that is not smooth, and nothing that is ready to use as a security camera.
- The HomeKit Accessory Protocol specification the firmware follows is the non-commercial version, for accessories you build yourself and do not distribute or sell.
- The repository is under the MIT licence.
The project is in the esp32-homekit-camera repository on GitHub.
Related
 HomeKit
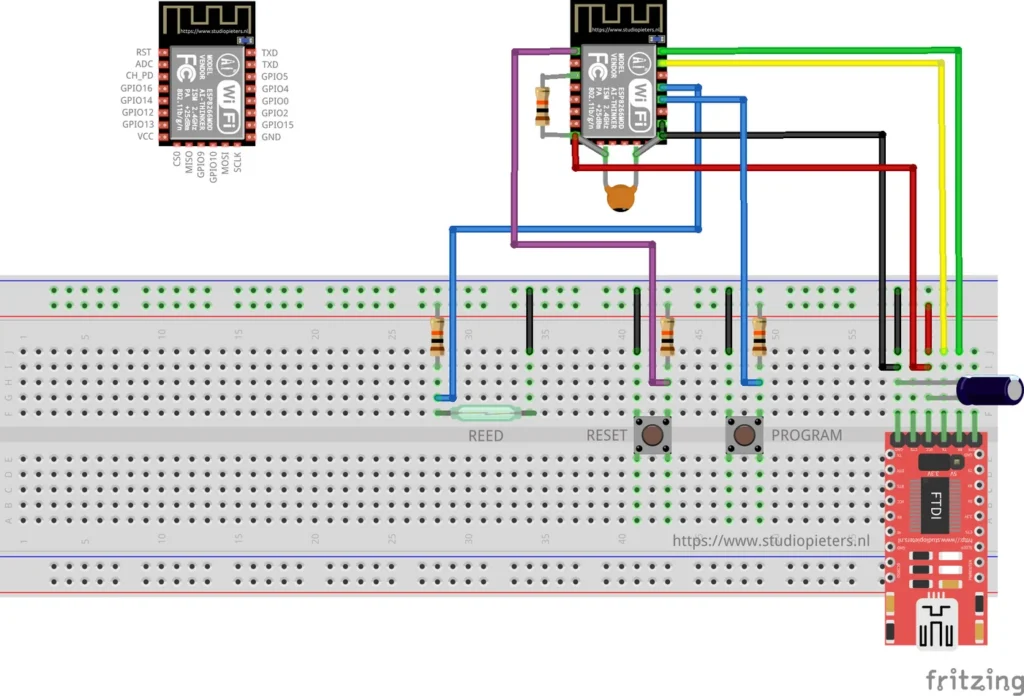
ESP8266 HomeKit Reed Contact Sensor
A HomeKit contact sensor on an ESP8266 with a reed contact and a magnet, for a door, window, garage door or blinds. A test setup from 2019.
Read more
HomeKit
ESP8266 HomeKit Reed Contact Sensor
A HomeKit contact sensor on an ESP8266 with a reed contact and a magnet, for a door, window, garage door or blinds. A test setup from 2019.
Read more
 HomeKit
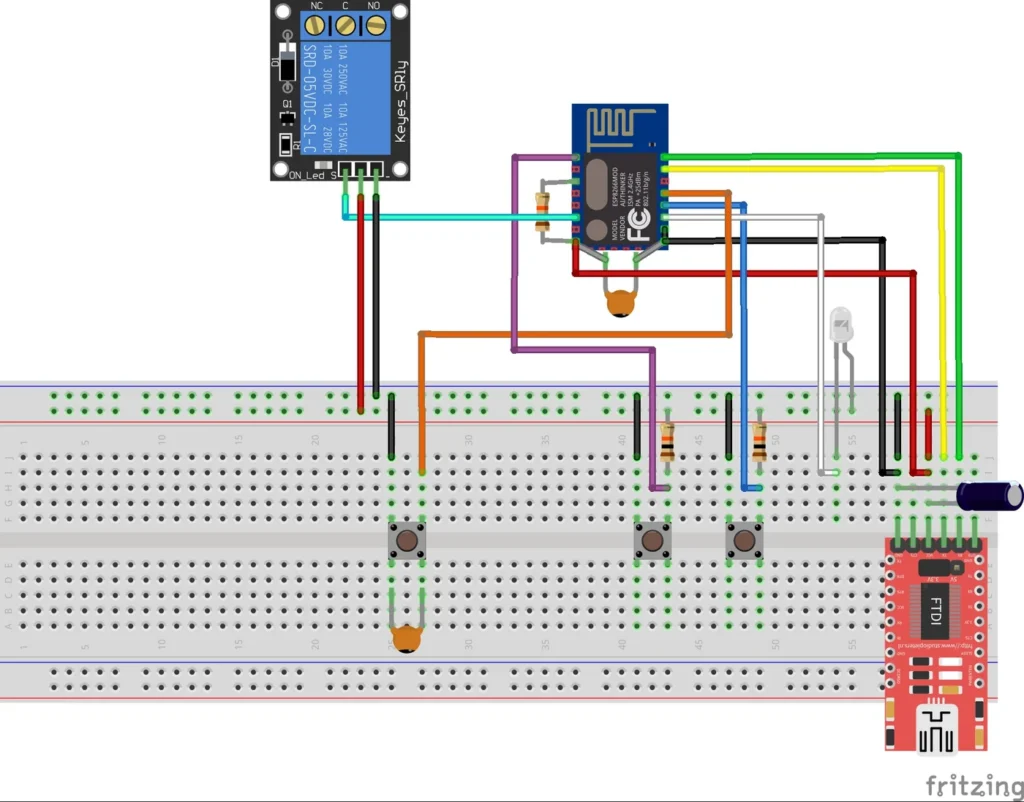
ESP8266 HomeKit Switch as a Switch, Lamp or Fan
One ESP8266 relay firmware that Apple Home can show as a switch, a lamp or a fan, with a button on the board.
Read more
HomeKit
ESP8266 HomeKit Switch as a Switch, Lamp or Fan
One ESP8266 relay firmware that Apple Home can show as a switch, a lamp or a fan, with a button on the board.
Read more
 HomeKit
ESP8266 HomeKit Air Quality Sensor with an MQ135
A NodeMCU with an MQ135 gas sensor and a DHT22 as an air quality, temperature and humidity sensor in Apple Home, built as a test setup.
Read more
HomeKit
ESP8266 HomeKit Air Quality Sensor with an MQ135
A NodeMCU with an MQ135 gas sensor and a DHT22 as an air quality, temperature and humidity sensor in Apple Home, built as a test setup.
Read more
More HomeKit
Keep building.
Switches, sensors, plugs and blinds: more accessories that you build yourself and add to the Home app.
All HomeKit