
3D printing
Philips Hue Bridge Wall Mount
Some projects never really get old. Even though I created this one quite a while ago, it is still one of the most downloaded and requested designs on my site: The Philips Hue Bridge Wall Mount .

Some projects never really get old. Even though I created this one quite a while ago, it is still one of the most downloaded and requested designs on my site: The Philips Hue Bridge Wall Mount.
If you’re anything like me, you probably love a clean and organized setup. The Philips Hue Bridge is a fantastic piece of hardware, but out of the box, it just sits there on your desk or shelf, sliding around with its cable dangling behind it. Not really ideal, right? That’s exactly why I designed a simple, yet effective wall mount for it.
Why a Wall Mount?
The Hue Bridge is the beating heart of any Hue smart lighting system. It connects all your lights and accessories and makes them work together seamlessly. Since it needs to be wired to your router, it usually ends up somewhere in your living room or hallway, places where you really don’t want loose hardware lying around.
A wall mount keeps everything neatly in place. It prevents the bridge from sliding around, gives it a proper spot, and honestly, it just looks so much better.
The Design Process
This wall mount started out as a simple sketch and quickly grew into a finished 3D model. I designed it using the free version of Autodesk Fusion 360. It’s such a powerful tool, even in the free edition, and it allowed me to get the exact measurements and tolerances right so the Hue Bridge fits snugly without being difficult to remove.
Once the design was ready, I sliced the model using Ultimaker Cura, my go-to slicing software. For printing, I used my reliable Ender 3 V2. The print came out clean and sturdy, requiring no special tricks or exotic settings, just straightforward PLA and a bit of patience.
The Result
The mount is a minimalist 3D printable design. It securely holds the Hue Bridge in place, while still leaving all the buttons, indicators, and ports easily accessible. Installation is super simple:
- Print the mount.
- Screw it to the wall or any flat surface.
- Slide in your Hue Bridge.
That’s it, nothing more to it.
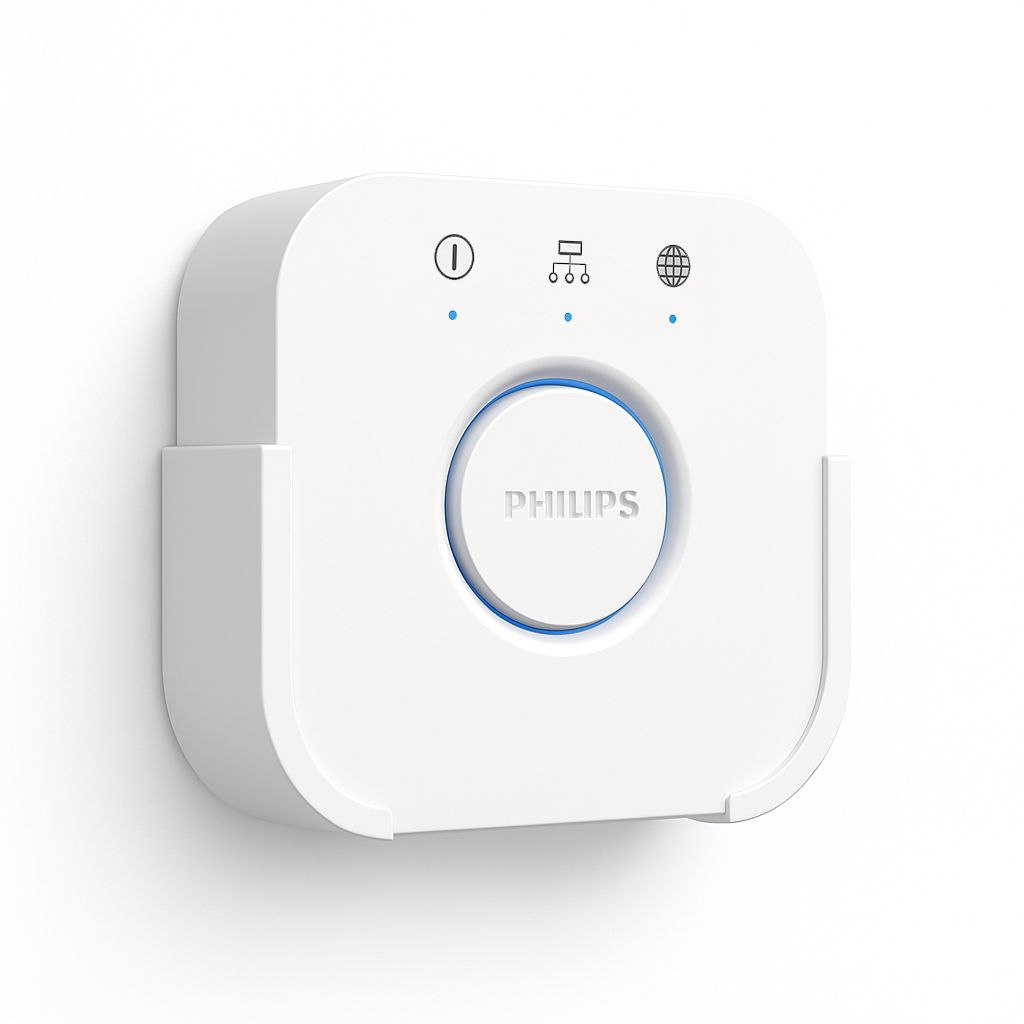
Because of the open design, ventilation is not an issue, and the bridge stays nice and cool.
Still Popular Today
Even though I designed this wall mount years ago, it continues to be one of the most downloaded 3D models I’ve ever shared. The simplicity and practicality seem to resonate with Hue users all over the world.
It makes me really happy to see how a small idea can have such a long-lasting impact. People still send me pictures of their own installations, and I love seeing how the mount is being used in different setups.
Download & Print
Want to give your Hue Bridge a proper place too?
You can download the 3D model for free and print it yourself.
Conclusion
Sometimes the best projects are not the most complicated ones. This wall mount is a perfect example: a simple idea, executed well, that solves a small but annoying problem. Designed in Fusion 360, sliced in Cura, and printed on an Ender 3 V2, this project shows how accessible 3D printing has become. With just a bit of effort, you can create custom solutions that make your smart home setup cleaner and more enjoyable.
Upgraded to the newer, slightly larger bridge? See the Philips Hue Bridge Pro Wall Mount, a re-measured V2 of this exact design.