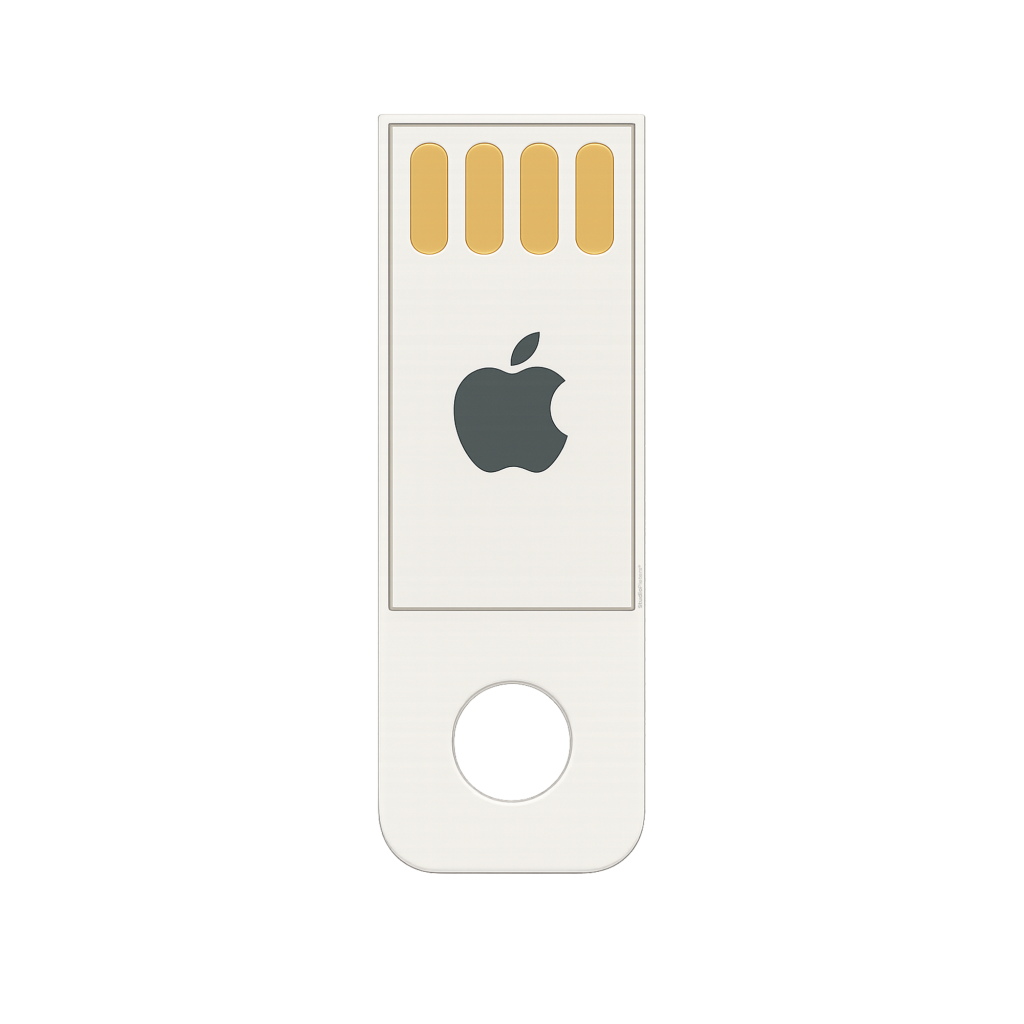
The Mac operating system is powerful, secure, and robust — but sometimes, you need more than just the default installation tools. Whether you’re deploying macOS across multiple devices, recovering a Mac that won’t boot, or preparing for a clean install, a bootable installer is the ultimate solution. In this guide, we walk you through the entireprocess of creating a macOS bootable USB installer — reliably, efficiently, and with the precision you expect from expert system documentation.
Do You Need a Bootable Installer?
Most users can reinstall or upgrade macOS directly via System Settings or macOS Recovery. However, in certain cases, a bootable installer offers key advantages:
- Install macOS on multiple Macs without downloading the installer each time
- Perform clean installations from scratch
- Recover from startup issues when your internal disk isn’t bootable
Note: Creating a bootable installer is not the same as simply making an external startup disk.

Step 1 – Download the Full macOS Installer
You’ll need the full version of the macOS installer, not a stub or incremental update.
Where to Get It
- Use the Mac App Store, or
- Visit Apple’s support page: How to download and install macOS
Tips:
- Download the installer on a compatible Mac (e.g. macOS Sequoia can only be downloaded on a Mac that supports it).
- The installer should appear as an application in your /Applications folder — e.g.
Install macOS Sequoia.app - If you download a
.dmgor.pkg, follow Apple’s extra steps to extract the app.
Step 2 – Connect and Prepare a USB Flash Drive
Connect your USB stick (or external SSD) to your Mac.
Requirements:
- Minimum 16GB (32GB recommended)
- It will be completely erased, so back up any important files first
Rename the drive:
Use Disk Utility to rename your volume to:
MyVolumeThis name is referenced in the Terminal command you’ll run in the next step.
Step 3 – Create the Bootable Installer Using Terminal
Open Terminal:
Finder > Applications > Utilities > Terminal
Paste the correct command based on your macOS version:
macOS Sequoia
sudo /Applications/Install\ macOS\ Sequoia.app/Contents/Resources/createinstallmedia --volume /Volumes/MyVolummacOS Sonoma
sudo /Applications/Install\ macOS\ Sonoma.app/Contents/Resources/createinstallmedia --volume /Volumes/MyVolumemacOS Ventura
sudo /Applications/Install\ macOS\ Ventura.app/Contents/Resources/createinstallmedia --volume /Volumes/MyVolumemacOS Monterey
sudo /Applications/Install\ macOS\ Monterey.app/Contents/Resources/createinstallmedia --volume /Volumes/MyVolumemacOS Big Sur
sudo /Applications/Install\ macOS\ Big\ Sur.app/Contents/Resources/createinstallmedia --volume /Volumes/MyVolumemacOS Catalina
sudo /Applications/Install\ macOS\ Catalina.app/Contents/Resources/createinstallmedia --volume /Volumes/MyVolumemacOS Mojave
sudo /Applications/Install\ macOS\ Mojave.app/Contents/Resources/createinstallmedia --volume /Volumes/MyVolumemacOS High Sierra
sudo /Applications/Install\ macOS\ High\ Sierra.app/Contents/Resources/createinstallmedia --volume /Volumes/MyVolumeOS X El Capitan
sudo /Applications/Install\ OS\ X\ El\ Capitan.app/Contents/Resources/createinstallmedia --volume /Volumes/MyVolume --applicationpath /Applications/Install\ OS\ X\ El\ Capitan.app
Terminal Prompts and Behavior:
- Type your administrator password when prompted (invisible input is normal).
- Press Y to confirm erasing
MyVolume. - Wait for the progress bar to complete.
Troubleshooting:
- “Command not found” → Check the installer path and that it’s in
/Applications - “Not a valid installer” → Delete and re-download the installer
- Erase fails → Use Disk Utility to format
MyVolumeas Mac OS Extended (Journaled)
When successful, your USB drive will be renamed to something like: Install macOS Sequoia
Step 4 – Use the Bootable Installer
Mac with Apple Silicon (M1, M2, M3…)
- Turn off the Mac completely
- Plug in the USB installer
- Press and hold the power button until startup options appear
- Select the bootable installer and click Continue
- Follow the onscreen macOS installation instructions
Intel-based Mac
- Turn off the Mac
- Plug in the USB installer
- Power on and immediately press and hold the Option (⌥) key
- Release when you see the bootable volumes
- Select the installer and press Return
- Choose Install macOS from the Utilities window
Important Notes
- Mac must be connected to the internet
- If macOS is incompatible, you may see a prohibited icon (circle with a line)
- On Macs with a T2 Security Chip, allow external boot in Startup Security Utility
Conclusion: Take Full Control of Your macOS Installations
Creating a bootable macOS installer isn’t just for pros anymore. With just a USB stick and a few Terminal commands, you unlock a powerful tool for recovery, clean installs, or deploying macOS efficiently across multiple devices. Whether you’re a sysadmin or a power user, mastering this process gives you confidence and flexibility when it matters most.