
3D printing
ESP8685-WROOM-03 Programmer
For one of my new projects, I wanted to program an ESP8685-WROOM-03 module without soldering. Because let’s be honest... sometimes you just don’t want to mess around with flux, heat, and tiny pads.

For one of my new projects, I wanted to program an ESP8685-WROOM-03 module without soldering. Because let’s be honest... sometimes you just don’t want to mess around with flux, heat, and tiny pads. So I designed a simple programming adapter that you just click onto the module, flash your firmware, and done.
The result?
A super simple ESP8685 programmer built with:
✔ A 3D printed enclosure
✔ Pogo pins (PA50-B1) for reliable contact (link)
✔ 4 small magnets (8x1.5) that hold everything in place (link)
✔ And of course: KISS → Keep It Stupid Simple
No fancy machining. No complex assembly. Just a straightforward 3D print, some pogo pins, magnets, a bit of glue, and ready to go.
Why this programmer?
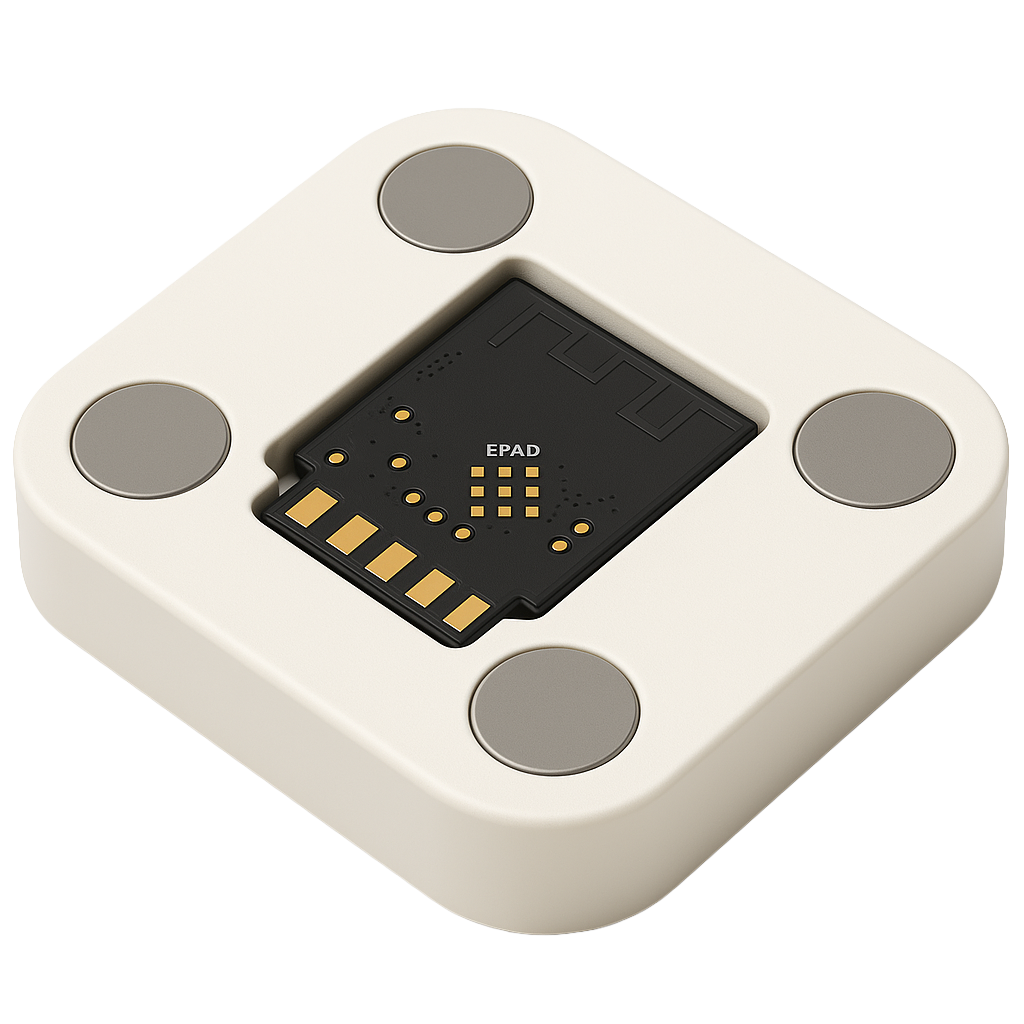
The ESP8685-WROOM-03 is a compact and powerful Wi-Fi/MCU module that is perfect for embedded projects. The only downside… the contacts are located on the bottom side of the module, which makes programming difficult without:
- an adapter board.
- soldering temporary wires.
- fiddling with tape or test clips.
And I didn’t want any of that. So I made a tool that makes my life easier.

Designed in Fusion 360
I created the design in Autodesk Fusion 360. Simple, clean, and functional:
- Rounded form factor.
- Cutout to hold the module in place.
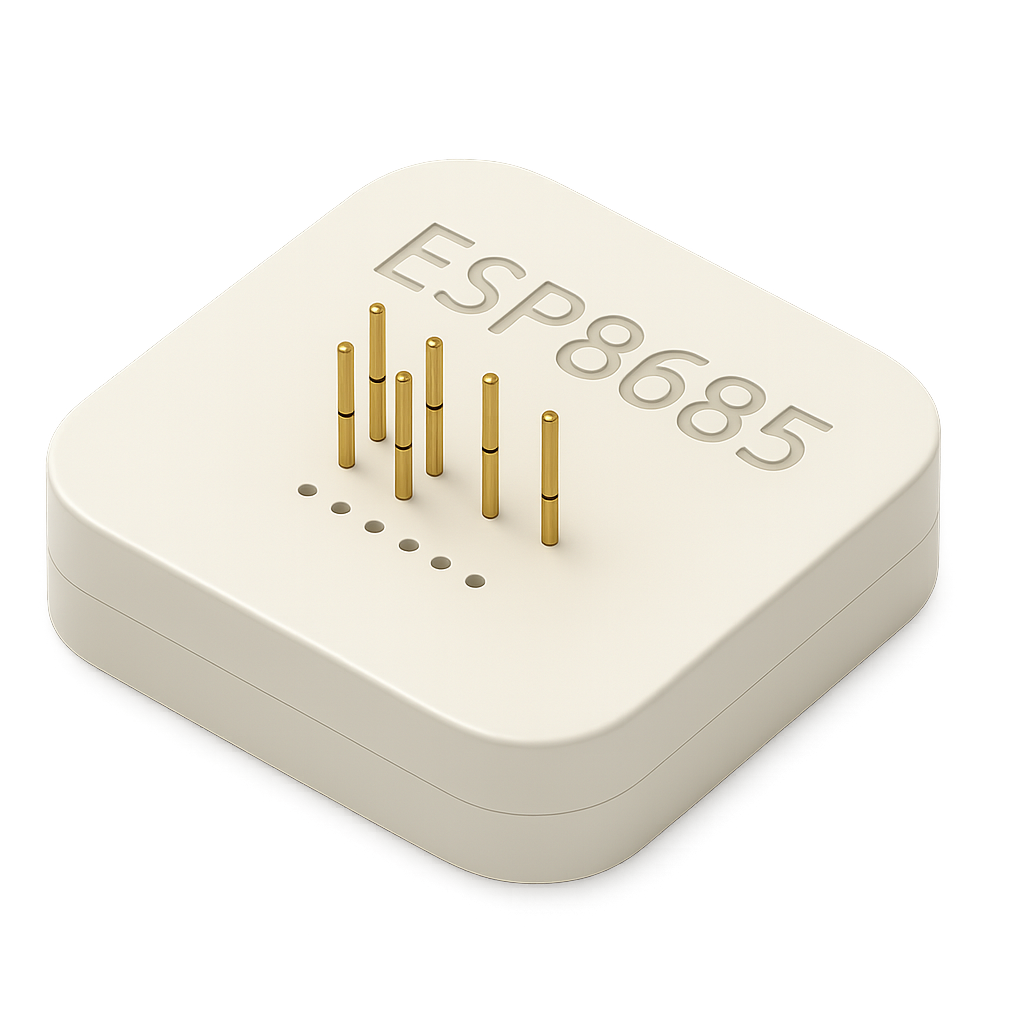
- Precisely positioned pogo-pin holes.
- Four magnet slots.
With the magnets, the module stays perfectly aligned while flashing. No slipping, no bad contact, just click and program!
3D Printing, material & setup
I printed the design on my 3D printer:
- Material: PLA
- Layer height: 0.2 mm
- 20{91c9fad616bf0725810074c79079914b0bb05d8bf60d02d56ac06d2922548669} infill
- No supports required
Print time: less than an hour. After printing, I glued in the pogo pins and magnets. That’s it.
Magnets + Pogo Pins = Magic
The beauty of this design is the simplicity:
- Magnets pull the module into the exact position
- Pogo pins make instant contact with the flash pads
- Connect your USB-to-UART programmer and you’re ready to flash
Programming without soldering suddenly becomes a great experience.
How to use it
- Place the programmer on your desk
- Drop the ESP8685 module in the cutout
- Magnets snap it into place
- Connect your USB programmer
- Flash using esptool, ESPHome, PlatformIO, or Arduino IDE
Done. Hardware should be this simple.

Conclusion
This ESP8685 programmer is the perfect example of KISS design:
- Don’t make things more complicated than they need to be
- Use what you already have: 3D printer, magnets, pogo pins
- Ideal for prototyping or small production batches
- No soldering stress
I love how it turned out, and maybe you will too.
Downloads / Files
Want to program your ESP8685 the easy way?
You can download the 3D model for free* and print it yourself.
* Free to use under the MIT license, attribution is required.