Measuring wind speed is essential for weather stations, agricultural monitoring, HVAC automation, and safety systems. The HWFS-1 Anemometer is a cost-effective, analog-output wind speed sensor, ideal for both DIY and industrial environments. In this guide, you’ll learn everything about the voltage-type HWFS-1 — its principle, wiring, and how to use it effectively with microcontrollers.
What is the HWFS-1 Anemometer?
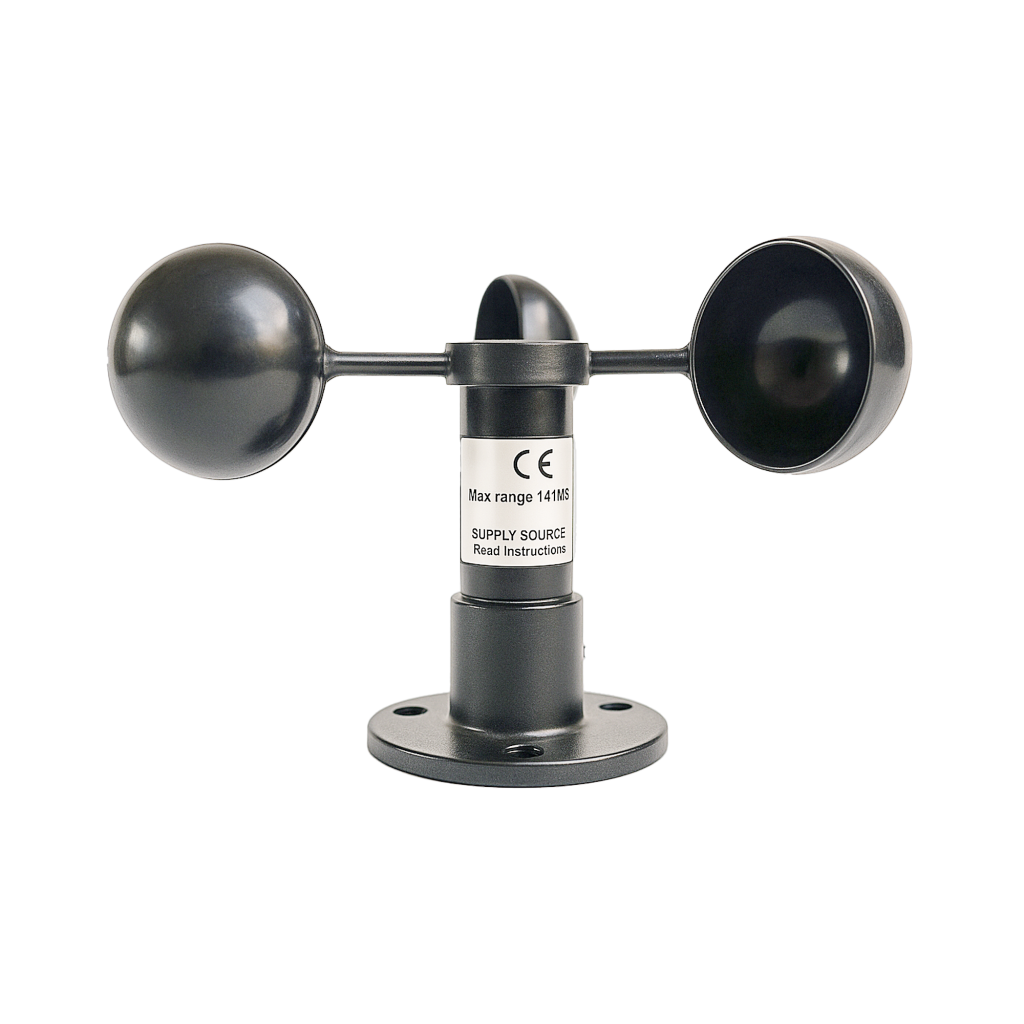
The HWFS-1 is a mechanical cup-style wind speed sensor with an integrated voltage generator. As the wind rotates the 3-cup rotor, the internal generator produces a voltage signal proportional to wind speed — no external power supply is required.
Key Features
- Model: HWFS-1
- Type: Analog cup-type anemometer
- Output: Voltage (0–2V typical, max 4V)
- Power: Passive (no external power needed)
- Wiring: 2 wires (Signal + Ground)
- Material: ABS plastic, weather-resistant
- Max Wind Speed: 200 KM/h
- Recommended Range: < 100 KM/h
- Installation: Bolt-through base, 3 × 6mm holes at 120°
How It Works
When wind blows, the cups rotate and an internal electromagnetic generator produces a voltage. The output voltage increases linearly with wind speed:
- 0V → no wind
- 2V → ~100 KM/h
- 4V (max) → ~200 KM/h (not recommended for continuous use)
HWFS-1 Wiring
| Wire | Function |
|---|---|
| Black | GND (Ground) |
| Black with Stripe | Signal (Voltage out, 0–2V typical) |
Connect the signal wire to an ADC (Analog-to-Digital Converter) pin on your microcontroller (e.g., ESP32, Arduino) and the black wire to GND.
Note: There is no polarity, but consistency is best practice.
Using the HWFS-1 with a Microcontroller
Example Wiring (ESP32)
| HWFS-1 Wire | ESP32 Pin |
|---|---|
| Black with stripe | GPIO 34 (ADC) |
| Solid black | GND |

Sample Arduino Code (Analog Reading)
#define WIND_SENSOR_PIN 34

void setup() {
  Serial.begin(115200);
}

void loop() {
  int analogValue = analogRead(WIND_SENSOR_PIN); // 0–4095 on ESP32
  float voltage = analogValue * 3.3 / 4095.0;     // Convert to volts
  float windSpeedMS = voltage * 14.0;             // Wind speed in m/s
  float windSpeedKMH = voltage * 50.0;            // Wind speed in km/h

  Serial.print("Wind Speed: ");
  Serial.print(windSpeedMS);
  Serial.print(" m/s | ");
  Serial.print(windSpeedKMH);
  Serial.println(" km/h");

  delay(1000);
}
Calibration Formula
You can estimate wind speed directly using these formulas:
- Wind speed (km/h) = Voltage (V) × 50
- Wind speed (m/s) = Voltage (V) × 14
Example: If the voltage is 0.5V, then:
- Wind speed ≈ 25 km/h
- Wind speed ≈ 7 m/s
Practical Applications
- Weather Stations: Monitor outdoor wind conditions
- HVAC Automation: Adjust systems based on outside airflow
- Agriculture: Control irrigation and ventilation based on wind
- Wind-Triggered Systems: LED beacons, safety alerts, etc.
Best Practices
- Mount horizontally at an open, unobstructed location
- Avoid metallic interference or lightning-prone spots
- Use waterproof enclosures for electronics
- Shield analog cable if longer than 3 meters
- Use a stable analog reference voltage for accuracy
Conclusion: Wind Speed Made Simple
The voltage-type HWFS-1 Anemometer is a reliable, easy-to-use analog wind speed sensor ideal for embedded systems. Its passive design requires no power supply, and it integrates seamlessly with ADC-enabled microcontrollers like the ESP32 and Arduino. With linear voltage output and simple formulas, it’s a perfect sensor for anyone needing real-time wind data.
Happy Measuring!