Now that I have my MagicMirror² up and running on my Raspberry Pi Zero W. It’s time to look at the MagicMirror² LCD and the mirror part of this project. At first I will start with the MagicMirror² LCD as this is the most logical order.

LCD Display
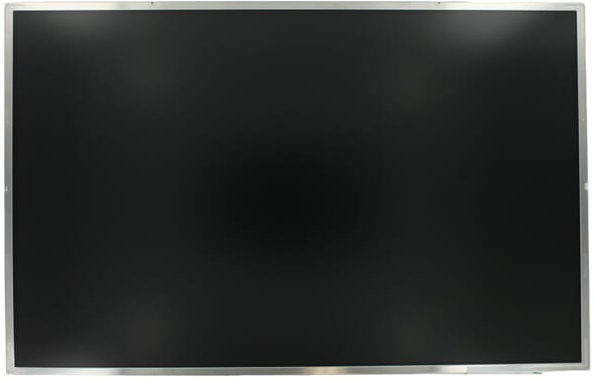
I still had an old laptop in the attic, I saved it for a future “project” and let it be so that I can now use it for this project. After a thorough disassembly of the laptop, I removed the 17 inch display. On the back of the LCD I find the type number, this allows me to look up all data on the internet. In my case it’s a
B170PW06 V.2 a 17″ WideScreen with a resolution of (WXGA+) 1440 x 900 Pixels.
LCD Controller
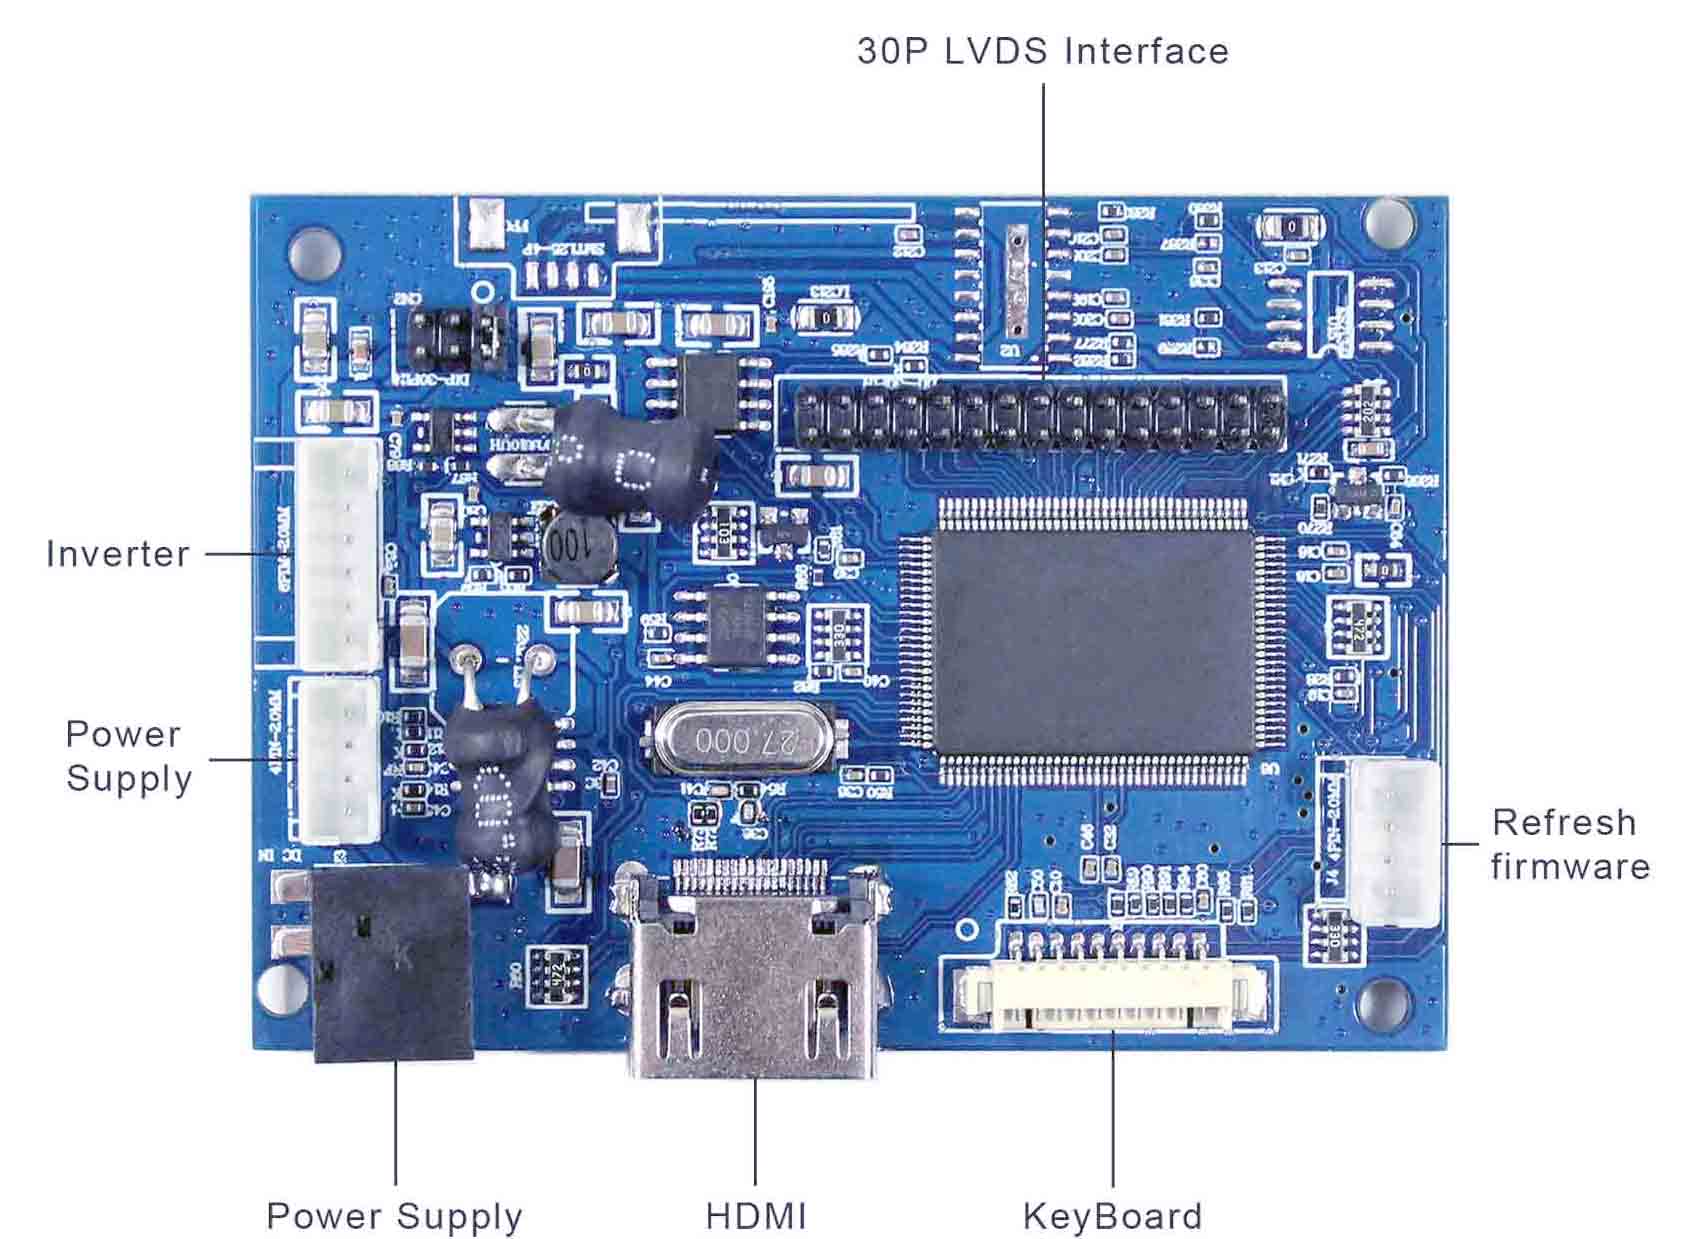
Once you have removed the LCD panel. I flipped it over and look for a model number on the back. You will need this model number to order the correct LCD controller board. I went to AliExpress and found one (VS-TY2660H-V1) for €15,00. Since the board was coming from China, I received my order about 2 weeks later. The LCD controller board has the HDMI input connection which allows you to connect it to the Raspberry Pi Zero W.
Hardware setup
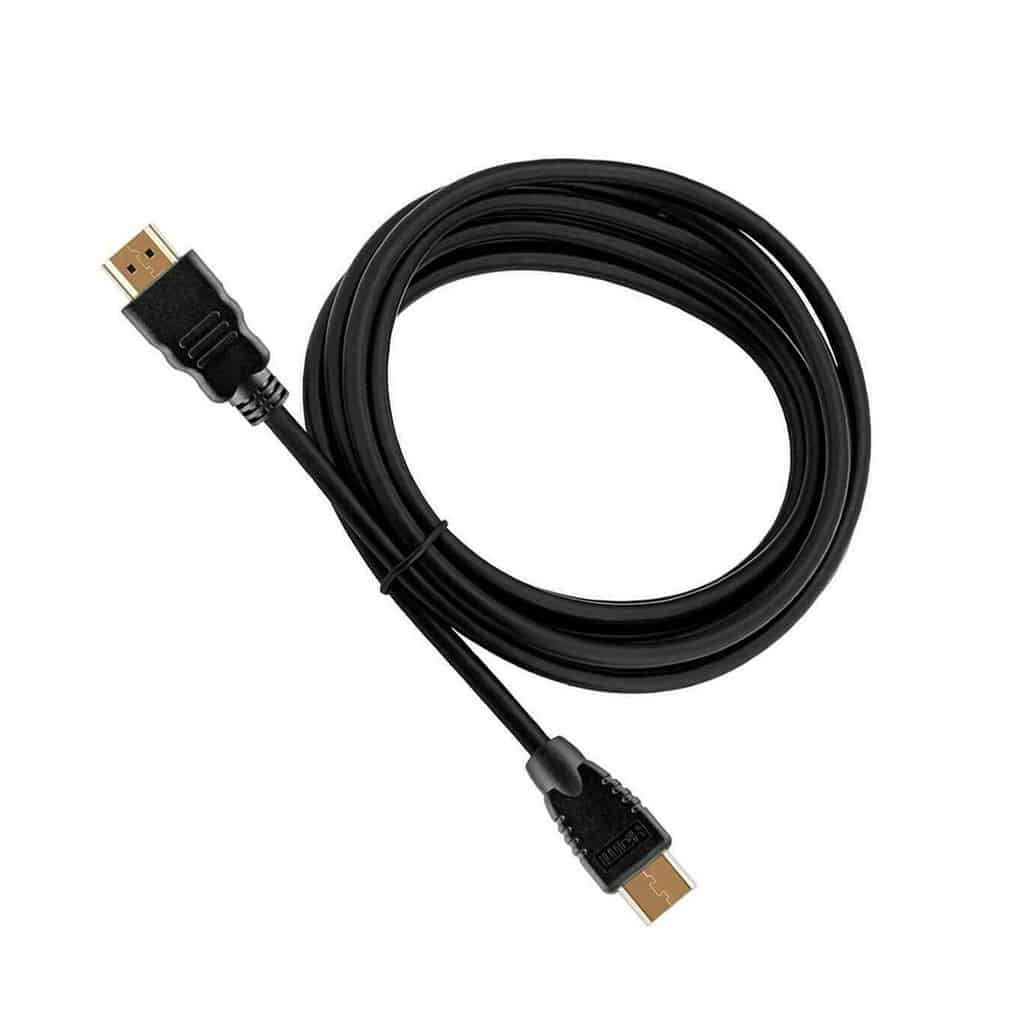
The LCD controller board is real easy to connect. It comes with all the required cables, except a HDMI cable which you will need, in order to connect your LCD to the Raspberry Pi Zero W. You can buy a HDMI cable (HDMI to HDMI Mini) from Aliexpress or a computer parts store.
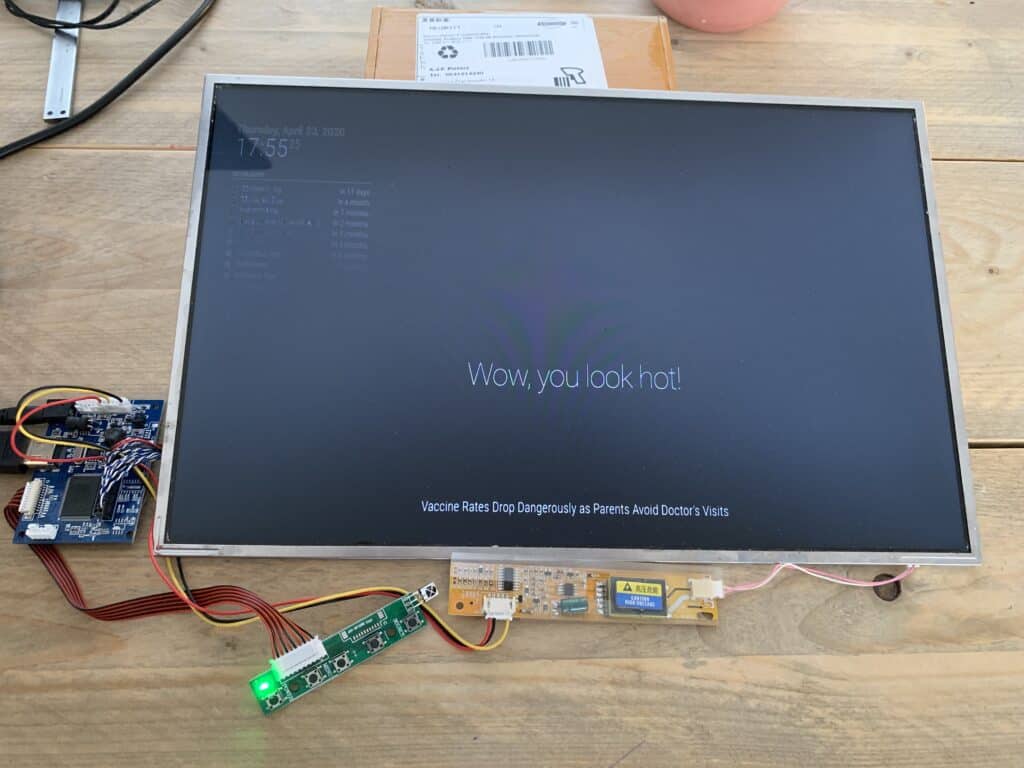
Once you have received your kit, proceed to connect it to the LCD screen. Plug the LVDS cable into the LCD panel where you removed the original from. The two wires at the bottom of the LCD screen that were connected to the inverter need to be unplugged from the old inverter and plugged into the new inverter below. Then, plug the power in. Make sure that the LCD control board is not sitting on anything conductive, like metal or it will short and fry. Next connect the HDMI cable to the LCD control board and plug the other end of the HDMI Mini cable to the Raspberry Pi Zero W. Make sure the Raspberry Pi Zero W is turned on before you plug in the HDMI cable.

Frame

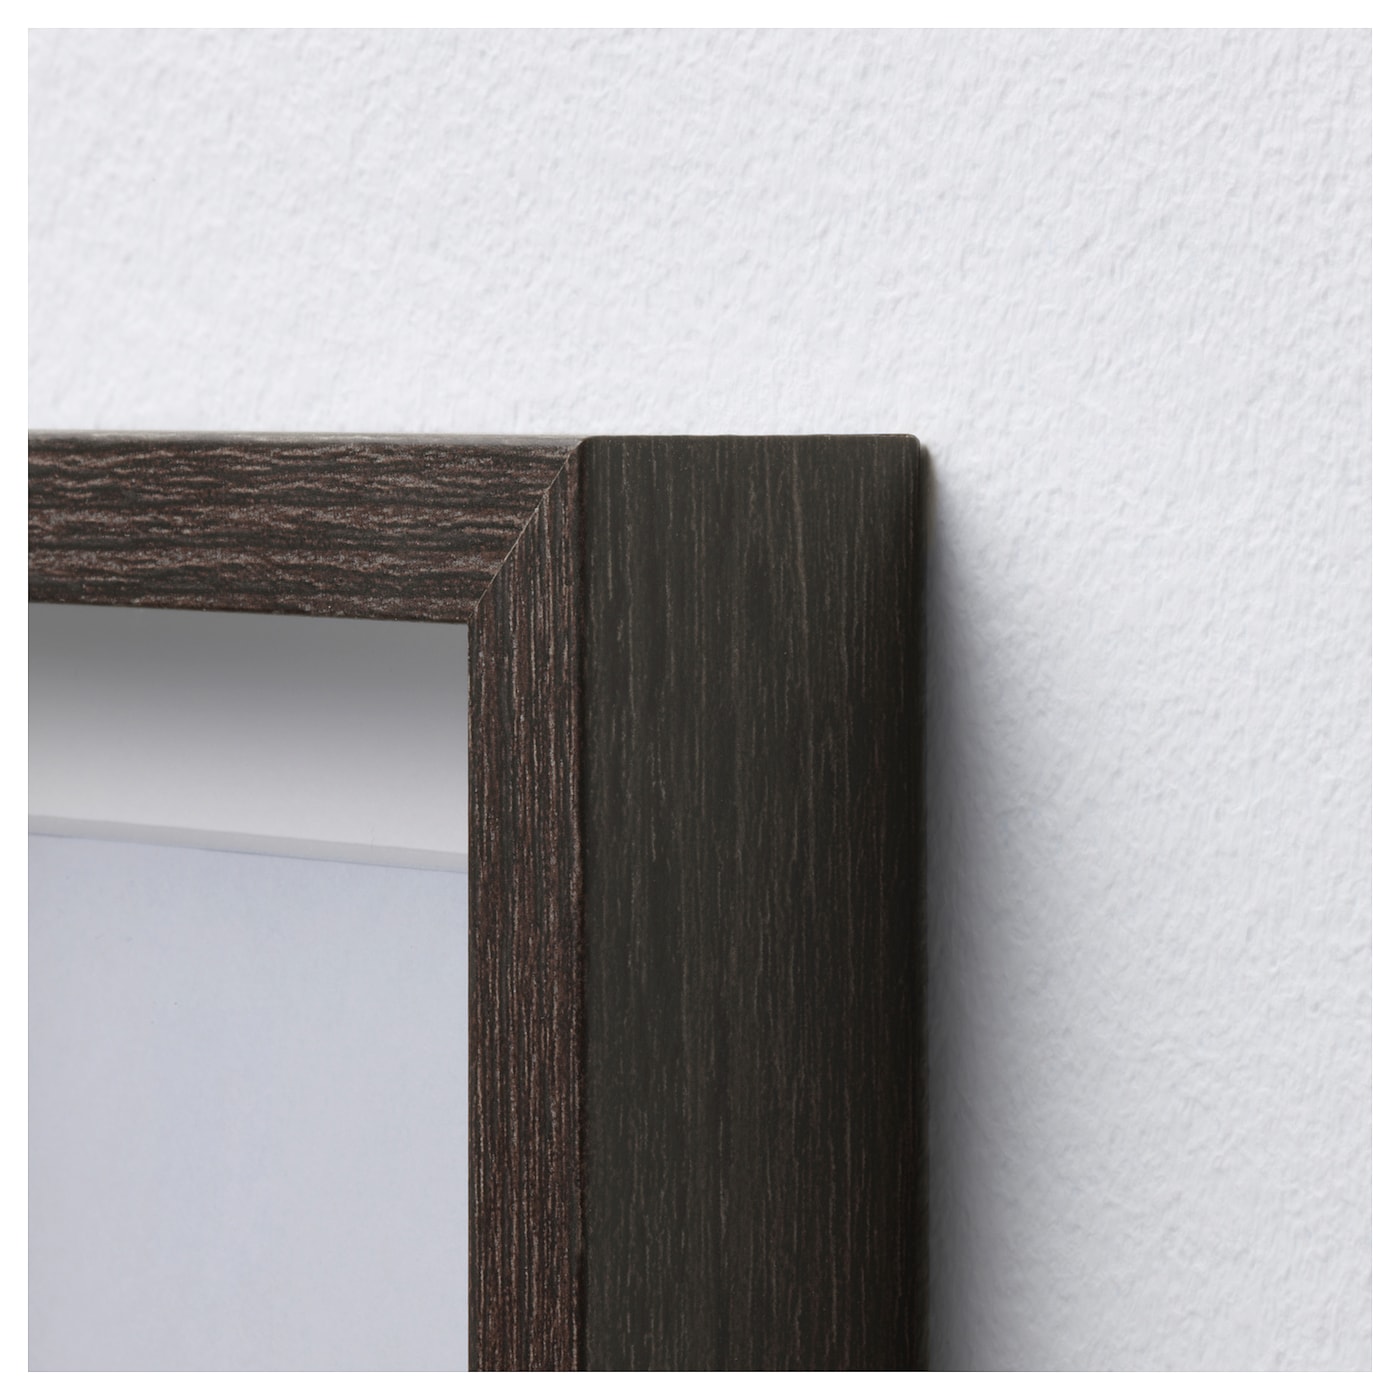
You are probably think why doesn’t he make a frame himself? The costs for making a frame do not outweigh the costs if I buy it ready-made. That does not mean that you may not make your own frame.
Oneway mirror
Now that I have the hardware and the frame sorted out I only need one thing. I went to AliExpress and found Self-adhesive one way mirror film for glass Windows. This exactly the thing I need to complete my Project!

TESTING THE MagicMirror² LCD HARDWARE
Okay now that The display is working, I can proceed with my build, here’s a sneak peak with MagicMirror² running on it! See you in my next blog!
DO YOU HAVE ANY QUESTIONS? LEAVE A COMMENT DOWN HERE.
REFERENCE
Michael Teeuw, MagicMirror²,The open source modular smart mirror platform., https://magicmirror.builders